How to Build a Custom Cabinet
How to Build a Custom Cabinet:
Step 7: Assembly
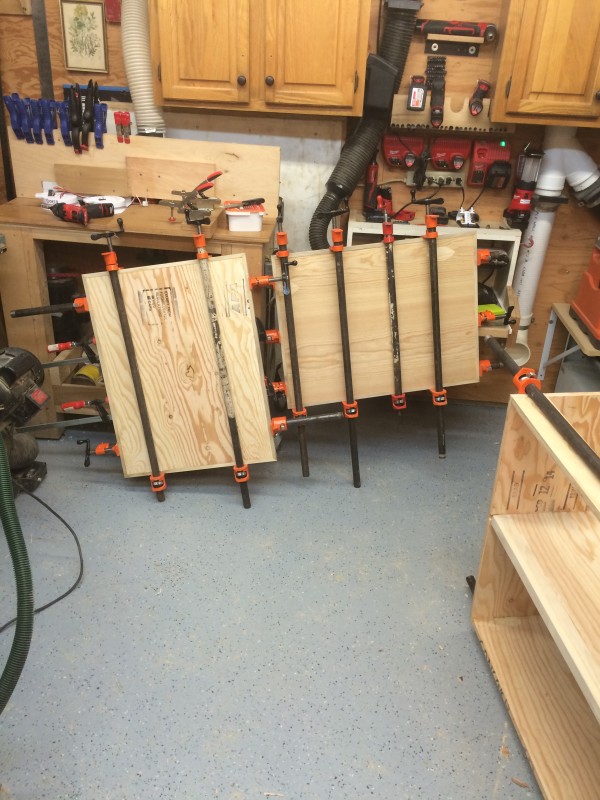
Here is the final fit test – you’ll need clamps long enough to mate your parts.
Make sure you have ample room to work. There are going to be bar clamps everywhere! Make sure that you wipe away excess glue! This will eliminate tons of unneeded sanding
Good things about working in a well-organized shop was there was plenty of clamps and enough room to set up the cabinet. I think we ended up using a total of 16 bar clamps ranging from 4’-8’ long. They were strategically placed together to ensure the proper pressure was applied. We made sure we had a wet rag and wiped away the excess glue.
Step 8: Door Assembly
During the drying phase, now is a good time to work on your doors. Again, think about covering your exposed edges with something nicer than just the face of the plywood. Again cabinet makers would use a maple or birch plywood or cover them with poplar or wood veneer.
On my doors, poplar was the easier solution. Cutting the poplar in 3/4” strips we mitered the edges to a 45 and fastened them with glue and brad nails. Using eight 4’ bar clamps for each door, we set them aside to dry. Again wiping away the excess glue to avoid hours of sanding.


