How to use Metal Studs for strapping and leveling a Ceiling

How to use Metal Studs for strapping and leveling a Ceiling
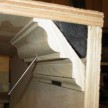
When remodeling a space or converting an unfinished space to a living space the ceiling can often be a source of frustration if it is out of level. Whether it impacts the look of your door trim or makes for adding crown molding or cabinets a nightmare, addressing the ceiling can be well worth the time and money to ensure your project runs smoothly and looks great when complete.
Traditionally I would fur down the ceiling joists level with two-by material, then attached strapping using shims to micro adjust in critical areas of the ceiling, like around the perimeter or where cabinets would be placed. But the speed and efficiency of metal studs can make a project move forward much faster once you know how to use Metal Studs for strapping and leveling a Ceiling.
Level the Ceiling
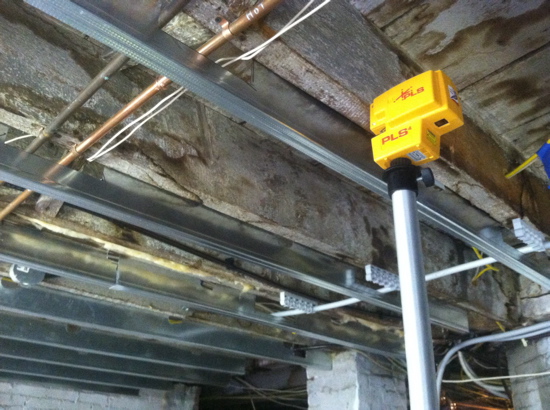
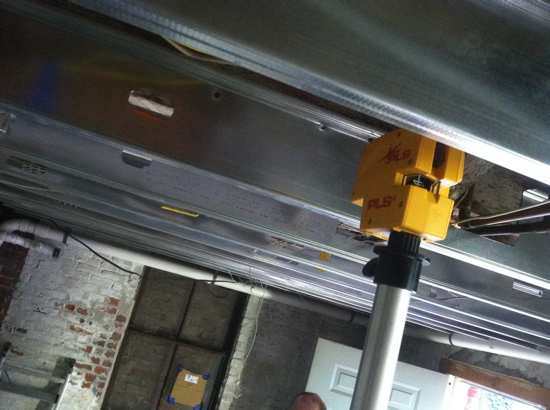
My preferred method to level the ceiling is the same whether you use the traditional two-by lumber and strapping or metal studs. First you determine what the ceiling is doing, slanting this way or that, and find the high and low spots. Once you identify your low spot you can set a laser for a reference point.
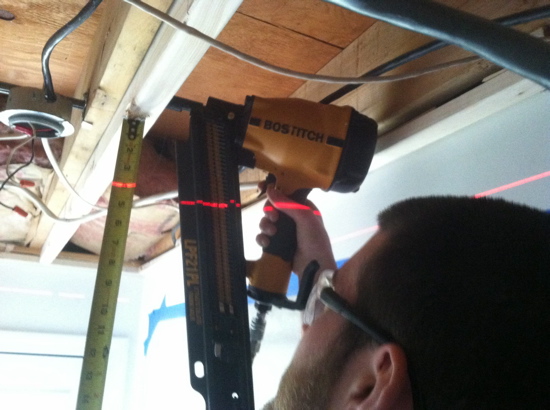
I like to set the laser a few inches from your desired height, like 3-inches, this way you can butt a tape to each section of stud or strapping and have an easy whole number to aim for, if needed you adjust up or down with shims until your laser hits that 3-inch mark (or whatever distance you choose).
Using Metal Studs
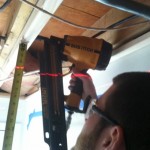
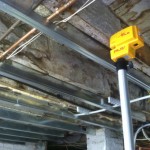
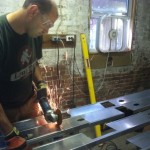
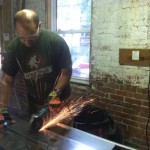
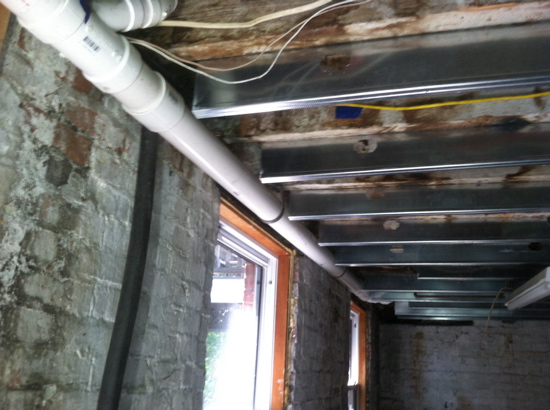
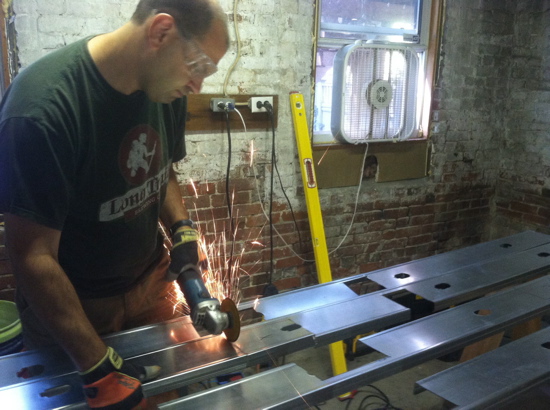
With the metal studs we used the same method. The biggest difference with using the metal studs is that we were able to use continuous pieces that were notched ahead of time to account for plumbing or electrical lines. We just placed the stud up along the joist it would be fastened to, and marked any obstructions. Then using a grinder we notched out the stud, so when it came to installation all we had to do was level the one stud and fasten, and if there was an unaccounted for obstruction, or our measurements were slightly off, you can just snip the metal in place with metal snips for fast installation.
Advantages
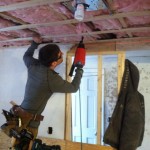
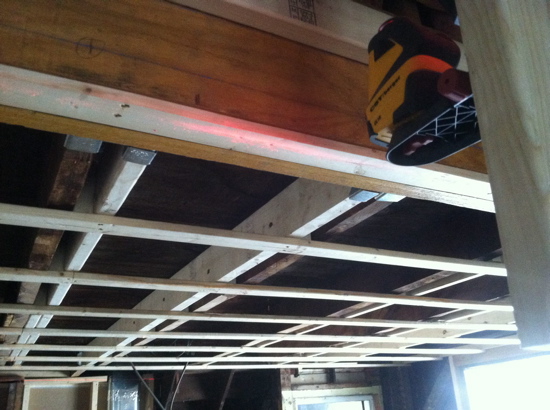
With two-by material you often have to block in small sections of lumber to work around the obstructions in the ceiling, then you have to add the strapping after you’ve furred down the joists. With the metal stud method, as long as your original joists are 16 on center, you can skip the strapping all together. Another advantage of this method is the tools you use will save you plenty of space. No need for a compressor, pneumatic guns, and saws. All you need is a impact driver and a grinder, so in tight spaces this makes the work go a little faster.
Disadvantages
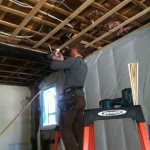
The disadvantages are the sparks really fly when cutting these studs, so if you aren’t in a concrete basement, like where we executed this work, the combustion of the sparks can be an issue. Also considering your project as it moves forward, I would check with your electrician and plasterer, they may be uncomfortable with working with this material or have some insights on why metal studs may not be the best choice for your project.
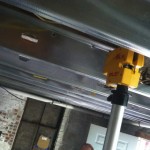
For us the roll of the flange we the one issue we had to deal with, often the leading edge would be a heavy 1/16″ to an 1/8″ off from the back of the flange, ultimately we split the difference and these differences are negligible and will be corrected once plaster is applied smooth to the ceiling. (We are kind of perfectionists)
This method was a great choice for this project, as a significant amount of plumbing work had to be done to prep the basement space for finishing, which came at a high cost, so by saving money on materials and labor with this method, we are keeping the project on track and on budget.