Build An Elegant Fireplace Mantel

How To Build a Fireplace Mantel
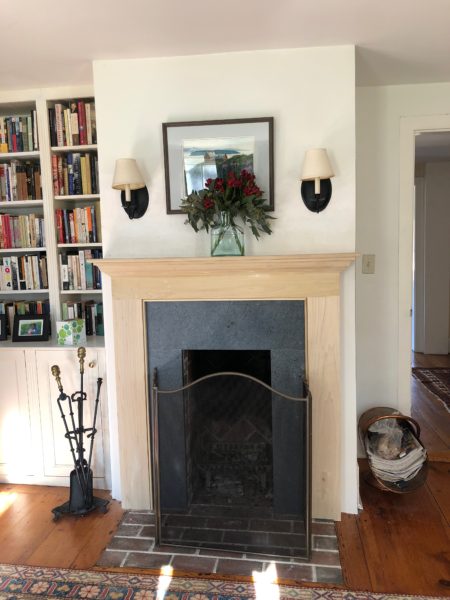
We recently were asked to assist in the refacing of a 17th Century Colonial fireplace. The project entailed covering the brick facing with soapstone and then adding a simple, but elegant fireplace mantel.
Fireplace Facing Material
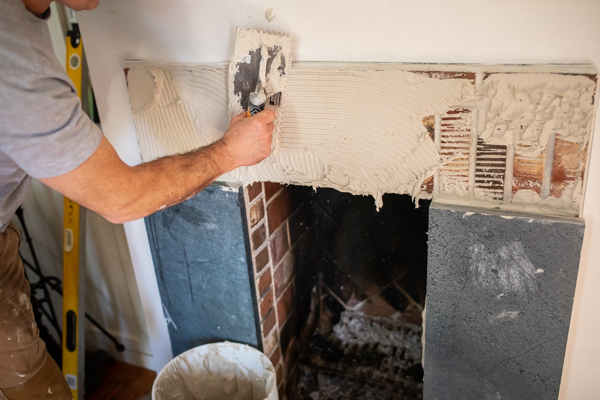
Fireplace facing material, immediately surrounding a fireplace, must be non-combustible. Materials such as brick, tile, marble, granite, and slate are all acceptable. Typically mortar or thin-set is used to install these materials to the face of the fireplace.
Prior to constructing the new mantel, we had a local granite cut us 3 slabs of soapstone for the brick veneer wall. The result was a dramatic facelift. How To Install A Soapstone Fireplace Veneer Surround

IRC Code
In the 2009 Edition of the IRC (International Residential Code) Section R1001.11 Exception 4: “Exposed combustible mantels or trim may be placed directly on the masonry fireplace front surrounding the fireplace opening providing such combustible materials are not placed within 6 in. of a fireplace opening. Combustible materials within 12 in. of a fireplace opening shall not project more than 1/8 in. for each 1-in. distance from such opening.”
Note that state and local building codes and ordinances can vary from the IRC or may use standards from older versions of the same code. Check your local building authority first when installing fireplace facing material. Ask about the mantel opening and hearth extensions in order to be compliant with local building codes on fireplace combustible materials
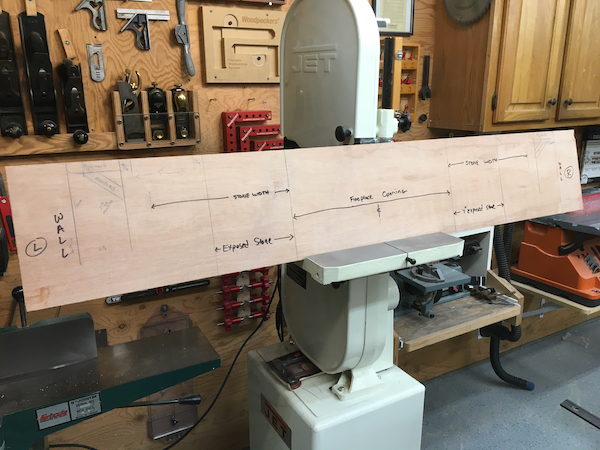
Use a Story Pole
The best way to build a fireplace mantel is to use a story pole, take good measurements and snap a few pictures. A story pole is a length of a narrow board, often a 1×2. It was used long before tape measures were available and were usually cut to the height of a floor or a “story.” It is a layout tool for measuring, marking and transferring accurate measurements. It eliminates the tape measure and, once marked, can be used throughout the project to continually check your progress.
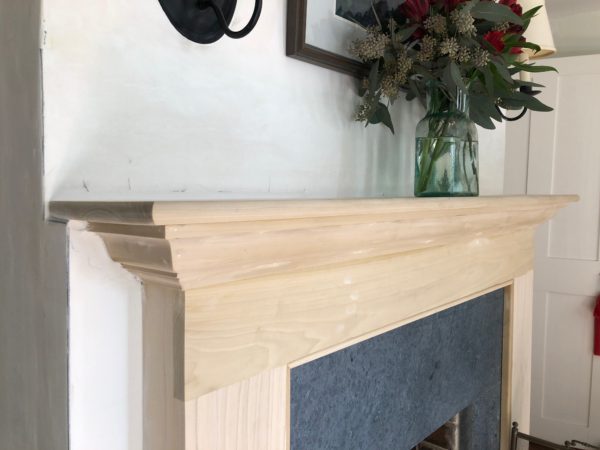
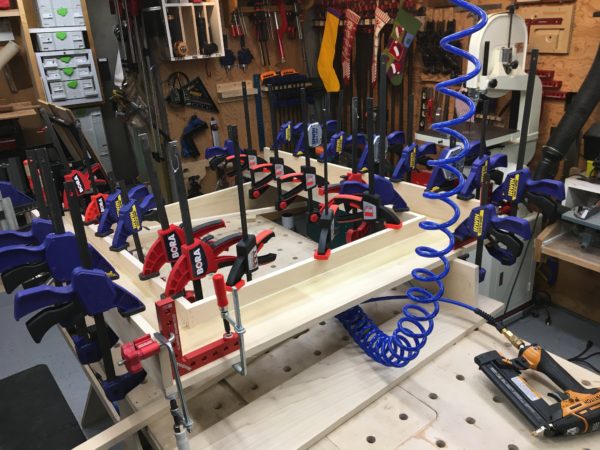
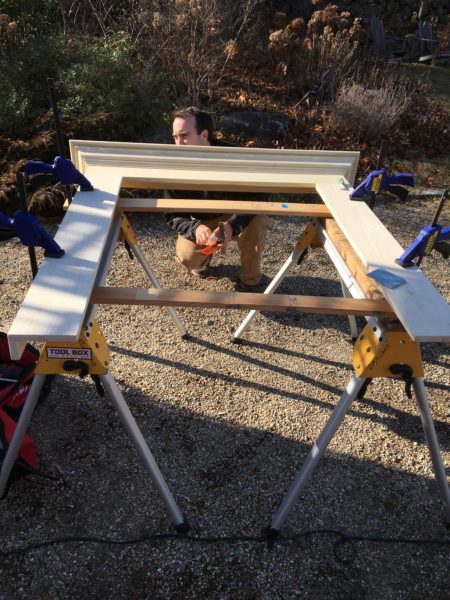
A mantel is basically a hollow box with hollow legs. The components were joined with wood biscuits and glue then secured with a variety of clamps.
I used the story pole to mark and locate all of the important measurements for the soon-to-be-built mantel. Make note of measurements such as depth, height, width, build-outs, recesses, etc. I use all four sides of the story pole to record measurements and label each side appropriately.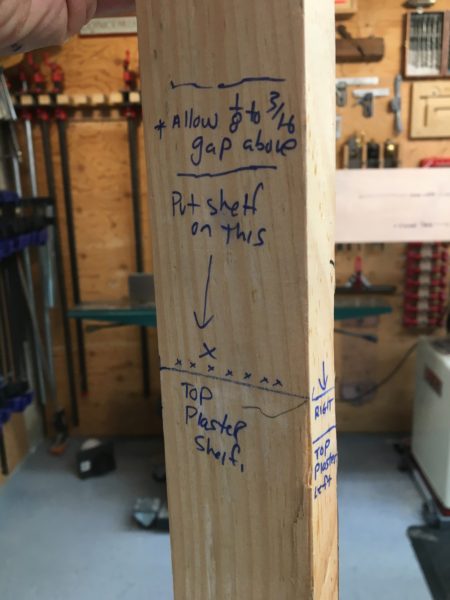
Mantel Dimensions
There are five main dimensions that you need to consider, they are:
- Opening height
- Opening width
- Depth of return
- Shelf width
- Shelf depth
Opening Height:
The opening height of the mantel is determined by measuring the height of the fireplace facing material, needed to meet code. [exposed facing]
Opening Width:
The mantel opening width is determined by measuring the width of the fireplace facing the material needed to meet code. [exposed facing]
Depth of Return:
This measurement ensures that your new mantel will cover your protruding fireplace facing materials. Fireplaces have facings of brick, tile, marble, granite or slate. You want your mantel to be installed flush to the wall and also cover the fireplace facing material. Measure the distance this facing material sticks out from the wall. Add 1/4-in. to the thickness of the protruding facing materials when figuring your sides on the fireplace opening side to allow the mantel to completely cover the fireplace facing material.
Shelf Width and Depth:
For this project the plastered determined the shelf width, plus 3/4″ overhang on each side. We chose a crown molding that would work with that measurement and that molding, plus 3/4 overhang ” determined the shelf depth.
Make sure you have the room for the shelf length. Sometimes the shelf length can be limited due to limiting factors such as situations with flanking bookcases, windows or doors.
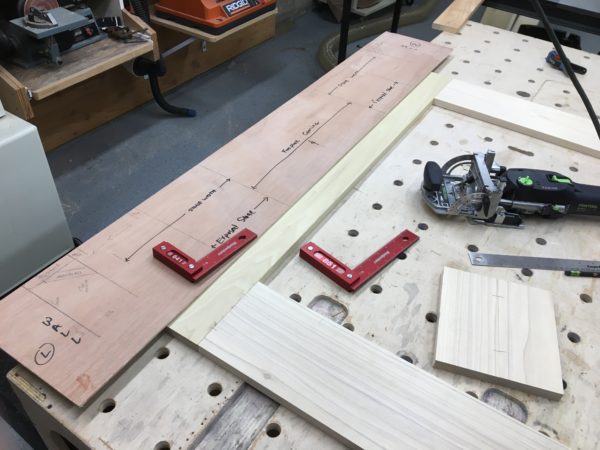
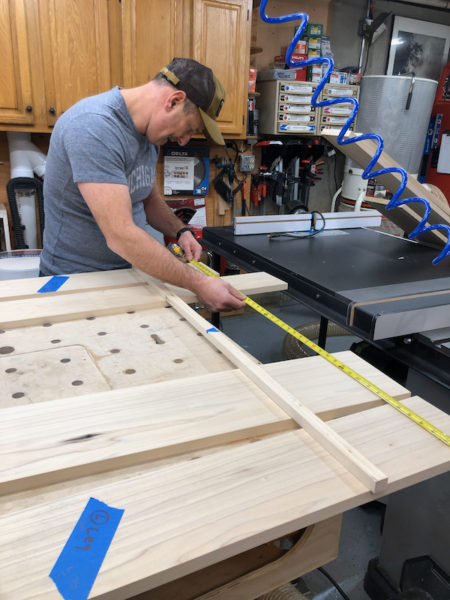
Cut Components to Size
This mantel was going to be painted, so we used solid Poplar wood. I like poplar because it’s reasonably priced, knot-free and easy to work with. I start by figuring out what widths I need for stock and rip all of the parts at one time. Once ripped, I then run everything through the edge joiner and start working on the specific lengths.
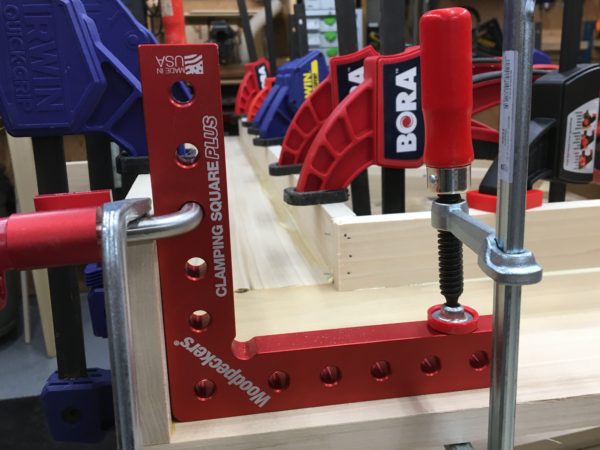
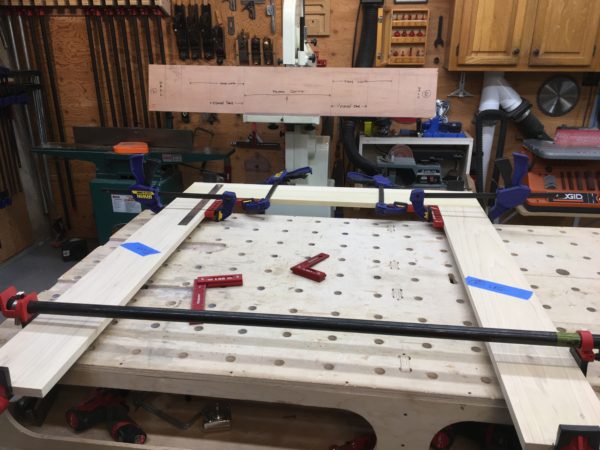
Constructing the Mantel Frame
A mantel is basically a hollow box with legs.
The first measurement you need is the inside width X height of the mantel, and then the overall width and height. (Follow your local code for fireplace combustible clearances.)

I needed to make sure the mantel would cover all of the Soapstone and fit tight to the wall. In my situation, the outer leg-side edges were going to be longer than the inside leg-side edges. This was because the soapstone protruded 1 inch into the room.
Using the story pole to get my measurements, I began to assemble the mantel box. The large top face and then the two face legs get assembled first. To do this I used a Domino or biscuit jointer and glue, which make these butt joints strong and easy to align. Clamping the legs requires long clamps.
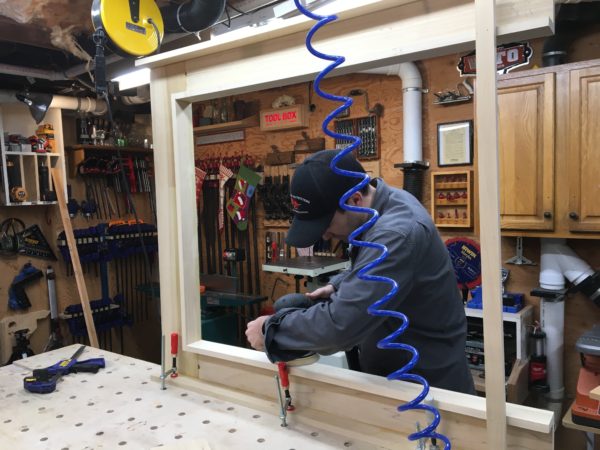
Adding the Moldings
Once the rough shelf was attached I began attaching the moldings. Once installed I sand the glue joints and fill any nail holes or imperfections. I attach all of the moldings with glue and brad nails, making sure to apply the glue to every contact edge of every joining piece of wood or molding. This will ensure a seamless, tight fit that will prevent movement as well as help hide the seams when painted.
Filling Imperfections and Seams
I used wood filler to fill all nail holes and then sanded them later. I also used a putty knife to add filler to every glue joint seam. This helps make the seams flush so they disappear when painted.
 Sanding
Sanding is a constant process, and I find myself doing it every time I remove clamps or just prior to adding any moldings. It’s a lot easier to sand flat surfaces than it is to sand around moldings. I start sanding at 80 grit and end at 120 grit. the painter will sand to a finer 220 grit.
Securing the Mantel to the Wall
Once level, and scribed as needed, I use finish nails to secure the mantel to the wall. The top shelf and legs are predrilled and fastened with 16-penny finish nails at an angle (toe-nailed) through the shelf and into the nailer that I had cut flush with the wall. Fill and sand all nail holes with wood putty.
TIP: Make sure to keep your mantel tight to the wall when nailing. If hand nailing you may want to drill pilot holes before nailing to prevent damaging the mantel when nailing into position.
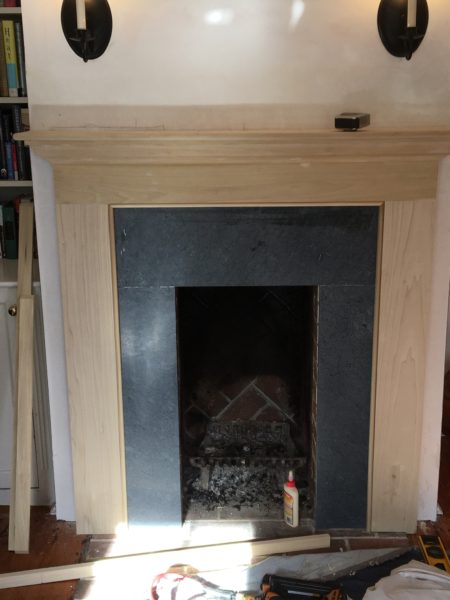
Installing the Inside Scribe Beaded-Molding
The inside scribe molding is used to cover the gap between the mantel legs and the fireplace facing the material of Soapstone. This molding board was installed along the inner edge of the mantel opening and was scribed to fit tightly to the granite fireplace surround. The corners are mitered to allow a continuous 3/8-in. bead on all three sides of the mantel face. Fasten with finish nails and then fill and sand.

Final Sanding and Caulking
We had an open seam greater than 1/4-inch in some spots along the mantel legs and plaster wall. To address this we floated the walls with drywall mud to close this gap. Later this seam will be caulked.