How to Repair a Damaged Circular Saw Base Plate
How to Repair a Damaged Ridgid Circular Saw Base Plate
I’ve recently been keeping my Ridgid 18-Volt X4 cordless circular saw with me every job I go. The convenience and flexibility of the tool has made it a work horse in my collection. From quick and dirty strapping cuts to unexpected rips this tool has been worth its weight in gold and has caught the attention of plenty of sub-contractors on our jobs.
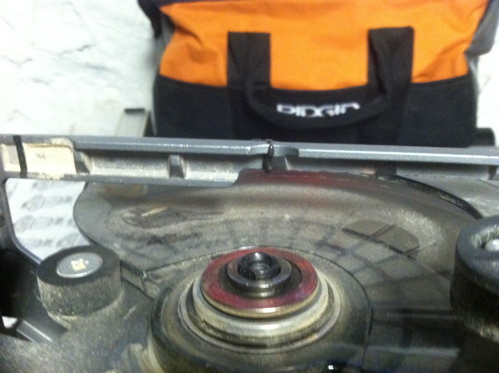
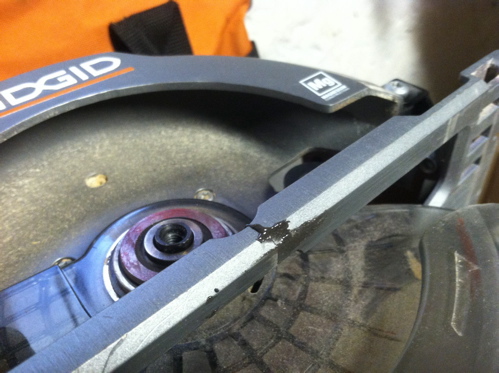
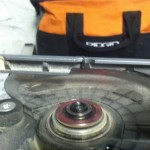
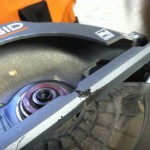
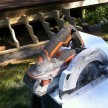
With all those hours on the saw something was bound to happen to it, and unfortunately I actually stepped on the saw by accident and the thin part of the base plate snapped. In hind sight this is probably the most vulnerable part of the tool so it was no surprise it would fail if stressed. So instead of spending $100 to replace the saw, I opted to repair it for under $10. I’ll show you how! First things first, this is what you’ll need to repair a damaged circular saw base plate.
Materials
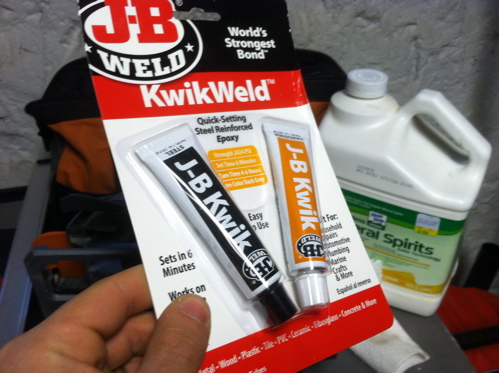
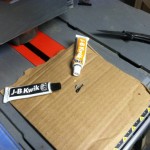
- Steel Reinforced (2-Part) Epoxy
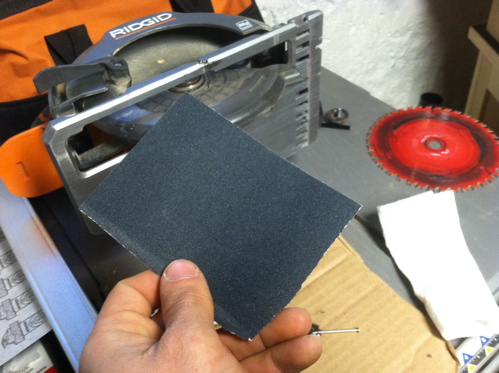
- Fine Grit Sandpaper
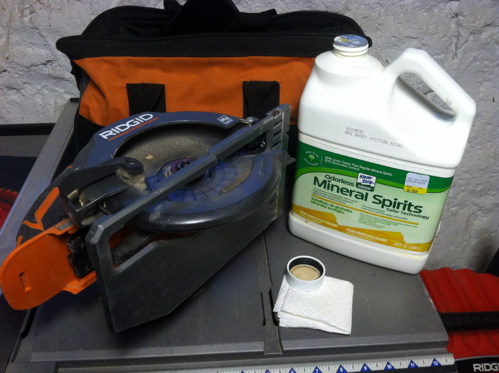
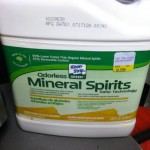
- A cleaning solvent (I used mineral spirits)
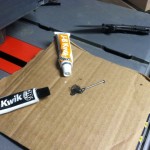
- A disposable mixing utensil (I used a nail)
- A disposable mixing surface (I used cardboard)
Safety
First and foremost when performing any maintenance on a tool it is imperative that you remove the power source to ensure the tool cannot be accidentally triggered and while your hands are near the moving and/or cutting parts of the tool. In this case and when working with cordless battery operated tools you should remove the battery.
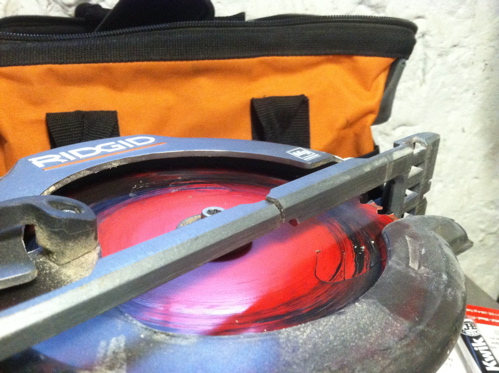
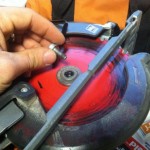
Additionally, to ensure I could work with the tool comfortably I removed the blade. This is also ensures you won’t get epoxy on your blade, although like I said I put a lot of miles on this saw and therefore this blade is ready to be replaced.
Cleaning
When using any bonding substance it is important that the two surfaces that you are attempting to bond together are clean. Therefore cleaning your broken components is a must. Adhesives bond at the molecular level and ensuring there are no foreign debris separating the bonding agent and surfaces will improve the connection of your repair when cured. I used mineral spirits from my painting kit and wiped the affected area with a rag.
Epoxy
2-Part Epoxy is a great adhesive with strong mechanical properties, the reaction between the two components, often called a resin and a hardener react to together and create strong cross linking bonds. Needless to say Epoxy is the go to adhesive for heavy duty applications like tool repairs.
Read the manufacturers guidelines for proportions of each component for mixing, but often times the standard mix is a one to one ratio. I dabbed a small amount on my disposable surface and mixed the two components together with a loose nail I had handy. The nail will mix the epoxy and I’ll also use it to apply the adhesive to my repair location.
Wait for the Cure
The manufacturer of the epoxy you use will indicate a cure time for the adhesive which basically tells you how long you have to wait for the epoxy to complete the reaction, bond, and dry. I tend to just wait overnight to ensure I can work with the material without hesitation. Once you’ve waited the recommended time you can move to the next and final step.
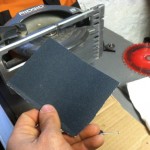
Sand the Epoxy Flush with Base Plate
You’ll want to really spread the epoxy on the broken area, getting the adhesive in the break and well around the damaged area to give the epoxy a chance to adhere to anything and everything around it, strengthening the bond and strengthening the broken portion of the base plate.
This little fix is applicable to all sorts of damaged components on tools and other job-site or even household items. In this case I’m able to use my saw as intended with no limitations all for about 10% the initial cost of the tool itself. Next time you find yourself upset over damaging one of our favorite tools, don’t fret or sweat the cost, since you now know how to repair a damaged circular saw base plate.
See how the Ridgid 18-Volt X4 Circular saw did on our 18 Volt Cordless Circular Saw Head to Head!


