Job Site Sawhorses


Job Site Saw Horses
In my small world of residential remodeling and carpentry I always find myself in need or a pair, or more accurately, several pairs of job site sawhorses.
As I get older I find myself becoming a sawhorse snob. I want my sawhorses to be strong, but not too heavy, super portable, durable, lightweight and able to transport easily. Sounds easy right?
What is a Saw Horse?
A sawhorse is simply a beam supported by four sturdy legs. Carpenters use sawhorses of different sizes to stack and store lumber, to support lumber being cut, as an assembly table, combined with plywood as a base support for table saws or to support staging planks.
As an apprentice carpenter we often were called upon to make the sawhorses for the job site. Back then we called saw horses “mules,” and shorter versions were called “ponies.” We often made and combined the small ones with planks for interior work such as installing crown molding.
Sawhorses or sawbucks, as I learned to call them, are indispensable on the job site for a variety of situations.
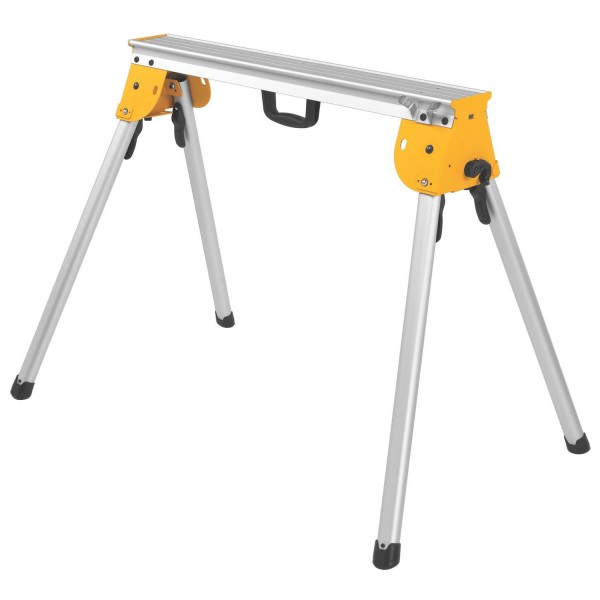
DEWALT work stand – sawhorse
My Kind of Saw Horse
As the years went by I became more of a mobile carpenter. For ease of set up, transport and storage I’ve always gravitated toward the folding plastic saw horse. They folded easy for storage and were extremely light. The problem with them was they were not strong, they broke easy, I could never use them for a staging plank and they cost $25.00 each and every time they broke!
Then I discovered the folding metal types. Most of these metal sawhorses were heavy and awkward. I eventually found and fell in love with Dewalt’s heavy-duty DWX725 work stands which offered me more features than the plastic folding types.
The Dewalt work stands weigh 15 pounds each, measure 36 inches wide and have a max capacity of 1,000 pounds each. 2,000 pounds is plenty for material storage and staging. The best feature is they allow a miter saw to easily attach and are easy they fold up and store.
I now keep a pair of these saw horses in my tool trailer and they travel with me. I never leave them on a job site unattended, their too nice and their sturdy aluminum legs would start walking away if I did!
Read more on these durable sawbucks.
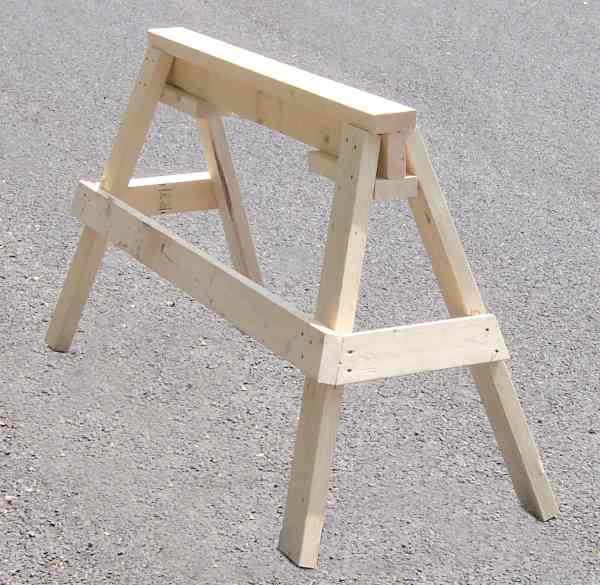
Photo Credit: www.bennettconstruction.us
What if you need more Sawhorses?
There is always a situation when I need an additional pair of sawhorses for job site lumber storage, for a second worktable, or staging. It is in these situations that we build a pair, or several sets for our immediate needs. These are the type of saw horses that get thrown in the dumpster at the end of the job or more than likely left for the client.
Materials Needed:
- Six 32½-inch 2x4s (for the I-beams)
- Eight 30-inch 2x4s (for the legs)
- Twelve 3-inch wood screws
- Thirty-two 16D galvanized nails
- Note: We use nail guns to build these temporary horses
Skill Level:
The skill level for building these job site sawhorses is rated for a novice, or DIY person. That does not mean that they are poor quality. On the contrary, their as good as you make them, and strong!
Time Needed:
Job site sawhorses like the ones we build will take a PRO 15 minutes to build and a DIYer 30 minutes, assuming all of your tools are set up.
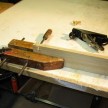
How To Build Saw Horses: [Steps]
Building a sawhorse is super easy and there are several ways to build sturdier, stack-able and more permanent versions. Here is how we build ours.
Cut all Stock to Size
- Measure and cut your lumber to the dimensions listed above.
- 6 pieces at 32 ½ inches (2×4)
- 8 pieces at 30 inches (2×4)
Build I-Beam
- Create the I-Beam with the 32 ½ inch stock and fasten them together. Build two [pair] or more depending on your needs.
- The I-Beam is the top of the sawhorse.
- Keep fasteners 1-inch from board edges and ends to avoid splitting lumber.
Fasten the Legs
- Butt the end of the 30-inch 2x4s into the top of the I-beam. Install two nails at the top of the leg so that they go into the vertical [middle] I-beam piece.
- Install two nails through the leg and into the bottom I-beam piece
- Repeat on all four-sawhorse legs.
Install Leg Bracing
- Install horizontal bracing approximately 1/3 up on each side of the sawhorse legs. Fasten a brace to each side, both legs. This adds rigidity and strength to the sawhorse, but prevents it fro stacking.
- Add a long brace from the left to right set of legs for additional strength and a great foot rest!
- Note – If you want these sawhorses to stack make one set 1 to 2-inches longer to stack over the shorter set.