How to Build a Custom Cabinet
How to Build a Custom Cabinet:
Step 5: Dry fit your cabinet
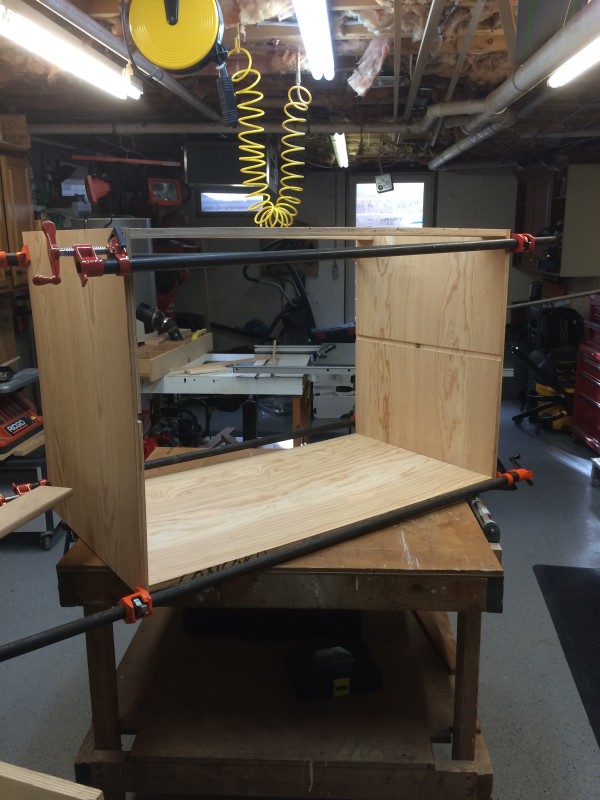
Putting the pieces together without glue, biscuits or nails allows you to make modifications and fix errors. When you have all the pieces in place, you will get a good picture of what you are working with. You will now need to think of how you are going to fasten it all together now.
For this laundry basket cabinet, we knew that there could potentially be some weight issues. One bin of laundry wouldn’t weigh that much, but in our cabinet, the customer was going to have four total. In addition to that, she was going to have her small flat screen TV on the top as well as her cable box. We decided to use biscuits, glue and finished nails.
Step 6: Covering your plywood edges
AC Plywood is made up of several layers and can be an eye sore. Even when you use the router and sand the heck out of it, you can still potentially see the layers. Most cabinet makers will cover their edges with either poplar or wood veneer edging.
We took strips of poplar, mitered them at perfect 45 deg and covered our top shelf. We then glued them and brad nailed them into place. We secured them with bar claps while the glue set up. Once the glue had set, we removed the bar clamps, filled the brad nail holes with wood putty and sanded it smooth.
Finishing TIP: Once the nosing is glued on and dried, use wood putty with a putty knife to fill in any nosing to plywood seam gaps.
To learn more on how to apply solid wood edging, check out our how to article on Applying Solid Edging to Plywood.


