Building A Roof Deck

Installing the Post Sleeve Supports:
The galvanized, steel surface mount, post sleeve supports are designed to be mounted over the decking and bolt through a built up blocking in the joist bay below. Once installed I was impressed at how they strong and secure they were.
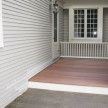
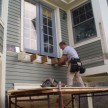
Having a place to stand – Installing the decking:
All of the materials chosen for this deck are low maintenance except the decking itself. The homeowner wanted 1×4” mahogany decking. So we purchased all long length deck boards to eliminate any joints. Spacing of the deck boards was important. Some contractors might space deck boards too close and then once they swell they don’t drain snow or rain effectively and eventually there will be a nasty build up of organic materials between them.
I aim for a full 1/4” spacing between the boards – especially since this is a roof top deck. We used the thicker portion of our speed squares to provide a consistent space. To fasten the boards we used 2-1/2 inch stainless steel screws for most of the deck and then had to reduce to 2 inch stainless steel screws because the tapered joists reduce in size as they get closer to the house.
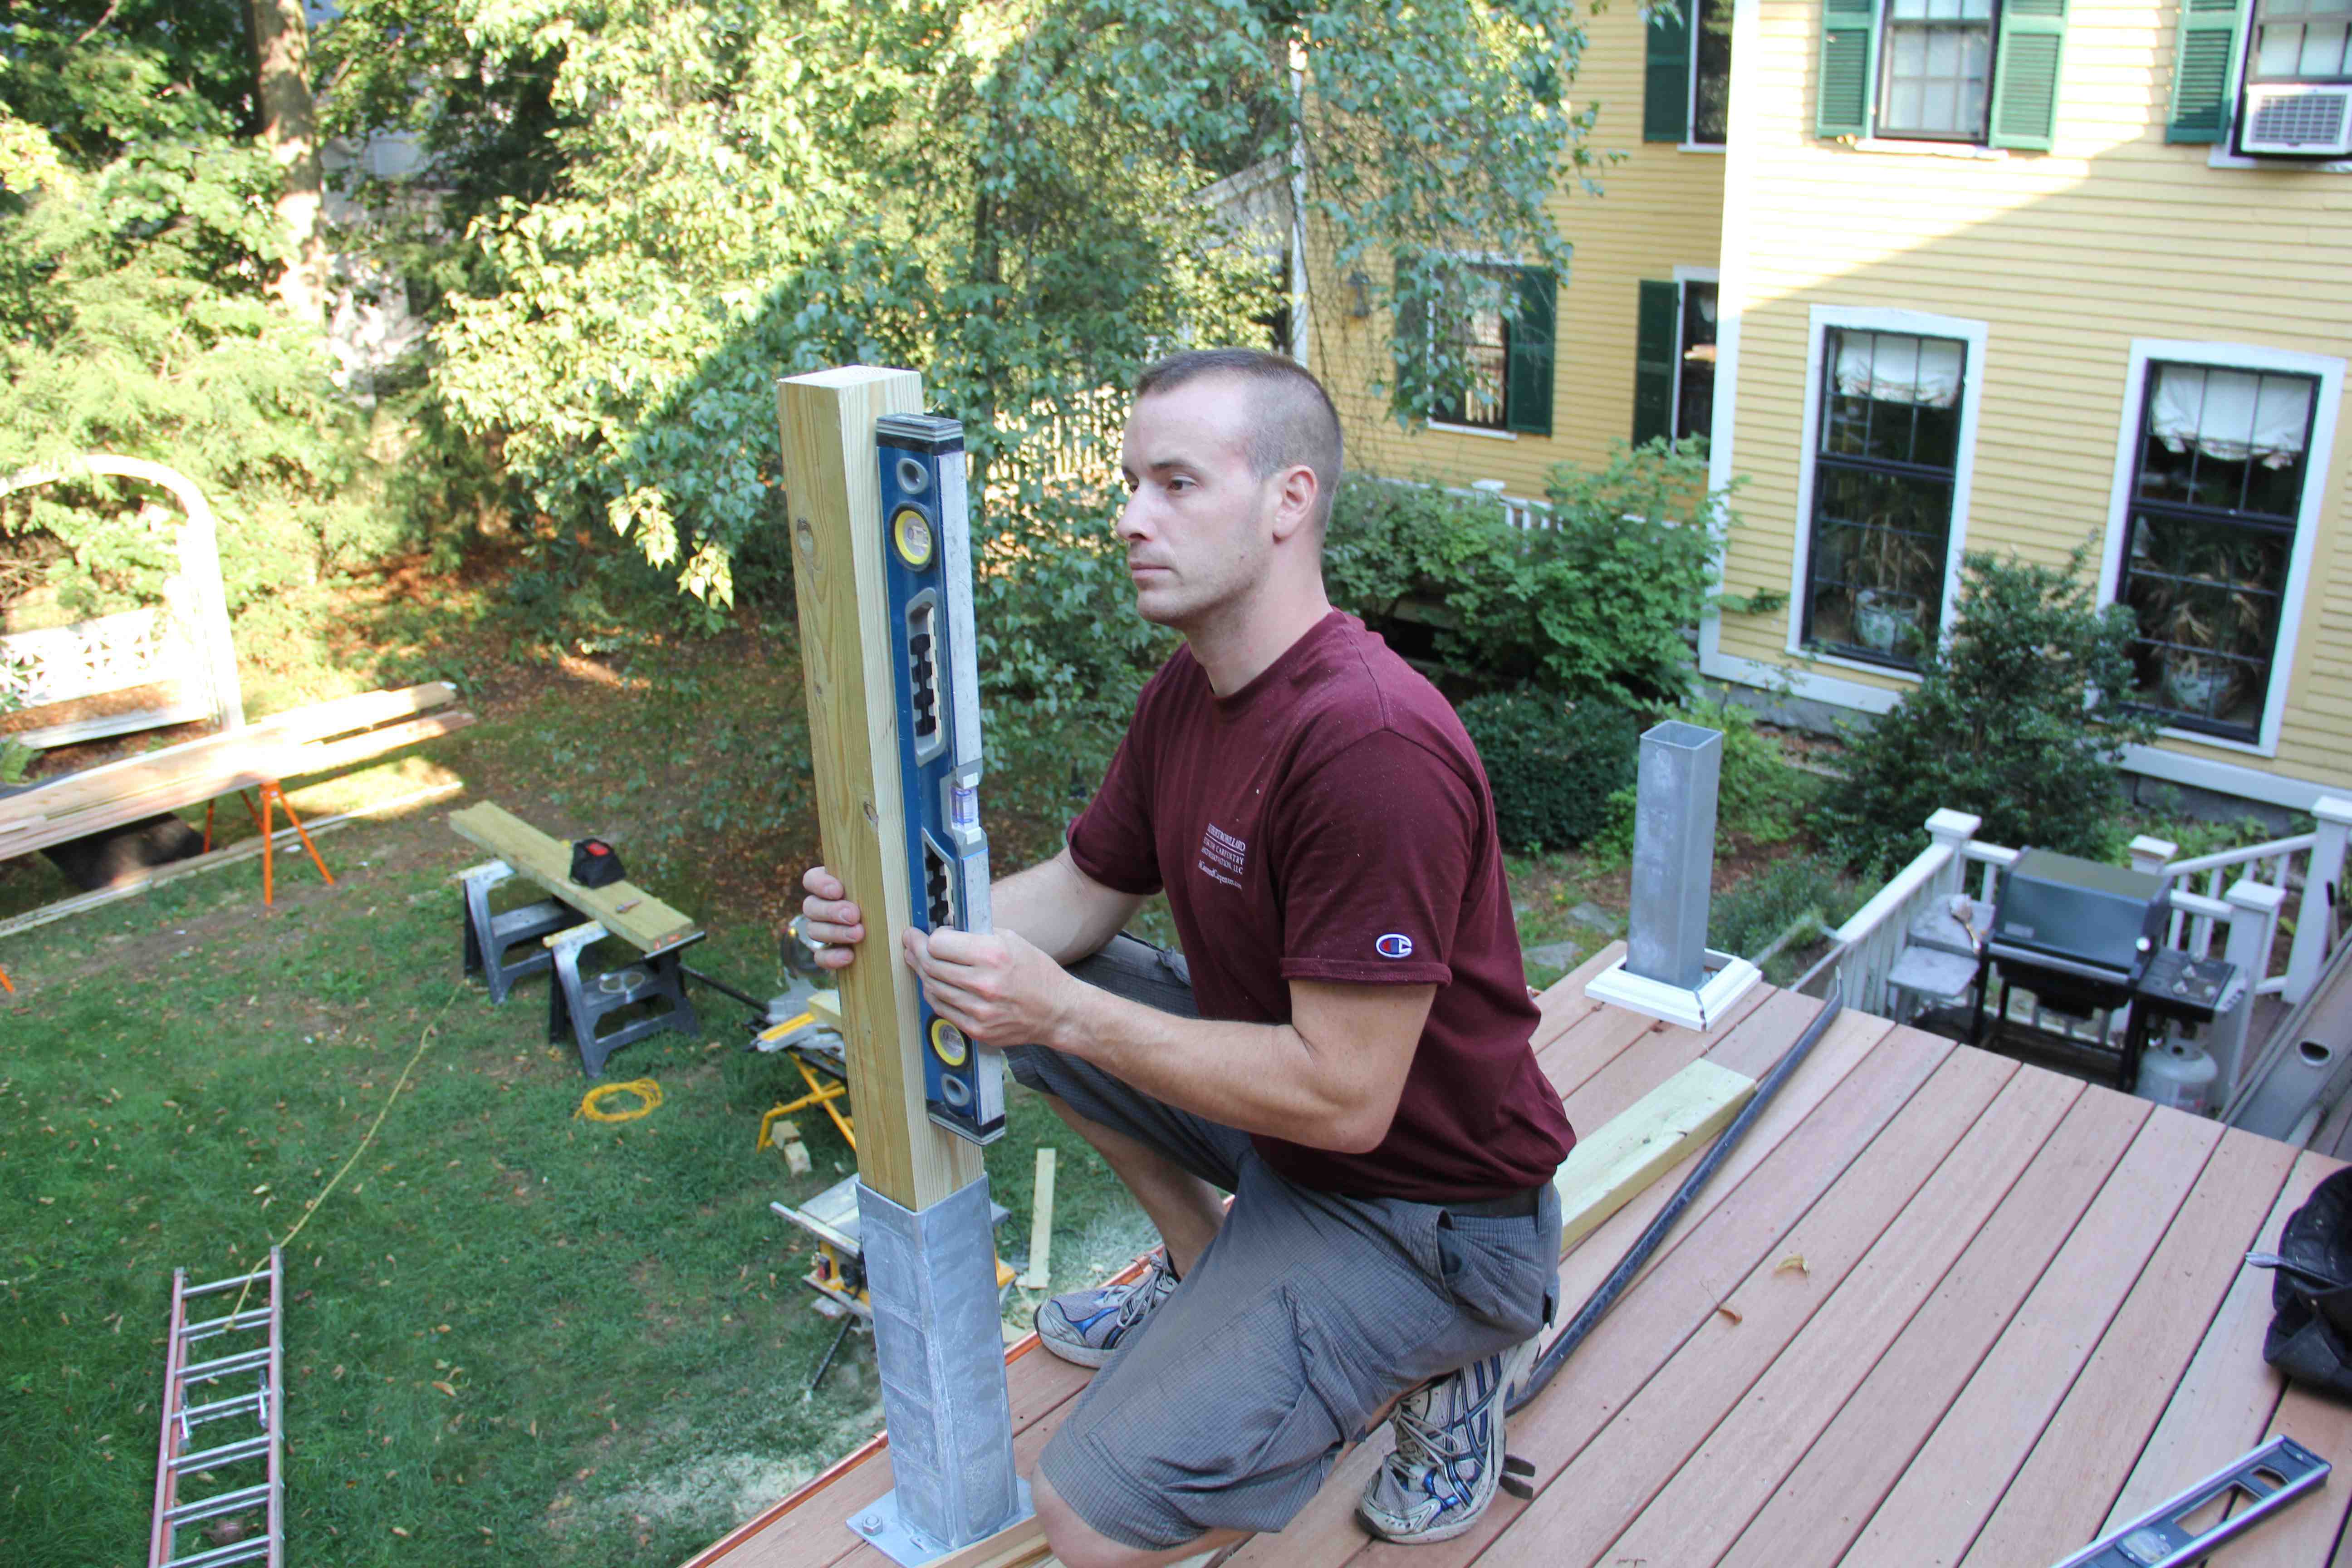
Installing 4×4 PT Posts:
Before we could install our 4×4 pressure treated posts into the surface mounts we had to trim all four sides on the table saw to get them to fit properly. It’s important not to have a fit here that’s too tight because the PT wood can swell and crack the post sleeve.
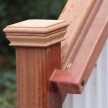
Azek Post Sleeves
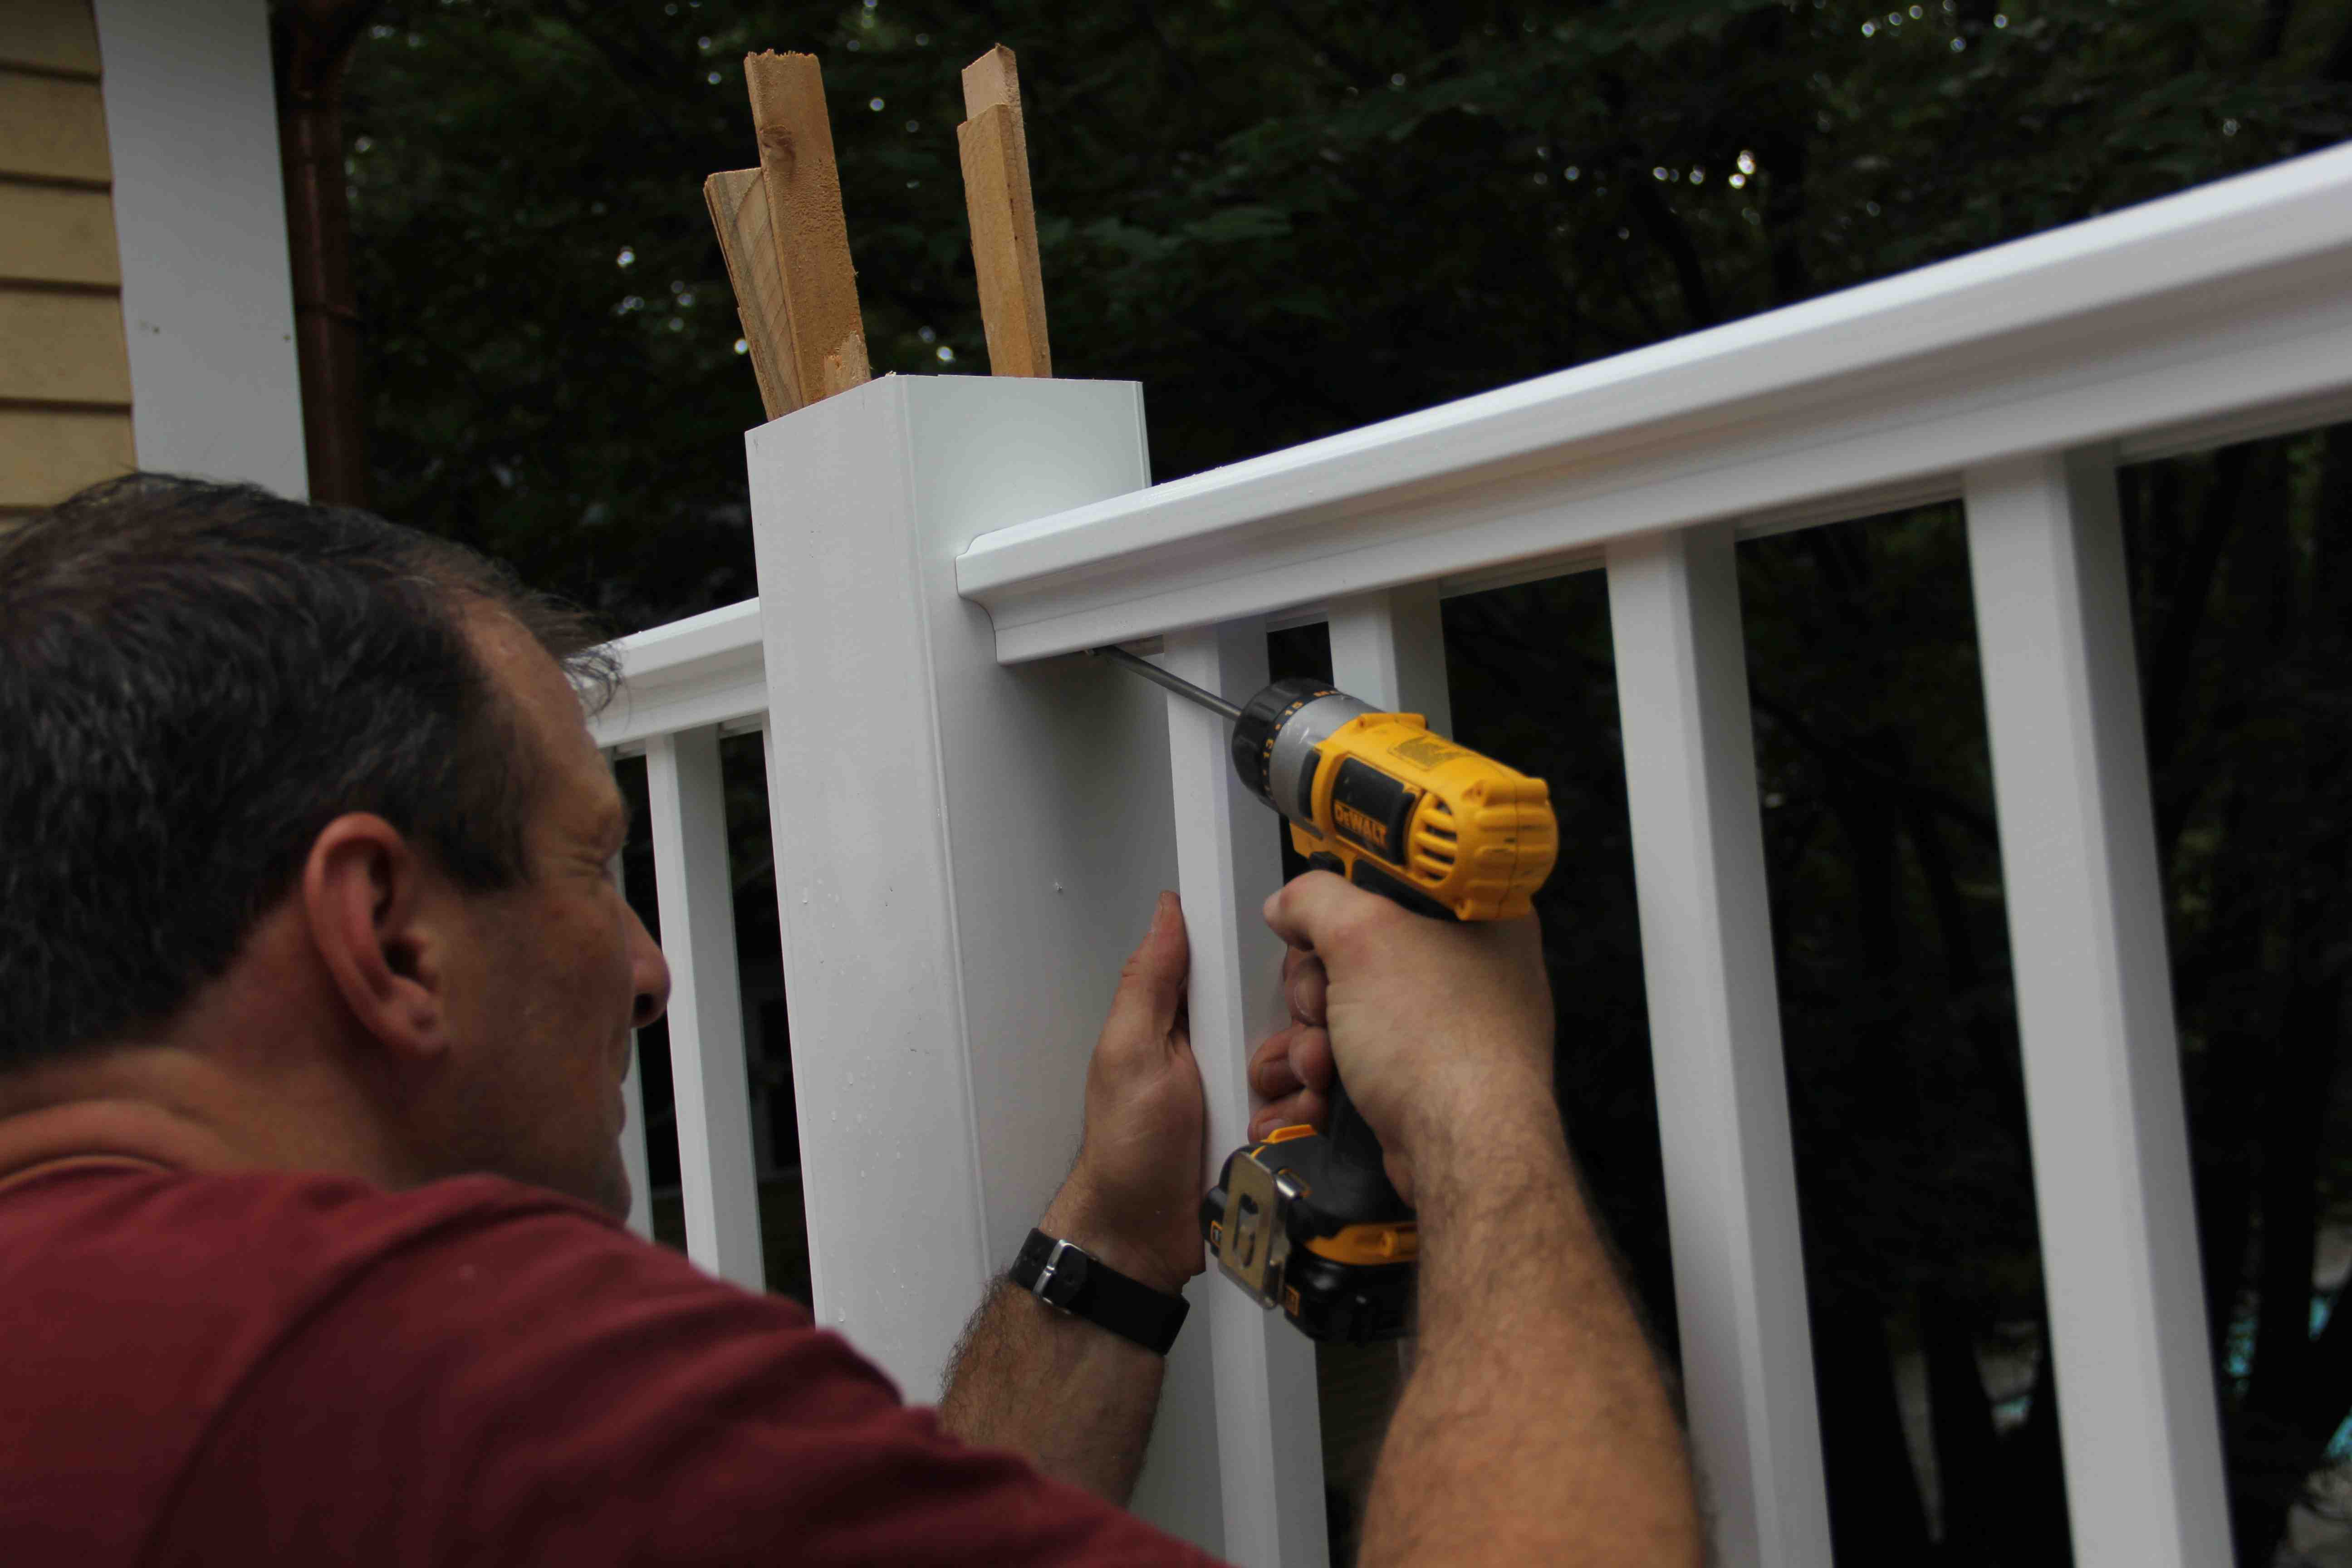
Once the 4×4 posts were installed we checked and shimmed for plumb and then installed 5 x 5 AZEK post sleeves. The homeowner choose a post sleeve and railing system from AZEK Building Products for it’s low maintenance.
Choosing to use the 5” rail post sleeve allowed us to achieve a highly durable, sleek, consistent looking post. It also allowed us to architecturally mimic the look of a traditional wood trimmed 4 x 4 post. The design of the new 5 x 5 post sleeve contains specially located inner “chambers” that allow the sleeve to stay in place securely while allowing a traditional wood post to expand. We plumbed the post sleeves against the 4×4 posts with shims and were then ready to install the railing system.
Note: To finish off the new AZEK 5 x 5 Rail Post Sleeve, we used a decorative pyramid and island post caps and post skirts. We used small stainless steel screws and acrylic caulking to hold them in place.