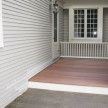
Building A Roof Deck


Accessing the Outer Rim Joist To Replace It:
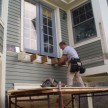
In order to access this repair and replace the outer rim joist and insert new framing into the joist bay, we needed to be able to actually stand on the outside of this roof. Because all of the surface area beneath this roof is screening, access for ladders was difficult and staging would take too much time and effort.
We decided to span the entire screen porch with 2 x12 framing, nailing it into the vertical support posts. This accomplished two goals. It tied the posts together by supporting them and allowed us to place ladders all around the screen porch. Once we were able to stand at chest height we could then access the areas in need of repair and focus on removing the rotted rim joist.
Removing the Rot:
In order to repair the rotted ceiling joists we needed to cut out all of the rot and apply new framing material against the old material. This is called “sistering.”
Note: Sistering a joist means attaching a second joist to the side of the damaged joist. It can also involve sandwiching the old joist between new material on both sides. Typically this involves framing lumber, but it could involve engineered lumber, structural steel or formed steel joists that are made of heavy gauge sheet metal.
Sistering the ceiling joists was the most cost effective solution because these joists were supporting a finished tongue and groove screen porch ceiling below that was in great shape. Sistering joists can usually be difficult to do. While a certain size of lumber may physically fit in beside the old joist, getting the new board into position usually poses serious problems, due to walls, ceilings, and floors that were added after the original joists were dropped into place.
When sistering, try to go full length to support the ends of the new material being added. If that is not possible, attempt to get your joints as far from the middle of the span as possible. Glue, nail and bolt or lag the material to the old material.
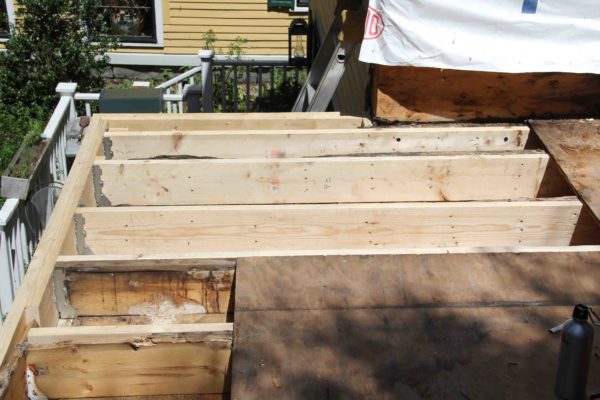
Reinforced Framing
In this situation we removed all of the rot and the rotted outside double rim joist and were able to slide full length ceiling joists into the ceiling bay. These new ceiling joists would be directly nailed as well as mechanically supported and connected to the new double rim joist with galvanized joist hangers.
To sister the joists together we applied a liberal amount of construction adhesive and used a few 3” nails to fasten them to the old joists. We then went back and installed two 3” Truss Lock structural lag screws every 12” into the old joists where we had access. We slid on the joist hangers on before installing the outer rim beam, leaving the hangers loose inside the joist bay. There was no access below to add these hangers later.
After the joists were sistered we installed the first of the outer double rim joists and direct nailed the rim joist to each new joist end with three 16 penny nails. (too many joists in this paragraph – not sure it makes sense, or says what you want it to) The second outer rim joist was installed and nailed on allowing us to then install the joist hangers with 16d nails. The rim joist header was then attached to the screen porch support posts with long timber lock structural screws.
Note – A flat roof must be strong enough to support 55 lbs per square foot. Our roof was certainly that strong when originally built and I’m confident that our repairs made it even stronger.
Replacing the Roof Sheathing:
We reinstalled ¾” CDX plywood over the joists with construction adhesive and coated decking screws.
Repairing the Trim:
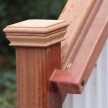
In order to repair the outer rim joist we had to remove trim boards and crown molding. We decided to replace all of the trim and crown molding with Azek PVC trim boards and PVC crown molding, filling the nail holes with PVC Bond and Fill filler.