Warmup Electric Radiant Heat


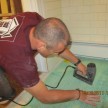
Recessing cold lead
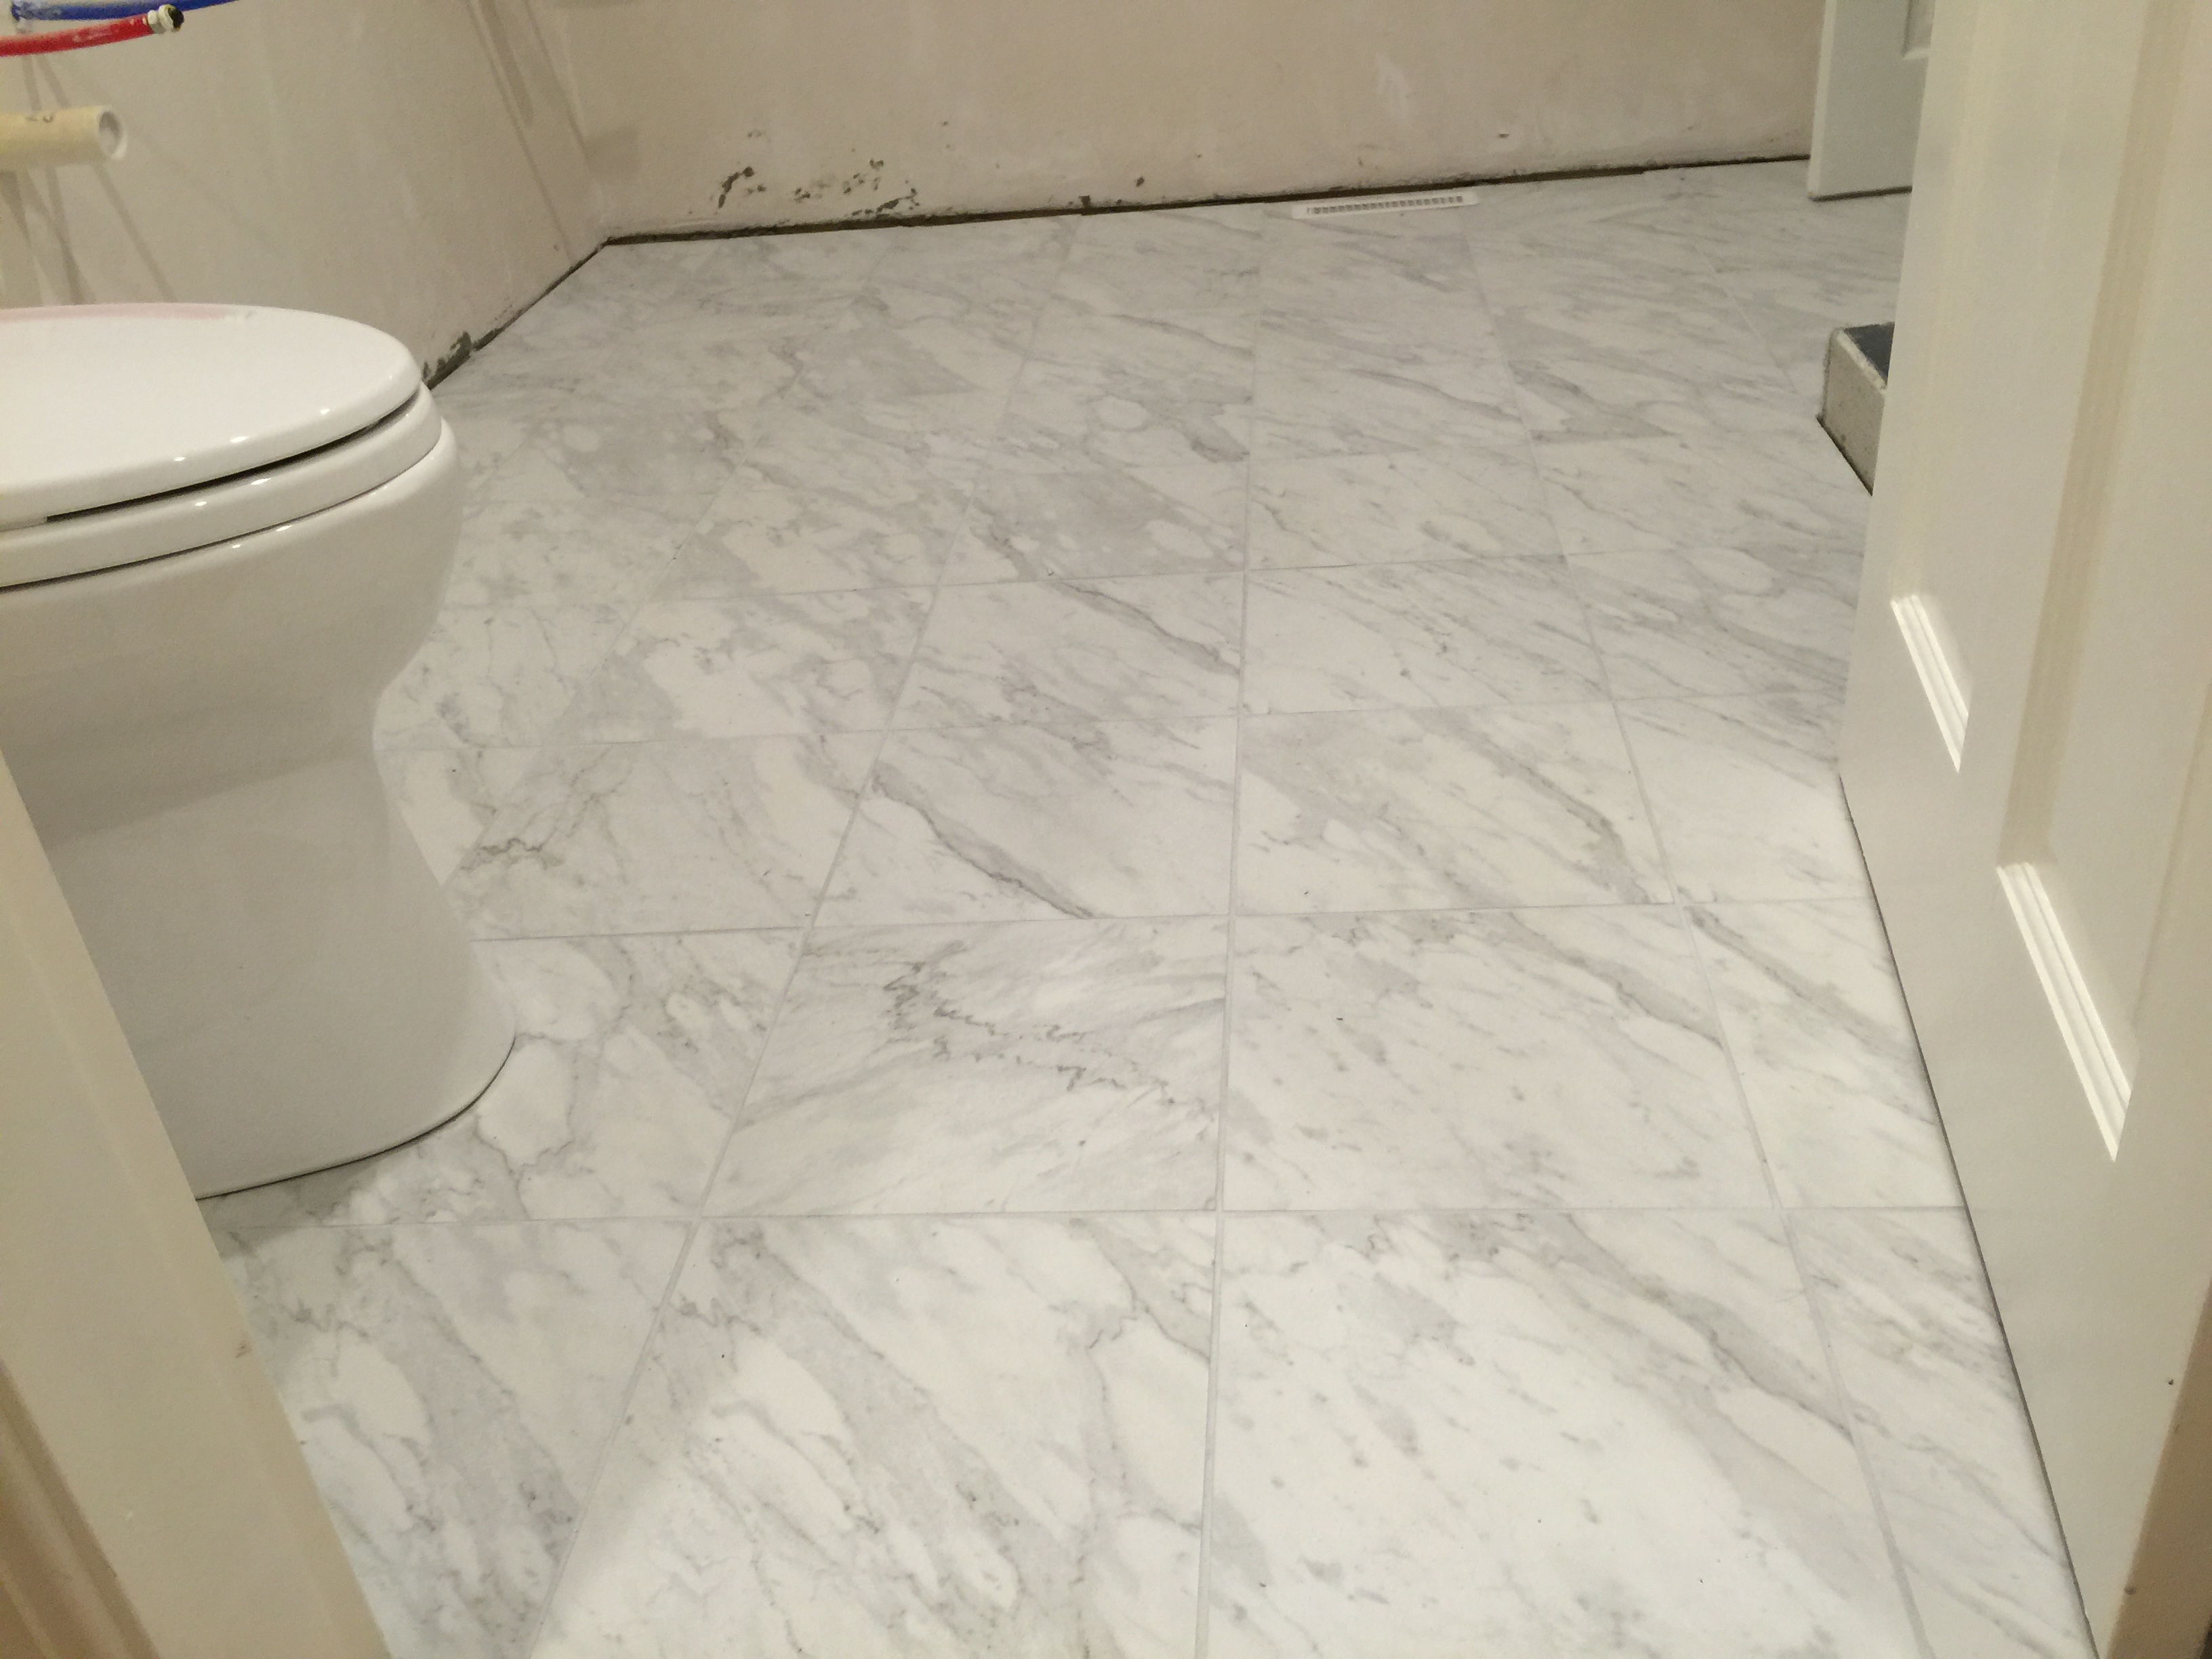
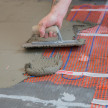
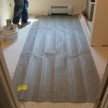
Tile Over the Warmup Stickymat
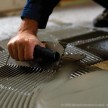
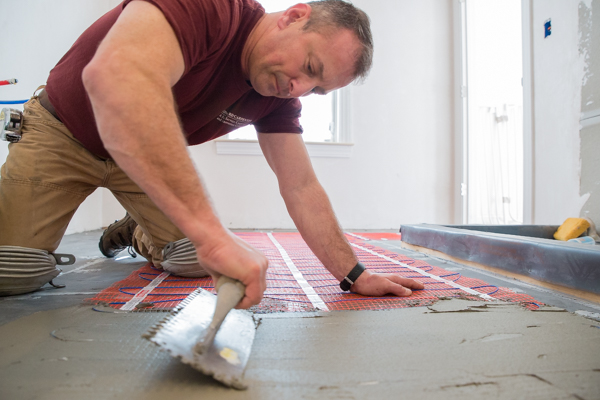
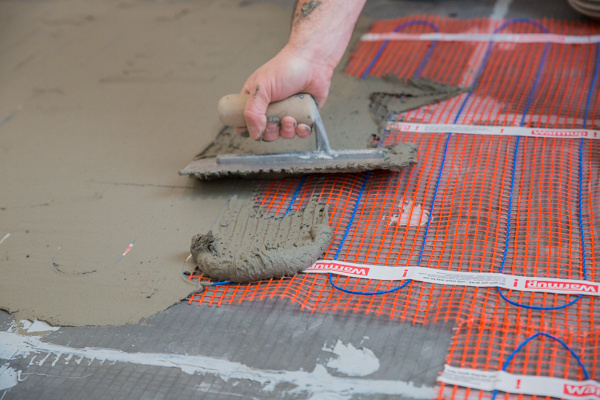
- Using the smooth trowel, apply a minimum 1 / 4” thick coat of thin-set over the heating mat and supply leads. Let dry.
- Lay out and install the tiles with a 1/4 notched trowel and thinset. Build up / level the thinset in areas where the mat was not installed.
- Use care not to damage the heating coils.
Place Power Leads and Sensors
Route the power lead(s) from the floor to the connection box. When using multiple mats, route all power leads in parallel, from the floor to the electrical box in the wall. To ensure the power lead remains at the same level as the heating element, you may need to cut or chisel a channel in the sub-floor. Ensure there are no loose sections, paying close attention to the ends of the mats and any section, which has been cut and turned.
The thermostats also come with a 9’ sensor cable to detect the temperature under the floor finish and are used for temperature regulation of the floor surface. Place the floor sensor below the fiberglass mesh between the two runs of heating element a minimum of 12” into the heated area. Place the sensor between two heating cables. The floor sensor can be secured to the floor with tape. Avoid touching or crossing over the heating wires. To ensure the joint splice does not raise the floor, you may have to chisel a recess into the WIB.
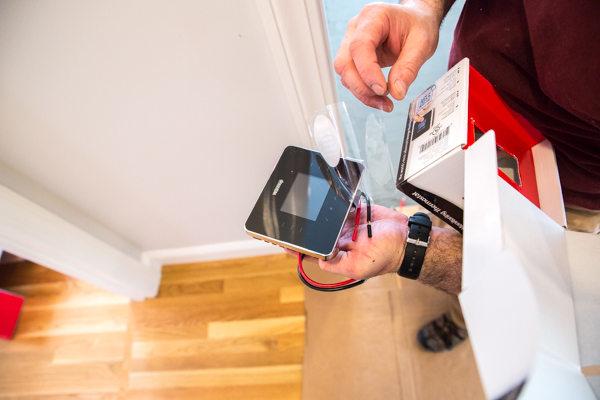
Connect the Thermostat
When using multiple heating mats you can connect them in parallel to the same thermostat. Each lead wire must come back to the controller. The total amp load of the heating mat(s) must not exceed the thermostat’s amp limit or the amperage rating of the circuit or other control switch without using an appropriately rated contractor / relay. The Warmup thermostat has a maximum resistive load of 15 Amps.
Test the Mats
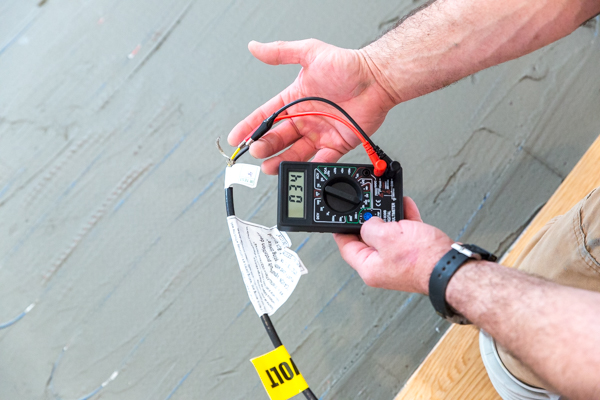
Testing the mats is a critical step and should be done before, during, and after installation. Testing can be done with a digital ohmmeter to ensure the ohms resistance is correct.
Procedure:
- The resistance should be measured between the two conductors without touching the yellow-green wire, which is the ground connection.
- Checking for resistance between the two conductor wires ensures there is no break in the cold lead conductor and the heat resistance wire. It does not assure you that there is no electrical short in the circuit.
- Place one probe on the black wire. Place the other probe on the yellow (red wire for 240V ). Resistance can vary depending on the ambient temperature and an allowance of +/- 5% from the norm is acceptable.
Warmup Thermostat
Tip: Test the Warmup heating mat four different times:
- Upon receipt (in box)
- After layout (take pictures)
- After thin-set or leveler and tile installation
- After grouting