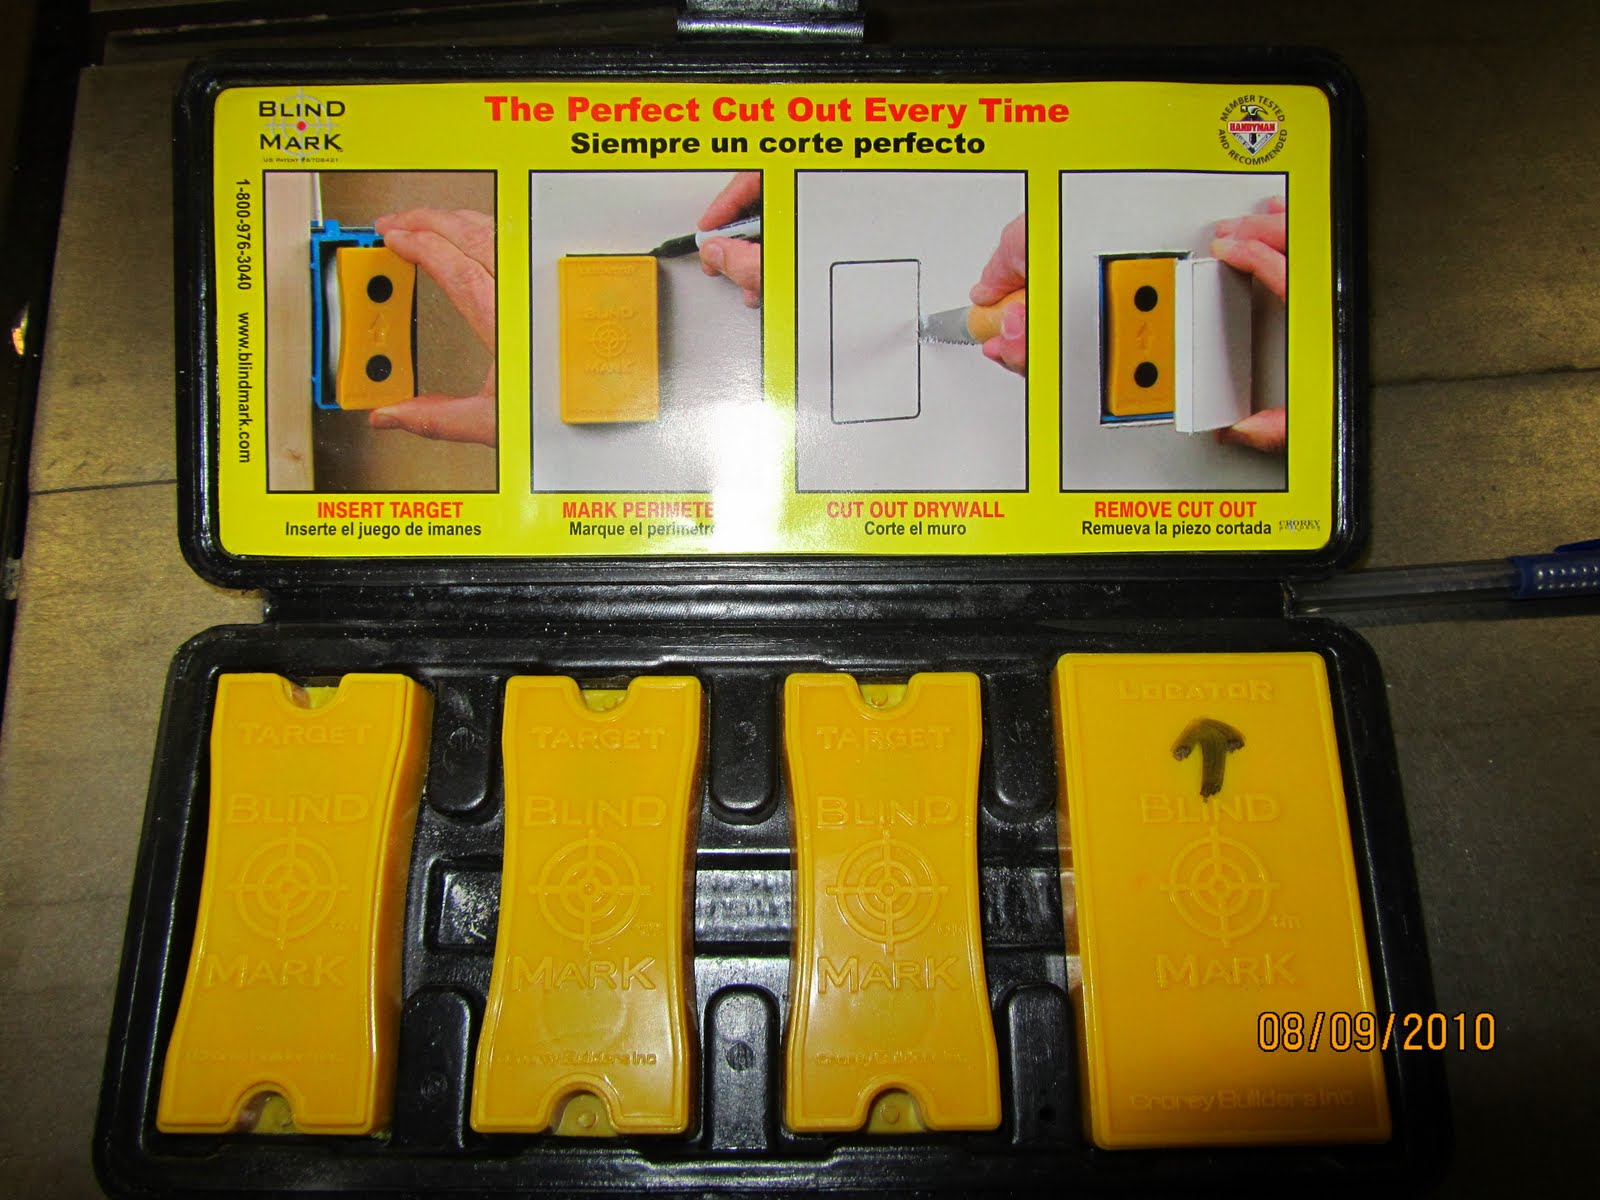
Blind Mark Drywall Tool

The Blind Mark Drywall Tool
Measuring and cutting drywall / paneling to fit over an electrical outlet, switch box or recessed light can be a pain.
If your not careful you end up having to settle for a joint where you don’t want one or worse yet, scraping a piece of wainscoting paneling or birch plywood because you just cut a hole in the wrong spot! That can get costly!
The folks at Blind Mark recently sent me three of their innovative drywall and paneling tools. These tool save valuable time and money during the drywall / paneling measuring and cutting process.
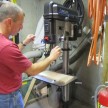
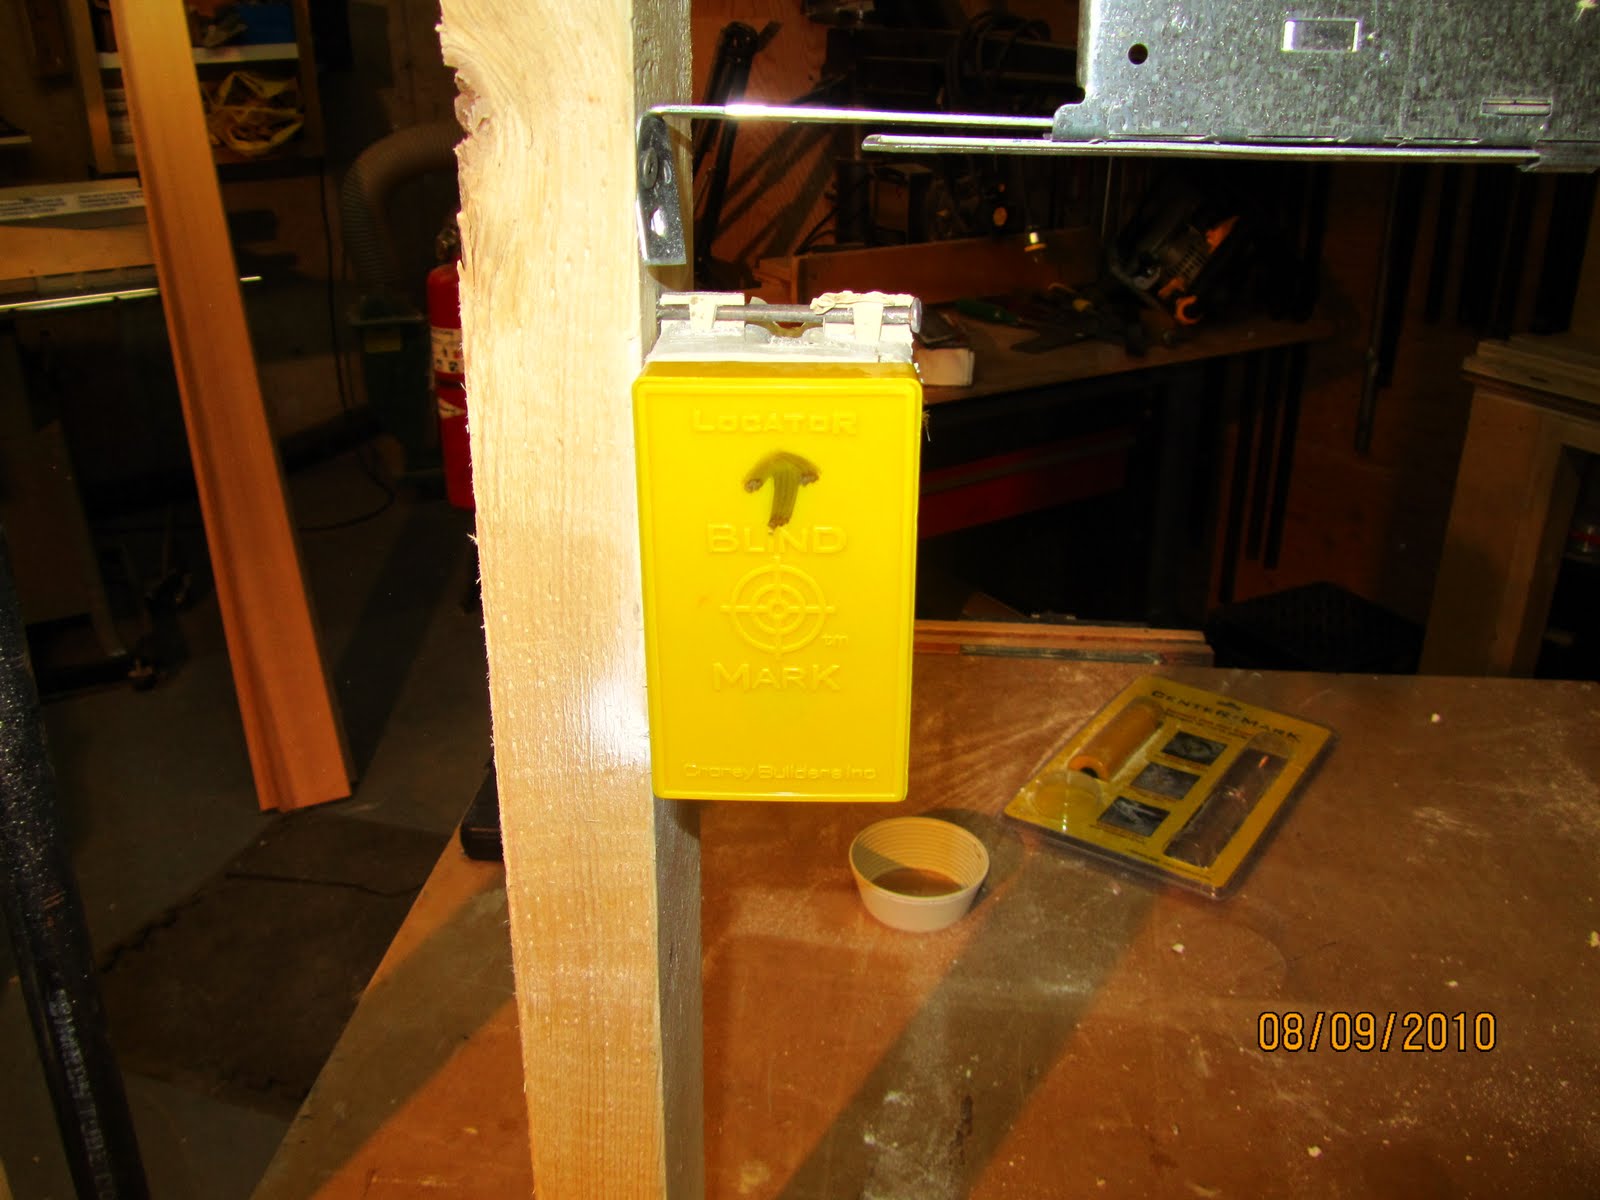
I built a small 2×4 demo wall in my shop and installed two electrical boxes and a recessed light to test out the Blind Mark Kits.

WARNING: Blind Mark advises that if you use a pacemaker, or any implanted electronic devices do not use this product. Also, do not use Blind Mark near a person who has a pacemaker or any electronic implanted device as the magnetic field could interfere with its operation.
Using The Blind Mark Kit:
Once the Blind Mark Target is installed in the box, cover the box up with the drywall. Position your drywall in the exact location and fasten it top and bottom with drywall screws.
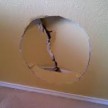
Remove the Blind Mark Locator from the drywall. Cut out the drywall using your mark as a guide. If you are using a handsaw, keep in mind that the cut on the side where the stud is must be a shallow cut. A variety of tools (manual or power) can be used to cut the drywall.
Remove the drywall cutout and the Blind Mark Target. Finish screwing down the drywall and you are done.
Center Mark:

Step 1:
Screw Center Mark Target into the light bulb socket inside the recessed light fixture, Let the telescoping magnet extend down pass the ceiling level.
Step 2:
Once the Center Mark Target is installed in the recessed light fixture, cover the recessed light fixture with the drywall. Position your drywall in the exact location and fasten it with enough drywall screws to make it secure.
Step 3:
With the magnet face on the Center Mark Locator facing up, pass the Locator across the area in which the Target is located. Find the Target and let the Locator snap in place.
Step 4;
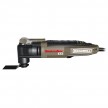
With your spiral saw plunge the tip of the bit cutter into the drywall on the outside of the Locator and move to the out until you make contact with the inside wall of the recessed light fixture .
Step 5:
Remove the drywall cut out and the Center Mark Target. Finish screwing the drywall and you’re Done!!!
Note: The Center Mark is used to cut out 4″, 5″, and 6″ recessed light fixture openings.
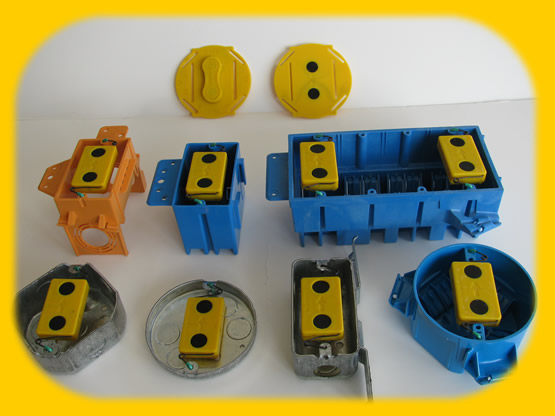
Compare the Multi Mark™ locator to the outside perimeter of the electrical box you are using. Electrical boxes vary so this will show you where to make your cut(on the line inside or outside the line).
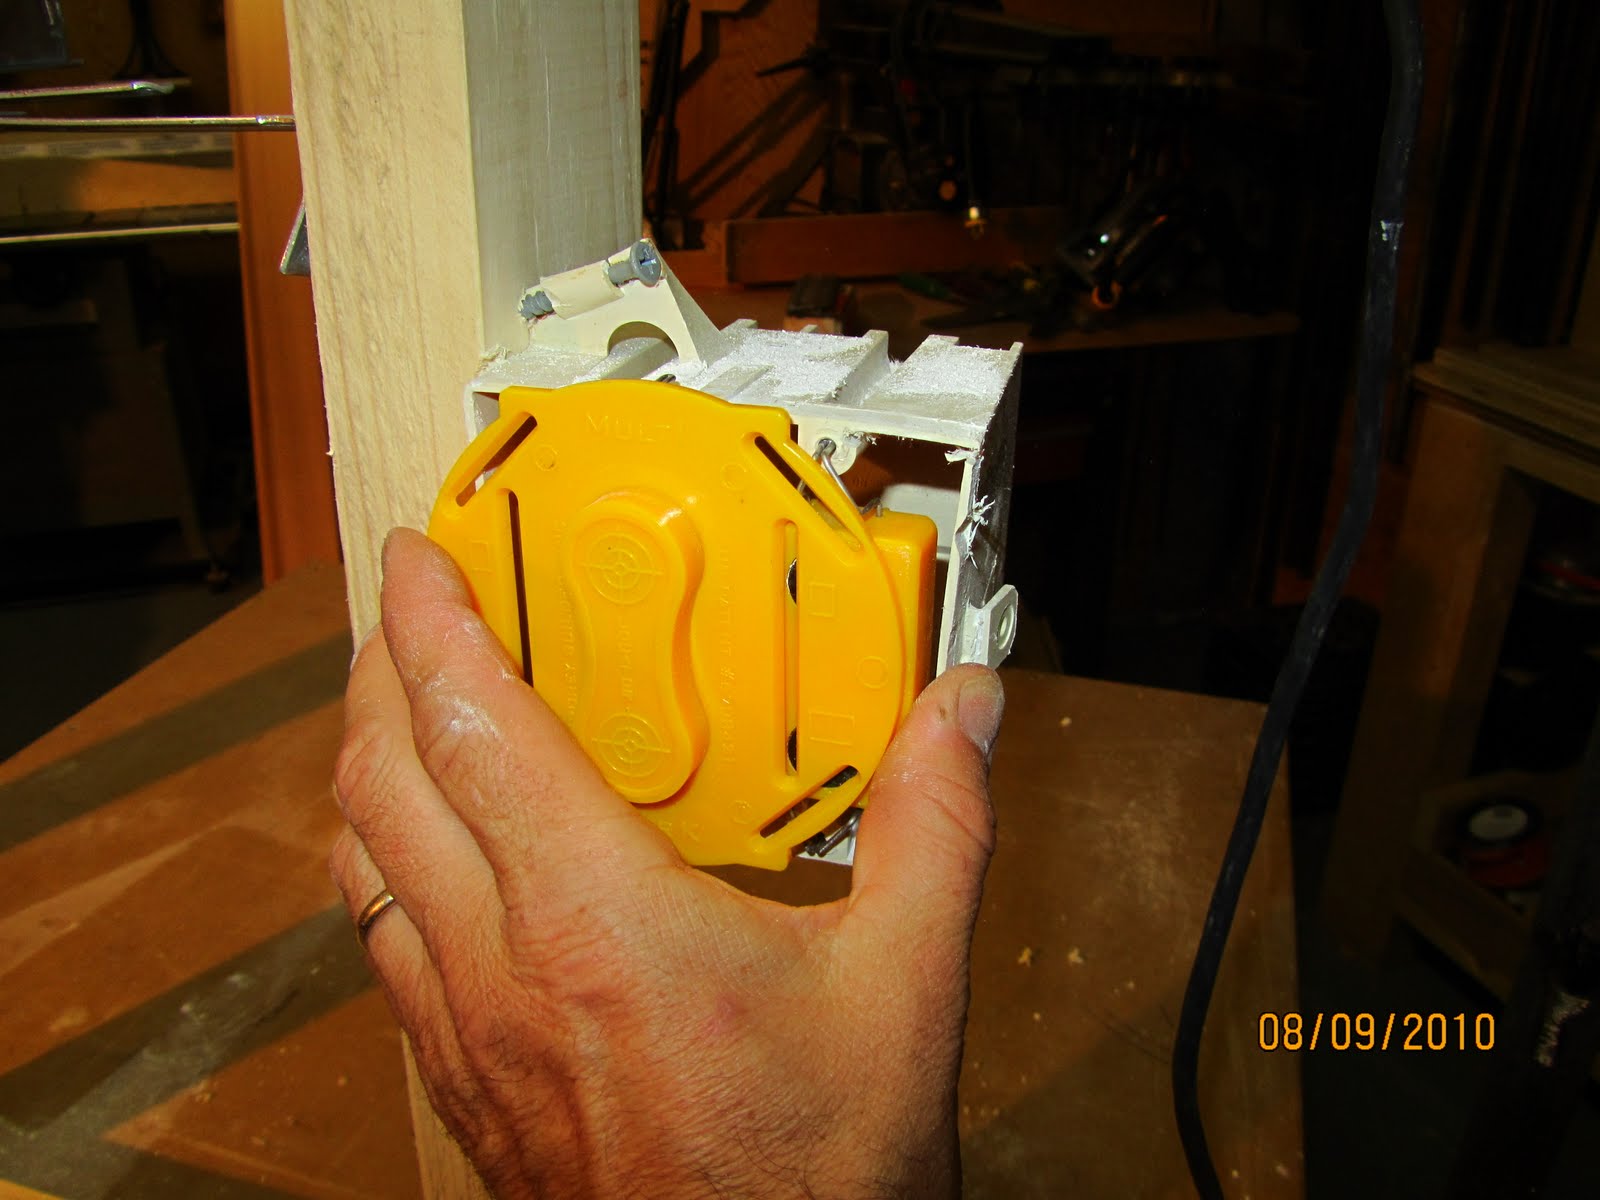
Place Multi Mark™ target in electrical box inserting the ends of the springs into the electrical box device locating holes. Take a mental note as to the direction of the arrow. If you have a multi-gang box you install the targets at each end of the box.

Step 2:
With the Multi Mark™ target installed in the electrical box, cover the box up with the drywall. Position your drywall in the exact location and fasten with enough screws to safely secure the drywall.
Step 3:
With the arrow on the Multi Mark™ locator facing in the same direction as Multi Mark™ target, pass the locator across the area in which the target is located. The locator will find the target and snap in place. Do not force the locator into position. Then using the appropriate template, use your pencil to mark around the locator, outlining the electrical box perimeter.
Remove the locator from the drywall. Cut out the drywall using your mark as a guide. If you are using a hand saw, keep in mind, the cut on the side where the stud is must be a shallow cut. Multiple tools can then be used (hand or electric) to cut the drywall.
Step 5:
Remove the drywall cut out and Multi Mark™ target.
$ 18.95. You can buy them through Blind Mark or here.