How to Prepare a Floor for Tile

How to Prepare a Floor for Tile
In the remodeling industry plenty of smaller outfits still do their own tile work, but a majority of professional remodelers sub contract this specialty skill out. But what general contractors and remodelers are still stuck with is the prep work and framing repairs that often come with a bathroom renovation. Whether a sub doesn’t include prep and waterproofing in their scope of work, or you just don’t want to pay someone to do it, preparation is key to a successful floor tile install.

Prevent Cracks and Callbacks
When laying floor tile almost all preventative measures, excluding water proofing, are geared towards preventing grout cracks and god forbid tile cracks. Having a solid floor system is key to limiting deflection within the limits of the material and style of tile your installing. The name of the game is a rock solid floor system and sub-floor. When you get into the weeds of proper floor prep you’ll come across a limits on deflection based on ceramic or natural stone tile. We’ll touch upon these concepts, but will do our best to overwhelm and confuse you, and still get you to the rigid floor you need for any tile substrate.
Firm up your Framing
When you calculate the deflection of your floor joists to determine if your floor system is adequate for the tile you want to use, you are only calculating the anticipated performance of the joists in essentially one dimension. Before you consider plywood choices there are a couple things you should consider while you have access to framing.
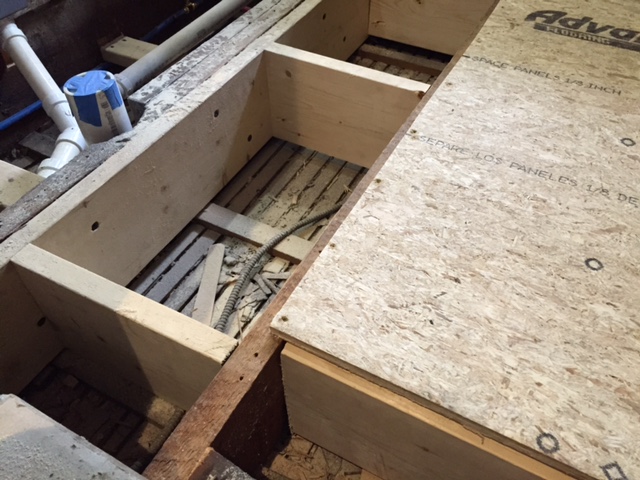
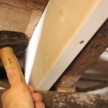
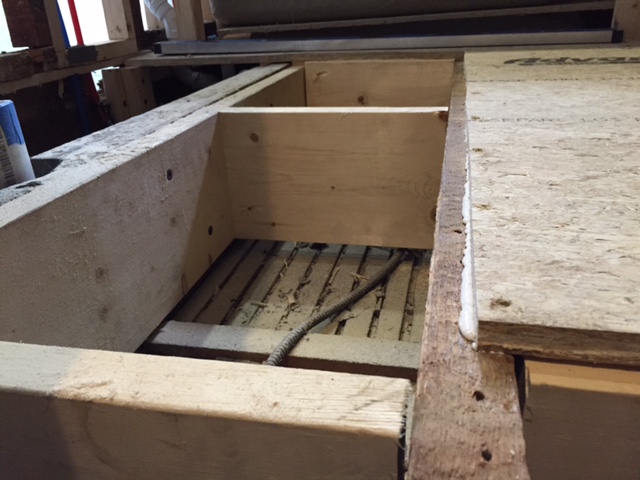
Repair any damaged joists; whether from checking (splitting) or from plumbers hacking away at structural members you’ll want to repair joists that aren’t performing. You can sister joist with 2 by material or really enhance the floor system with an engineered piece of lumber, if possible lay your sister framing member in such a manner to bear on top plates or posts.
Block; definitely block between joist to help transfer weight across multiple joists, but also try to block at the rim joist to lock the joists together and limit, or hopefully, eliminate any roll in your floor framing. Be sure to use appropriate fasteners that are specified to handle the appropriate applications. For example use truss loks for sistering joist or ledger loks for blocking. Consider using hangers when needed as well.
Be Sure with a Solid Sub-Floor
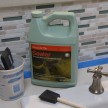
Your sub-floor will have a big impact on how the floor feels at this point of your preparation. Unless floor heights are going to make or break your project you’ll want to go with 3/4″ ply, laid out so all seams bear on joists or blocking. I know plenty of guys who will lay two layers of 3/4″ ply to ensure they eliminate deflection. Regardless of how many plywood layers you lay, you’ll want to clean debris from the joist, even the ply, and caulk a generous 3/8″ to 1/2″ bead of construction adhesive along the edges of your plywood and in the field. I vac and caulk as I go. You can fasten with 8 penny ring shank nails or deck screws. I prefer deck screws, but either way you’ll want to fasten 6″ along the edges where possible and 8″ in the field for a rock solid sub-floor.
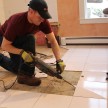
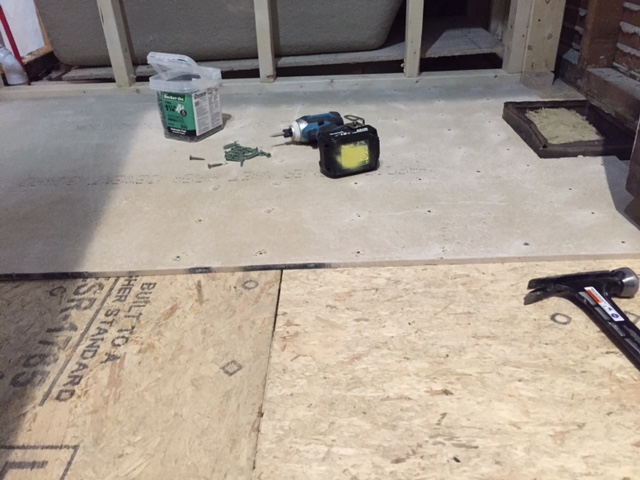
Overlap with Cement Board
After you screw and glue your 3/4″ plywood to your framing you’ll have a nice solid surface to work on again, and at this point you can have the biggest guy on your crew jump up and down on the floor and get an assessment of how much it’s moving. If the floor seems solid at this point you know your work thus far has already paid off. To ensure you get good adhesion with your tile and further firm up your floor you’ll want to lay 1/2″ cement board down. Although not necessary I stagger and overlap seams between the plywood and cement board to further lock the floor in place. Finally when it comes to screwing down this material, I don’t hold back. Hardie Backer board recommend you stay at least 3/4″ from the edge of the board and a whole 2″ from the corners to prevent splitting, but besides those restrictions I tend to screw down the boards with an approximate 4″ grid. I use the manufacturer recommended Hardie screws, with the square heads, which cam out less frequently than the phillips heads.
Finally, but really First!
I intentionally alluded to calculating for deflection up front but avoided discussing it until now for two reasons. One; regardless of your >L/360 (for ceramic tile) or >L/720 (for natural stone) result when calculating deflection, this value is still notional, your inputs would have to be perfect and you’d have to assume no other movement is taking place in the floor system to proceed with no floor system modification. Two; best practices prevent callbacks and ensure you can walk away from a job knowing it was done well, and therefore can sleep at night.
Calculating for deflection can be complicated and the math although not overwhelming is somewhat unnecessary to understand if you use the results cautiously and heed the above advice. The other reason the math is somewhat trivial is we have the luxury of just googling things these days and a well used, well respected, and accurate calculator already exists and is ready for you to use it.
Check out: JohnBridge.com and The Amazing John-Bridge-Forums Deflect-O-Lator :-)

This is a great starting point to assess your floor system without modification and give you an idea of how much intervention you’ll need to improve performance to safely tile on your floor system. And again don’t hesitate to use the fat guy test and just “feel” the floor.