How To Control Dust During A Renovation
 Image: rd.com
Controlling Remodeling and Sanding Dust
How to control dust during a renovation can be approached a number of ways.
Simple and effective way to remove fumes, dust and odors from a confined area is to create negative pressure in a room and draw the contaminants out of the room. Any environment can be cleared and exhausted this way.
What is Negative Pressure Ventilation (NPV)?
NPV is the extraction of air from a structure with suction techniques.
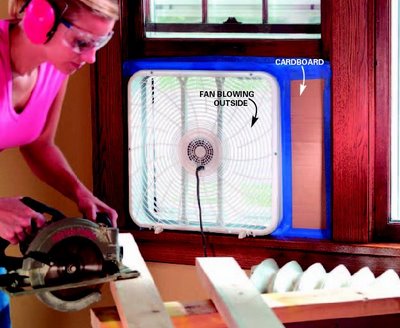
NPV uses a combination of a window box fan, and sealing off all door openings.
Safety Note – Only use this technique if there is no chance you will be disturbing lead paint.
Creating Negative Pressure Ventilation
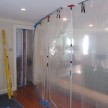
Close doors and seal the ones your not using with blue tape. I use the Zipwall Barrier System and poly plastic sheeting to create temporary wall and cordon off areas.
Put a box fan in the window so air is being blow outdoors.
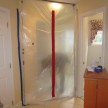
Cover the door openings with plastic, [a slit or zipper can be installed down the middle for entering and exiting.] Drop cloths nailed to the doors rim and taped to the side trim work too.
Turn the fan on and crack a window in the opposite side of the room or allow for some air to come in through the plastic. That will push the contaminates out the fan window and the stop dust from migrating in to the rest of the house.
Best Practice For Controlling Remodeling Dust
When researching how to control dust during a renovation make sure you use dust extraction techniques on all of your tools creating dust and saw dust as well as follow best practices to control remodeling dust.
Over the years I have developed strategies and researched the BEST methods to control remodeling dust. If you believe that any of the materials being worked on during this renovation contain lead paint you need to consult and follow the EPA Renovation, Repair and Paint guidelines as well as your local and state guidelines. Here is my best practice list on how to control remodeling dust.


