Tongue And Dado Joint
Tongue And Dado Cabinet Joint
When building built in cabinets and bookcases I was taught to use a tongue and dado joint for the frames.
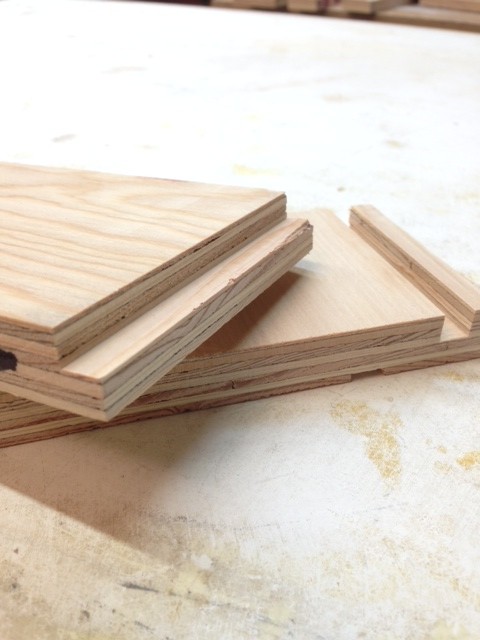
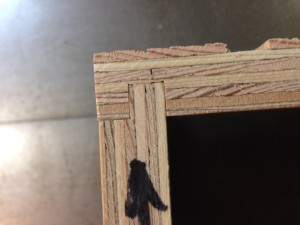
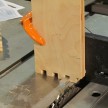
A tongue and dado joint, pictured above, is a strong, sturdy and simple joint to make on a table saw with a dado blade.
Tongue And Dado Drawer Joints
The drawer joint I like to use is a tongue and dado joint, like you see in the photo above. The joint is strong, sturdy, and simple to make.
The Dado
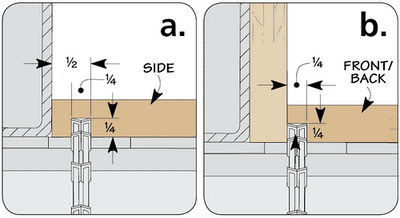
The first step is to cut a dado in the drawer sides, as shown in detail ‘a’ below. Just be sure the inside edge of the dado matches the thickness of the drawer front and back.
The Tongue
The tongue that makes up the other half of the joint is made by cutting a rabbet at the end of the workpiece, as in detail ‘b.’ To ensure a good fit, I find it best to sneak up on the cut until the tongue slips snugly into the dado.
Fence Locations
The first step is to cut a dado in the drawer sides, as shown in detail ‘a’ below. Just be sure the inside edge of the dado matches the thickness of the drawer front and back.
The tongue that makes up the other half of the joint is made by cutting a rabbet at the end of the workpiece, as in detail ‘b.’ To ensure a good fit, I find it best to sneak up on the cut until the tongue slips snugly into the dado.
Making this joint requires using almost the same dado thickness and height set up but with different fence locations.
- The first step is to cut a dado in the cabinet or bookcase side. The tongue will fit into this dado.
- The second step involves cutting the tongue. The tongue makes up the other half of the joint and is made by cutting a rabbet at the end of the workpiece, as in photo detail ‘b.’ I always take precautions to keep the tongue from bottoming out inside the dado.
- Practice on scrap material until you get a snug cut.
- Glue, clamp and secure with a few finish nails.


