How to Install Tongue and Groove Siding

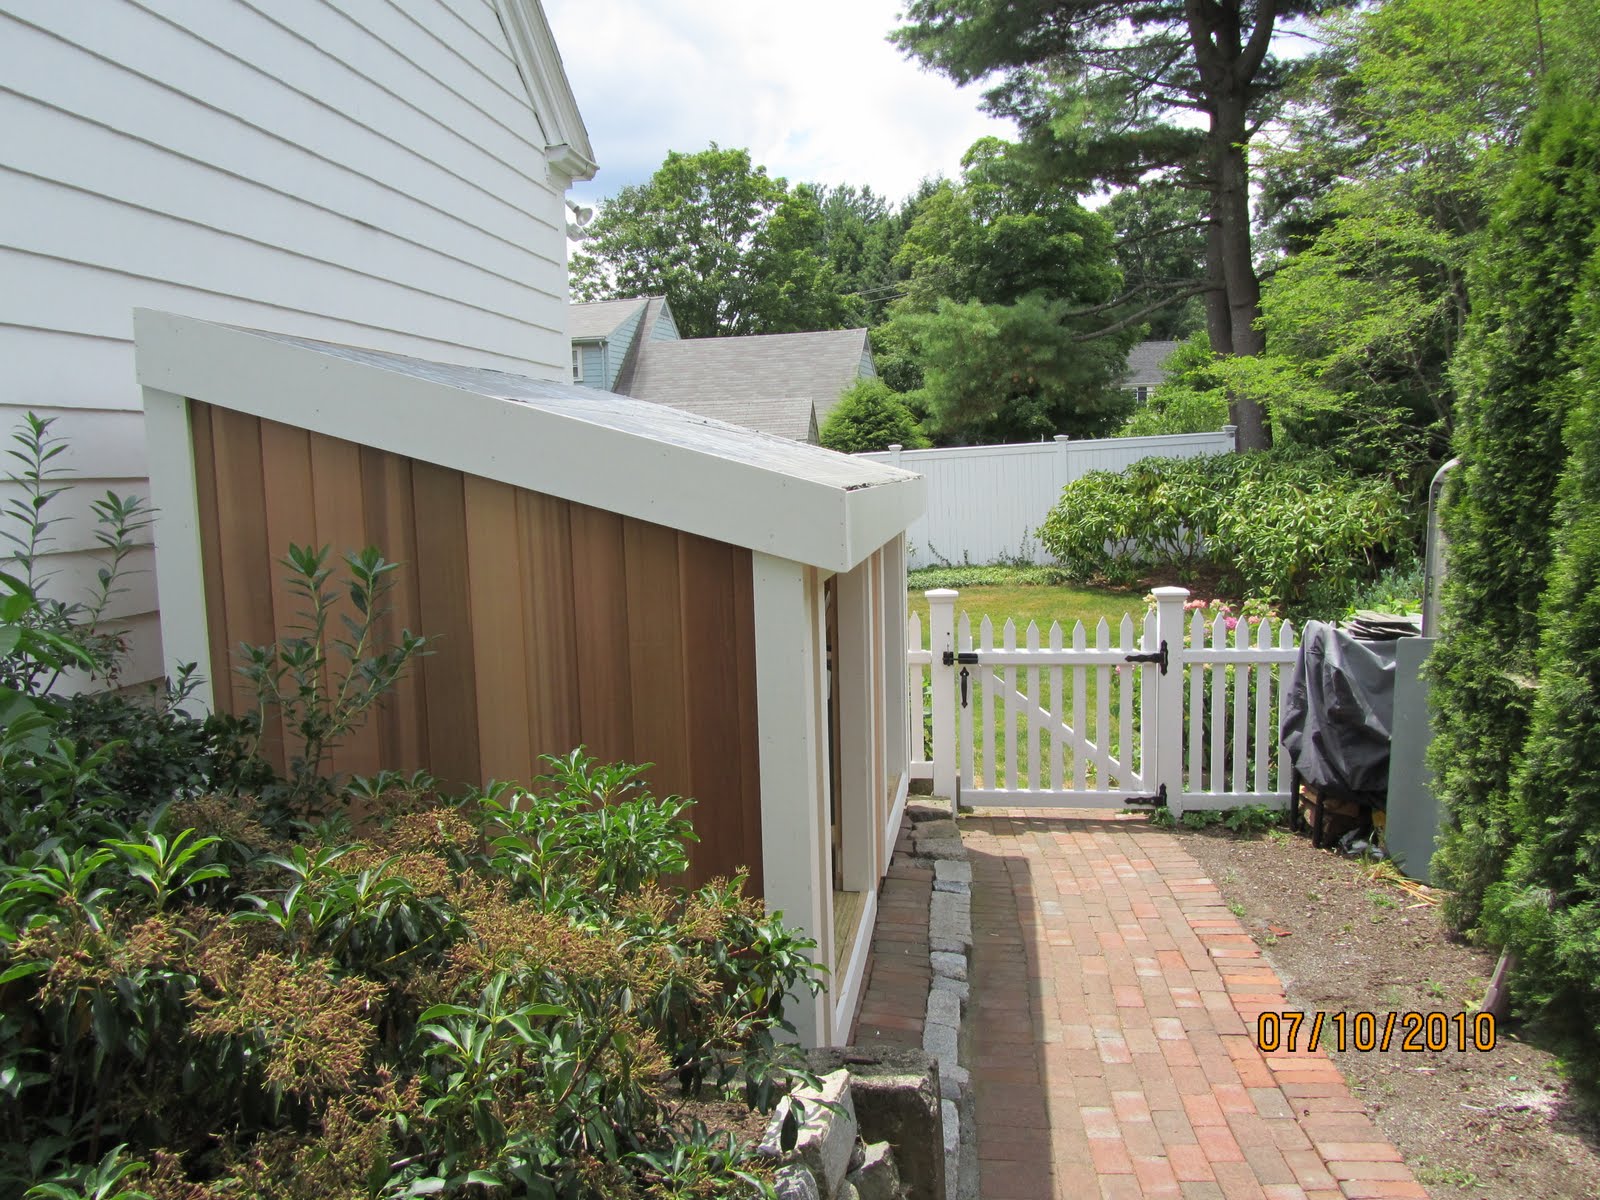
Cedar Tongue And Groove Siding Install
On a recent shed project we used Western Red tongue and groove cedar as our siding choice. We chose cedar for the following reasons:
Aesthetics:
Western Red Cedar tends to compliment any architectural design. It enhance the beauty and elegance of your home and can be used as siding, decking, moulding, windows, trim, doors, posts, beams, paneling, outdoor projects, interiors and saunas.
Finish:
Western Red Cedar is virtually pitch and resin free, the wood easily accepts a range of finishes, from fine oils and stains, to solid coatings and paint.
Versatility:
Western Red Cedar tongue and groove boards can be installed horizontally, vertically or diagonally. The joints between adjoining pieces are usually v-shaped and the surface usually has a smooth and a rough face.
Insect And Rot Resistance:
Western Red Cedar’s unique aroma comes from naturally occurring thujaplicins in its heartwood. These compounds resist moisture and are toxic to decay-causing fungi and insects.
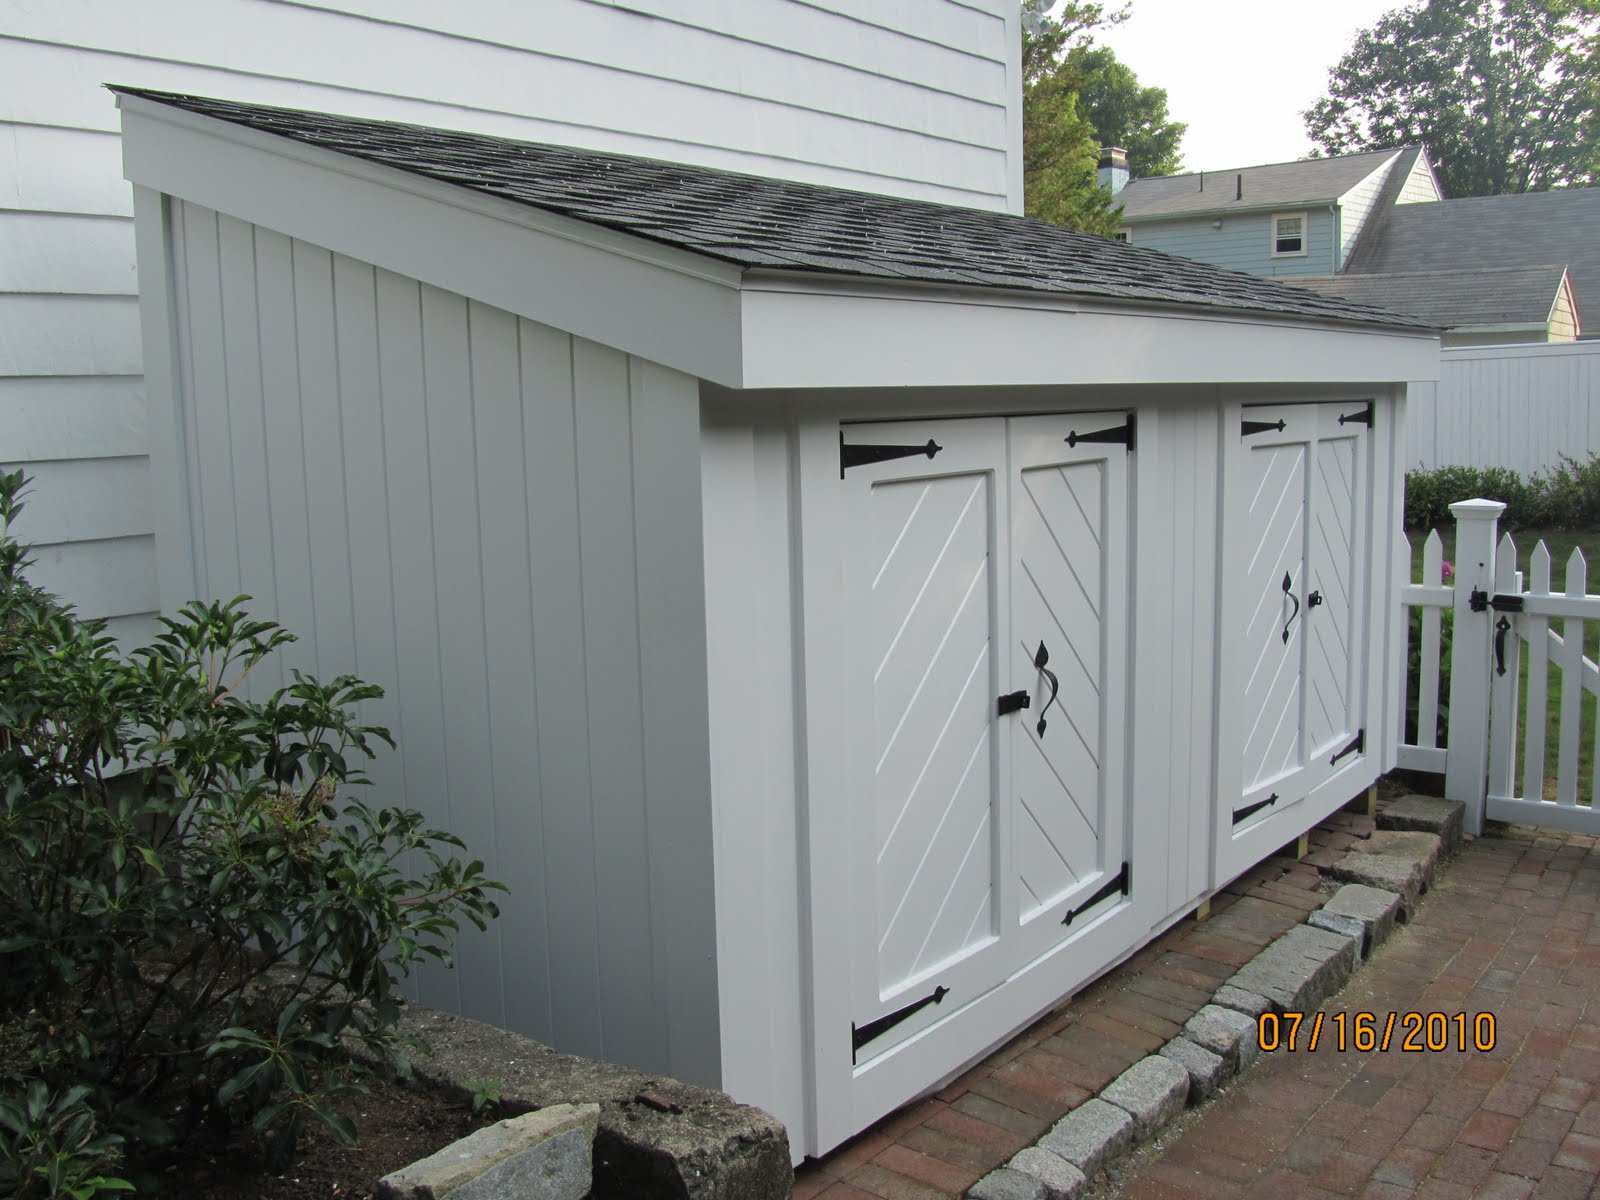
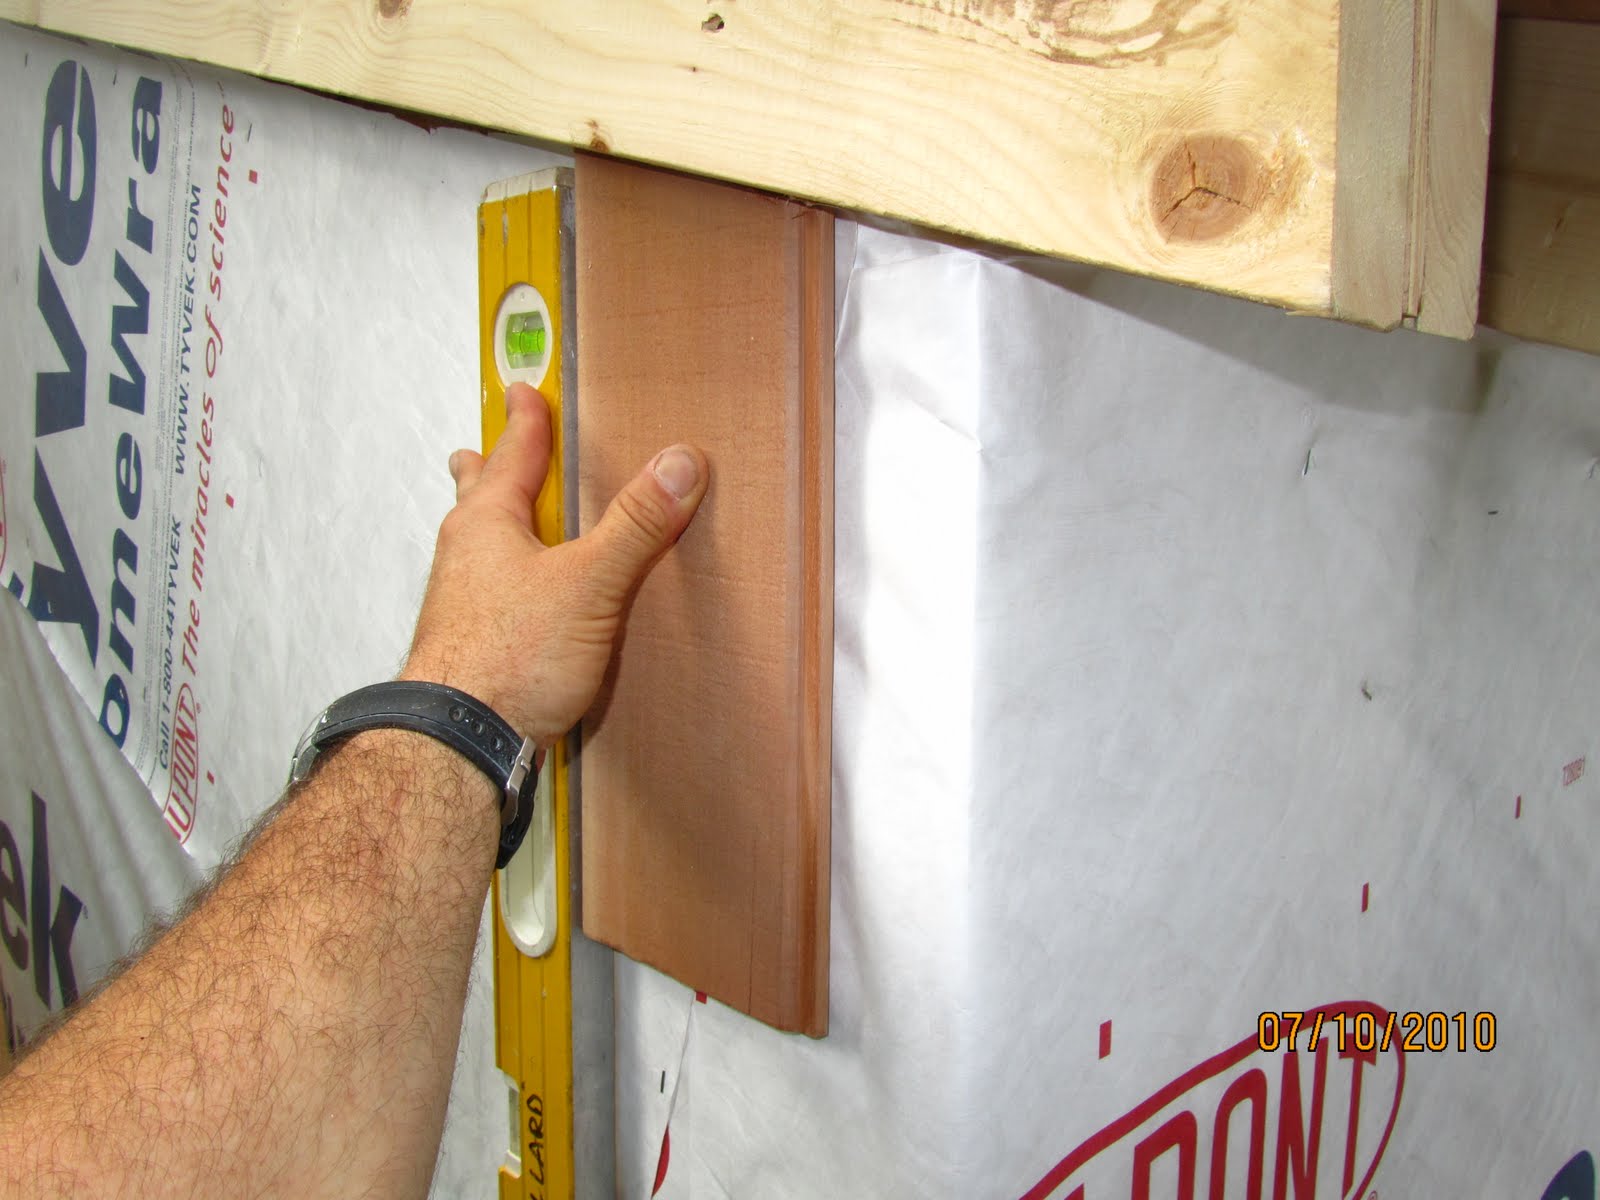
We installed this tongue and groove siding vertical. The first step was to use a level and install the first piece plumb. We started at a corner since all four corners were going to have corner board trim installed.
[Note – Photo example. The actual installed board would be closer to the corner]
How to Install Tongue and Groove Siding
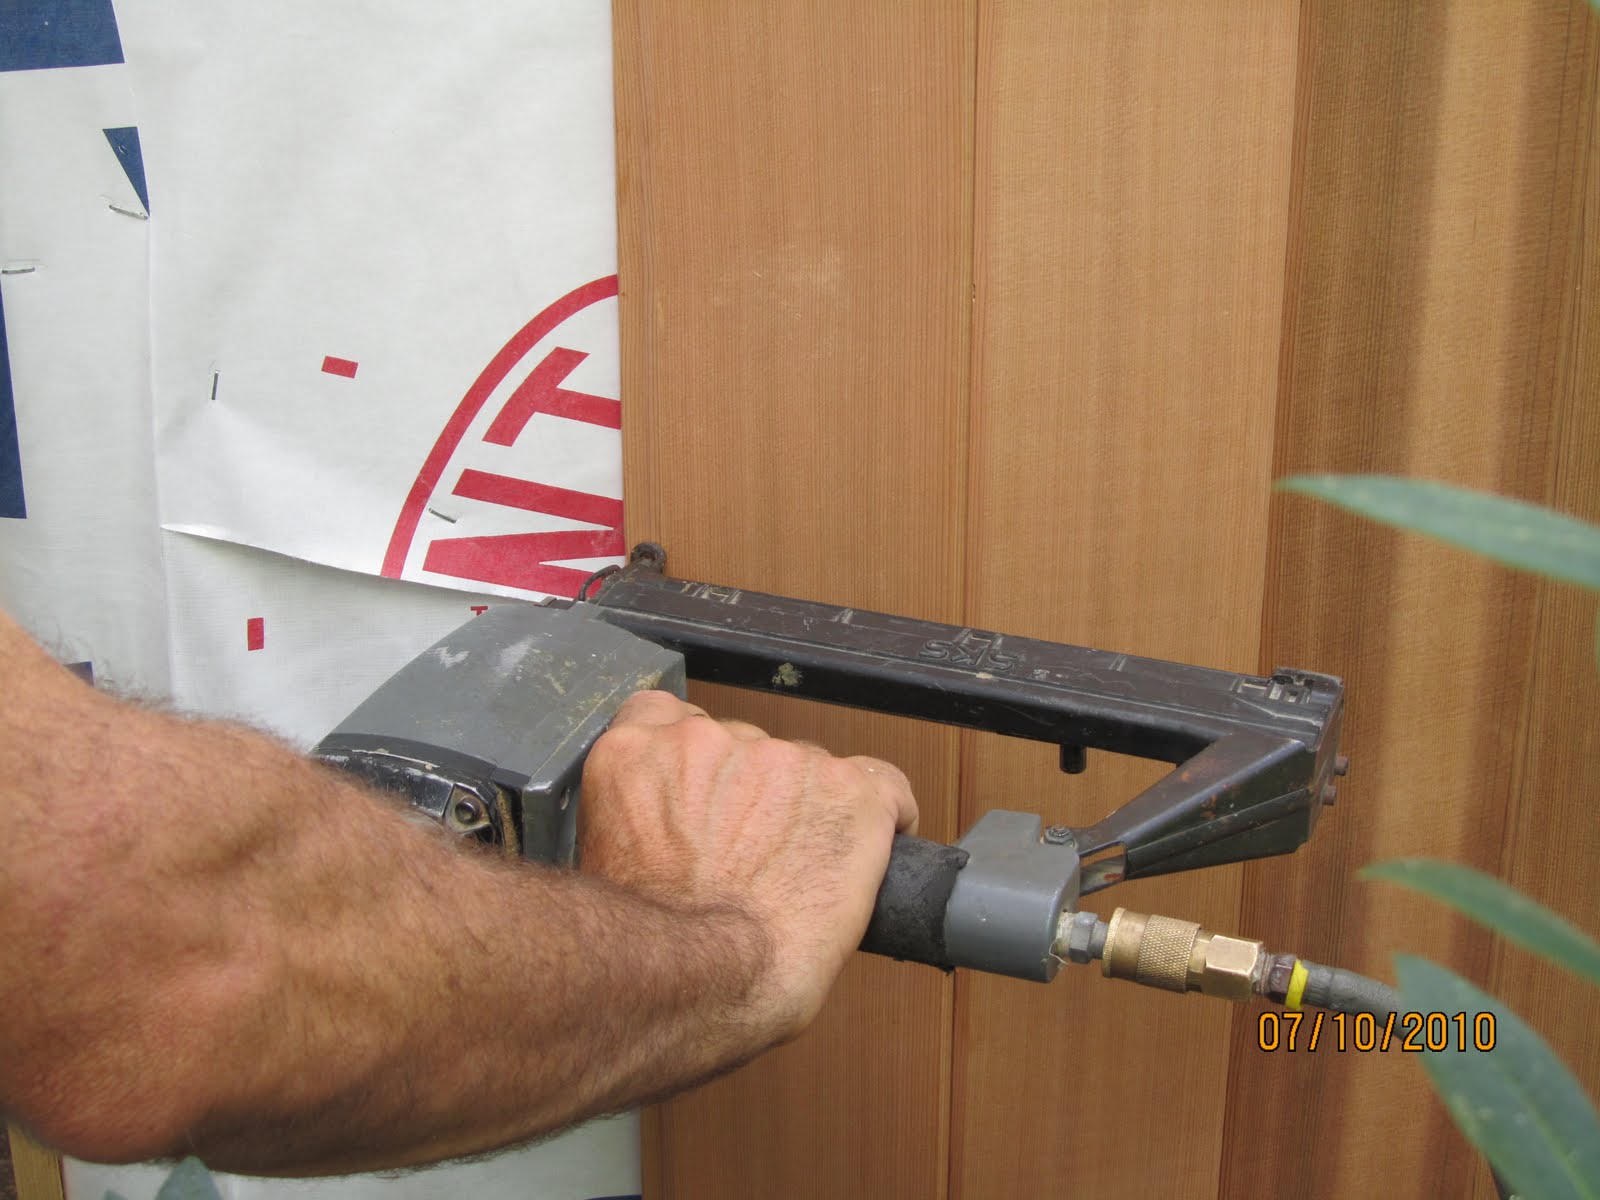
We used 1 1/4″ long 1/4″ galvanized staples to install this cedar. The stales are installed every 12″ into the tongue of the board and are covered and hidden by the next boards groove is installed. This is called “blind nailing.” the only location that we installed fasteners in the face of the cedar was at the top where a trim board was covering it.
When blind nailing, the nail is sent into the groove at roughly a 45 degree angle. The nail can be started with a normal carpenter’s hammer, and then made flush with the surface of the groove by means of a nail set.
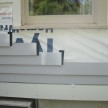
On the side of the building the roof angle was three pitch so we knew we had to cut our tongue and groove cedar boards at a 15 degree angle.
Another way of determining the roof angle would be to use a bevel tool to copy the angle and transfer it to your saw.
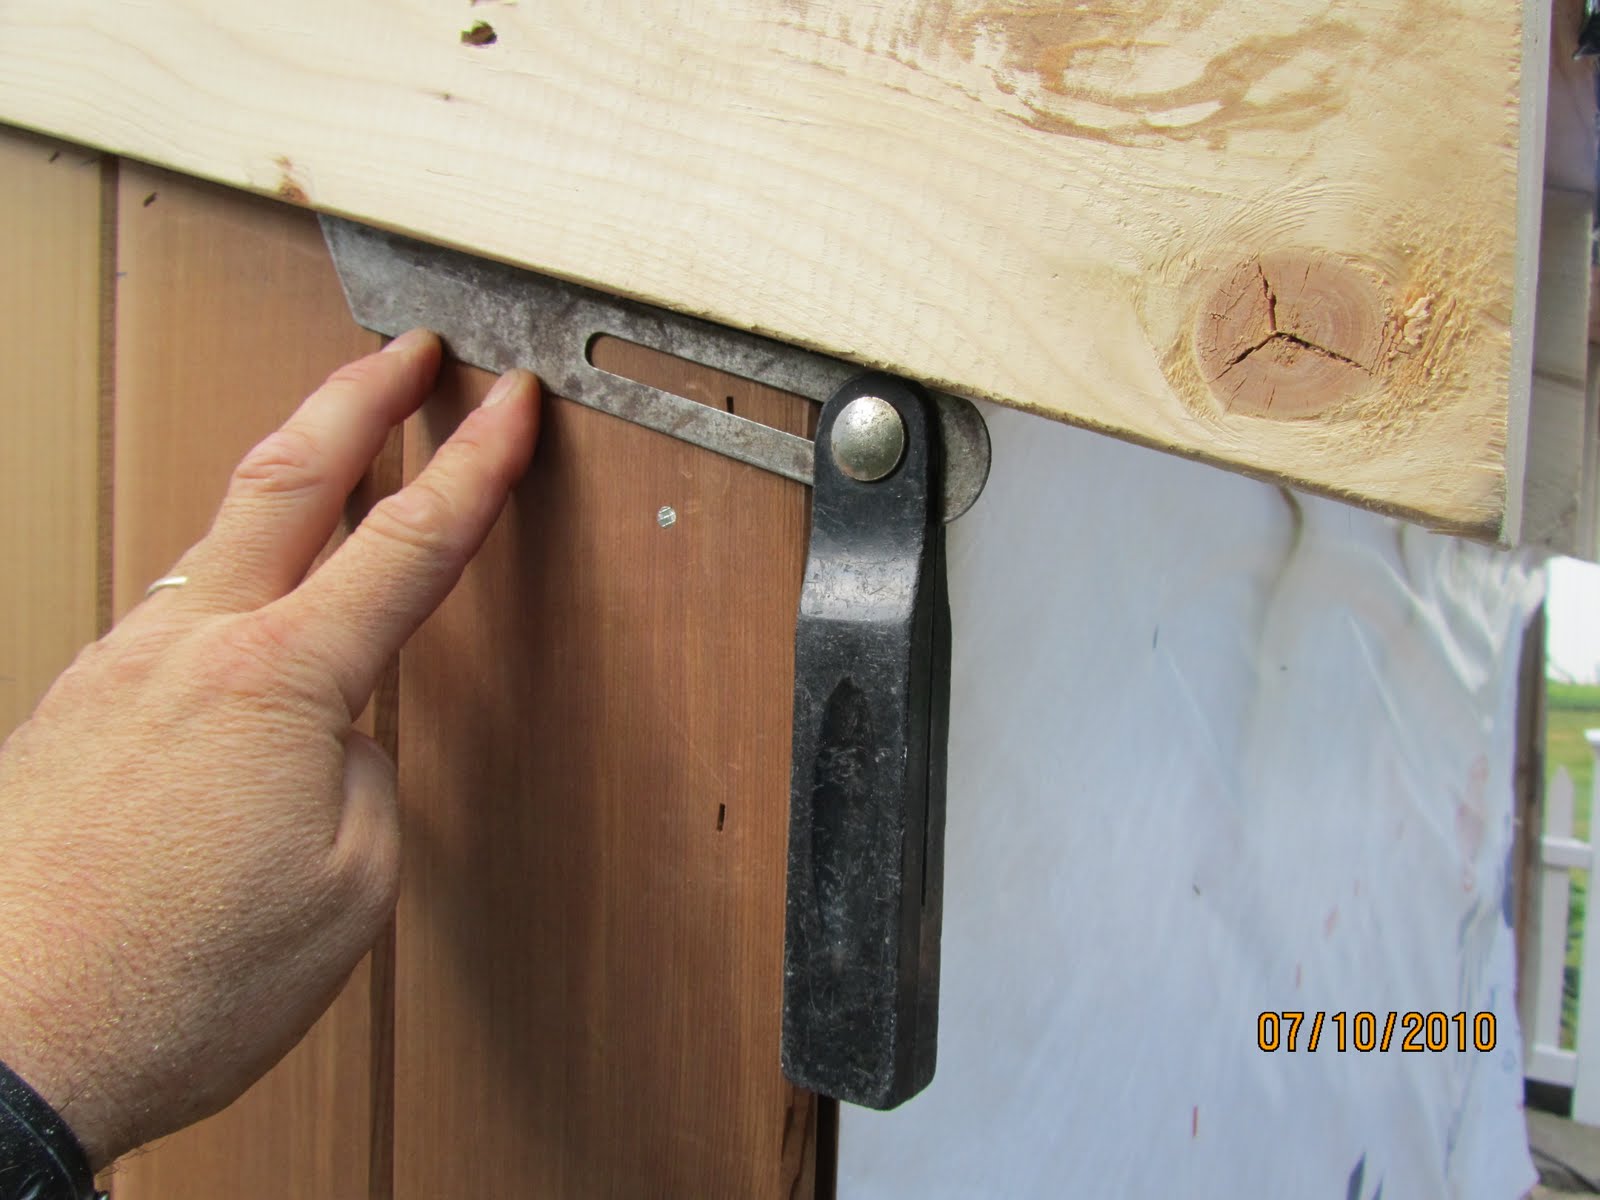
Match the saw to your bevel, cut a scrap board and test the fit.

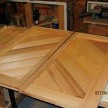
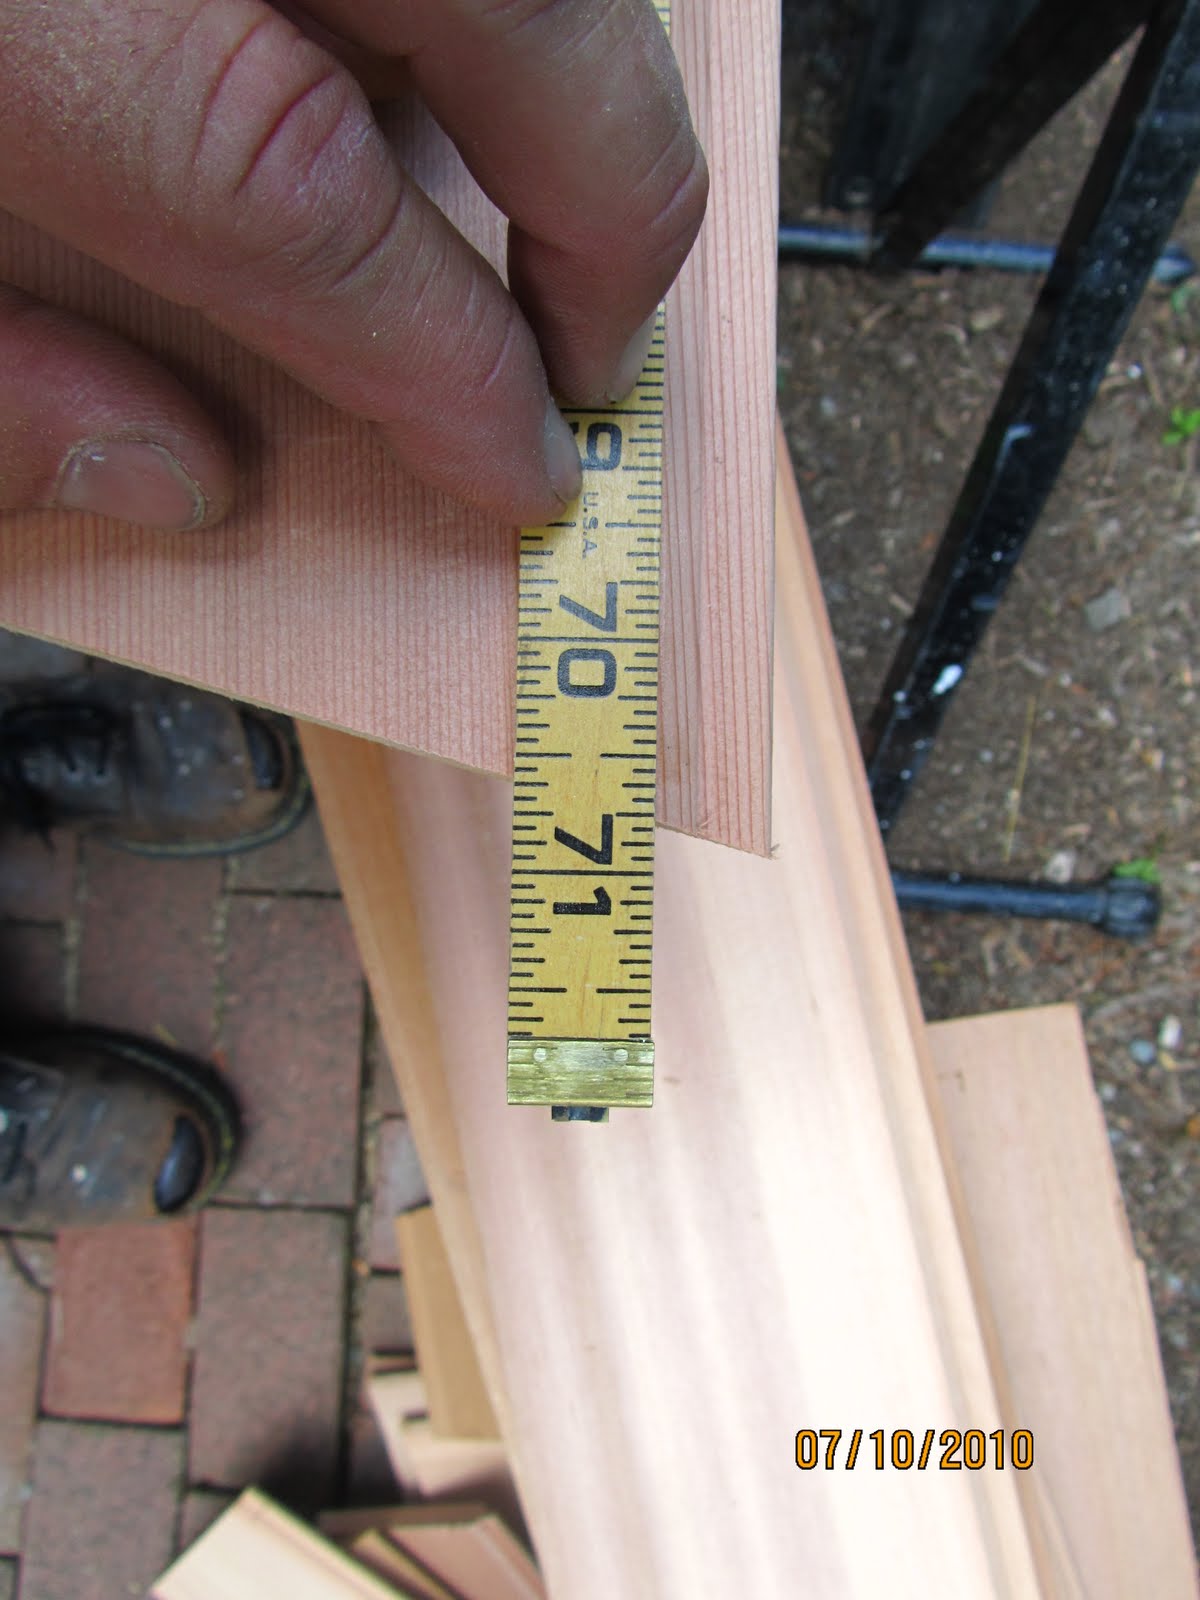
Instead of cutting and measuring each angled board I cut multiple boards and laid them out on a surface. By doing this I was able to easily continue the boards angle by measuring the long point of the board I just cut and marking a new board at it’s “short” point and cutting that.
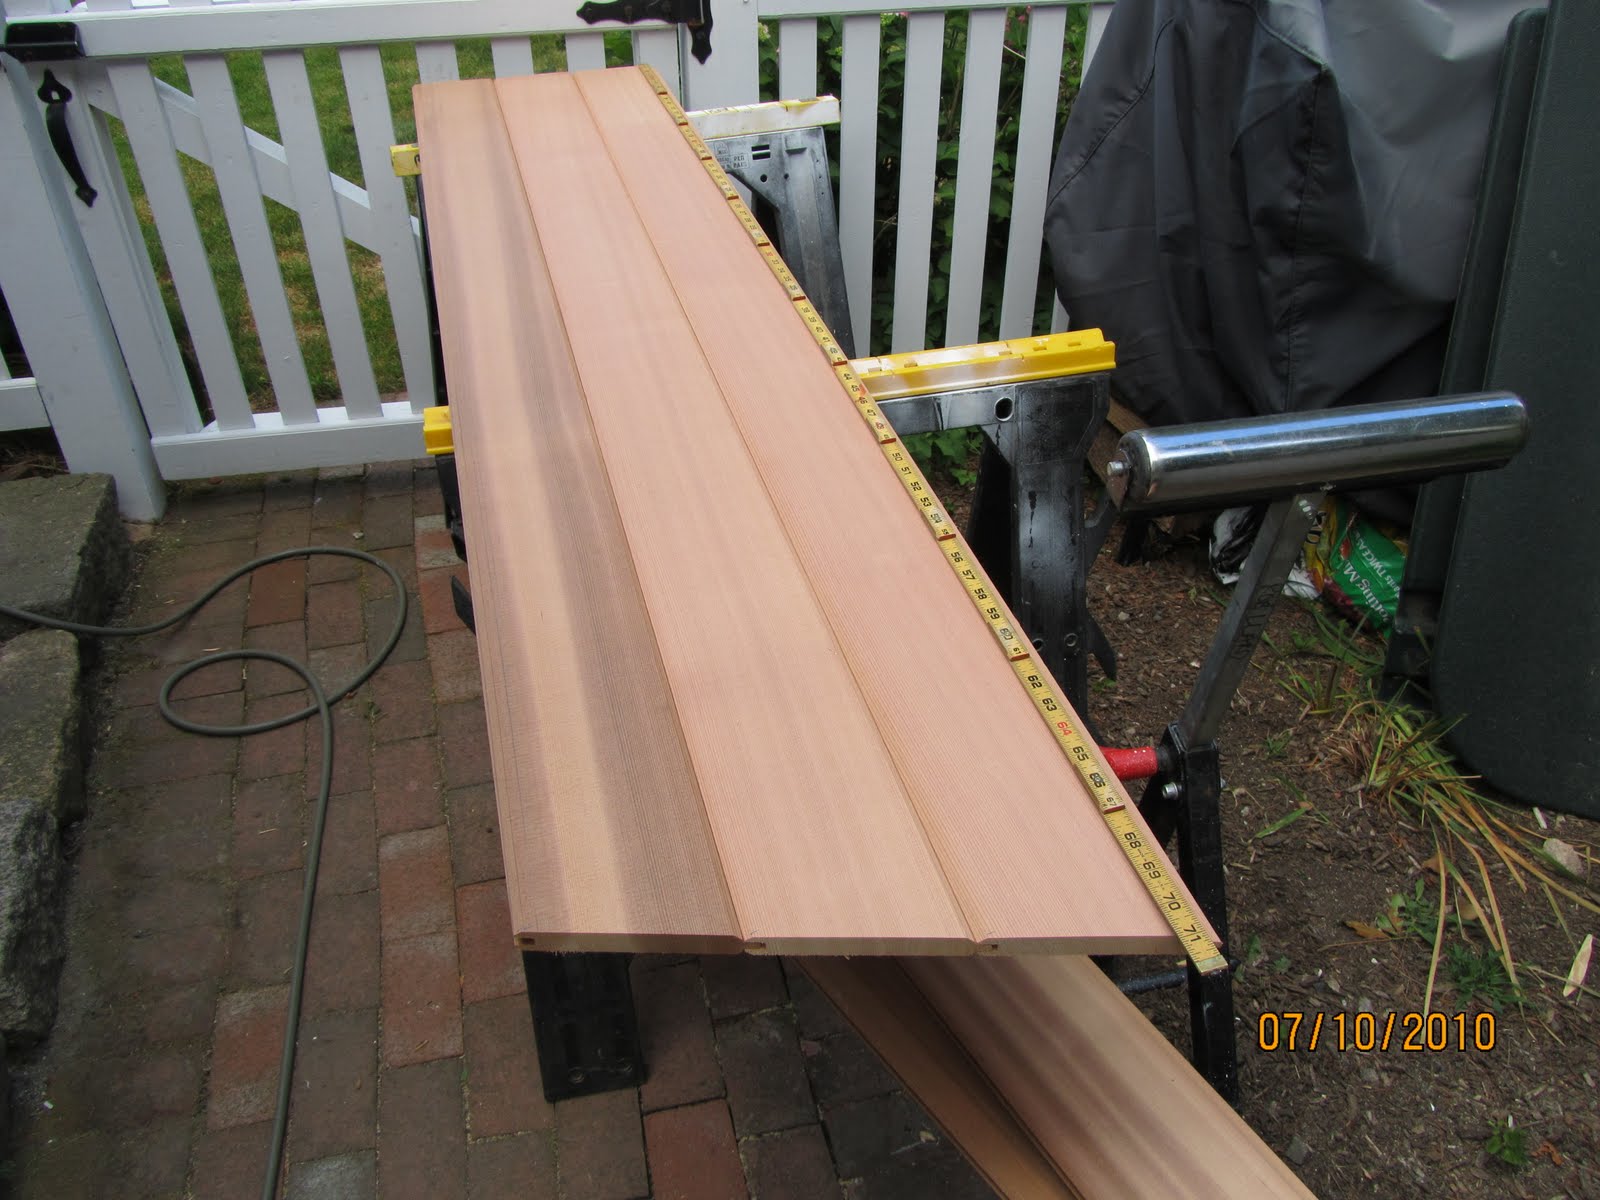
For example: I had just cut this board. The long point [longest side of the board] is 71″. when I measure to cut the next, adjoining board I will mark the short point at 71″.
This is an easy way to figure out and cut all of the boards needed and then go install them all at once. It saves steps in measuring and walking back and forth to the saw.
If you enjoyed this post, make sure you subscribe to my RSS feed or receive updates via email