Gas Pipe Wall Shelf

Sourcing Wood
In our search for a recycled board, we went to Longleaf Lumber in Cambridge Ma. Long Leaf Lumber is an antique and reclaimed lumber company. They produce reclaimed wood flooring, paneling, counter and tabletops, stair treads, resawn beams, moldings, mantels, and rough-sawn lumber.
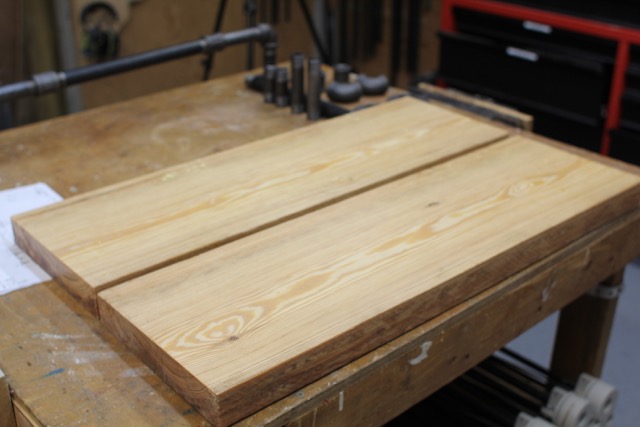
We purchased a 7-foot, 2×10 pine board that was recycled from the Boston Rubber Shoe Company building built in 1883. We paid $100 for it.
 Getting started

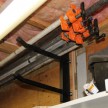
Understanding how to mount and secure your shelf is crucial during design, construction and ultimately the fastening stage.
Shelving can be mounted to the ceiling, wall or floor. I’ve seen situations where a gas pipe-shelving unit could not be installed to wall studs, so a horizontal wood, mounting strips we applied to the wall and secured to the wall studs. This horizontal mounting strip allows the shelving unit to then mounted anywhere along that mounting strip.
Clean the Gas Pipe
Prior to assembling our gas pie wall shelf we wanted to paint all the pipes and parts. The pipe comes from the factory with an oil residue on it. Oil is needed for the thread cutting process and manufacturing of gas pipes
Clean the pipes with acetone. Wear the heavy duty dish-washing gloves and use ventilation when cleaning with acetone.
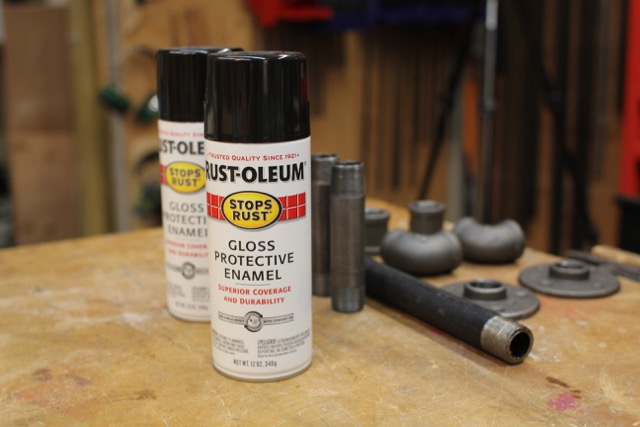
Painting the Pipe
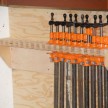
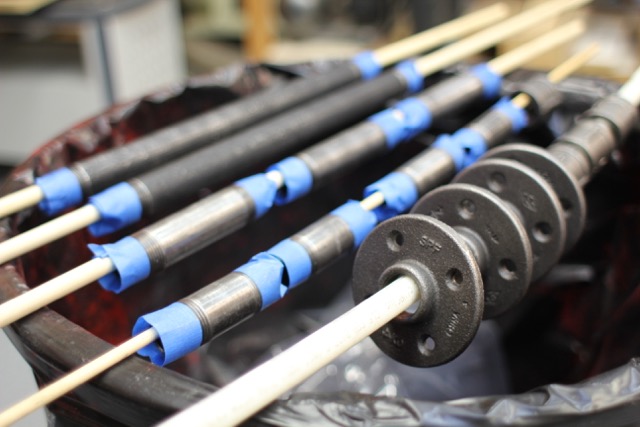
After the pipes are clean, scuff them with 220 grit sand paper and then cover ½” of the thread with blue tape to keep paint off the threads. Once protected I spray painted them with a Rustoleum high gloss black paint. Paint all metal parts black.
Painting Tip: Use 3/8” dowels or pipe as a spray rack. Suspended the rods over a clean and empty trash barrel, insert the pipe and any nipple fittings over the dowel. The dowel allows you to spin the pipe as you spray paint keeping your parts from touching any surfaces while the paint dries.
I also stick long screws into a cardboard so I can spray paint the elbow fittings.
Attaching Pipe
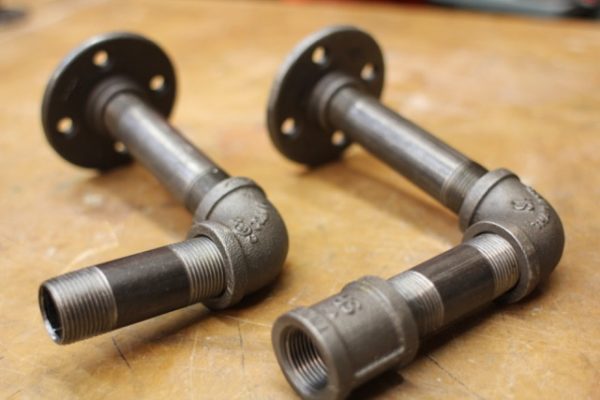
The beautiful thing about making a gas pipe wall shelf is how easy the pipes and fittings all screw together. While a pipe wrench would certainly make these connections permanent, I do not think you need to use anything stronger than a solid hand tightening.
After the paint has dried 24-hours, assemble the shelf.
Attaching the Shelf
The shelving can be installed and secured three ways, all affect the overall design:
- Rest on top, or nested between the pipes
- Holes drilled through shelf and pipe inserted through shelf – using an elbow or union to support the shelf
- Pipe flanges applied to the underside of the shelf
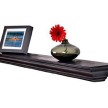
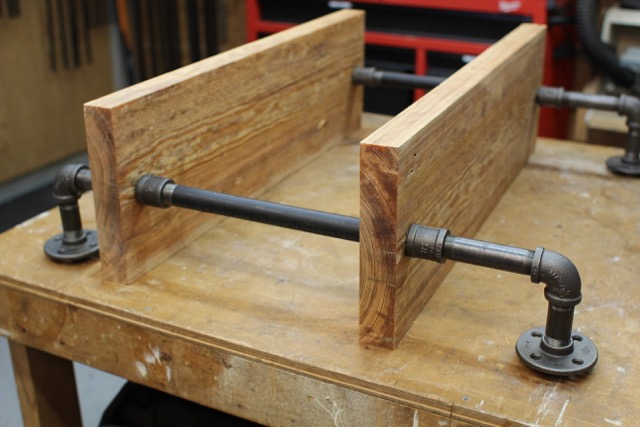
We decided to drill a hole in our shelving to allow the pipe to travel through and secure the shelf to the pipe. We designed the shelf so it has ¾” pipe couplings under each shelf to support the shelf.
Tip: Assemble pipes and shelf and lay on a level flat surface. Adjust the connections and wall flanges so the flange touches the flat surface and is in same place as the back shelf edge.
Drilling Holes For Gas Pipe
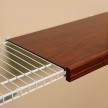
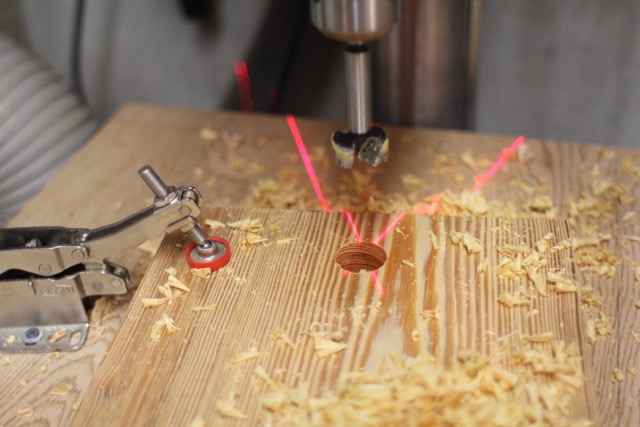
On both shelves, we measured in 1-3/4” from the center of the shelf edge and marked the center of our pipe hole.
To drill the hole we used a 1-1/8” Forstner bit and used a drill press. Forstner bits drill fast clean and consistent holes. The size of the hole was large enough to allow the pipe top side through but not large enough for the coupling to not support the shelf. By using a slightly larger hole this shelf can be lifted and the tile wall behind the shelf cleaned is needed.