Roof and Gutter Heating Cable

Wire Pattern On Roof
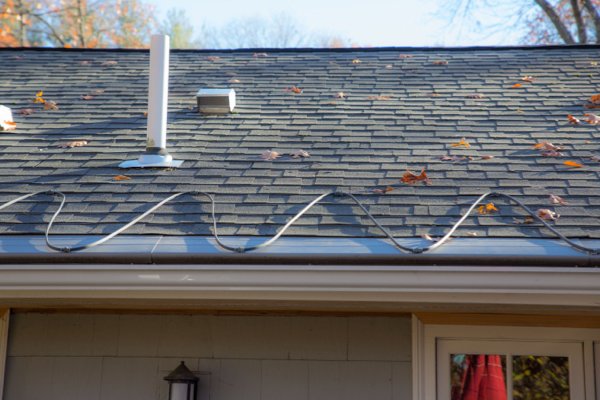
The roof and gutter heating cable is installed in a triangular or saw-tooth pattern. The spacing of the loops should be at 2-foot intervals.
It is super important that the cable run from the overhang and extend up and into the heated section of the roof. This means the cable MUST travel past the intersecting line of the exterior wall and the roof.
Rule of Thumb: Extend the cables high enough to pass the house exterior wall by approximately 6 inches.
Pattern for Valleys
A roof valley is where two intersecting roofs meet. These areas see a lot of snow accumulation and roof drainage and create perfect conditions for massive ice dams.
If a valley exists in a problem area of your roof, install the cable up and back down the valley a minimum of 3 to 4 feet. Remember to add this cable length to your measurements.
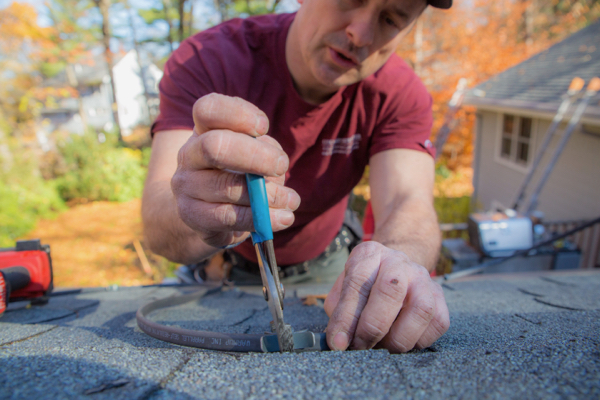
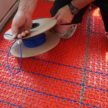
Securing the Heating Cable on the Roof
The roof and gutter heating cable is secured to the roof via special aluminum roof clips. Warmup recommends using two clips to form the loop that extends over the gutter edge and one clip to form the loop at the top of the triangle pattern.
While this is a great approach, certain field conditions may warrant different approaches. Sometimes you have to “MacGyver it.”