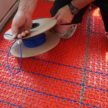
Roof and Gutter Heating Cable

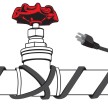
Installing Heating Cable in an “in-line” downspout
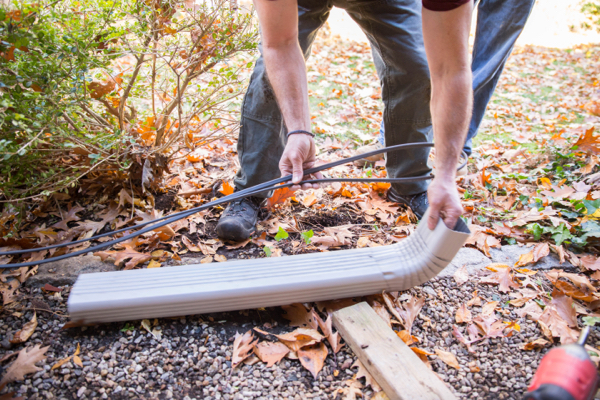
Because the heating cable is one continuous wire, you will sometimes have to run the cable down a “mid-line” or “in-line” downspout and then back up in order to continue gutter coverage.
To do this, loop the heating cable down into the downspout. We estimate how much wire we need by holding the wire next to the downspout pipe. We then create a loop that will easily reach the bottom of the drain pipe.
To pull the roof and gutter heating cable through the pipe, we run the electrician’s fish-tape up the downspout and pull the wire down. The fish tape attaches to the heating wire with electrician’s tape. Once attached, we pull the fish tape down through the downspout and then remove the fish-tape.
TIP: If we need to add or remove wire slack, we simply pull wire “slack,” down or up, depending on the need.

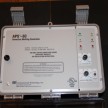
Power Connection
My electrician handles all of the connections to power and mounting of the controller/sensor.
I always factor in the starting location on my installations so the power wires start or terminate in the same location. I try to pick a spot that is easily accessible for the electrician to be able to get his power to the system.
TIP: Use only UL Listed weather-proof junction boxes for power connection.
TIP: Visually check all power connections, splices and end seals, and then perform a 2500 VDC meggar check. The meggar check is performed at the power connection end of the cable between buss wire and the grounding braid. The minimum acceptable reading is 20 megohms.
Ending the Cable Run
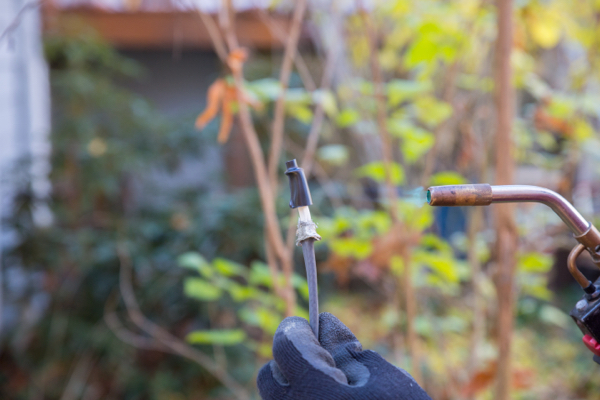
When we have reached our endpoint we cut the excess cable and finish off the cut end with a Warmup NAM-END-KIT. This kit ensures a waterproof, electrically safe end connection.
TIP: If you’re nearing the end, and you think you’re running out of wire, backtrack and widen your triangle bases or reduce the height of the triangles on areas of the roof that are less susceptible to ice dams.