Keeping A Tourniquet On The Job Site

Job Site Safety – Keeping a Tourniquet Handy
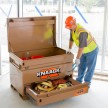
As a contractor who works with tools are you prepared for a job site catastrophic injury? I know a lot of us have first aid kits but do you carry a tourniquet? Is it in the truck or in your tool belt? Keeping a tourniquet on the job site is important. If your tourniquet is in your truck, can you get to it within 60 seconds and then apply the tourniquet in another 60-120 seconds?
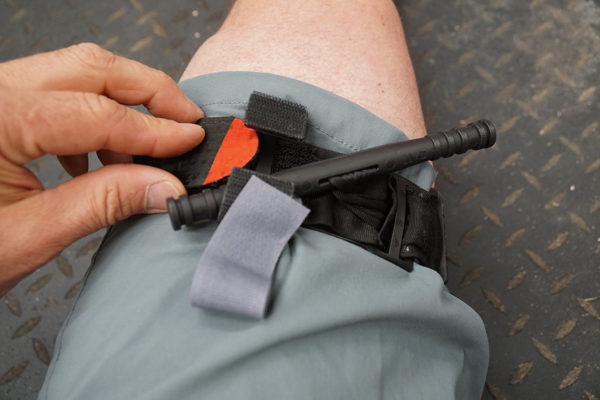
If that answer is no, you may want to consider keeping a tourniquet closer to you; like in your tool belt, tool bag, or on your person.
Stopping Blood Loss
Tourniquets are an effective means of stopping serious blood loss.
A tourniquet is a constricting or compressing device used to control arterial and venous blood flow to a leg or arm.
The tourniquet works by applying circular pressure around the injured a limb; that pressure is transferred to the walls of blood vessels, restricting them, resulting in the stoppage of blood loss.
 3-4 Minute Window
If you or someone on your crew cuts themselves bad, real bad, you have only 3-4 minutes [less with children] to stop the blood loss. Keeping a tourniquet on the job site may save someones life.
A catastrophic bleed in an adult could easily cause a 40% loss of their blood volume, if this happens, your body will go into hypovolemic shock, which is a failure of your circulatory system.
Pretty much equates to a BAD DAY – and will result in death if untreated.

Tourniquets on the Job Site – Effective and Cheap
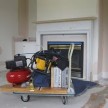
The effectiveness of tourniquets has been proven by the military. A good quality tourniquet, costs between $15-20 online and you should have one in your tool bag, truck and shop.
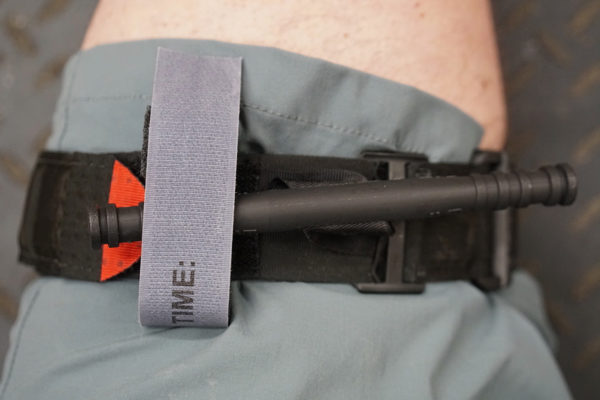
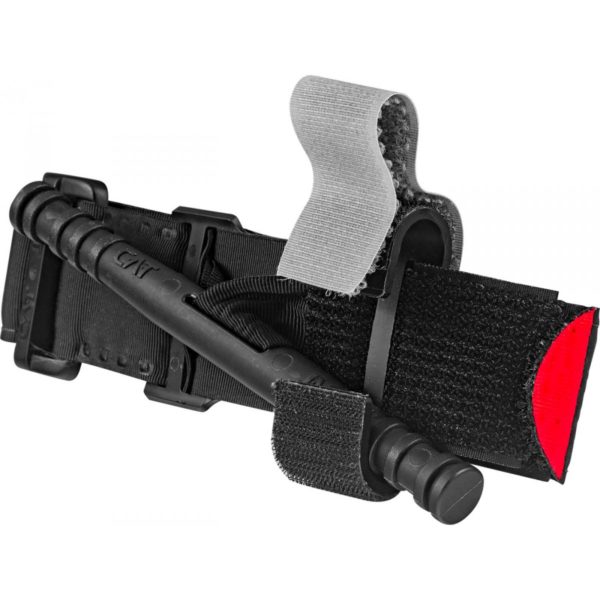
- Applying a Tourniquet One-handed
- Insert the tourniquet “loop” over the injured limb.
- Position the tourniquet 2-3” above the bleeding site directly to the skin.*
- Pull band tightly as tight as you can.
- Fasten the Velcro back on itself all the way around the band, but not over the rod clips.
- Band should be tight enough that tips of three (3) fingers cannot be slid between the band and the limb.
- Twist the rod until bleeding has stopped.
- Secure the rod inside the tourniquet. Clip to lock it in place
- Route the band between the clips and over the rod.
- Secure rod and band with TIME strap.
- Check for bleeding. If bleeding is not controlled, consider additional tightening or applying a second tourniquet side-by-side to the first.
- Record time of application.
- If you cant be sure where the bleeding is coming from based on the situation, the tourniquet can be effectively applied over clothing as high on the arm or leg as possible.
- The tourniquet can not be applied over solid objects within the clothing. [phones, wallets, tools, etc]
- Once on – leave it on.
Applying a Tourniquet Two-Handed
Its faster to slip the tourniquet loop over a limb, but if the injury makes access difficult to slip over, you may have to release the loop and apply it with two hands.
Route the tourniquet band around the limb, pass the band tip through the slit of the buckle, and position the tourniquet 2-3”above the bleeding site directly to the skin.
Follow steps 3-12 above.
Conclusion
,For years, the tourniquet was thought to be a dangerous “tool of last resort.” Battlefield experience has proven that tourniquets are not only safe, useful, and save lives.
I encourage you guys to buy a few tourniquets. Put one in your first aid kit, your truck and most importantly your tool bag! and remember those important tips:
- “Tourniquet First!” in severe extremity hemorrhage
- With a bad bleed “time matters” get it on FAST!
- Put the tourniquet on “high and tight”
- Once on – leave it on.
Purchase your tourniquet for $16.00 online here: RECON Medical Tourniquet Black