Improving Closet Organization
Bedroom Closet Makeover
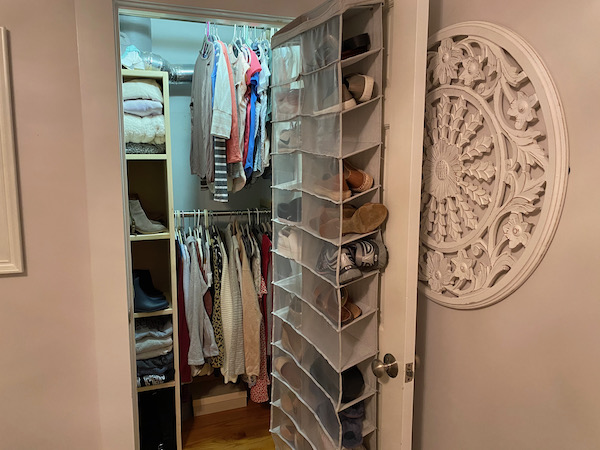
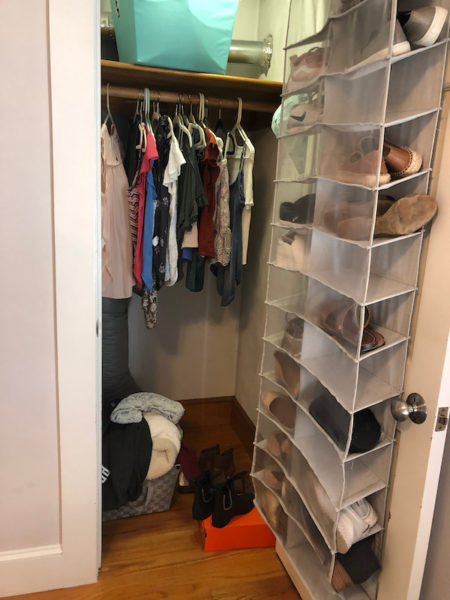
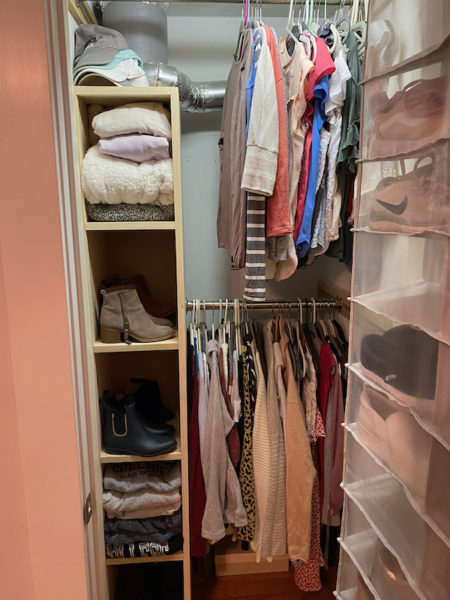
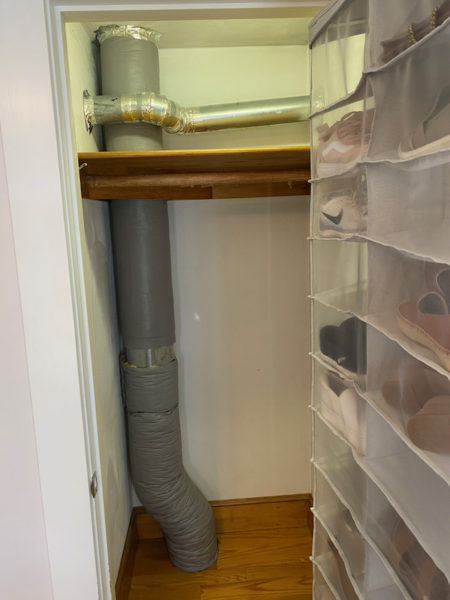
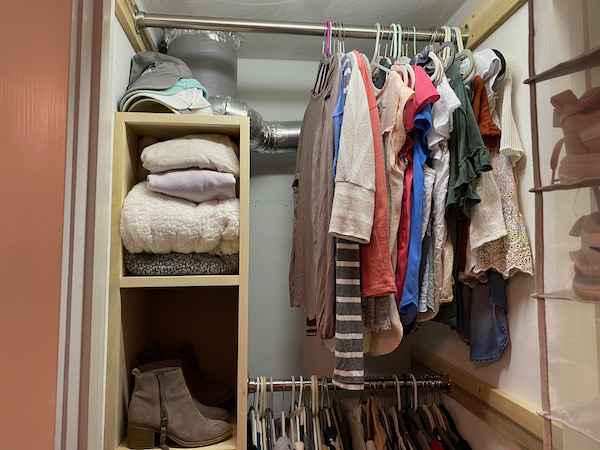
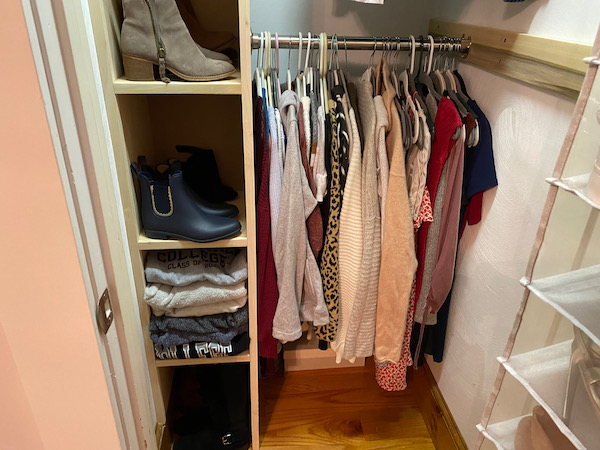
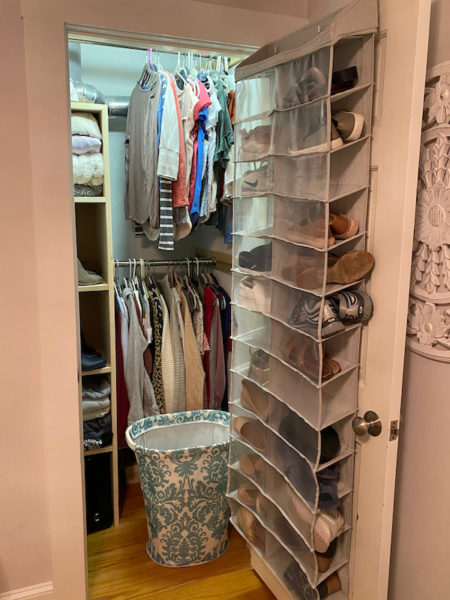
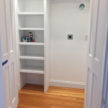
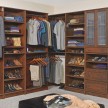
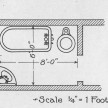
The photo above is a closet I recently upgraded with cubby storage and a second clothes hanging rod. The prior closet design [photo below] dated back to 1994 and was not efficient. Our goal was focused on improving closet organization.
Installing Double Closet Rods
I’ve recently been advocating installing double rods versus one rod. with the exception of formal dresses and coats, it seems that most folks mostly own shorter clothes. The result is to eliminate the old-fashioned one rod and shelf above style for a higher rod and a lower rod.
Customizing The Space
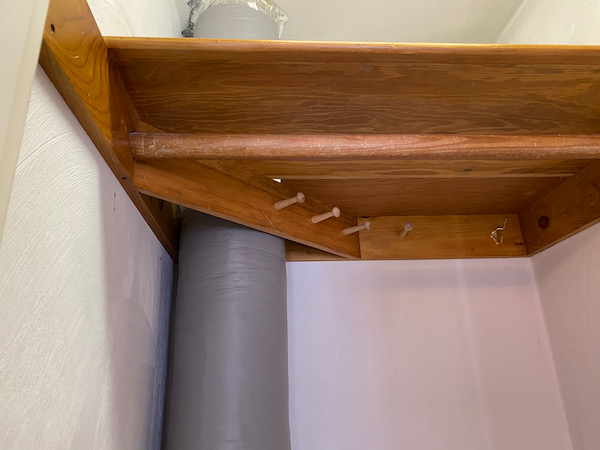
This particular closet had an HVAC vent vertically in the corner and a dryer vent higher up running horizontally. The old closet rod was limited for hanging in front of the HVAC duct.
One thought for improving closet organization was to deal with this dead space that the HVAC pipe causes. We decided to install a 12-inch wide set of cubbies for shoe or shirt storage.
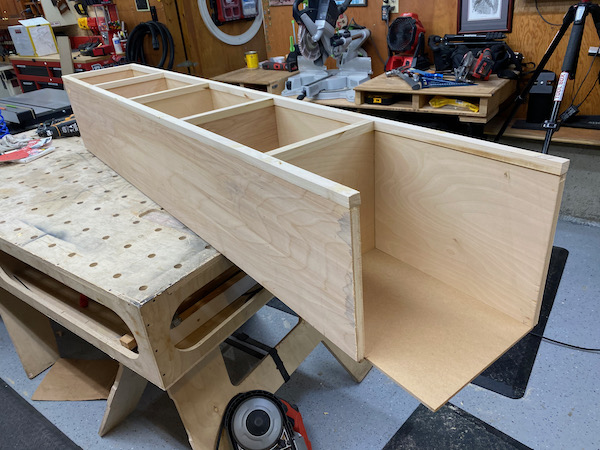
Building The Cubbie Storage
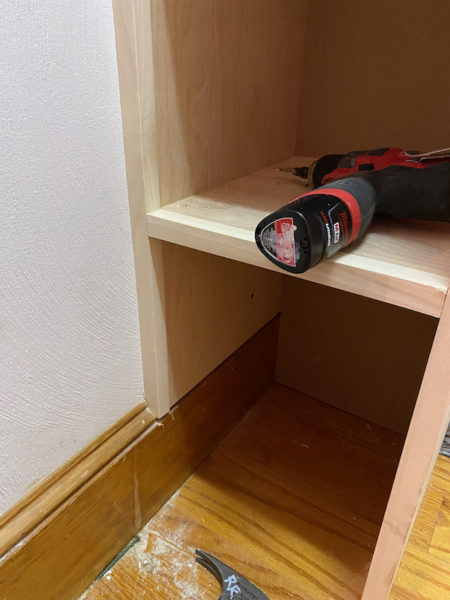
We used 3/4″ Birch plywood to constrict the sides, top, and shelves. 1/4″ plywood make up the back panel.
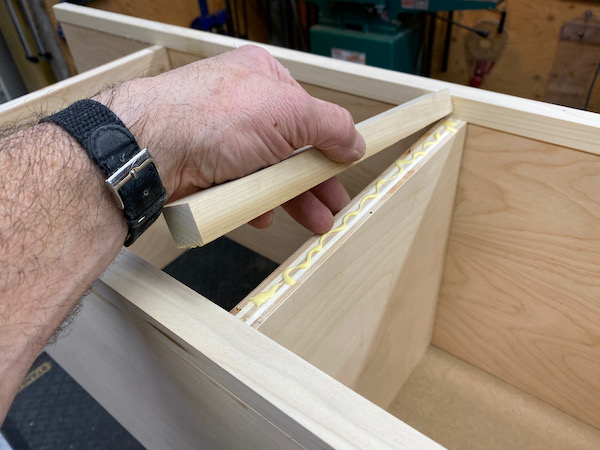
The shelves and cubbie frame nosing were covered with 3/4″ Poplar nosing trim. The unit measured 12′ x 14″ x 75″ and was fastened together with finish nails.
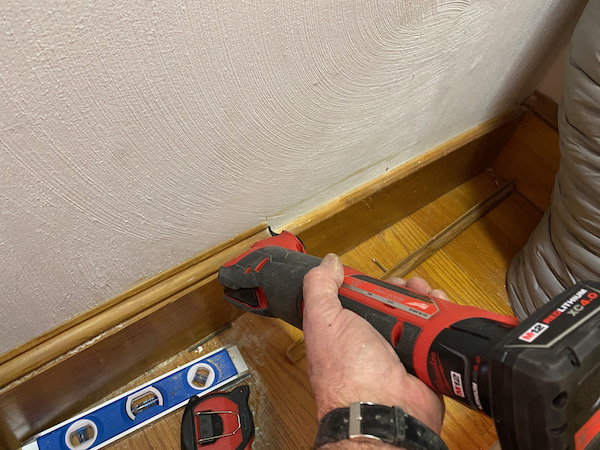
We calculated for 5 shelves, including the hardwood floor space. The shelves were installed fixed in place, with equal. One sidewall of the cubbie was cut short to allow it to sit on top of the existing closet baseboard trim. We used a multitool to cut back the base cap molding.
Mounting The Cubbie Box
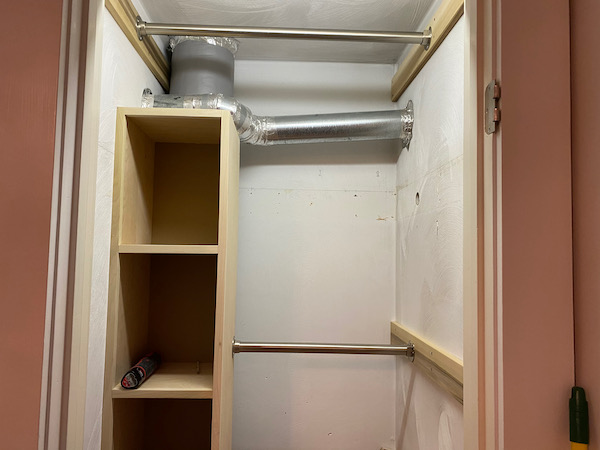
The cubbie box was placed against the wall, on top of the baseboard trim, in front of the HVAC pipe. The box was plumbed in place against the wall and fastened to the one wall stud with four 2-1/2″ screws.
Installing Metal Closet Rods
As I mentioned above our goal was to install two closet rods, increasing hanging capacity by 100%. We chose brushed nickel-metal rods over wood. Wood splinters and is not as sturdy, or as fashionable.
The first rod was place up high with enough clearance to fit a clothes hanger above and onto the metal rod. Using a men’s large shirt on a standard hanger we gauged the height of the second rod, which was approximately 48-inches off the finished floor.
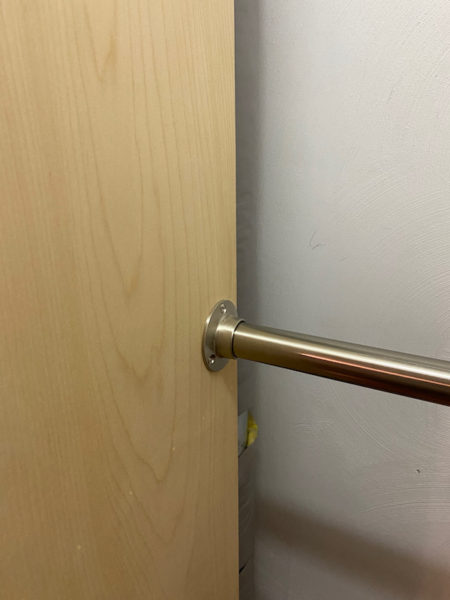
In order to mount these metal closet rods, we had to install 1×4 horizontal strips across the sidewalls of the closet. This was so we could fasten the board to wall studs for strength. The metal closet rod then can be mounted anywhere along with this 1×4 board.
The upper metal closet rod [photo above] was mounted as far back as the existing dryer vent allowed. Its positioning ended up forward of the lower rod by several inches.
We also kept the lower rod as far back as possible to allow floor-space room, in this case for a dirty clothes bin.
Hanging Shoe Organizer
Another approach we took for improving closet organization was to hang a shoe organizer on the back of the closet door. This organizer can hold approximately 15 pairs of shoes.
Check out this article where we added a closet to a bedroom. Adding A Closet


