How To Install Astragal Wall Molding

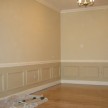
How To Install Astragal Wainscoting Molding
I recently installed some astragal molding to a wall in a bathroom to simulate wainscoting. This is often called faux wainscoting. This article will discuss how to install astragal wall molding.
Determine Panel Spacing
The first step is to lay out the equal number of panels on the wall. A construction calculator makes easy work of this but I did not have mine with me so I used a regular calculator.

To calculate the wainscoting panel layout I began with an estimate of the panel size. I used 10″ for my panel width.
The wall was 65 1/2″ long. In order to figure out the panels exact size you first have to figure out how many panels you will install.
Determine Style and Rail Dimensions
I used 4″ as my style and rail width. The styles are the vertical spaces between panels and the rails are the horizontal paces above and below the panels.
I decided on a 4″ spacing because it matched the styles and rail on the entry door. Note – Every corner has a style which means that you will always have one more style than panels.
Panel Layout:
1. Start with 65 1/2″ and subtract one 4″ style.
2. 65 1/2 wall length minus a 4″ style = 61 1/2″
3. Divide 61 1/2″ by the “desired” panel width [10″] plus your style width [4″] [61 1/2″ divided by 14″ = 4.39 [4 panels]
4. Round that number up or down as necessary to get an even number of panels.
5. Divide the length of the room minus the extra style by the rounded number you came to. [61.50 divided by 4 = 15.37]
6. Subtract 4″ for your style from that number to get your panel sizes.
[15.37 minus 4 = 11.375 or 11 3/8″
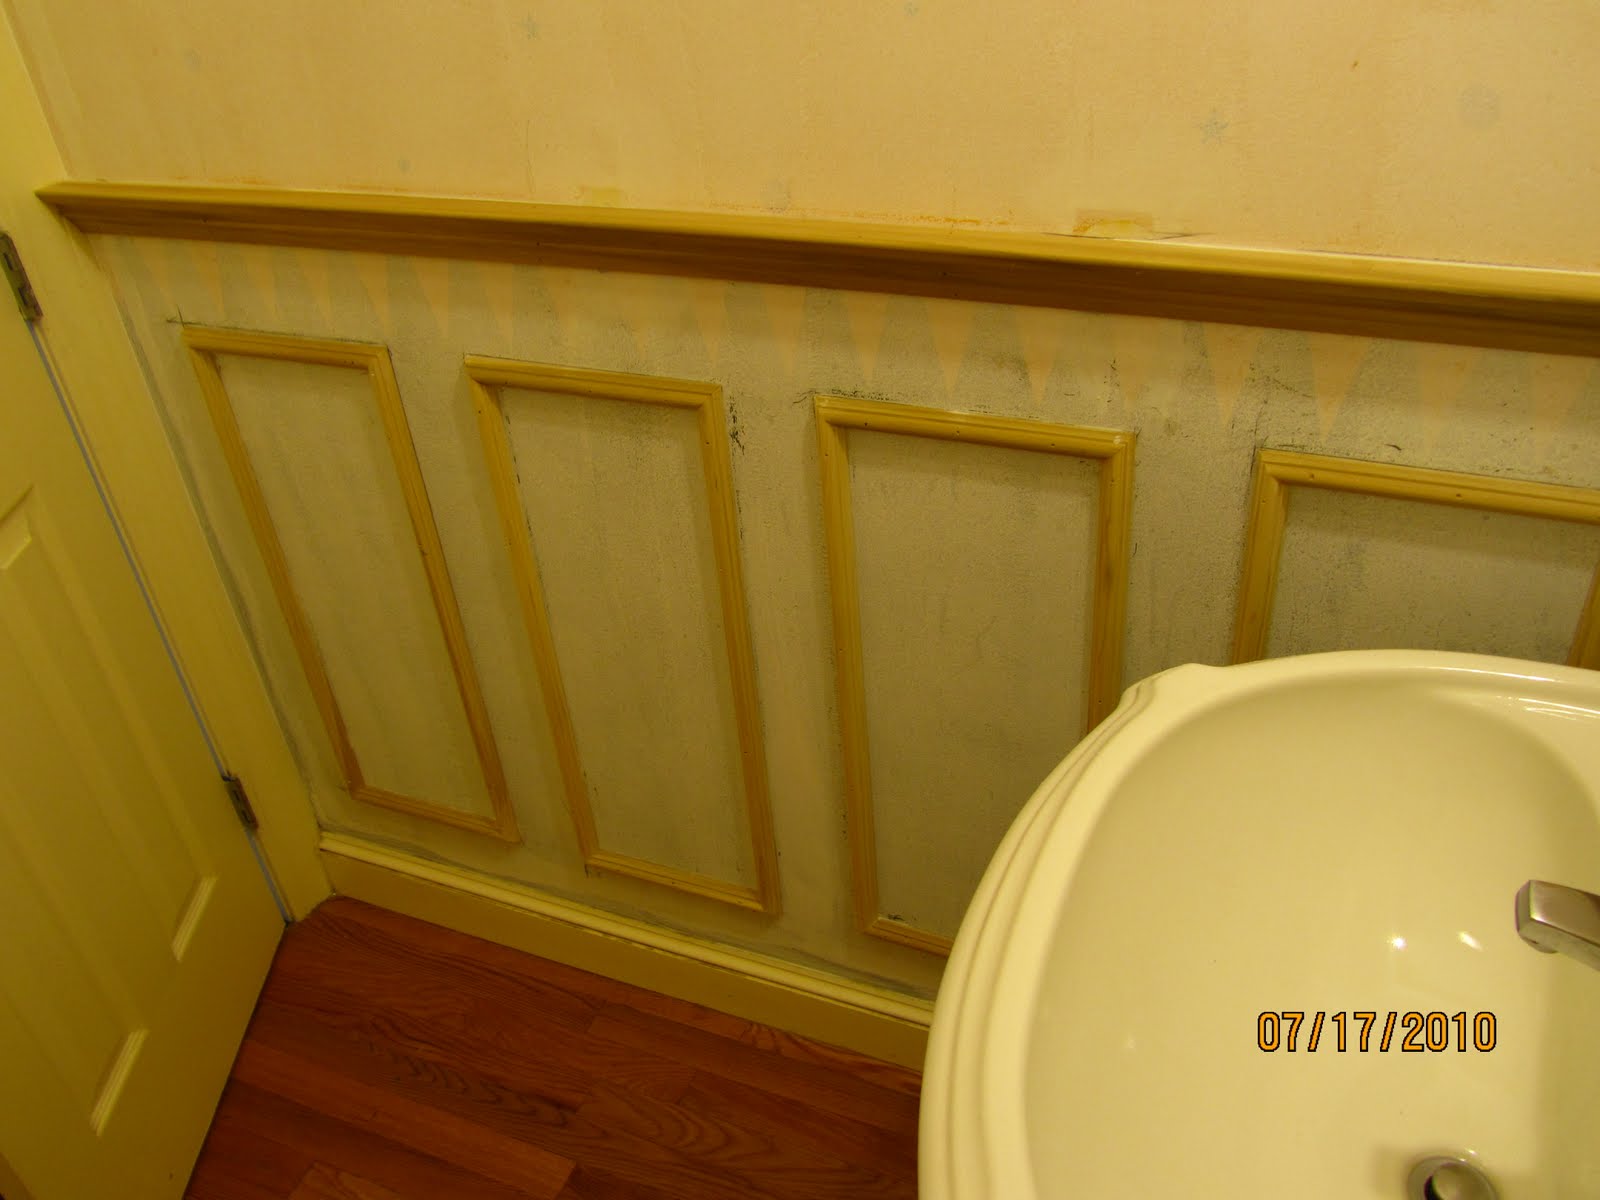
7. Start in one corner, mark 4″ for your style, then 11 3/8″ for your panel, 4″ for your style and so on. You should end on a 4″ style at the opposite corner.
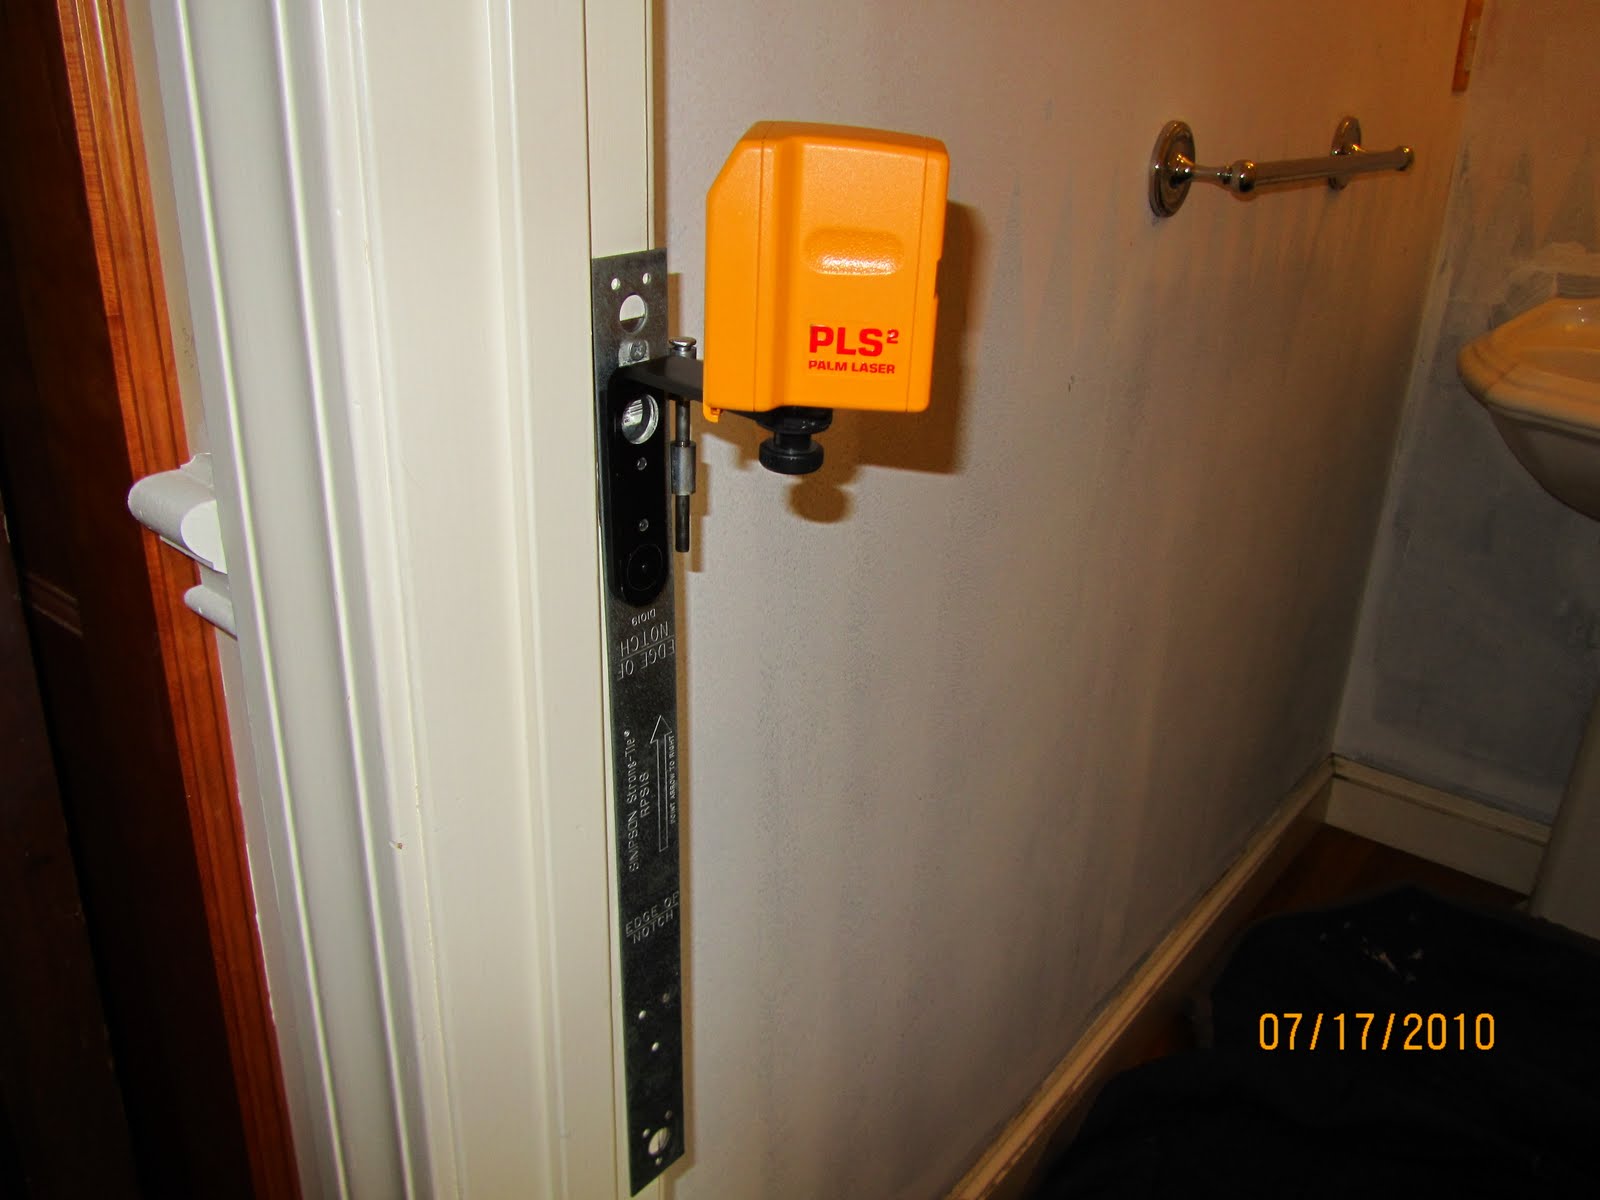
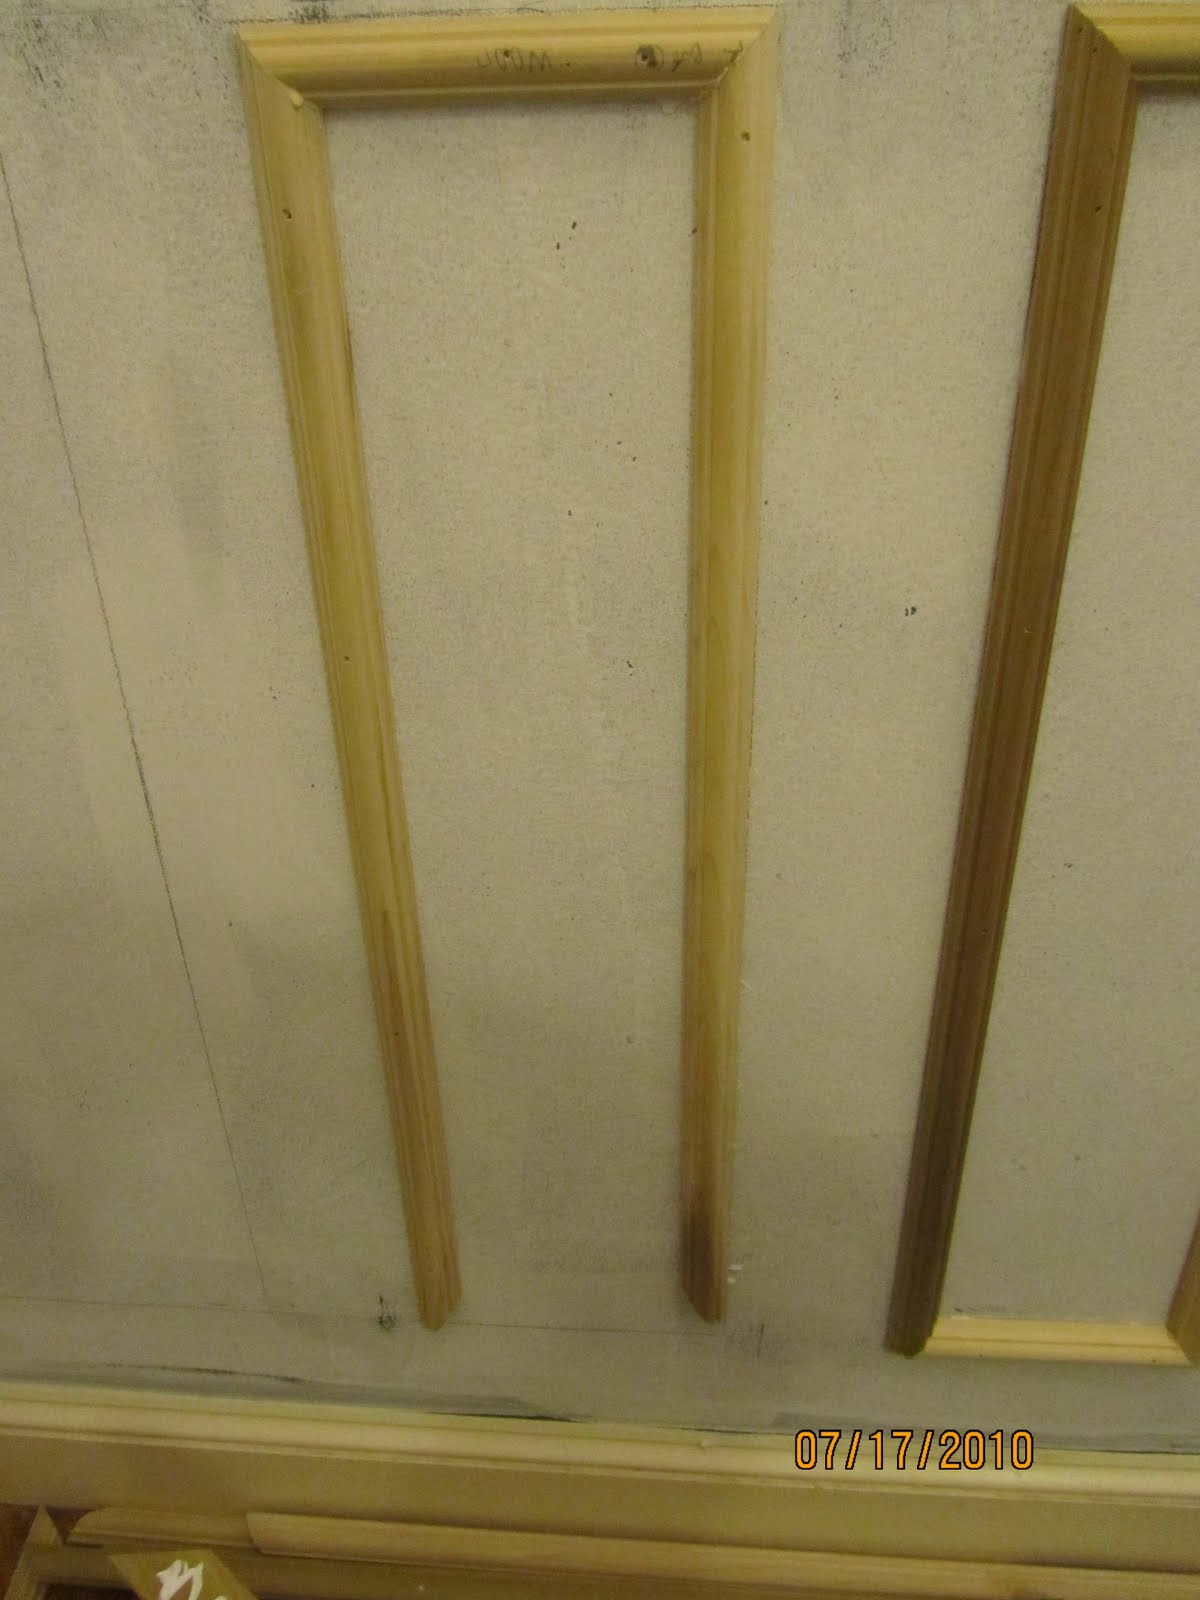
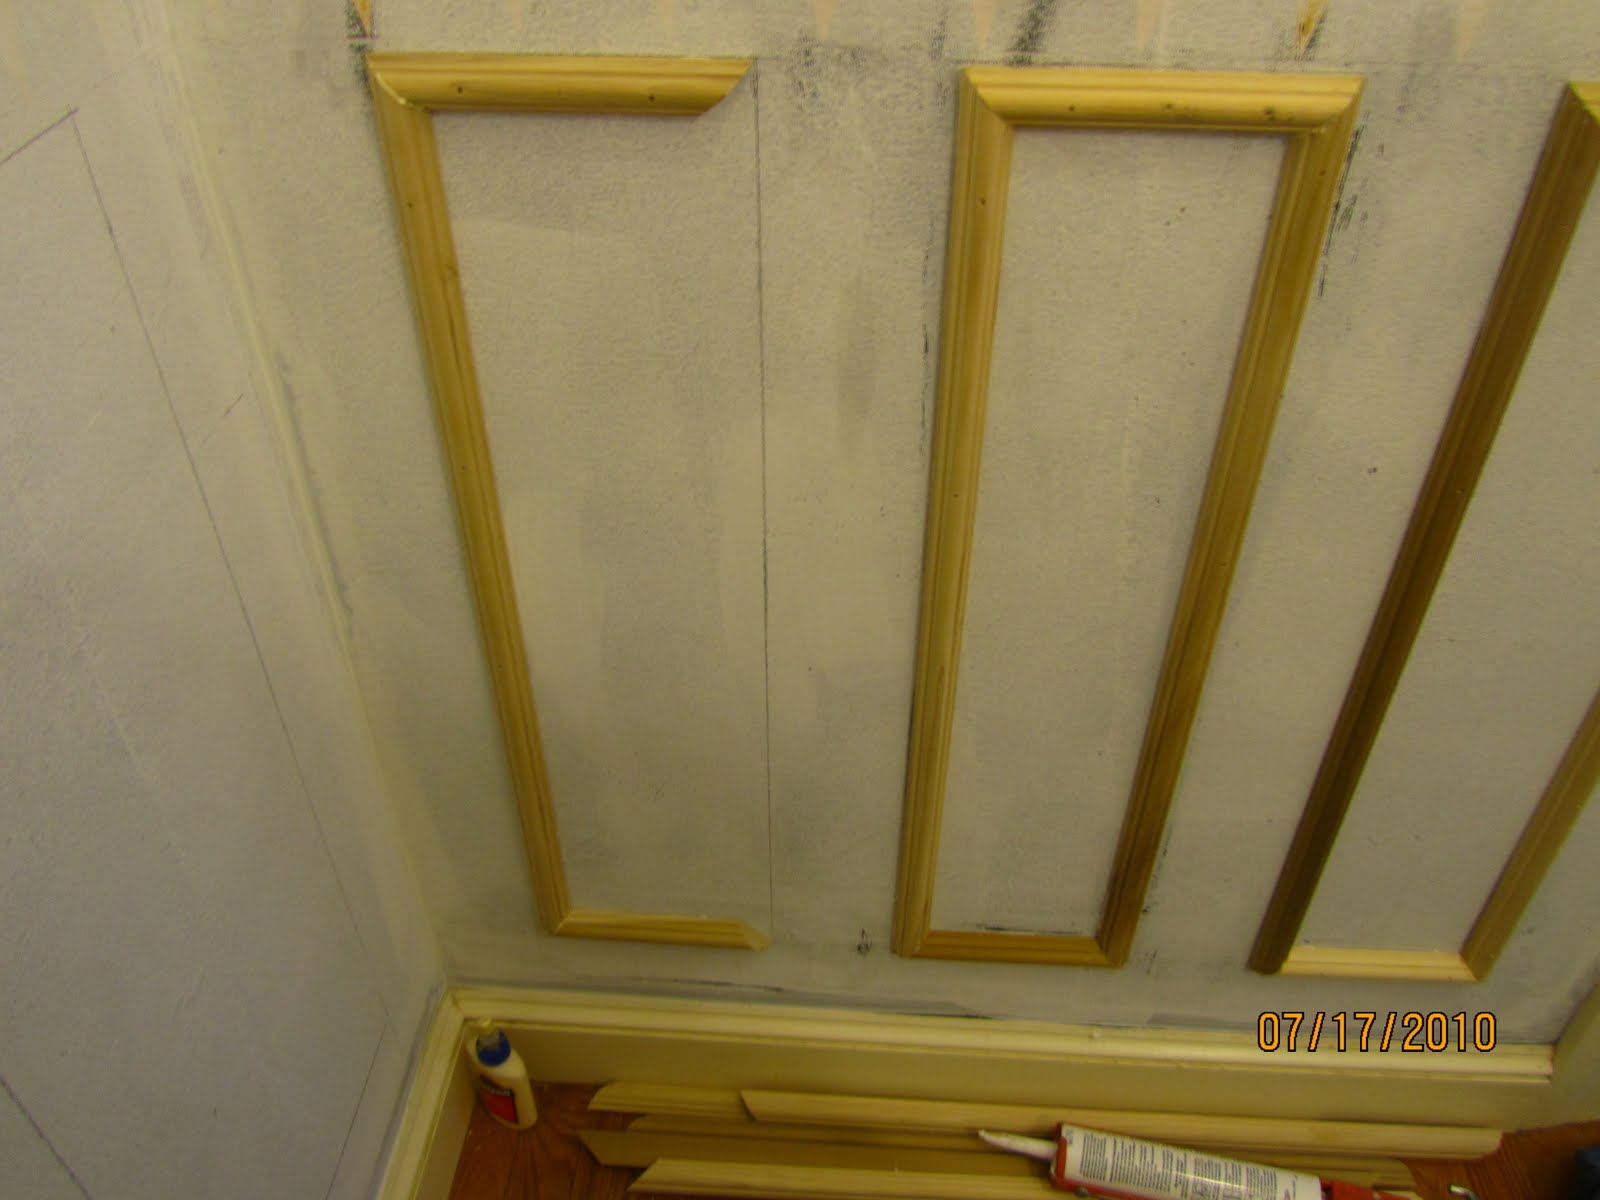
8. Once your satisfied that you correctly laid out the panels use a level to plumb the lines. Below I used a laser level to double check my layout.

9. After laying out the panels on the wall I counted all of my horizontal and vertical molding pieces. All of the tops ad bottom should be the same size and all of the sides should be the same.
Cut all Parts At One Time
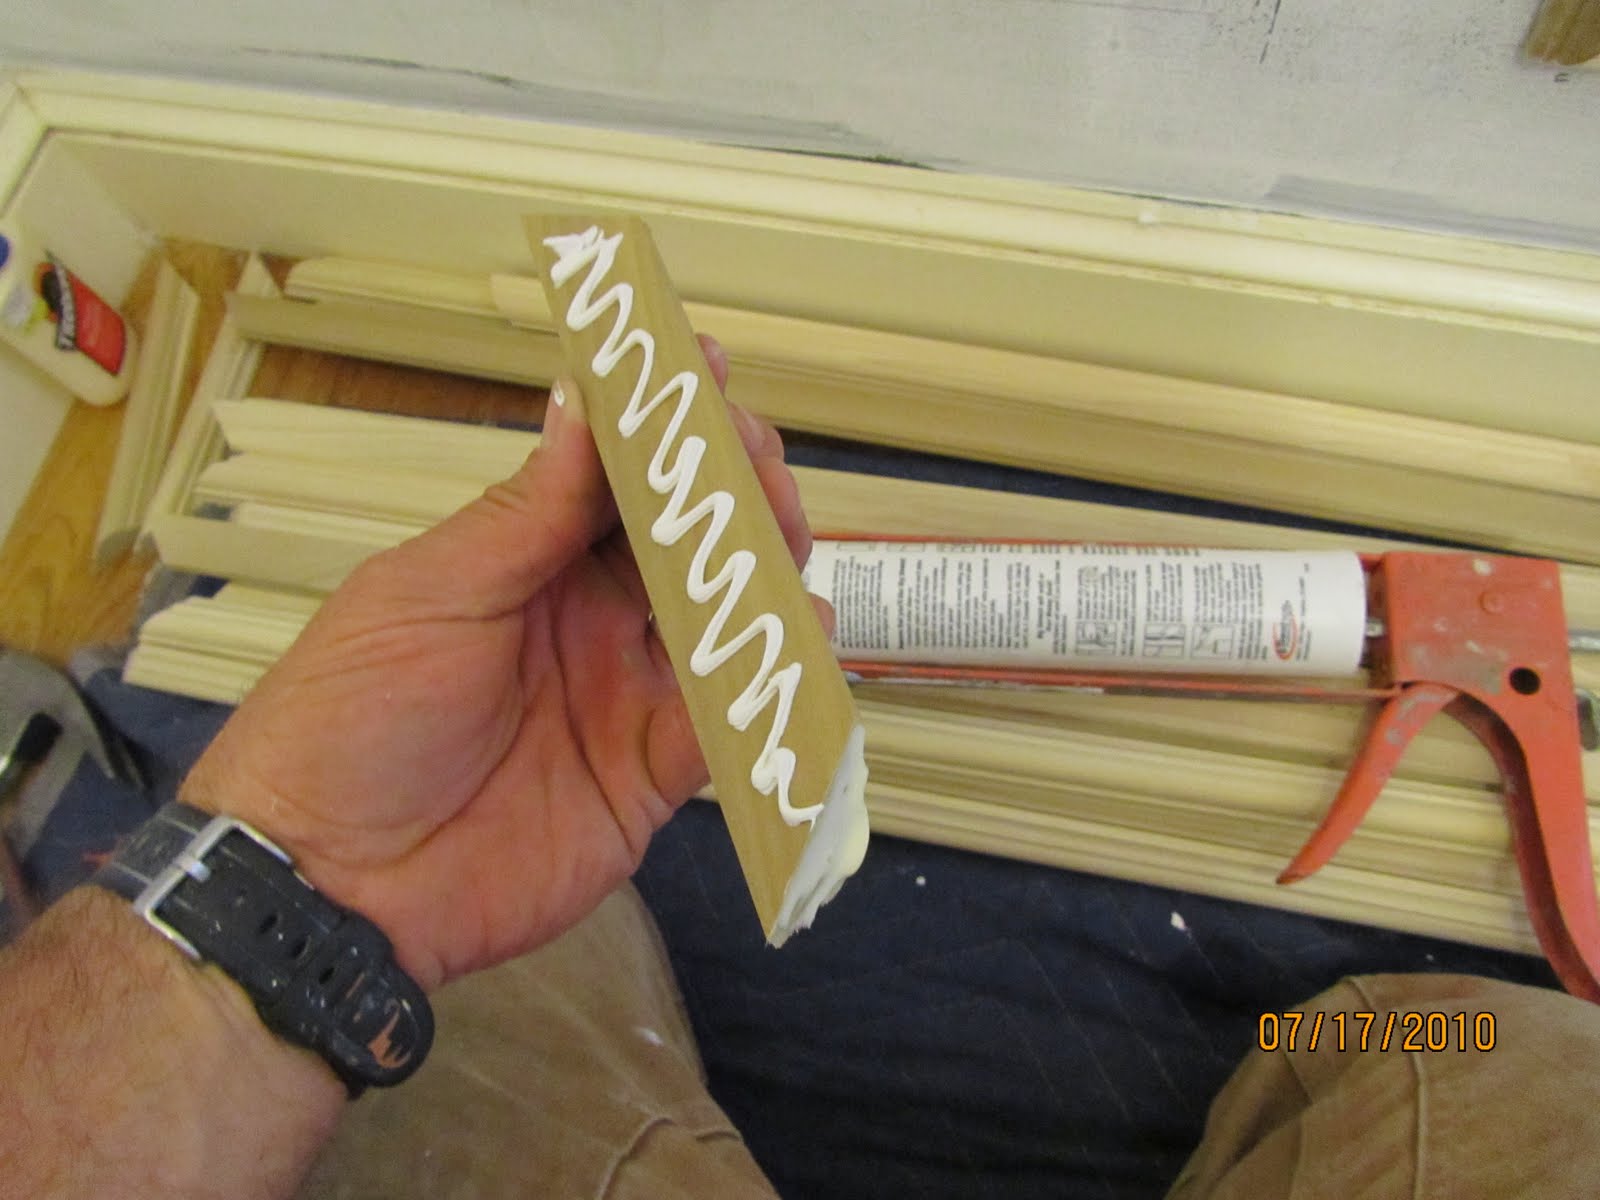
Fasten to Astragal Molding To Wall
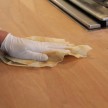
Astragal molding is then applied to the wall with adhesive caulk and finish nails. All of the molding miters are glued and pinned together with a brad nailer.
TIP: When using the pneumatic nailer insert your finish nails at opposing angles into the drywall. The opposing nails help pull the molding to the wall and hold better.
Install the molding on your layout lines.
On each panel, when applying the last piece of molding, I make sure not to nail near the miter end of the molding already on the wall until all the parts are fitted.
Doing this gives me some flex to move the moldings slightly and get the miters to fit just right.

If you enjoyed this post, make sure you subscribe to my RSS feed or receive updates via email