
Installing Faux Wainscoting

Installing Faux Wainscoting with Moldings
Wainscoting whether it is the real cope and panel or applied molding- faux version always seems to dress up a room with class.
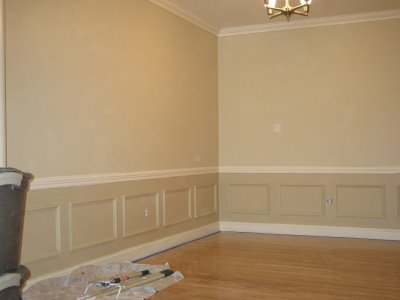
Recently a decorator asked us to dress up this dining room [photo below] with a faux wainscoting look.
Although my favorite is to build cope and stick wainscoting with either a flat or raised floating panel, the budget called for applied moldings.
We decided to use Anderson McQuaid band molding # 695 [diagram below] and apply it to the walls for the desired look.


What is Faux Wainscoting?
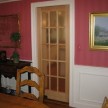
Installing Faux Wainscoting means gluing and securing molding as well as chair rail molding to create the look of solid wainscoting.
the moldings are mitered to create a square or rectangle and later the wall and molding s are painted one color to look like solid wainscot.
Laying Out The Panels Is Important:
for any type of wainscoting to look proper the panels must be layed out so the panels on each wall are proportional. [same size and spacing] This means that each wall may have different size and number of panels depending on the wall length.
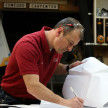
By using some math and a calculator we determined equal spacing molding panels that were pleasing to the owner and decorator. We purposely figured to panels so any outlets would either land on a rail or in side a panel. Taking care not to have it land too close to the edge.

Being a commercial building we were dealing with steel studs. We located each steel stud, marked them and tried to avoid nailing into them.
To secure this molding we used an adhesive caulk and 6 penny nails driven at opposing angles into the drywall to cinch and hold the molding tight to the wall while the adhesive dried. Corners were nailed to each other conventionally.
The chair rail molding was already applied so we were done once the faux molding was installed.
Paint and Caulk:
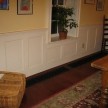
After installing the moldings apply caulking to the seams of all the moldings. If you are looking to make the faux wainscoting look like solid wainscoting – paint the entire wall from the chair rail down one color. Some folks also paint the panels different colors for dramatic looks.
Applied Moldings and faux wainscoting


