How to Build Cedar Window Boxes


Bigger vs. Smaller Boxes:
Again, your choice as both have their advantages. Bigger hold more soil, and tend not to dry out as quickly, allowing you to plant perennial or more delicate plants. They also hold more plants allowing you to create layers of color.
Shallower boxes are lighter, easier to lift, do not overpower a home architectural features, and are better suited for drought-tolerant plants. Window boxes this size are an excellent choice for planting annuals, herbs and artificial plants
Dry fitting
Measuring:
Once you’ve decided what types of plants you will use in the window boxes it’s time to measure your windows.
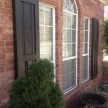
Measure the width of your window trim or window sill to get the window box length. Then measure the height and calculate the 20-25% rule of thumb. Sometimes using a visual aid such as a cardboard cutout taped in place can be useful determining size.
During this step you should be thinking about how you will mount your window box. There are several methods of mounting which include but are not limited to:
- Using structural screws
- Small lag bolts
- Combination of screws and brackets
- Window box holders
- French cleat hanger
French Cleat Hanging:
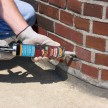
A French cleat is way of securing window boxes and involves using two “cleat” boards, each with an opposing 45 degree bevel. One cleat is mounted to the wall and the other to the window box.
Once the cleat is secured to the wall, the window box is lifted on to it.
TIP – If the wall cleat is left slightly shorter than the window box cleat, you will have some left or right adjustment, after it is hung, for perfect positioning. When measuring the dimensions of side panels, allow an extra overhang on back side panels to cover [hide] the French cleat.

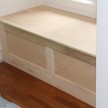
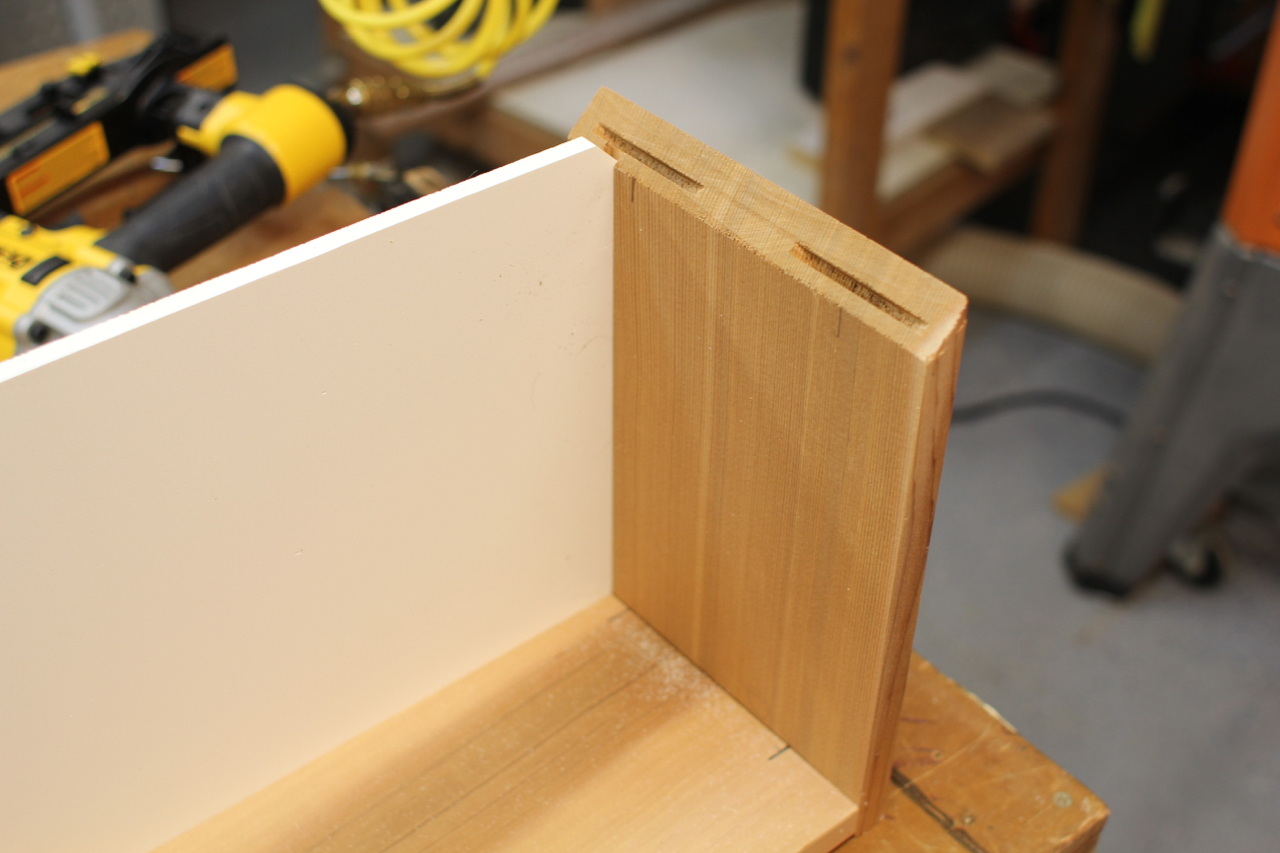
Back panel – tenon
Determine the Joinery:
Prior to building your boxes you need to think about how you will assemble your window box. Many simple boxes are simply constructed with butt joints and nails or screws.
You can choose this method or you can miter your corners to eliminate and hide the end grain. Mitering is a more finished carpentry look but should include some mechanical fastening in the form of biscuits or tenons. More on that below.