How to Build Cedar Window Boxes

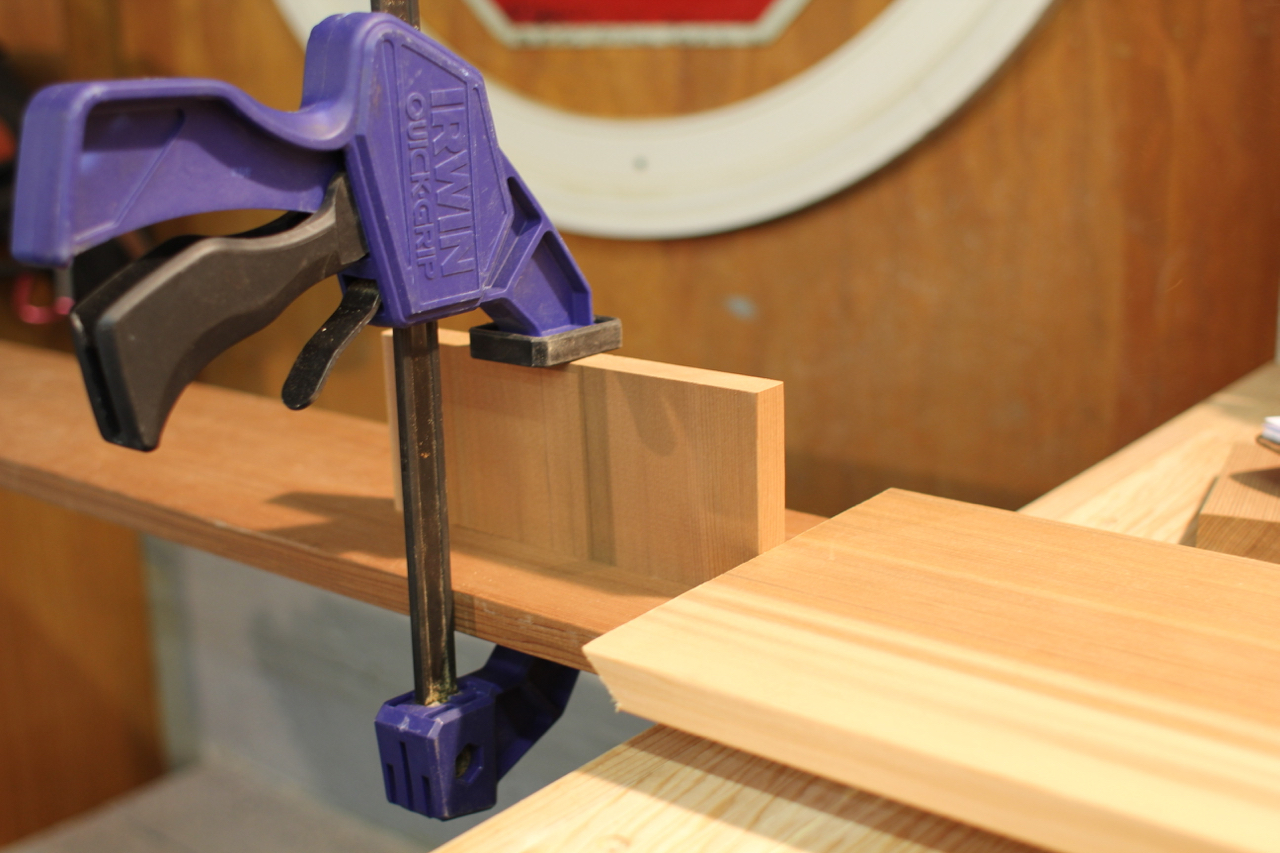
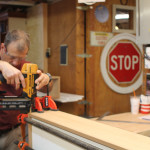
Stop Block – Repeat Cuts
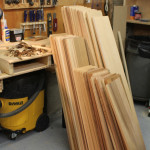
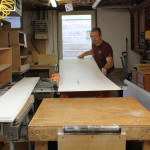
Cutting Materials:
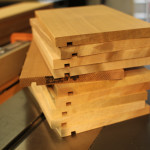
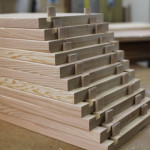
If you’re lucky, all of your window boxes will be the same size and cutting will me a matter of production cutting repetitive size pieces.
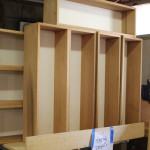
For each window box you will need to cut two long parts, the exact length of the window bow, two side parts and a bottom. Each box has 5 parts to assemble plus your mounting preference.
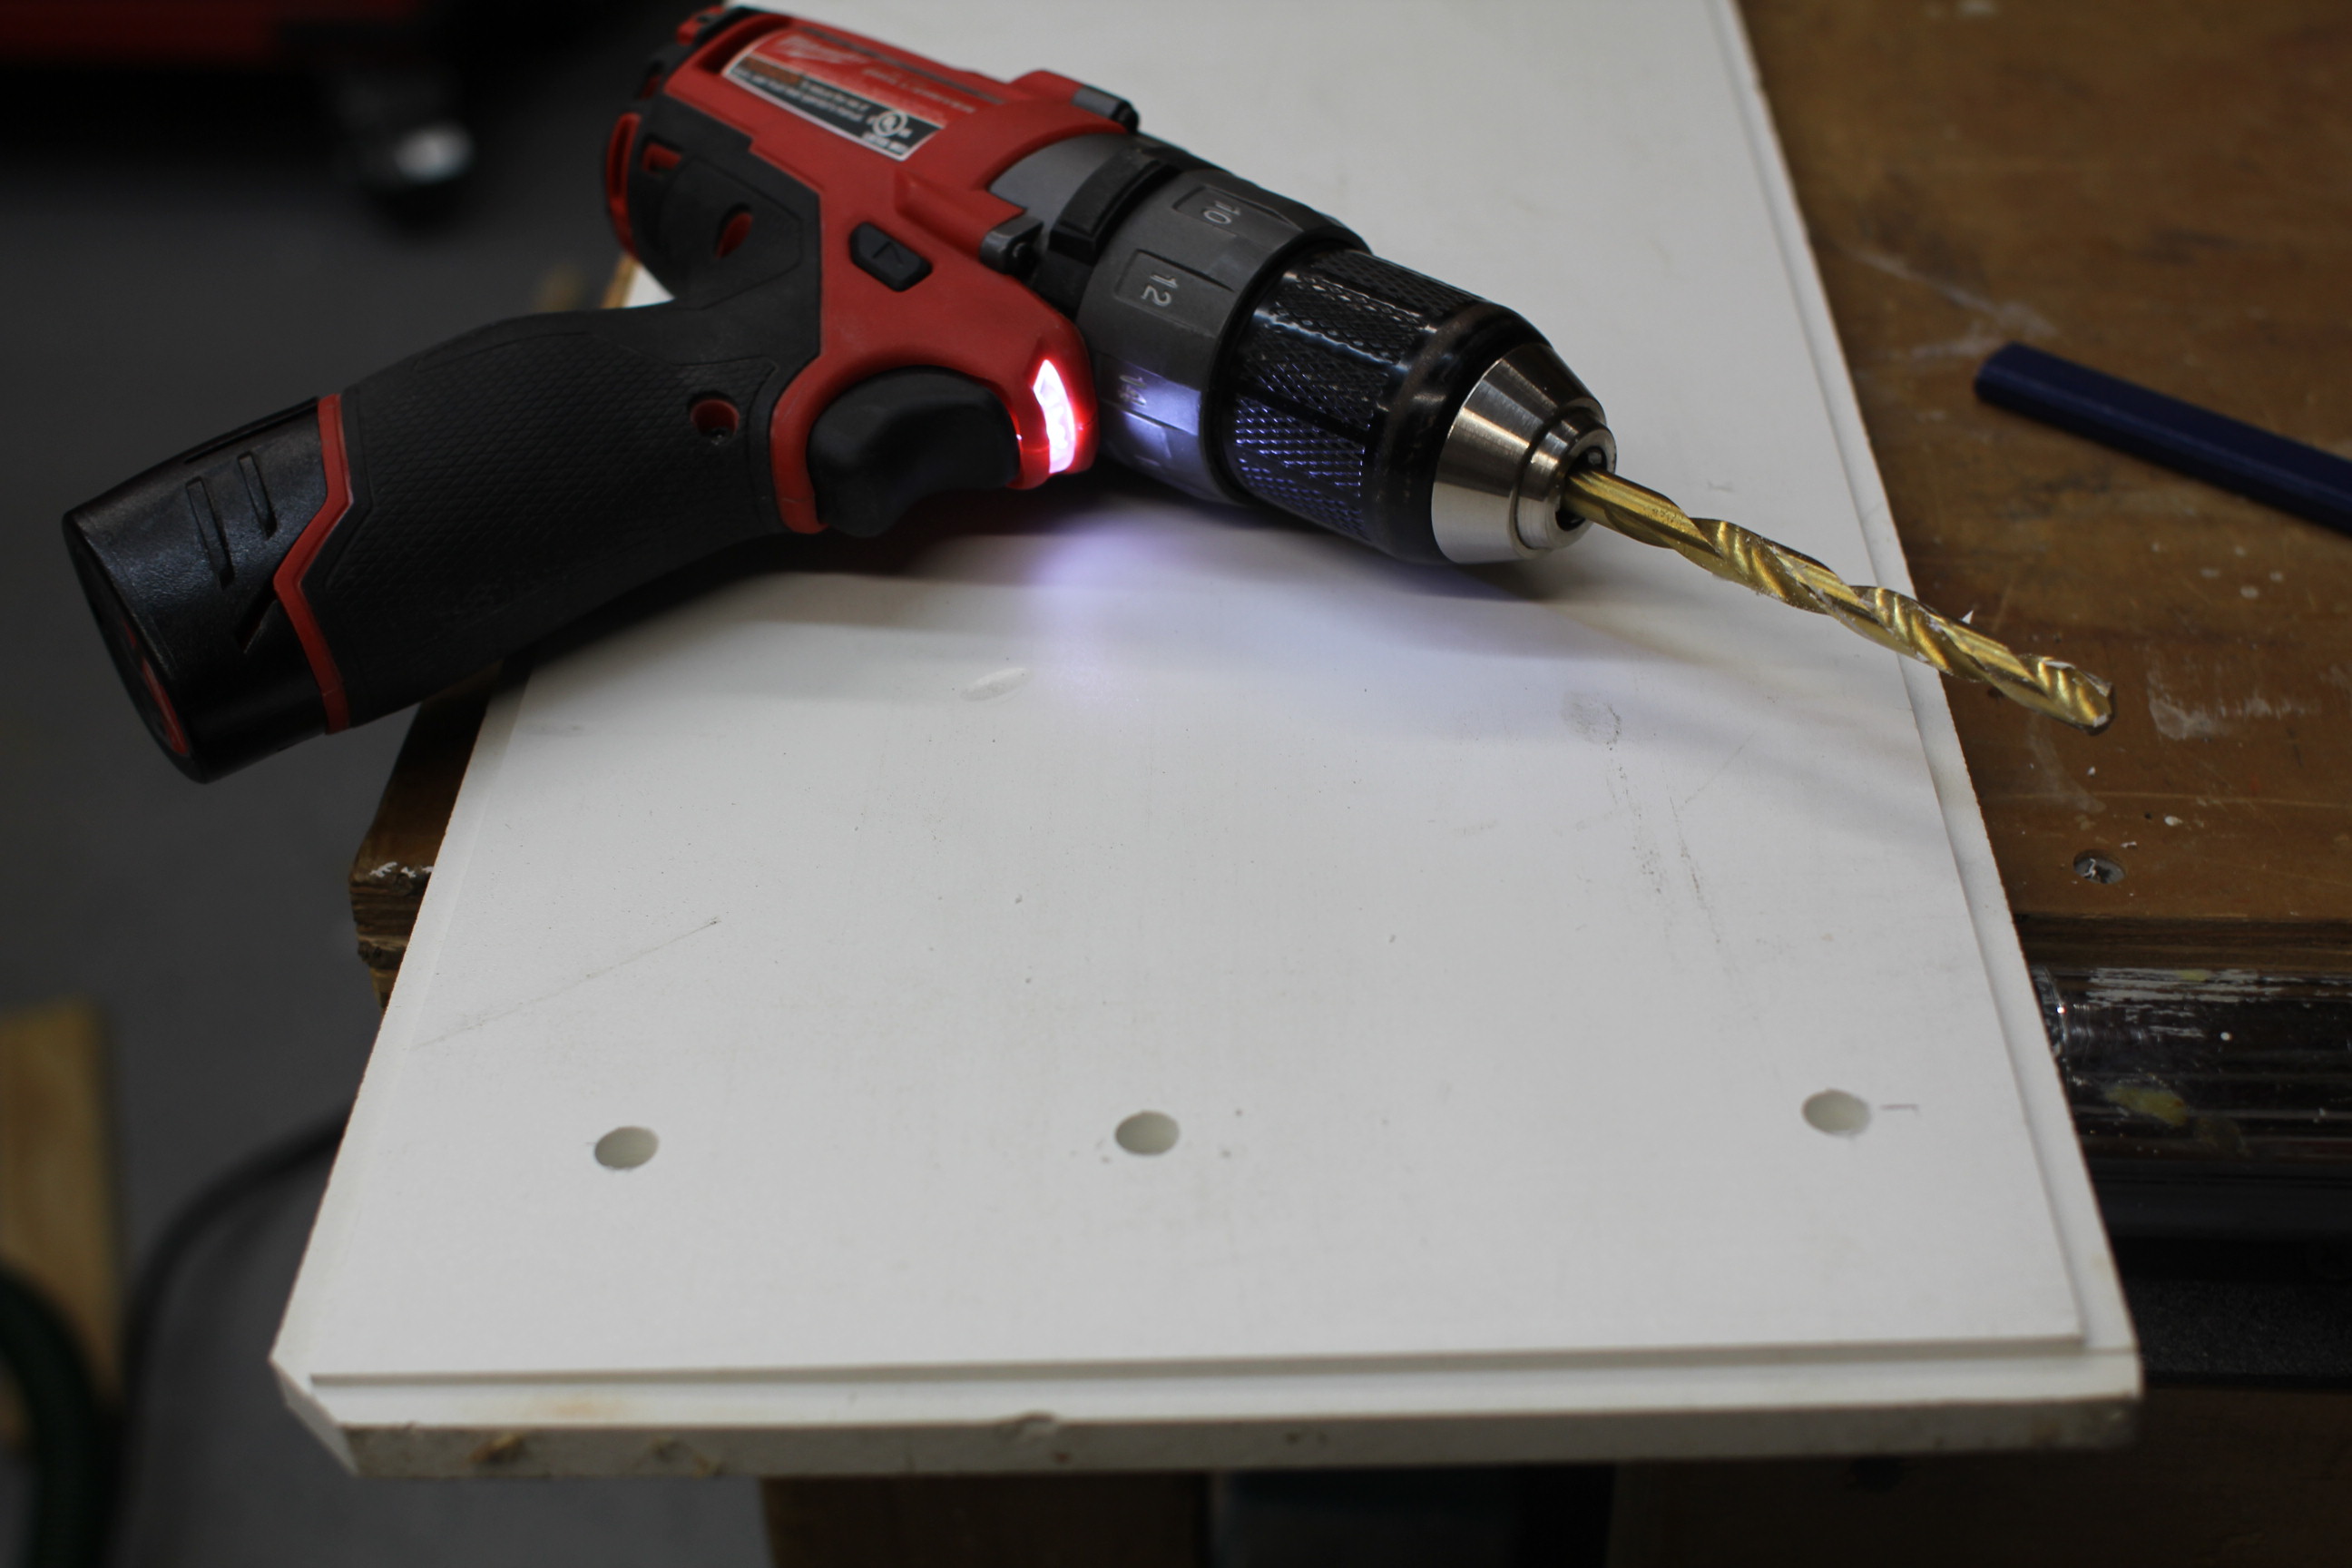
Measure each 1-by-8-inch board twice, and mark the required lengths. Cut all required sections. If all of your window box parts are the same, consider setting up and using a stop block. Stop blocks allow you to make accurate, repetitive cuts time after time, eliminating the need to measure each piece of wood. This is crucial and saves time when many of the components need to be the exact same size.
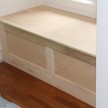
Making the Bottom Panel:
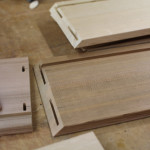
Most people simply fasten the front, back and sides to the bottom panel, which is a fine way to build a window box.
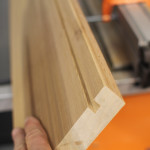
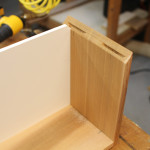
On our project we used a dado cutter and cut 3/8-inch grooves in the front, back and two side panels. We choose to use a ½” pvc board as our bottom panel for longevity. The panel was routed with a rabbit router bit so that it fit into and floated inside the cedar panel grooves. We left 3/16 of expansion room on all sides for expansion and contraction of materials. We liked this approach, because there are no mechanical fasteners holding this bottom panel in, that can rust.

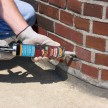
Fasteners
Assembling the Window Box:
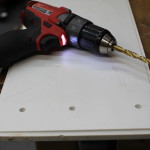
If you’re assembling butt joints, simply assemble your front and back boards to the side pieces using galvanized or stainless steel 1/2-inch wood screws through the predrilled pilot holes. If you prefer you can use a counter sink and fill the holes later with cedar wood plugs. To do this you will need a counter sink and matching plug cutter. Plug cutters will work in power drill but I prefer to use a drill press.
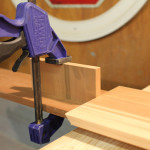
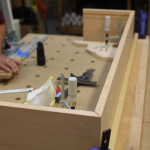
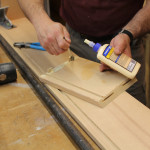
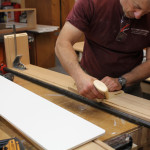
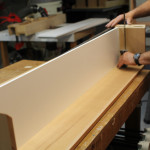
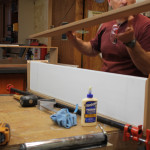
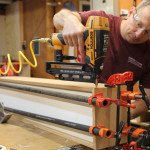
On our window boxes we mitered the front two joints. We used biscuit cutter to cut matching biscuits in each piece of wood, inserted the biscuits, with waterproof glue and then clamped the boxes tight overnight. I also added some 16 gauge stainless steel nails to the mitered joints.
We used a tenon cutter to secure the back board to the two sides of our window box. Tenons are extremely strong and are used to join two mating mortises. These parts were also glued, clamped and nailed. All nail holes were later filled and sanded.
If you decided on using a French cleat this would be the time to install cleat to the box.
Drainage Holes:
We drilled 3/8-inch drainage holes in several places along bottom board of each window box. The number or pattern is up to you, but drill one hole roughly every six square inches, and give water plenty of room to escape.
Finishing:
We filled all nail holes, sanded and primed all exposed wood with a quality oil primer. The window boxes were finished with two coats of latex top paint.
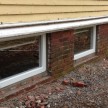
Mounting:
As mentioned earlier there are several ways to mount a window box from fasteners, cleats or a pair of window box brackets.
The first method is direct mounting, where the back wall of the window box is pre-drilled holes and permanently secured in place with a fastener. The second is cleat mounting, where you attach a long, sturdy cleat to your wall and then hang the window flower box from the cleat. The advantage to using a cleat is you can easily lift the window box off for replanting or winter storage. The third is using brackets, which usually involve a combination of direct mounting and bracket support. This is a useful and many times needed method when the window box is larger and heavy.
The best choice will depend on the materials, design and construction of your window box and mounting needs of your house.
On our project we pre-drilled holes and mounted our window boxes and used 6-8 GRX structural screw fasteners. The GRX fasteners are weather resistant, have high quality case‐hardened steel with high tensile, torque and shear strength.
Planting:
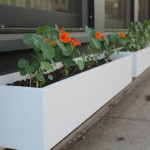
Fill the window box with a 1- to 2-inch layer of gravel in the bottom of window box, to allow excess water to drain. Cover gravel with potting soil, filling box to about an inch from top.
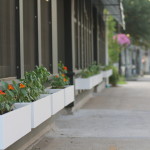
We purchased plastic planters for our cedar window box rather than planting directly. If you do this you may want to buy the planters first to determine your window bow depth, width and length. The plastic liners we purchased were smaller than our window boxes.
The advantage of using plastic planters is so you can lift the planter out of the box to change soil or plants. This method is best for second story windows or any window too high to get to from the ground.
Conclusion:
From simple to ornate, traditional to contemporary, rustic to elegant, wood or terra cotta window box planters cover a large range or materials, styles that will fit your homes décor or your personal style.
Get planting!
-
- Stop Block – Repeat Cuts
-
- Cut all stock at one time
-
- Bottom panel groove
-
- Side panels
-

- Biscuit Joiner
-
- Joinery
-
- Back panel – tenon
-
- Assembly
-

- Dry fitting
-
- Cutting PVC bottoms
-

- Glue up
-
- Glue up
-
- Assembly
-
- Bottom panel dry fit
-
- Dry fitting
-
- Glue up
-

- Clamping
-

- Clamping
-
- Fasteners
-
- Fasteners
-
- Awaiting installation