Replacing A Window Pane


Repairing a Broken Marwin Window Pane
In the remodeling and carpentry world I often get calls from customers asking about replacing a window pane that was damaged by a hockey puck or lacrosse ball.
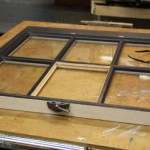
Marvin Single glazed window
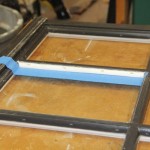
The window pictured in this article is a Marvin, single glazed window with an applied energy panel.
Energy panels, often confused with storm windows, are removable exterior glass panels to add energy efficiency for wood windows with single glazing.
Window Pane Repair Steps
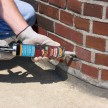
In order to replace the broken glass you first must remove the broken glass. This part of the project is BEST done while wearing eye protection and gloves to protect your hands.

Remove the Broken Glass
- Grasp the broken shards and wiggle and pull them out.
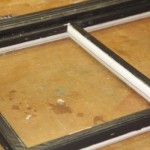
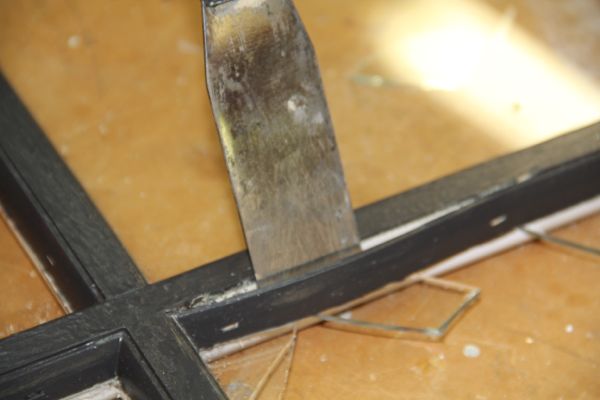
- Most single pane windows have wood putty, others, like Marvin use wood stops. These stops need to be carefully removed in order to replace the glass panel.
- Note – if your window has putty, use a wood chisel or putty knife to remove it.
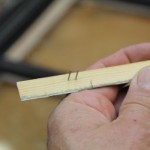
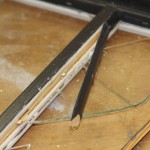
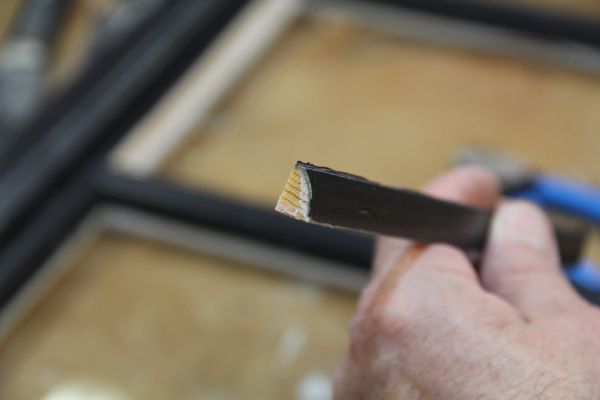
- The Marvin window pane stops are applied at the factory with approximately four staples.
- To remove the glass panel stoops I used a utility knife to cut the paint along the seam and to spread the stop apart wide enough to get a stiff putty knife in between the window frame and stop, pulling out the staples.
- Use the utility knife to wiggle and pry the staples holding wood stop out. It is best to work from one end toward the other end,. Sometimes two putty knives work better.
Clean Out Glass, Putty and Any Fasteners
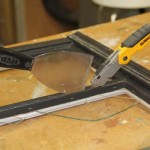
- Scrape out any putty, or caulking.
- Remove the fasteners from the window frame or the wood stops. I used end cutters or wire cutters to grasp the staple on one leg and turning sideways I was able to pry them loose.
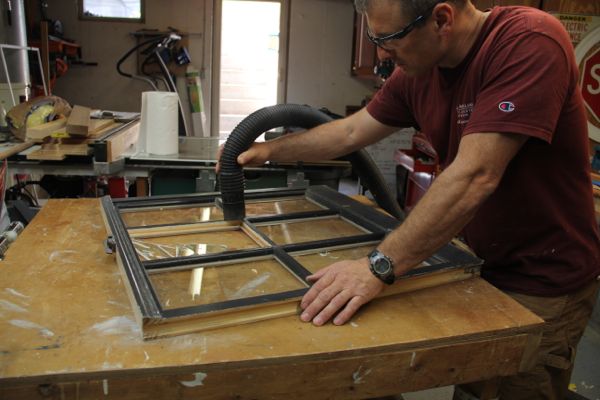
- Vacuum all glass shards and debris from the window work bench, and floor.
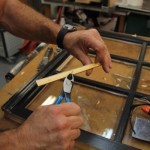
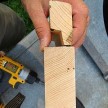
Replace any Broken Stops
On this repair I was able to get three of the four glass pane stops out without damage. The fourth stop broke so I brought some 3/8″ quarter round and had to ripped it thinner on a table saw to match the Marvin stops.
Replace Glass
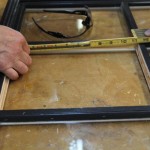
Replacing a window pane means getting a new piece of glass cut. I use my local lumber yard for this service.
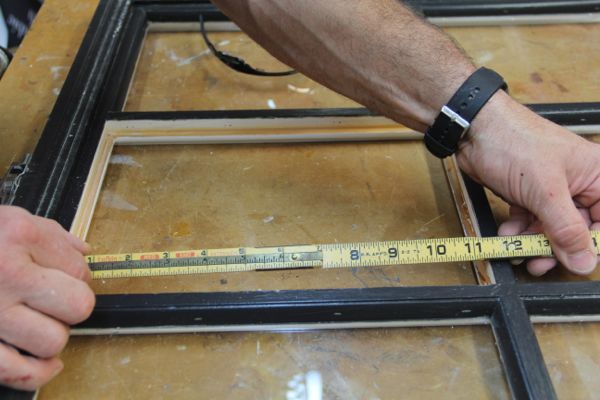
Measure your width and length of the window pane opening. I recommend measuring in three locations, both corners, and the middle.
Make sure to do this on both sides. The replacement glass must be exactly the right size
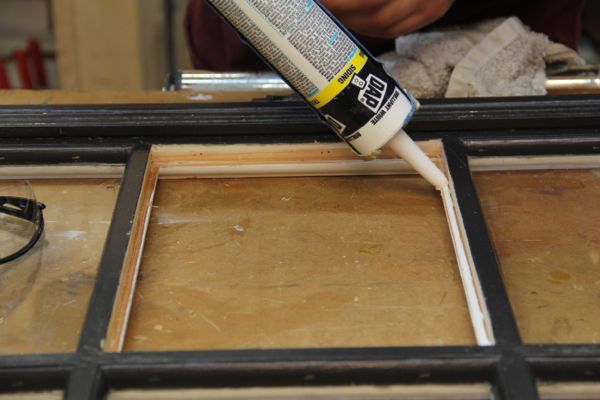
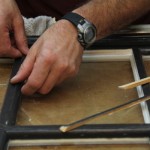
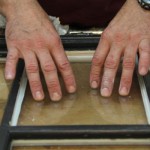
I used a thin layer of caulking to set or “bed” the new glass pane in place and then reinstalled the wood stops.
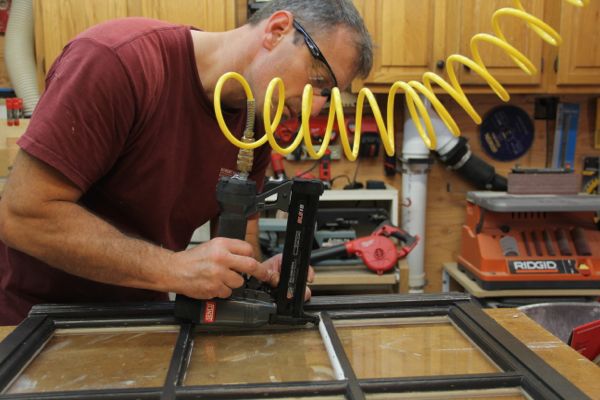
The best way to secure the stops in place is with a pneumatic stapler. I installed four staples on each stop.
Note – on putty windows you would create a bed of putty to set or “bed” the glass into the window frame, insert the glass, then apply a slanted bed of putty with your putty or glazing knife. [This process is not shown here]
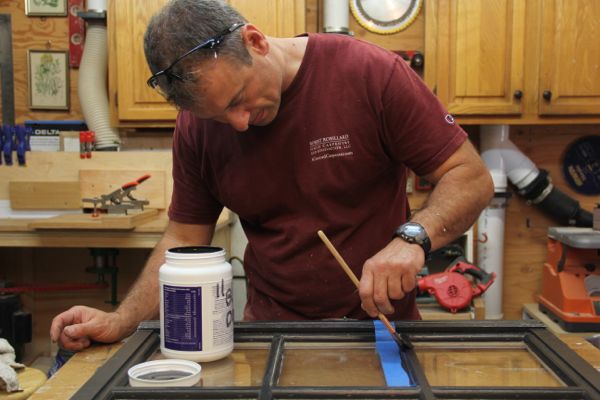
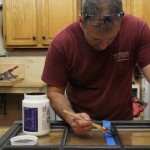
Repaint
I finished this repair by priming the new glass pane stop and then painting the repair. Use at least two coats of outside paint for good coverage and longevity.
Tool and Materials Needed
Replacing a window pane like this Marvin true divided lite takes approximately 2 hours assuming you have all of the materials needed for this repair.
- Gloves and eye protection
- Putty knife
- Utility Knife
- Vacuum
- Measuring tape
- Staple puller – wire cutters or end nippers
- Glass pane
- Window pane stop [ cutting tools if making new stop]
- pneumatic nailer and staple gun
- Caulking, painters tape and paint
- Paint brush