
How To Build A Remodeling Debris Chute

How To Build A Debris Chute For A Remodeling Project
A remodeling contractor I quickly learned that to be professional you need to develop professional standards and best practices especially when it comes to dealing with dust and debris.
One trick I learned early on was to avoid dragging trash and debris from the remodeling zone and through a clients home on the way to the dumpster. Dragging trash barrels through a house inevitably leads to dinged up trim-work, soiled and dirty carpets or scratched hardwood floors…. and subsequently an angry client.
The best way to keep from pissing your client is to learn how to build a remodeling debris chute and keep from tracking dust and debris through the house to the dumpster.
READ: Best Practice For Controlling Remodeling Dust
Why Use A Debris Chute?
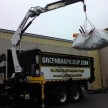
A debris chute is the most quick, safe, and efficient method of remodeling and demolition debris.
A chute is basically a tube or slide that carries trash and construction debris from the remodeled zone and out of the house and into a dumpster or trash barrels, using gravity.
Benefits Of Using A Chute:
There are several benefits to using a chute. First it keeps the dust and debris from getting out of the work area and into the rest of the house. Second it is a faster way to transport the trash by letting gravity do the work for you. And third, if your fortunate enough to be able to position your dumpster under the chute you do not have to transport or handle the debris twice.
How To Build A Remodeling Debris Chute
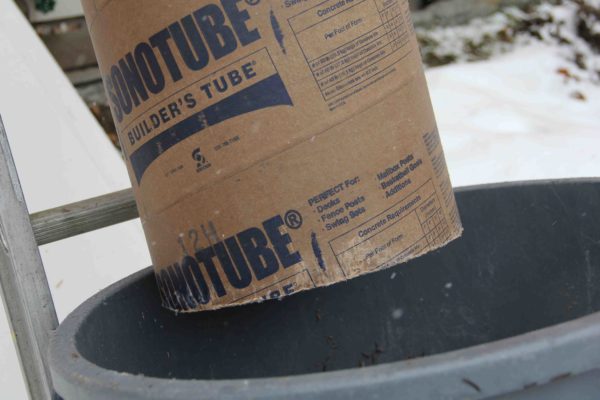
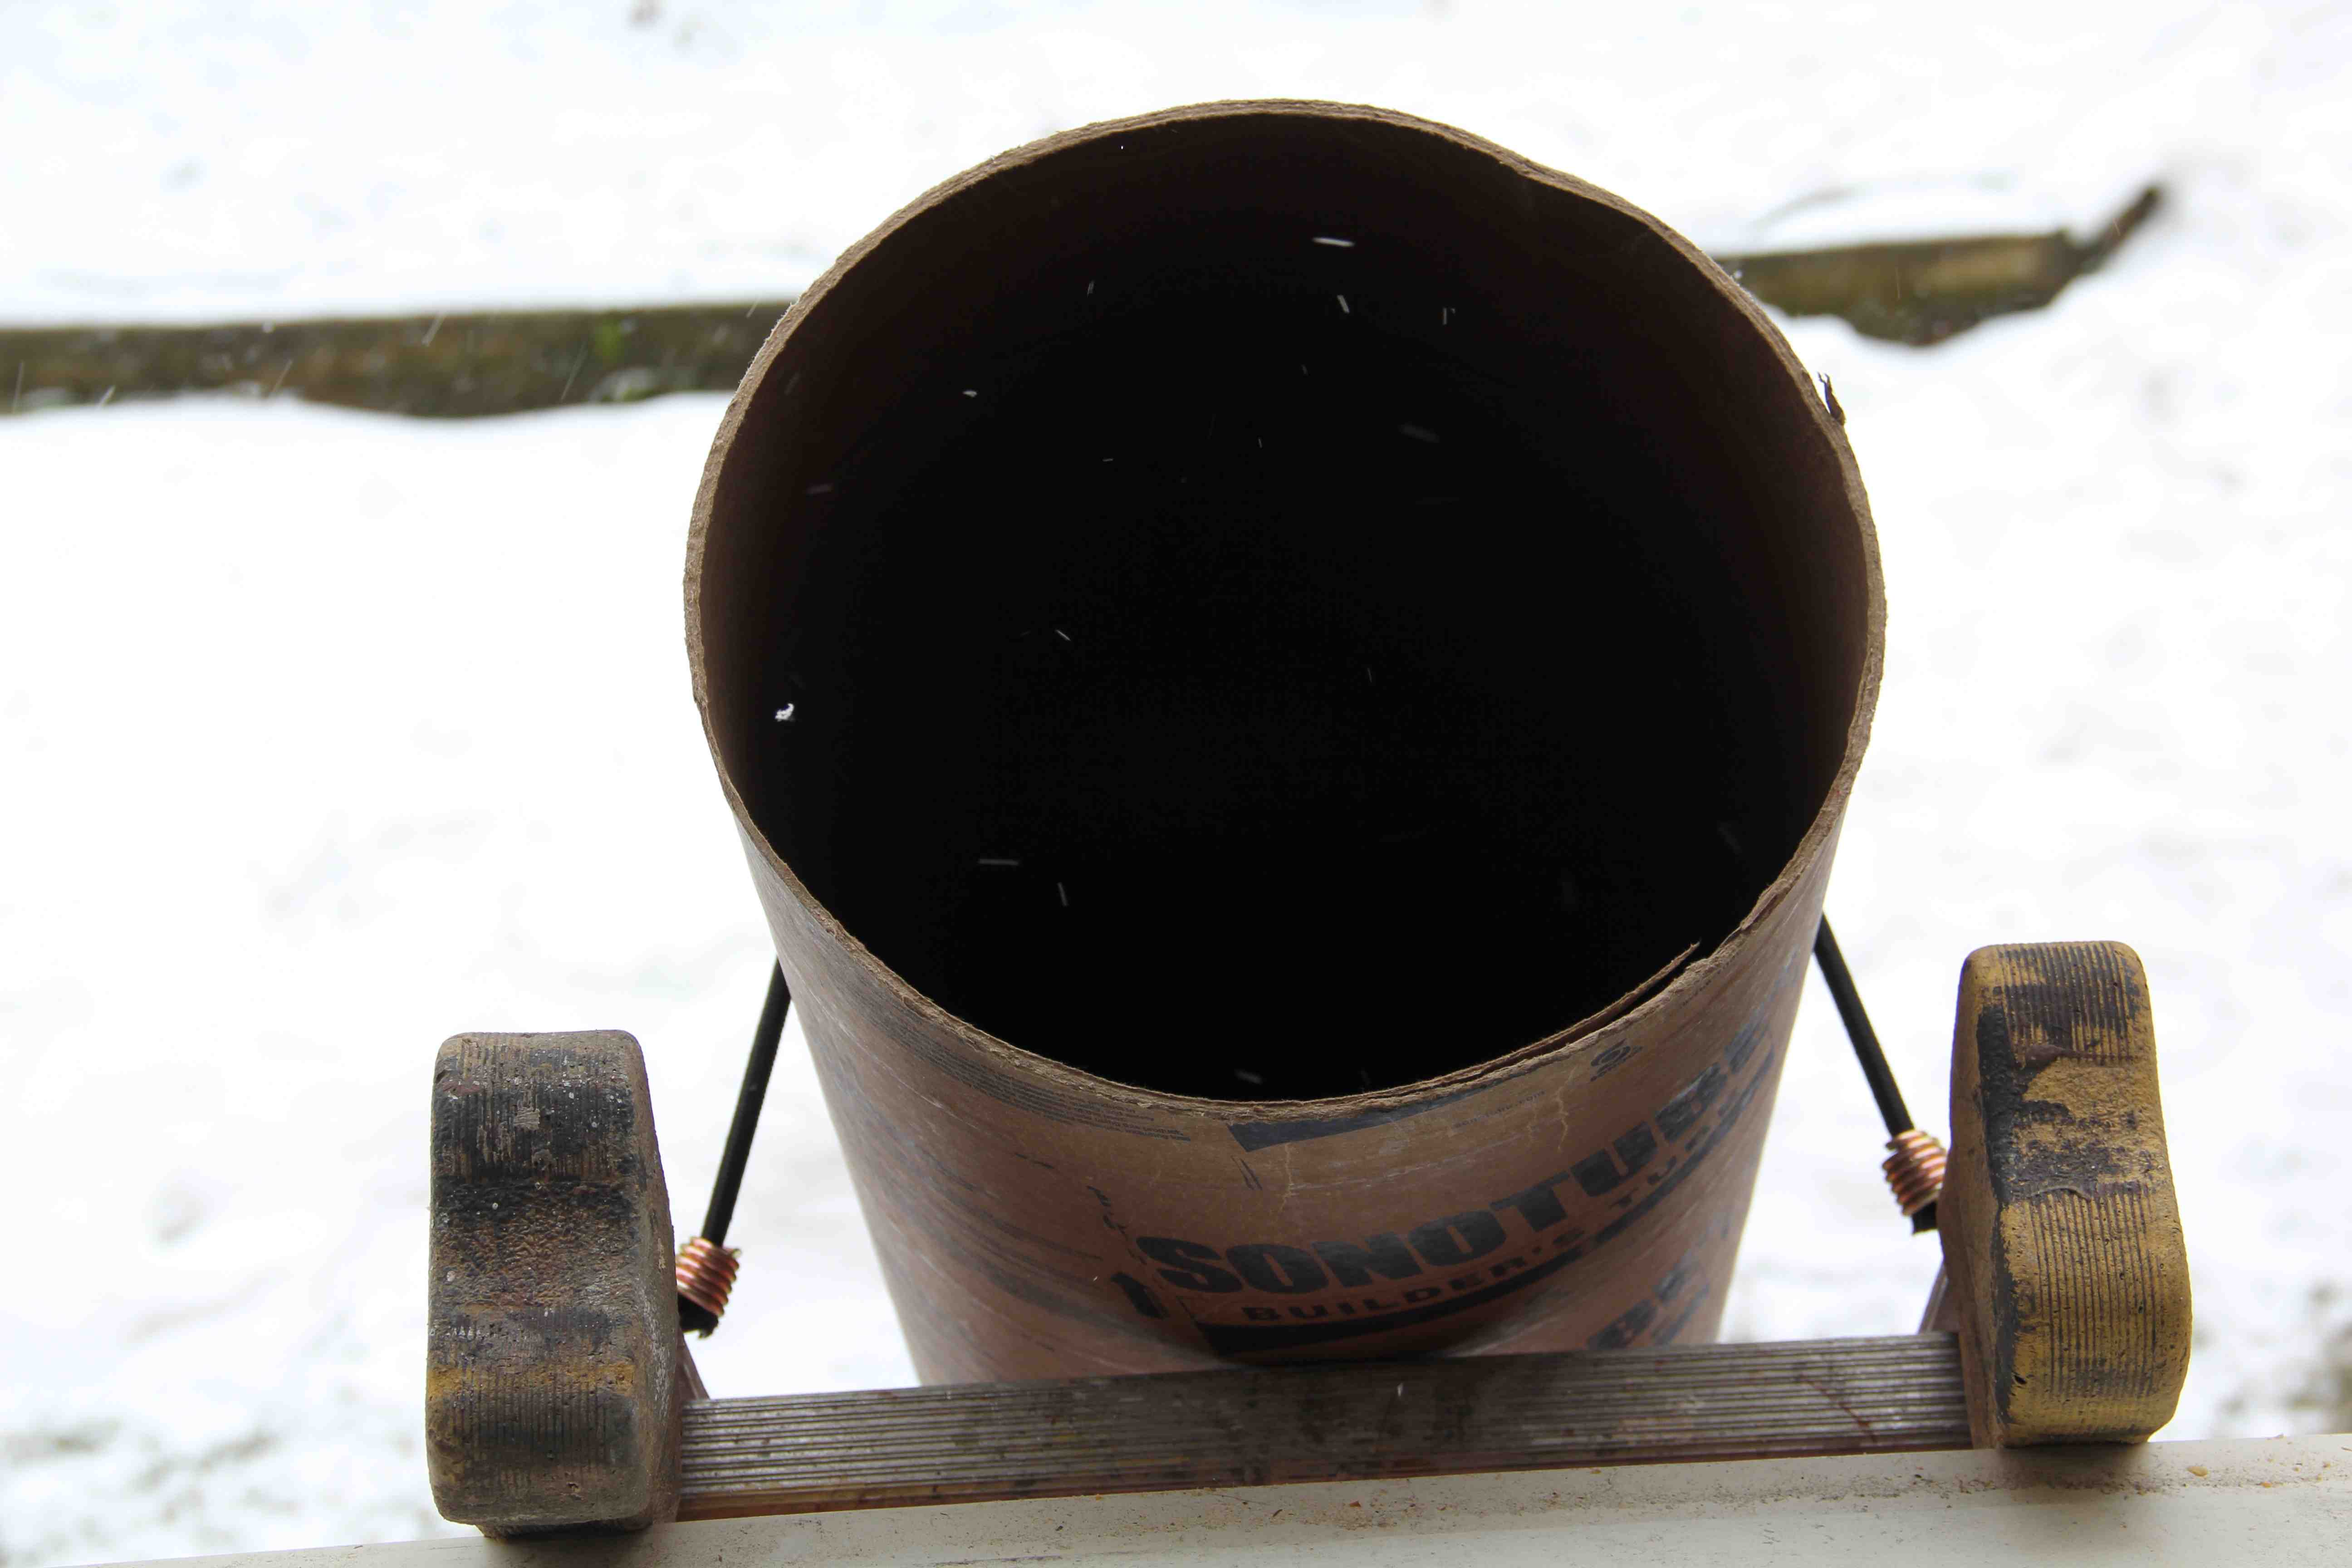
Building your own debris chute can be done in less than five minutes with the proper materials. I like to use SonoTubes or Builder’s Tubes for my chutes. These tubes are commonly sold at lumber yards as concrete footing tubes, their cheap, strong, readily available and easy to set up as a chute. These concrete forms are made of multiple layers of high quality fiber, spiral wound and laminated with a heavy-duty adhesive. A special coating resists moisture which makes them a great choice for a debris chute.
Debris Chute
Sonotubes are sold in 12-foot lengths and come in many diameters. I recommend using the 12 -16 -18 -20 or 24-inch diameters. The larger sizes obviously cost more and sometimes need to be special ordered.
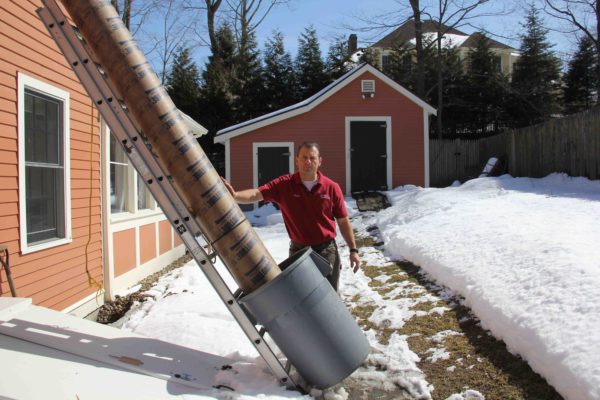
Depending on the circumstances I may use the tube alone as a chute or support the tube with an extension ladder.
Debris Cute Considerations:
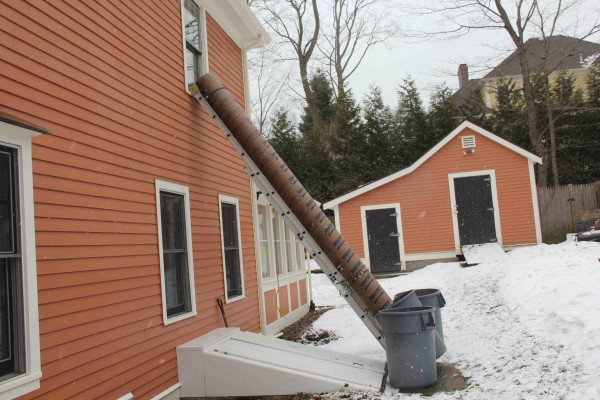
If you can get a dumpster under the room you are remodeling you’re set up is going to be easier and less labor. All you need to do is rest your chute onto a window sill and lean the other end on the top edge of the dumpster. Most dumpsters have a horizontal bar for lashing down tarps. Use this bar to secure bungee cords or rope around your chute to hold it in place.
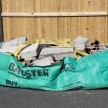
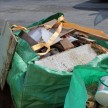
If you can not get your dumpster or dumpster bag under the window you can use trash barrels, and have to bring the barrels to the dumpster. this method is still better than carrying the barrel through the home being remodeled.
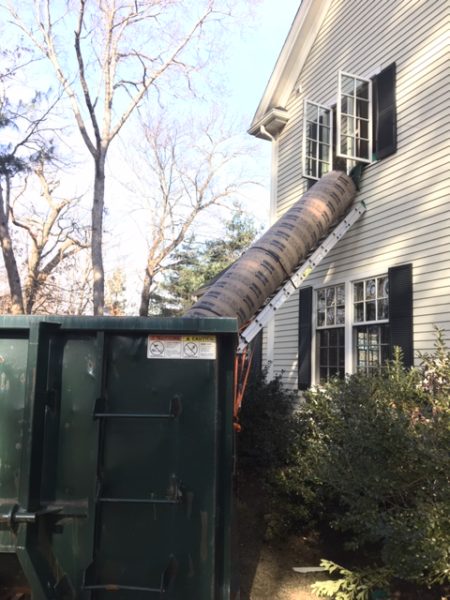
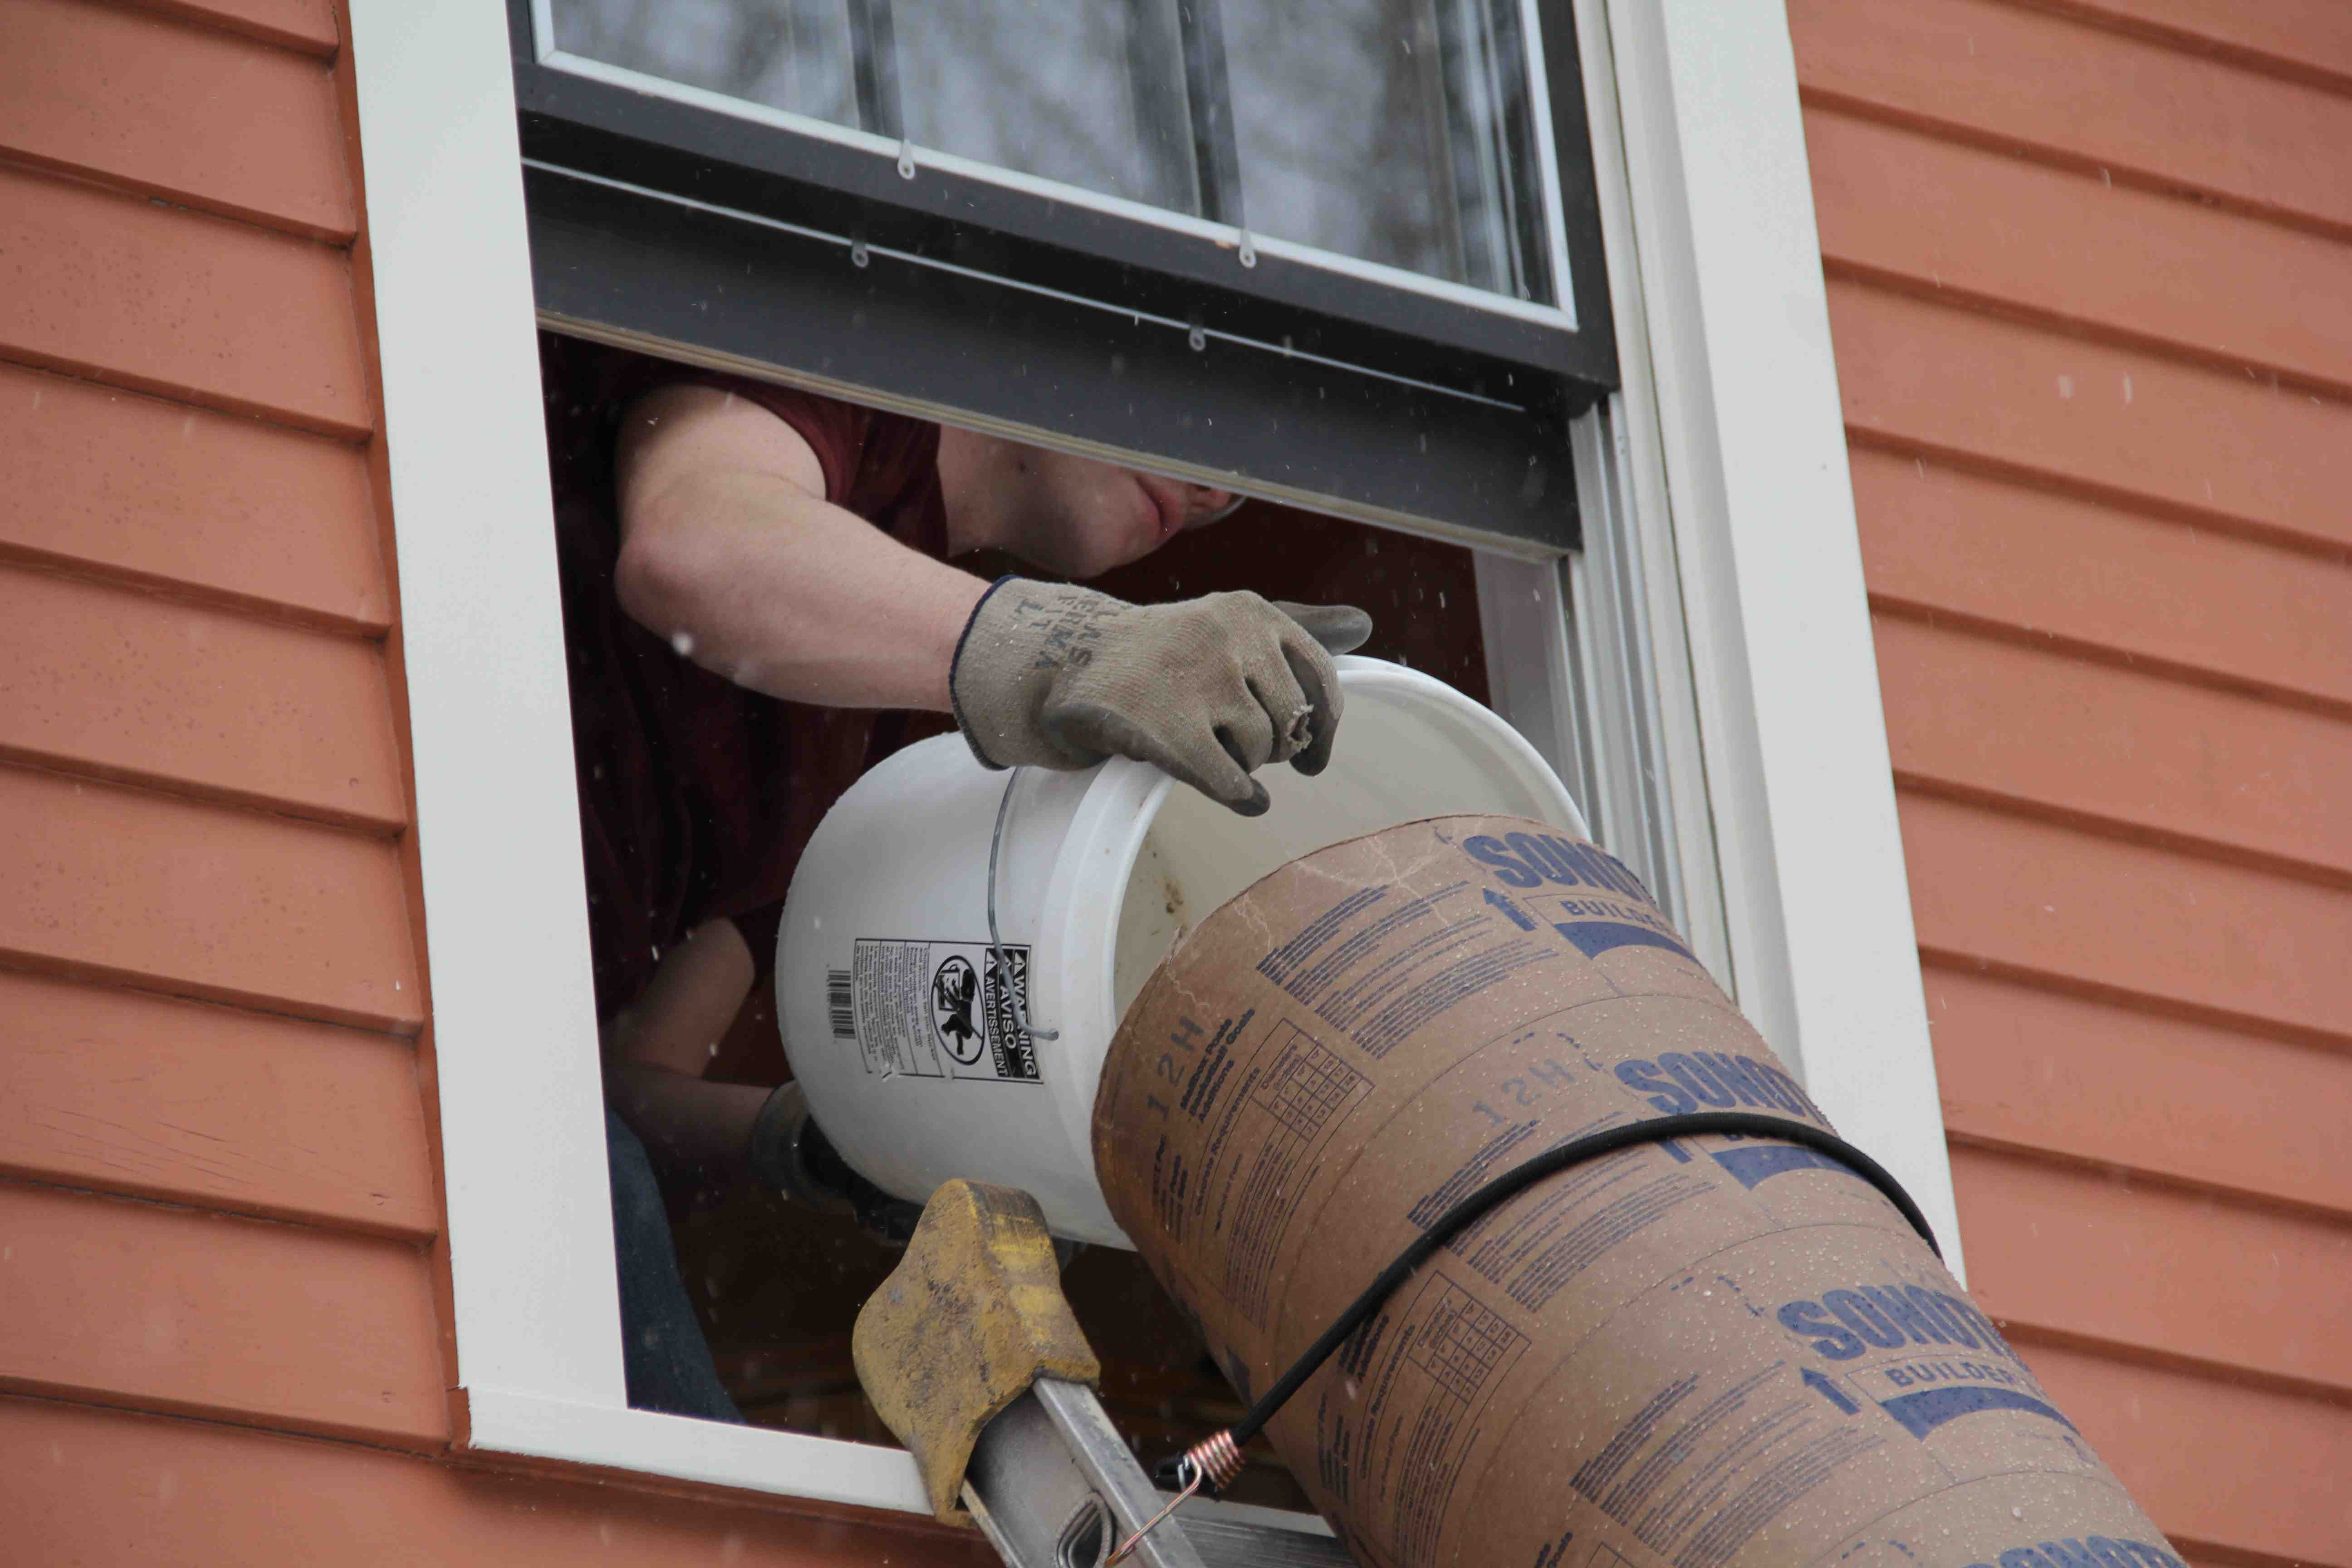
This method requires the use of an extension ladder for support and set up. top do this, set up the ladder on top of the window sill and secure your tube to the ladder with bungee cords or ratcheting straps. Keep the chute off the ground enough so you can tilt your barrels under neath the bottom of the chute. [see photo]

Debris Chute Longevity:
Rain and snow will deteriorate your chute and in my experience these chutes take such a beating that they only last one job. I typically expense one tube to every remodel project I do ad expect to toss it in the dumpster when the demo work is done.
If your project is going to take a long time you may want to protect it from rain or snow by bringing it in or wrapping it in plastic.
Alternative Chutes:
If you use debris chutes a lot you may want to purchase a commercial chutes but they are expensive and usually designed to be secured to a specialized roof mounting system or scaffolding.

I have also been on job sites where the contractor was using HiQ drainage pipe. This pipe comes in 20-foot lengths. Its a 24-inch diameter round hard plastic pipe with corrugated ribs, on the exterior, and smooth on the interior.
Its a super strong, heavy pipe that will last job after job. To secure this to a ladder you will need ratchet straps and possibly 2×4 supports from the ground to the pipe. I priced a 20-foot HiQ pipe for the remodel pictures and was quoted $420.00 for a 24-inch diameter. It’s worth it if your doing a lot of demo work!
Ive also built simple plywood slides with 2×6 sides from a window to a dumpster. Building a slide is usually done when you can get the dumpster close to the demo room window.

