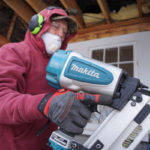
Cutting A Wall Down To Make A Half Wall

How To Cap A Half Wall With Trim
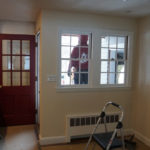
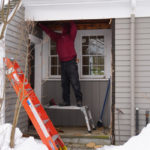
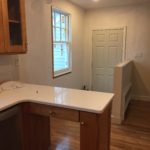
We recently were asked to enclose a covered porch from the garage to the kitchen/ Once this was done, the client wanted us to then remove the old exterior wall and make it a half-wall.

Deal With Structural Walls First
You cannot cut out a structural wall, or bearing wall, without first installing a header or beam, and ensuring that the header is supported all the way down to the foundation. This downward support is called point-load. A point load is an area where the structure weight is transferred vertically down to the foundation, typically with a post, or doubled studs.
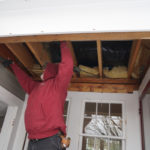
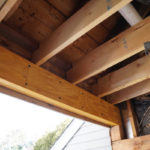
Adding a Header
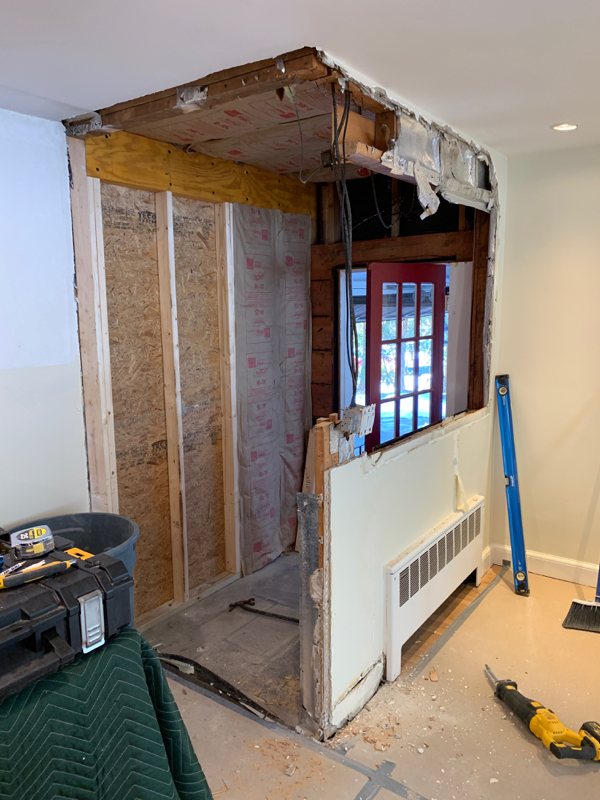
Once we determined that the second floor, above was rebuilt with doubled floor joists and rafters, making the outer porch roof-line bearing. To further support this structural roof-line, we installed a laminated veneer lumber [LVL] beam on the outer perimeter wall and framed it in. With this done we were free and clear to remove the inner, older, exterior wall.
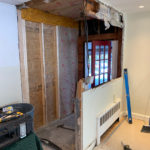
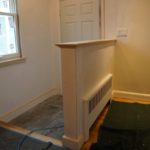
Cutting Down the Wall – Making a Half Wall
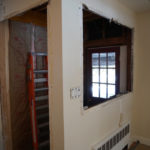
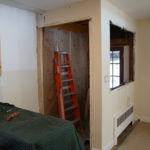
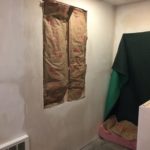
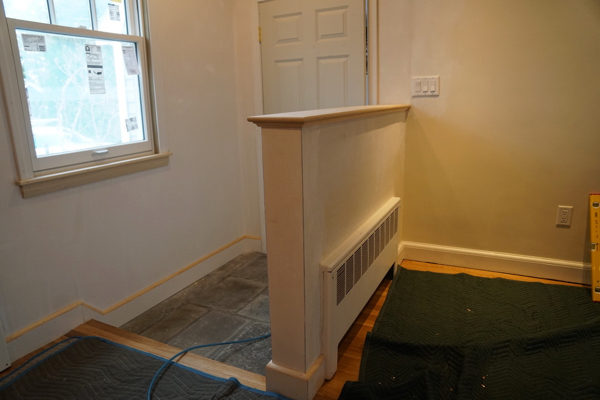
The existing wall had some electrical outlets and a radiator installed on one side. In order to save plumbing, electrical and plaster costs we decided to remove the top portion of the wall and save the bottom.
Once we knew the height we wanted we measured and marked for a cut. I factored in adding a 2×4 top plate into my height. We also had the electrician come and relocate wiring that we uncovered.
Making the wall sturdy
Half walls are known to have flex in them, I wanted to reduce or eliminate that. The wall had plaster on one side and exterior ¾” sheathing on the other side. I was going to be adding plaster to that side, but left the sheathing in place, because it added stiffness to the wall.
Additionally, to stiffen the wall more, I added two vertical studs to the end of the wall and ran them long, down into the floor area. I was able to tie these two 2×4’s into the floor joist below with some structural screws and some wood blocking. This stiffened up the end of the wall significantly.
Capping the Half Wall
There are several ways to cap a half wall, here are a few:
- Granite
- Other stone
- Corian
- Wood: oak, pine, mahogany, etc.
- Metal
- Plaster top, with metal corner bead
Capping the Half Wall With Wood
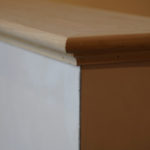
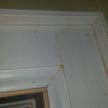
The clients decided they wanted to cap the half wall with wood that would be painted. We opted for a wood cap that over hung the wall edge enough to overlap Scotia molding that would be applied underneath to hide the wall and wood cap seam.
In order to avoid having to deal with end grain, at the end of the half wall from a solid piece of wood, I use Birch plywood and Poplar ½ round applied nosing’s.
I like using Birch plywood for painted tops in this type of application. Plywood is not susceptible to cracking, shrinking, or warping. Using the Poplar solid wood edging also allows me to conceal unsightly plywood edges.
Measuring for The Half Wall Top
Prior to making the half wall top I needed to determine the proper width.
I measured the width of the wall, the width of my Scotia molding [X2- both sides] and then added ½” for an overhang. [X2 – both sides]
Once I had my overall with I measured the poplar nosing’s and used this measurement to determine what to cut the plywood at. I ripped the plywood on my table saw and left the length long by 3-inches, in case I needed an angle cut to get it to fit against the wall tight.
Making the Half Wall Top
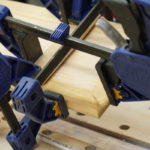
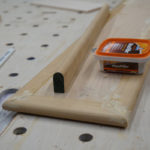
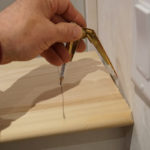
Once I had the plywood cut and my nosing on-site I cut my two long side nosing with a 45-degree miter. Then I cut the end nosing with a double miter.
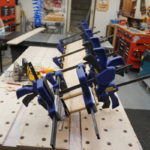
I use a biscuit joiner, to install a few biscuits, on the long sides. I do this less for joint strength, and more for alignment during glue up, it helps keep things in place.
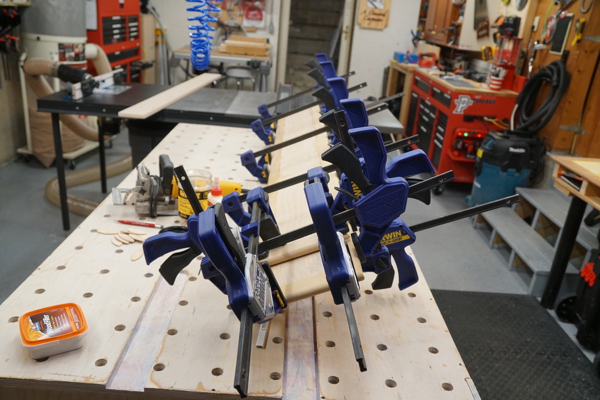
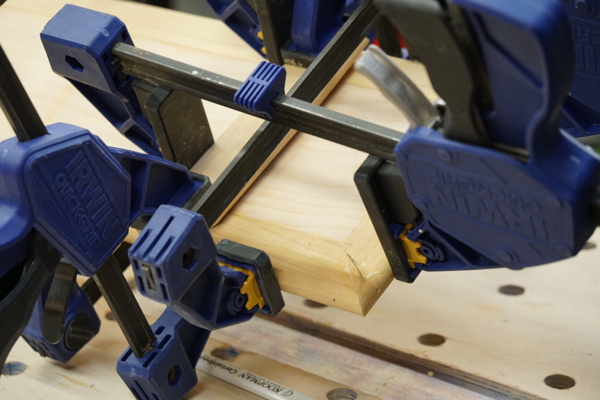
I apply glue to both edges and apply the nosing with clamps. During clamping I’m careful to ensure that the nosing is in line with the plywood face, and not tilted up tor down. I use a few brad nails at the miter corners, to hold the tight until the glue cures.
Sanding the Half Wall Top
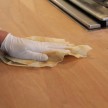
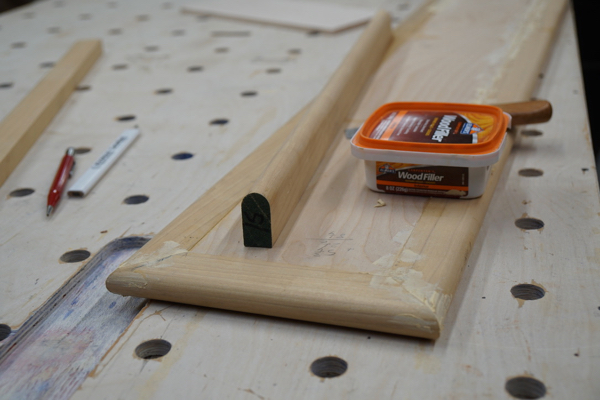
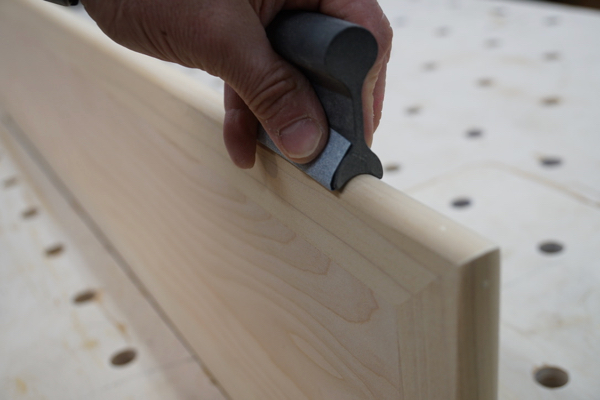
After the glue has cured, I remove the clamps and fill in any nail holes and seam gaps with wood filler. Then I sand the nosing flush to the plywood with 80-grit sand paper.
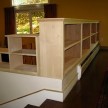
Capping the Half Wall With The New Trim Shelf
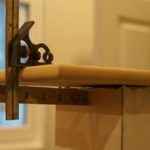
The first order of business is to center the shelf and check the wall joint. Once centered you have your overhang measurement, and need to create that same overhang at the end wall.
Using your overhang measurement, determine what you need to cut off the wall end. Keeping in mind you may need to make that cut an angle, or scribe it to the wall, for a proper fit.
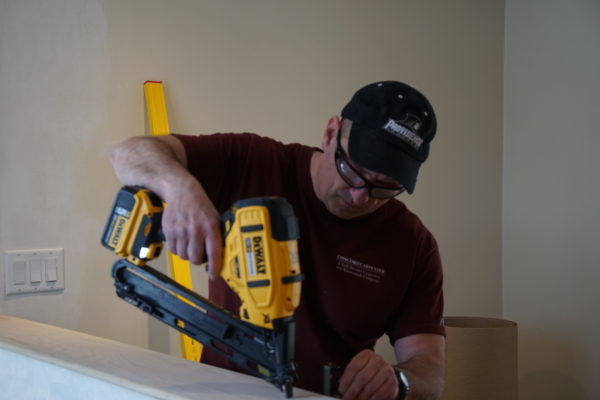
Once the wall cap is cut and fits, apply some construction adhesive the 2×4 and set the cap down, again checking your overhangs. A few well-placed finish nails hold the shelf down until the adhesive cures.

Applying Molding Under the Wall Cap – The Finishing Touches!
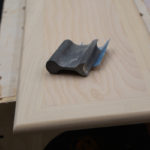
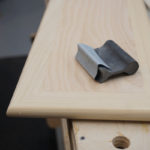
It’s the finishing touches that make a projects look correct. I always install the scotia molding to the long sides first and then finish with the smaller double-mitered end piece. Make sure to hold the Scotia molding in a tight, upward fashion to create a tight fitting seam.
Use a finish nailer at a slight upward angle to secure it in place, and use glue on the mitered ends. Fill your nail holds, sand, prime and paint.
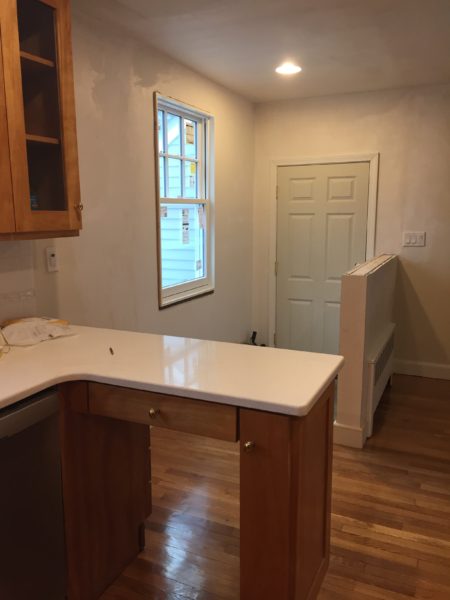
Removing a Wall and Making a Half Wall