Cutting a Jack Miter

 Finish Carpenter Joinery Tricks
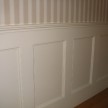
Finish carpentery is the art of adding the final touches to a home or building. Finish carpentry skills, like cutting a Jack Miter, are needed to apply door and window casing, doors and molding details, all or which help create crisp lines, and eye catching details. The style of molding used can vary based on the designers style, style of house, geographic location, historic setting and budget.
3 Finish Carpenter Joints
There are basically three joints used on window, door and wainscoting joints. They are the butt joint, miter joint and Jack miter and all three are different.
 The Butt Joint

Is the simplest type of joint where two pieces of wood are cut square and butt into one another creating a perpendicular, 90 degree joint. The butt joint is used when flat stock casing is used to create a tradiotional detail, it can used with casings that are the same thickness for a very simple clean look or when the top and bottom pieces of a window are thicker which creates a shadow line. This is often used with plinth blocks and thicker head casings and entablatures. The head casing is usually the thicker piece so that the shadow it casts makes it appear to be a cap, and a nice looking detal.
The Miter Joint
A joint that forms at a corner where both sides are cut on a 45 degree angle so that when they meet they form a 90 degree corner. There are times when other angles are encountered such as a 45 degree corner so the mitre is cut on 22.5 degrees. Mitre joints are used when a molding has a intricate profile, the mitre cut allows the profile to carry around the corner uninterrupted. It also hides end grain and is considered the most common “finished outside finish carpenter joint. Miter cuts are best cut on a mitre saw to ensure precise, clean cuts.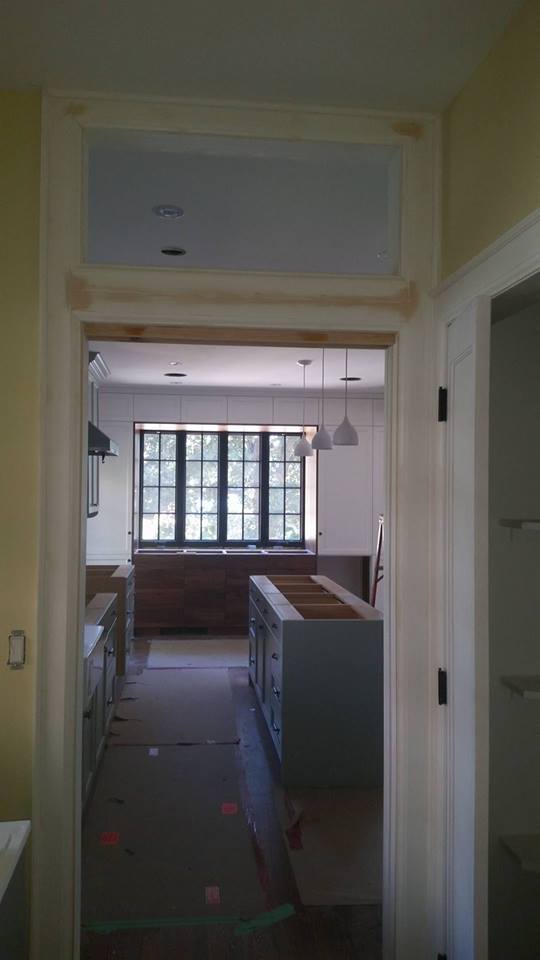
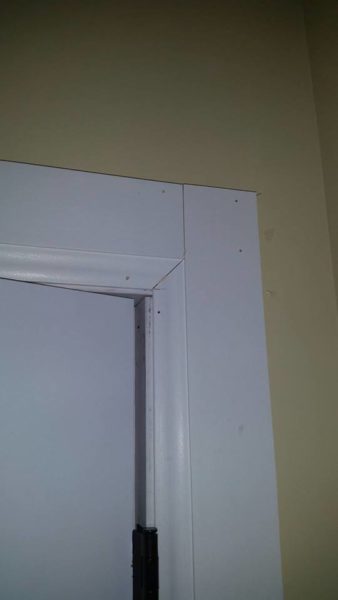
The Jack- Miter
The jack mitre is a older type of joint which combines both a butt joint and a mitre joint into one. It was used when hand tools were the primary tool used by carpenters where a molding had both a flat face and a small detailed profile to the inner edge which overlaps a door or window jamb. The flat face portion gets receives a square cut and the ornate profile receives a miter cut. From an installation standpoint, a Jack Miter adds strength of the joint and minimizes wood movement, allowing profile to continue throughout complex trim projects, like a bank of windows.
The Art of the Jack Miter – 3 steps
In order to explain this cut, I am going to walk you through Cutting a Jack Miter in a door trim application.
 Mark the Reveal

Mark out a reveal on the casing on the window or door jamb using a marking gauge or combination square hand tool, set the combination square`s body at 3/16” or 1/4”. A reveal is basically a line that the crpenter uses to step back his trim.
It creates a shadow line and is easier than having the casing perfectly flush with the jamb which may be irregular and require a ton of sanding. Stepping trim back to form reveals causes shadowlines and creates different planes that make it harder for the eye to pick up discrepancies. Reveals also help with wood movement, as wood dries out, and the house settles it’s almost impossible to get flush edges to stay that way. If a casing is installed flush to the inside of a jamb, it may not stay that way. The eye will easily pick up even a 1/16-in. variation from top to bottom. If the casing is stepped back 1/4 in. or 3/8 in., this variation will not be nearly as evident and will be hidden in shadow much of the time.
Measure the distance between where the reveal marks intersect at the top two sides of the jamb, this will be your short point to short point measurement for the head casing
Cut the Head Casing
Transfer that measurement on to a piece of the casing, your ready to cut it. The actual cut can vary in which way the butt joint is made but this will be a simpler method which allows more room for error.
The top piece gets cut with two miter cuts, which then get cut off square where the profile portion of the casing transitions into the flat stock portion, there are 4 cuts in total. Your ready to install the head casing on the jamb using either hand finish nails or a nail gun.

Cutting the Leg Casing – Steps
- With the header casing in place, its time to measure from the floor up to the edge of the head casing, where it meets the jamb at the short measurement point. But dont stop at that, there is a second measurement required.
- Measure again from the floor but now to the top edge of the header casing, this is the total length of the leg, and the long point of your cut.
- Transfer both measurements onto a piece of casing, doing so for both sides of the door opening, now your ready to start cutting a Jack Miter.
- The first cut is for the total length of the piece of casing, this will be a square cut.
- Measuring from the bottom of the leg casing mark the short point measurement on the inside edge of casing, this is where you mitre cut is made.
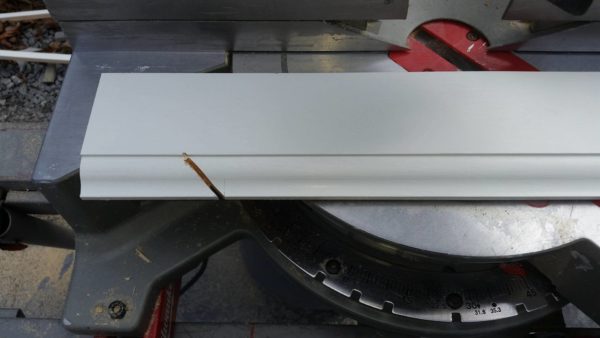
- Note – the miter cut is a 45 degree cut but stops where the profile portion of the casing meets the the flat portion, the cut cant be completed entirely with a mitre saw but will require a hand saw for .
- The final cut is a rip cut, this can be done with a table saw or a fine tooth hand saw. The rip is made along the line where the profile portion meets the flat portion. When you do it make sure that the waste side of the blade is to the profile side. The rip cut ends where it meets the mitre cut meets the flat stock.
- Repeat for the opposite side leg casing.
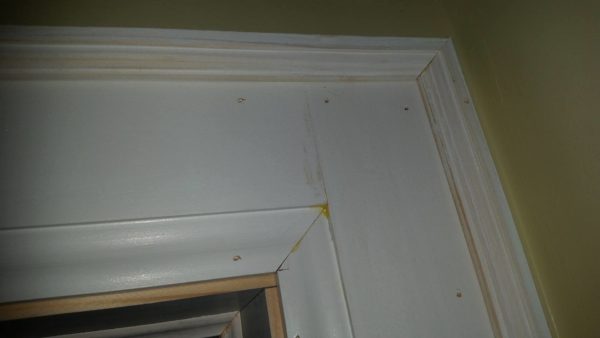
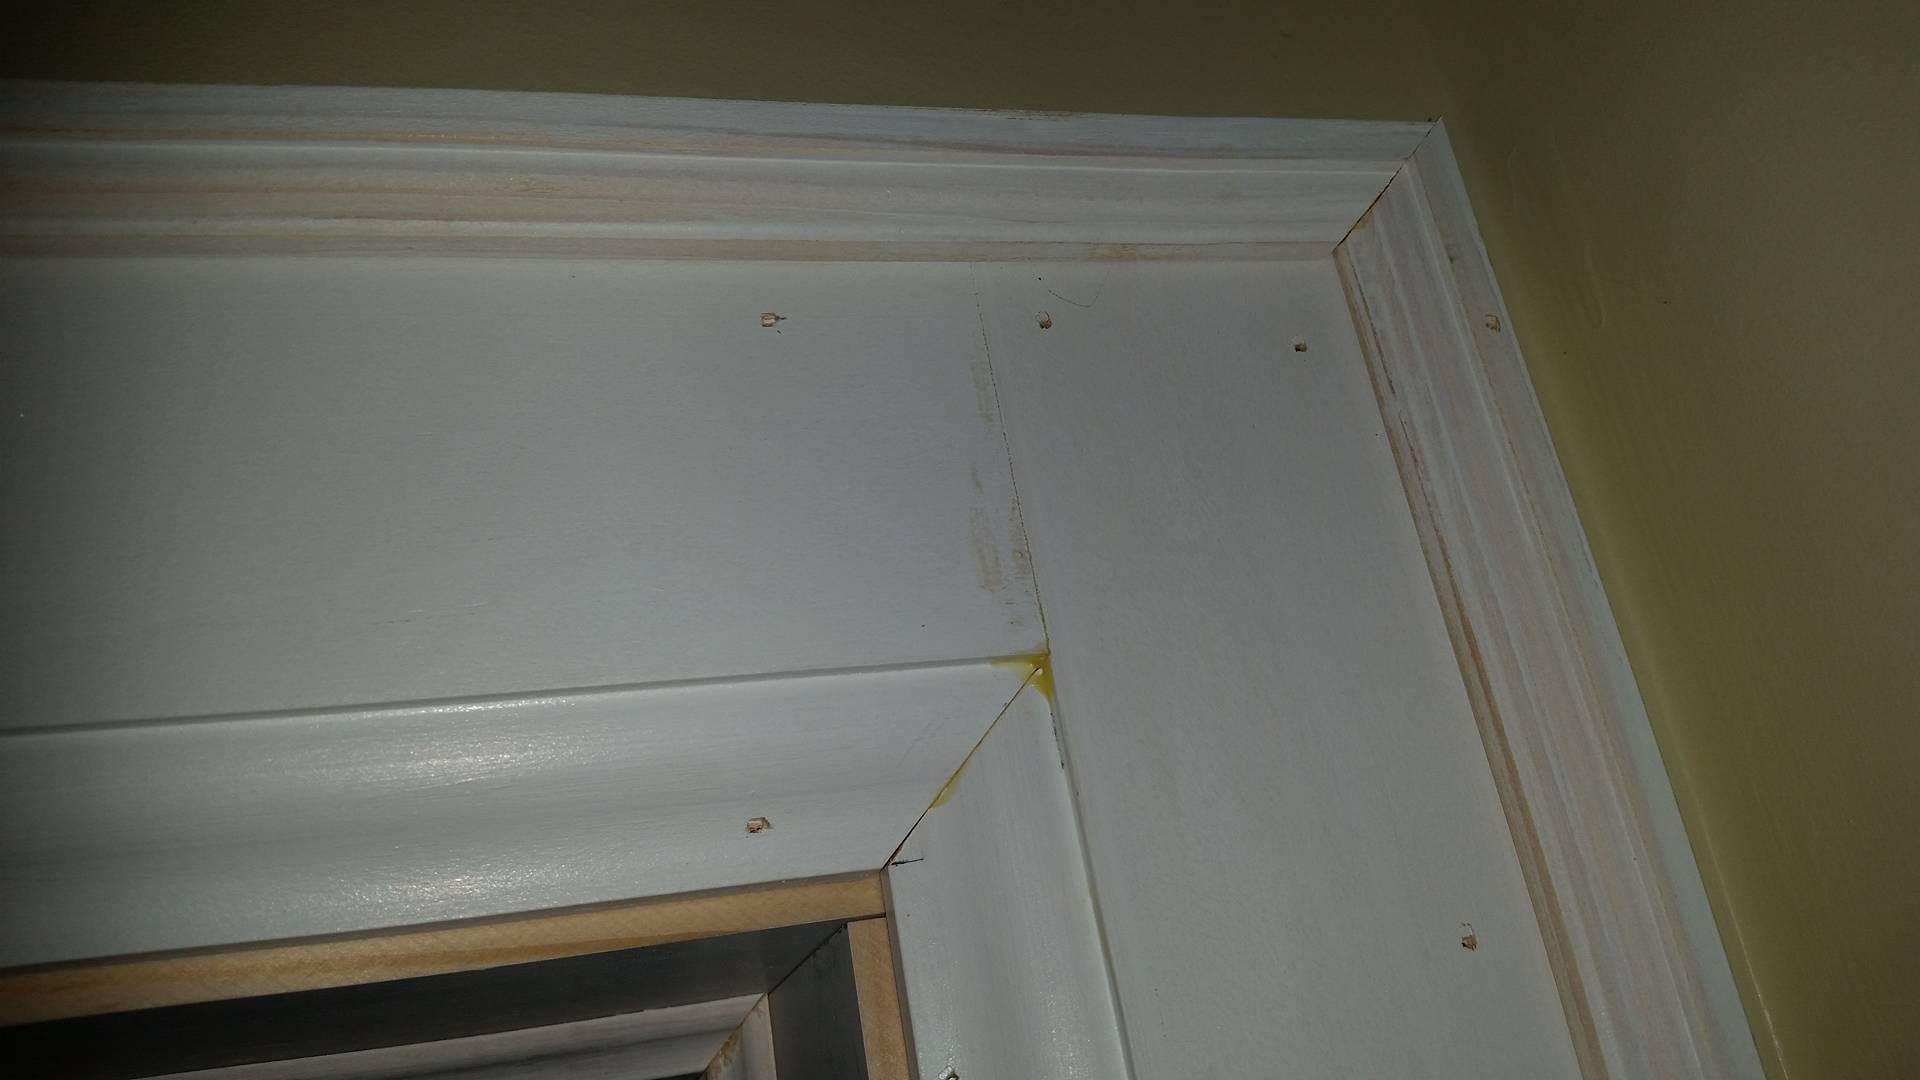
 Fitting the Jack Mitre
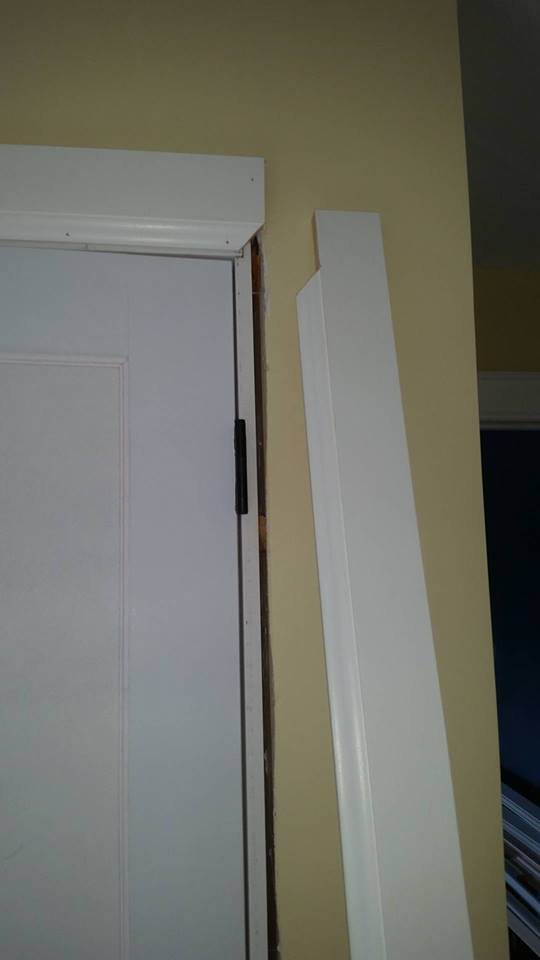
Now that your casing is cut, your now ready for a dry fit and installation. With the header piece already tacked in place simply take either leg piece and hold it up in place to the header making sure that both the miter cuts line up perfectly and the same with the square cuts. If either are have any gaps now is the time to adjust the cuts on the saw to create a air tight joint, if the joints are nice and tight you can glue them up and nail them off doing so with pairs of nails; one into the jamb, and one into the framing. For added strengtth I often glue the casing to the jamb and drywall as well
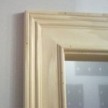
For a more finished appearance, I often add a back band molding around the perimeter of the Jack Mitered trim. A backband molding can be a molding that has a slight lip which slightly overlaps the main molding, a simple bullnose or simply flat stock which gets nialed to the outside edge of the main casing. If you decide to use a back band, its best to both glue and nail it to the main casing, to make for a stronger joint that wont pull away if accidentally bumped into.
Advanced Jack mitres
There are times when trim carpenters will use a symmetrical mitered casing at the perimeter, and the Jack Miter inside that perimeter. We often see this when multiple windows or doors are installed very close together. When this occurs they have to be treated as one large piece of woodwork. For a more finished appearance, I often add a back band molding around the perimeter of the Jack Mitered trim. A backband molding can be a molding that has a slight lip which slightly overlaps the main molding, a simple bullnose or simply flat stock which gets nialed to the outside edge of the main casing. If you decide to use a back band, its best to both glue and nail it to the main casing, to make for a stronger joint that wont pull away if accidentally bumped into.
Closing words
Trimming should be fun and look good when its all said and done, take your time and measure twice, fit all your joinsts first and adjust them as needed to make sure they are tight. Dont skimp on the glue, as it will give that added strenght to keep moldings in place if the nails loose their hold due to seasonal wood movement.