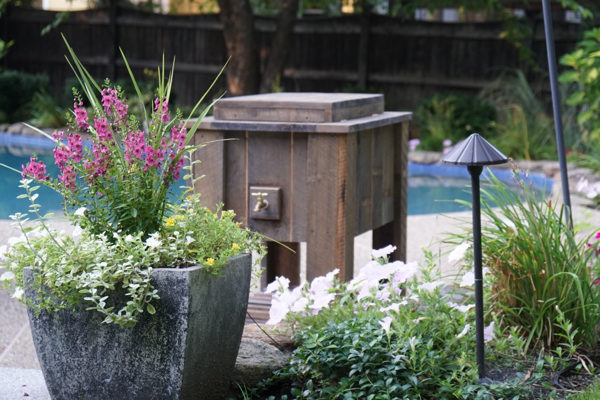
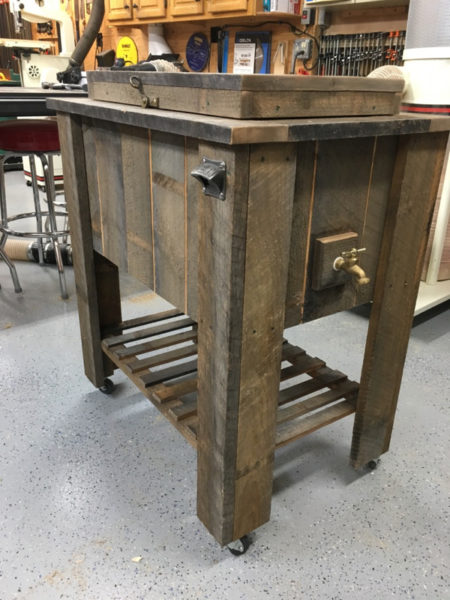
Rough Sawn Wood Patio Cooler

How to Build A Patio Cooler
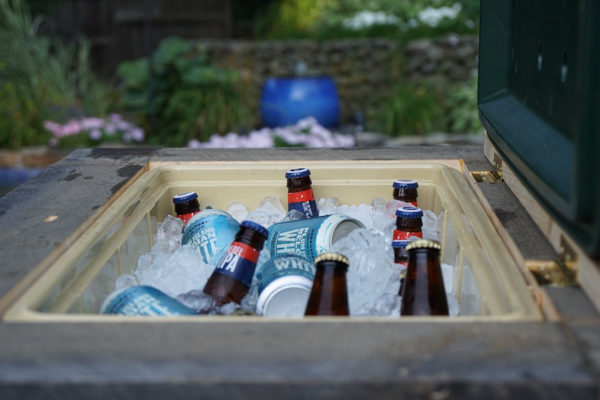
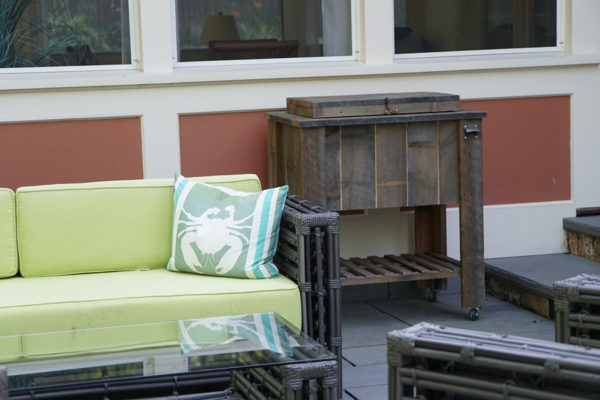
I love backyard BBQs and for many years we operated out of a two Coleman coolers to store beer and soda.
While this worked fine, I wanted something better looking, easier to access and maneuverable. After seeing a vintage rolling cooler at a media event I attended I decided that I’d like to make one out of rough sawn pine.
Getting Started
The first step is to gather all of your materials together and decide what type of wood you want to use. I chose 12” rough sawn pine because I really like the look of it.
Tools Needed:
- Miter Saw
- Orbital Sander
- Table Saw
- pneumatic nailer and 2” nails
- Drill
- Tape Measure, Ruler, Pencil
- Wrench
- Bar Clamps .
- Speed Square
- Sander / Hand Sander
- Hand plane or router with bevel bit
- Forstner bit or Hole Saw Set
- Wood glue
- DAP DynaGrip Wood Panel Adhesive
- Galvanized screws of different lengths
Materials Needed:
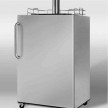
- Cooler to use an insert
- 4 inch pvc riser, 1/2 inch threaded Piping,
- 1/2 threaded inch coupler
- Brass knob spigot/valve
- Four locking caster wheels
- 2 Hinges
- Handle [s]
- Bottle Opener
- Bottle Cap Catcher
- Paint Brush
- Minwax stain – Early American 230
- Wood – I purchased 1×12 and 1×4 rough sawn wood for this project
- Reuse some of the cooler parts: Keep drain plug parts and the lid strap and stainless steel screws.
Building the Frame
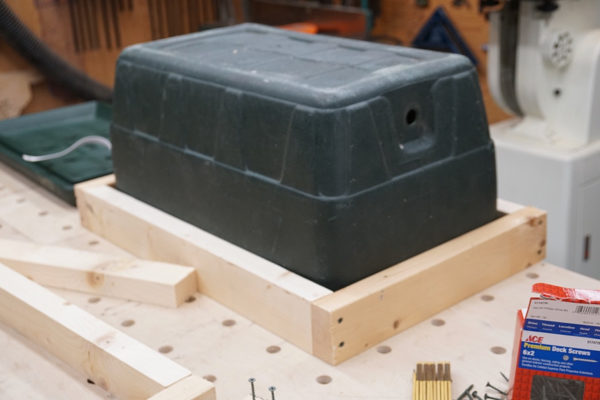
I had an old Coleman cooler sitting around so I chose to use that. I removed the handles, drain spout and hinges.
Tipping the cooler upside down on my workbench, I started this project by constructing an upper and lower frame. This frame is used as a skeleton to the project and all of the components from the siding, legs, top sill and lid will attach to it.
I constructed the “upper frame” out of framing material. I ripped scrap 2×6 down to 1-1/2” x 2” and built a frame to enclose the top portion of the cooler. I fastened these 4 parts together with two 2” screws. Make this upper frame snug. Later on you will be installing screws thru the cooler and into this frame.

Then I built the bottom frame. This is the frame that will hold the cooler and take the weight when full of beer and ice. This frame consisted or a perimeter of ripped down 2×6 stock and two stretchers on edge.