Belt Sander Jig HowTo Build
Belt Sander Jig HowTo Build
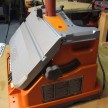
A few years ago, RIDGID sent us a couple sanders to review. One of them was the outstanding RIDGID Oscillating Edge/Belt Spindle Sander Model # EB4424. At the time we also received their 3″ Heavy Duty Variable Speed Belt Sander Model #R2740. I liked using the oscillating sander in the shop but wanted something similar on the job site to use with the belt sander. I built a small belt sander jig and included on the end of the review for the oscillating sander but never really went into the details of how to build it. Hence this article.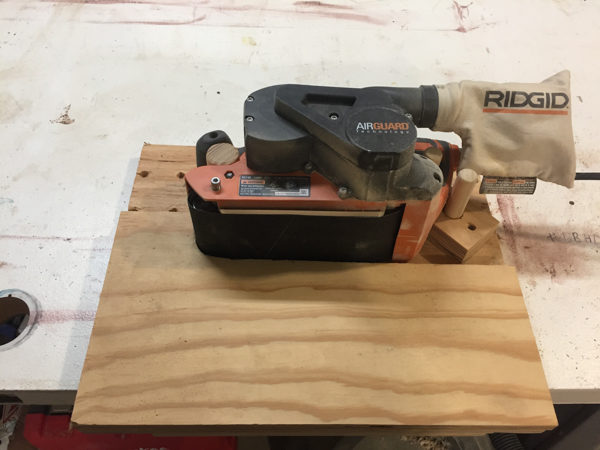
Purpose of the Belt Sander Jig
A belt sander can be found in just about every carpenter’s tool trailer. It’s used for hogging out material fast. I most often use mine to sand to a scribe line when fitting cabinets or trim stock to walls, floors, or ceilings. The issue is that a belt sander takes two hands to really run it effectively. That means that the piece getting sanded has to be clamped down or heavy enough not to move when the sander is used, like with a cabinet.
This is fine when scribing cabinets but trim boards can be a lot more floppy especially at up to 16′ lengths. I don’t know about you but our job sites typically don’t have a 16′ table that trim can be clamped to so that I can sand to the line. I needed something easier and better to scribe baseboard and crown, a third hand to hold the sander so that I could move the trim through the sander just like the larger oscillating one in the shop.
Building the Belt Sander Jig
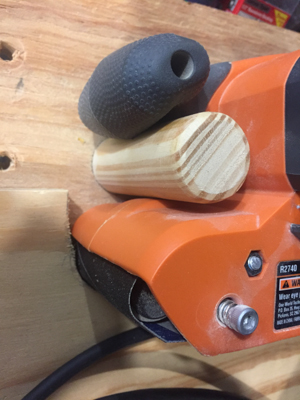 This jig is made entirely out of scrap materials. I used a piece of 3/4″ ply for the base, a piece of 5/8″ ply for the table and then a small scrap of 5/8″ ply for the bench cleat. You could use all 3/4″ or all 5/8″ if that’s what you had.
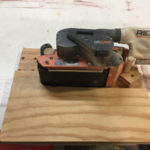
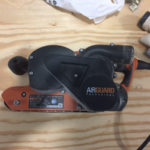
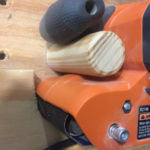
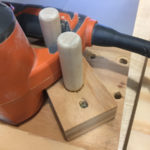
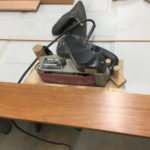
Start by laying your sander down on the piece of plywood meant to be the base of the jig. 3/4″ plywood works best because it needs to hold a dowel perpendicular with just glue. The side of the sander opposite of the belt should be against the wood. The front dowel will go between the pommel (handle) and the belt housing. Do your best to trace this area with a pencil onto the board. This will help you decide on the size of the front dowel. I’ve built two of these so far, one for the RIDGID sander and one for the 3×21 Porter Cable 352VS. Both used a 1-1/4″ closet rod (4-1/2″ long) for the front dowel but your sander may be different. I did have to sand the dowel down a little to fit the RIDGID.
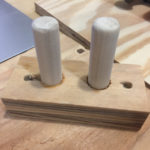
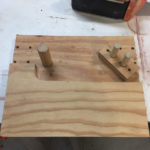
After getting a chunk of the right sized dowel, drill and glue it into the base. Be sure to place it up towards the far side of the base so that the table of the jig is as big as possible. Cut your 7″ piece of 3/4″ dowel in half. Drill and glue these 1-5/8″ apart into a sandwich of two pieces of 5/8″ plywood (2″x4-3/4″). 1-1/4″ high is almost the perfect height to catch the handle of the sander, this reduces rocking. The 1-5/8″ hole spacing is based on the thickness of the handle. If your rear handle is thicker, you may have to space these further apart.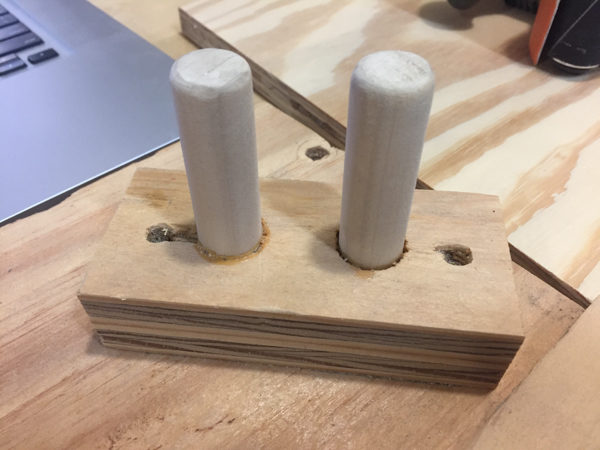
After the glue dries, place your sander in the jig and slip the 3/4″ dowel assembly around the rear handle. Position this assembly so that it seems to hold the sander tight. If the dowels were drilled too far apart, twist this assembly a little until it’s tight. Screw down the assembly to the base.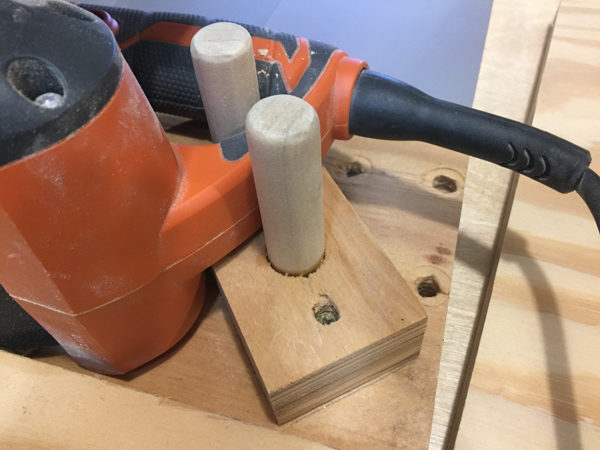
Now grab another piece of scrap plywood to build up the base slightly to the height of the belt. Make sure to have this piece wrap around the front of the sander so that you can use the curve of the belt as a spindle sander. To use the whole width of the belt I hinged this piece onto the base. I can shove a piece of scrap in to elevate the end opposite of the hinges.
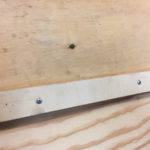
Finally, add a bench cleat to the bottom to help the jig stay firmly planted while using it. I just used a piece of 1/2″ plywood scrap, just about any scrap will do.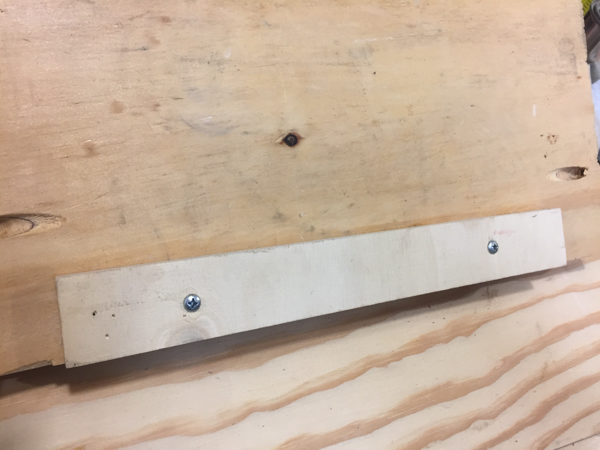
Belt Sander Jig in Use
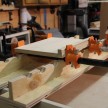
This jig is ultra portable and is a godsend when needing to sand up to a line. On a house build last year, the garage doors (3) had arched tops made out of 2x Boral TruExterior trim. This is like a cement board trim but with a flexibility and workability more like wood. We cut the arch pattern with the jig saw and then used the sanding jig to sand perfectly to the pencil lines. It was easy to just pivot the piece while the jig remained stationary.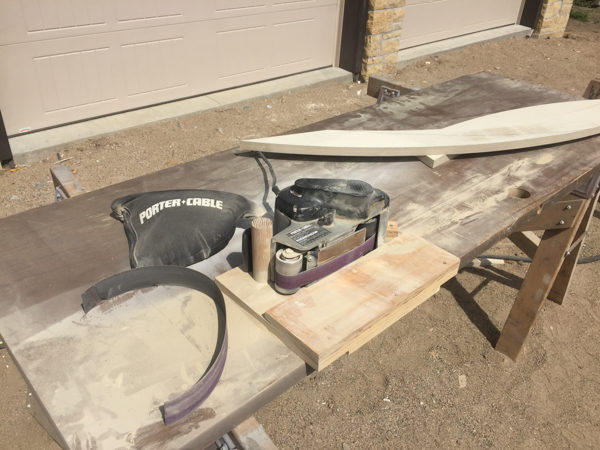
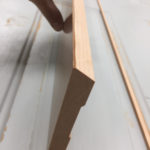
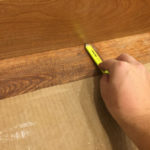
Once we got inside trimming, the base all had to be scribed to the hickory flooring. We ran the 1×6 cherry through the table saw to put a 30 degree bevel on it, marked the scribe with the pencil, sanded it on the jig, and then finally installed it. It was much easier to move the base through the jig to get perfect results.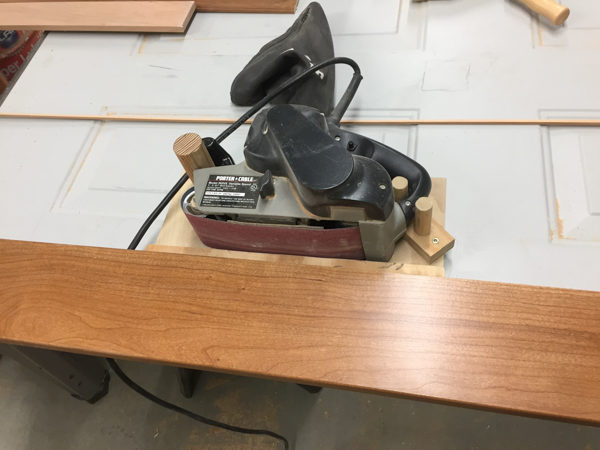
While this jig isn’t a replacement for the RIDGID oscillating edge/belt sander, it is a lot more portable for job site use and takes up a lot less space in the tool trailer.
Need a New Belt Sander?
If you’re in need of a new belt sander, the RIDGID 3×18 Heavy Duty Variable Speed Belt Sander can be found at the Home Depot for $99.97 and the Porter Cable 3″ X 21″ Variable-Speed Belt Sander 352VS can be found at Amazon for $169.
- Table wraps around front of sander
- 30 degree bevel on the base
- Scribe it to the floor
- Sand to the line


