Micro Bevel Sanding Jig

By Robert Robillard on Workshop tips

Micro Bevel Sanding Jig

How To Make A Micro Bevel Sanding Jig On Disc Sander

While working in Don’s shop, our woodworking editor, we realized that we needed to apply a slight two degree bevel to the oval bottoms of the shaker inlay trays that we were making.

We decided that the most accurate way to do this was to make a micro bevel sanding jig on the disk sander.

 The Need For A Micro Bevel

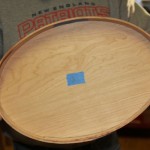
 The Shakers’ meticulous attention to detail can be seen in their swallowtails on their oval boxes.  We wanted to put a slight bevel on our tray bottoms so they fit snug against the tray side band.

Micro Bevel Jig – Shop Tip

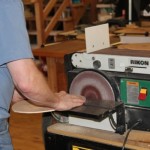
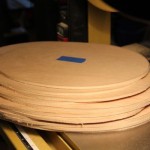
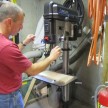
We cut out the ovals on a band saw, leaving one-sixteenth of an inch, before the traced line.   We then took our oval tray bottoms to our Rikon belt and disc sander and fine sanded to the pencil line, creating a bevel.

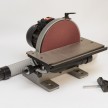
In order to create a consistent 2-degree bevel we found it easier to mount a strip of would to the sanding table rather than bevel the table, which was not reliable.

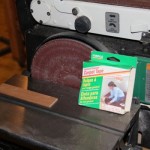
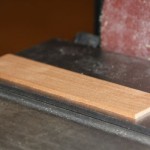
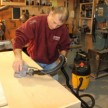
We secured a 3/16 inch strip of wood approximately two inches from the sanding disc. To kept he strip of wood from moving we secured it to the disc table with general-purpose, two-sided carpet tape.  

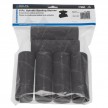
The two-sided tape comes in a role of 1-1/2” x 42’ and is very useful in the workshop for temporarily holing items like this micro bevel jig in place and is easily removed.
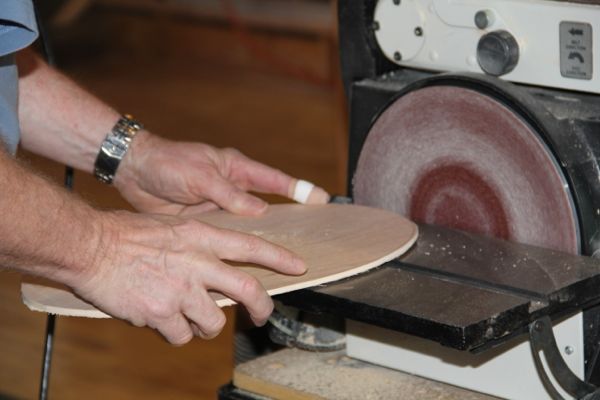
Using The Micro Jig

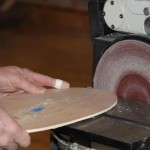
The jig allowed us to cant the oval tray bottom slightly into the sanding disc to create our desired bevel. The key was to keep the oval bottom in contact with the sanding disc table.

Worked like a charm!


If you enjoyed this post, make sure you subscribe to my RSS feed!

About the author

Robert Robillard

Carpenter / Remodeler / Editor

Rob Robillard is “The Concord Carpenter” Rob is a builder, general contractor, carpenter, woodworker, and editor of Concord Carpenter and ToolBoxBuzz As a General Contractor and carpenter, Rob owns and operates Concord Carpenter LLC. A full-service remodeling and construction company. Rob is a recognized leader in home building best practices and a source for how-to information for building professionals. On this website, Rob covers all aspects of home construction, building science, home improvement, woodworking, remodeling, and some of the best product and tool reviews. Rob is in charge of our Tool and Product Review series - Concord Carpenter Videos where we post all of our tool reviews and video tutorials. Rob approaches remodeling and building construction with a pragmatic and problem-solving approach. He enjoys using his knowledge and experience to help and educate building professionals as well as DIYers on best practices in the construction and remodeling industry. He's a strong advocate for "raising the bar" in the construction trades and promoting the trades to youth. #BeAMentor #Green2Great Craftsmanship, quality, and pride guide his journey on this channel The Concord Carpenter's motto: "Well done is better than well said!" : Read more about Rob

All posts by Robert »

Not what you're looking for?

Search for more articles here. Enter keywords like roof leak, bookcase, deck, etc to find your topic.

© Copyright 2019 A Concord Carpenter · All Rights Reserved