How To Replace A Band Saw Tire

Band Saw Maintenance – Replacing The Rubber Tire
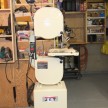
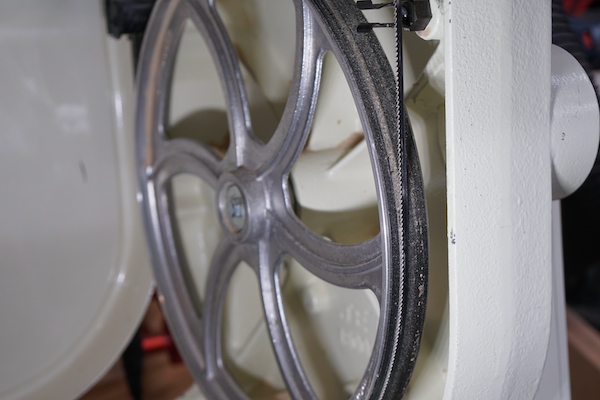
The other day I was using my band saw and all sudden this black rubber dust was deposited on the wood I was cutting. For a minute I had no idea what was happening and then BANG – the belt came off the bandsaw wheel. That startled me!
Then it hit me, the band saw tire had disintegrated and I was now without a bandsaw to make my cuts or finish my project – what a drag!

What Is A Band Saw Tire?
The band saw tire stretches tightly around the drive wheel, to protect the blade from touching the wheel directly. The tire grips the blade as the blade rotates around the wheels. If the tire stretches or wears out, it no longer grips the blade well, and the blade won’t turn or it could slip off the wheel
Urethane Band Saw Tires
I decided I would try out the urethane band saw belts I have read about. They’re supposedly quieter and cost a bit more. The band saw tires come up to 20% undersized and must be stretched over the band saw’s wheels, that’s the tricky part. While tricky it shouldn’t scare you away.
Below is a how-to on how I replaced my band saw tires – none of these are my ideas – they’re all well-known tips and techniques that I’ve learned over the years.
How To Replace a Band Saw Tire
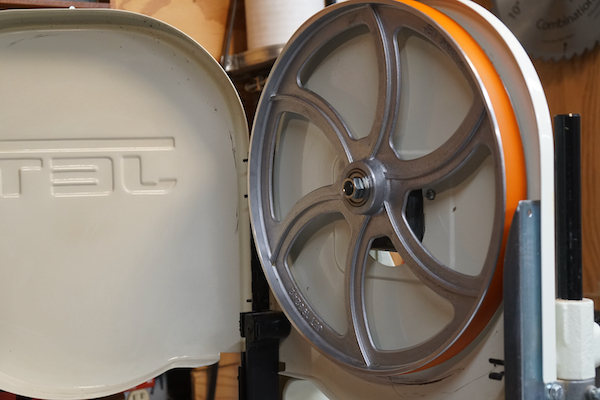
The first step is to unplug, loosen the saw blade tension and remove the blade. Then remove the band saw wheel from the machine.
Once removed, completely remove the old tire and any residue left behind. Pry off the old band saw tire with a flathead screwdriver, or cut it off with a sharp utility knife. Scrape away old adhesive or remaining tire fragments with a putty knife, then remove any adhesive residue from the wheel using a rag and acetone or thinner.
I ended up using some sandpaper wet with acetone to remove the stubborn residue.
The goal is to get the band saw wheel back to a bare metal surface.
Urethane Tire
Urethane tires come slightly undersized and I’ve seen a few methods for loosening the tire. Some folks soak the tire in hot water—up to 120° F—for 5 minutes to make it pliable enough to stretch over the rim. Some folks use a c-clamp – I don’t. I like this jig method and hope you’ll see why.
I prefer to make a quick shop jig and stretch it over the wheel. It took me 5 minutes to make the jig, and less than 30-seconds to mount the urethane tire.
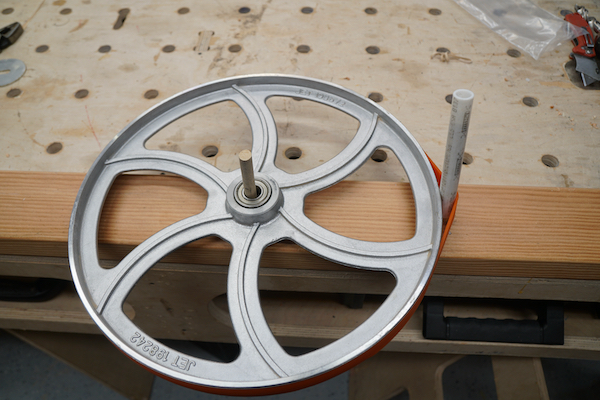
Making the Band Saw Wheel Tire Jig
Clamp a short piece of 2×4 to your bench. Choose a dowel that will fit inside the band saw wheel. Drill a hole for a dowel to act as an axle for the band saw wheel. Cut and insert a short piece of dowel.
Drill a second hole approximately ¾” away from the band saw wheels edge, slightly at an outward angle Insert a dowel in this hole and a short piece of PVC over this second dowel. The PVC will allow the tire to rotate without friction.
Sand the inside of the tire (surface to be glued to the band saw wheel) with sandpaper to create a better adhesion surface.
Place the urethane band saw tire over the PVC and the band saw wheel and rotate the wheel and slowly rotate the urethane tire onto the wheel. When done lift the wheel off the dowel.
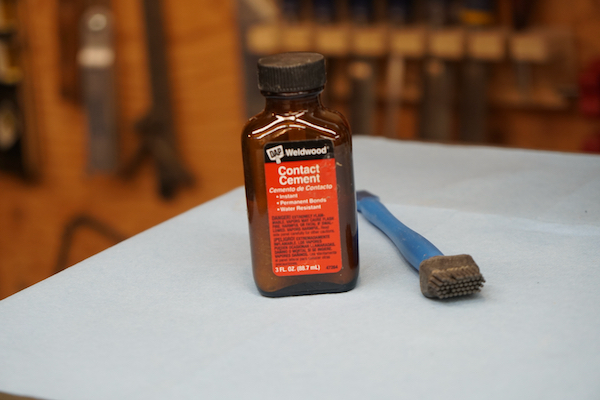
Apply Contact Cement Adhesive
Take a moment to protect the bandsaw table. Then insert one of the dowels between the band saw tire and wheel. Roll the dowel around the rim once to equalize the tire’s elasticity and to create a space to apply contact cement to the wheel and underside of the band saw tire.
Roll the pipe or rod away from the fresh glue and apply more adhesive to the newly exposed gap. Let the cement dry for 24 hours before putting the saw back into service.
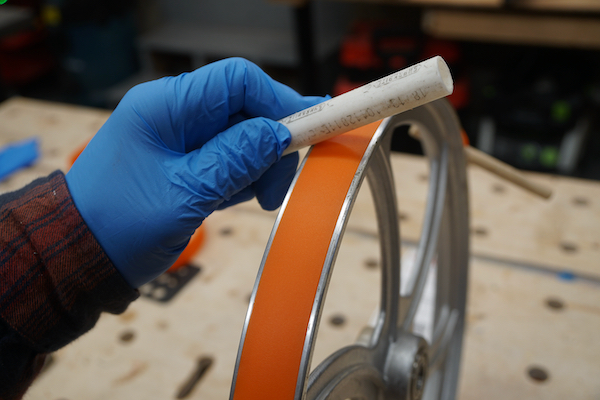
Use the PVC pipe at a slight angle and rub it against the band saw tire. This will help seat the band saw tire into the wheel groove and help spread the adhesive.
Note – If tire trimming is necessary to match the width of the tire to the width of the wheel rim, the tire must be on the wheel before trimming. Trim with a sharp utility knife. Trim the tire after the adhesive. Clean off any squeezed out adhesive while still wet.
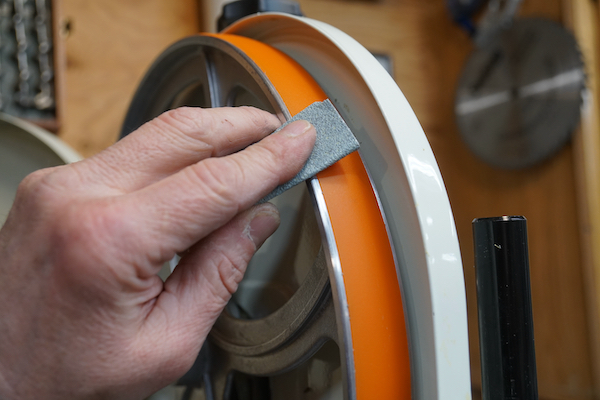
Band Saw Tire Has a Crown
For proper blade tracking, the band saw blade must run on a crowned surface. Some bandsaws have crowned wheels and some don’t. If your band saw does not have crowned wheels, crowning will be necessary for satisfactory tracking and can be done easily by using some sandpaper on an angle. You can do this by spinning the wheel by hand or turning on the saw and letting the power wheel spin.
Price
I purchased two band saw tires online for $33.00 here: Sulpher-Grove-Tool-Urethane-BandSaw-Tire
Reinstall the Band SawBlade
Once this is complete reinstall the blade, align and adjust to proper blade tension and test the saw.