Bearing Walls and Structural Beams

 Installing a Structural Beam
Installing a structural framing beam or header is a crucial task in construction, as it supports the weight of the structure above openings such as doors and windows.
Here’s a step-by-step guide on how we retrofit a structural framing beam in a wall.
Steps for Retrofitting a Structural Beam:
You need to first determine if your wall is load bearing. To determine if a wall is load bearing, it’s best to remove the drywall to inspect the framing. Often, the attic and basement beams and floor framing, if exposed, can help you figure this out.
A load-bearing wall will almost always have ceiling or floor framing running perpendicular to it or overlapping it. Beams, columns, headers, or posts below the area you’re removing are also good clues. If you’re unsure, seek the guidance of a Structural Engineer. Sometimes a full-service lumberyard will perform the beam calculations if you buy it from them. In some cases, you may need to enlarge or add existing footings beneath the new support columns to handle the additional support or point load. [more on that later]
 Planning and Preparation:
Consult a Structural Engineer:
Ensure the new beam is properly sized and designed for the load it will carry. The beam size depends on factors such as the span, the load, and the type of material. Today’s typical beams can be either wood, engineered lumber, or steel.
The code book can be used to size a wood beam, but we always use a structural engineer to provide the necessary calculations and specifications, especially when installing beams at several locations throughout our house remodel.
Note – For our project, we also located the original framing plans for the house and provided them to a structural engineer, who found them very helpful.
In addition, he then performed a site visit, before and after, demolition to assess the structure. He then provided us with a stamped plan for the installation.
Permits:
It’s important to note that this type of work requires a building permit.
Prepare the Area:
Prior to starting we clear out the area, install dust protection, and protect the floor from damage. We often use Masonite sheets for floor covering.

Remove Existing Wall/Ceiling Covering:
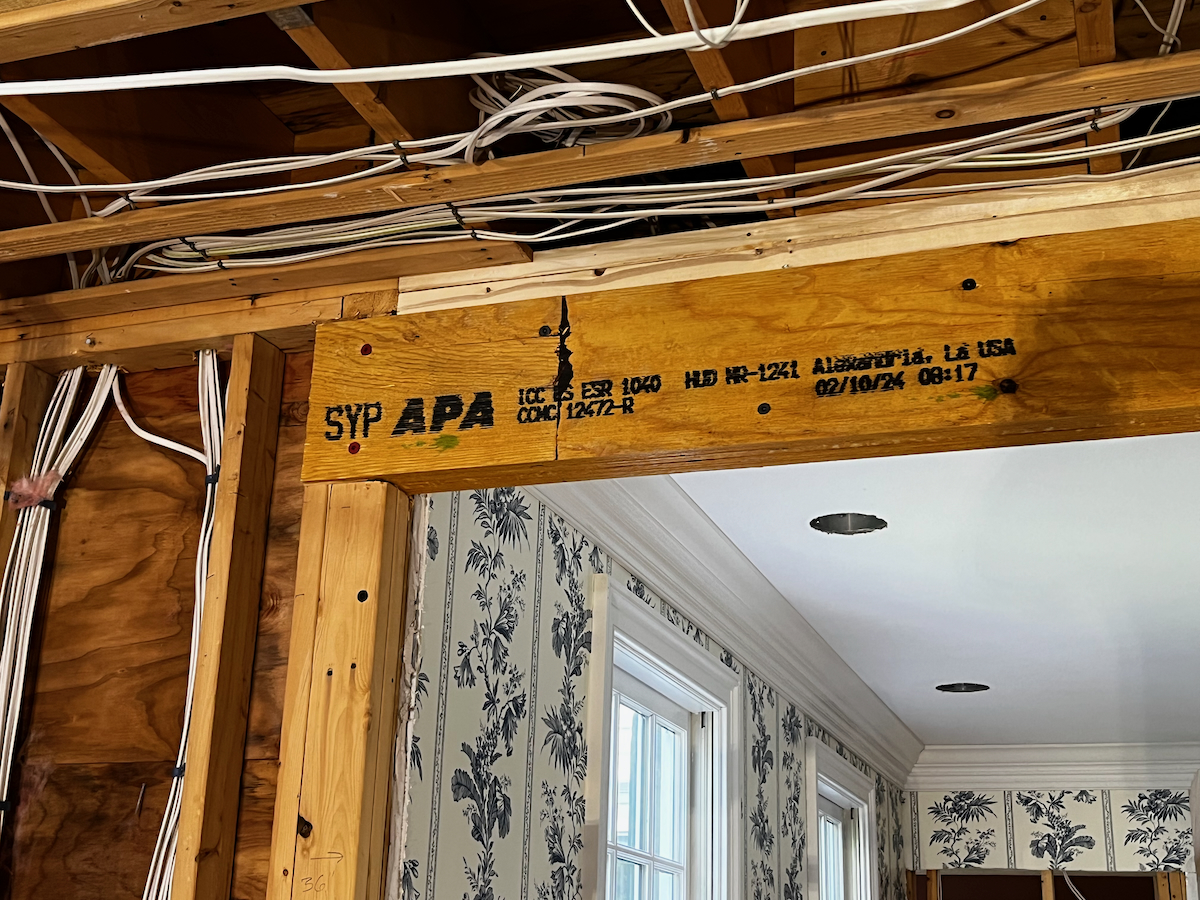
We then remove any existing drywall, plaster, or other coverings to expose the framing where the beam will be installed, being cautious of any electrical wires or plumbing.
 Note: Wires, pipes, and ductwork most likely will need to be relocated. You should expect to see at least wires running through the wall you’re removing, so have a plan for that.
If we’re installing a beam in a finished home, we typically snap a line 36” back on both sides of the wall. We then use a Makita drywall cutter to remove the finished ceiling. Having the ceiling exposed allows us to see the framing and relocate any utilities in the way of the new beam.
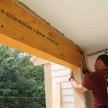
 Install Temporary Supports:
Depending on your framing situation, install a temporary wall or “strong-back” posts to support the floors above. These temporary supports should be on both sides of the wall to be removed. The walls support the upper floor joist load during beam installation.
Take your time with the temporary wall and double-check that everything is supported properly.
Note: If there’s a posted ridge or a load-bearing wall above the wall you want to remove, you’ll need a second pair of shoring walls directly above the first pair. Otherwise, the upper load-bearing wall will be supported only by the flooring when you cut sections out of the joists below. Sometimes floors below also need bracing, we’ve seen prior remodels cause a lack of support so be sure that you look up, down and all around
Pro Tip:
When building a temporary support wall, plan an opening through it, to get your beam through and into the working space. This may involve framing your temp. wall with a 48” opening and support header above it. This is especially important if you have a long beam or are using hydraulic beam lifts and need the access space.
Ensure Proper Support Under the Beam [Point-Loading]
Confirm the walls/foundations below are aligned correctly to support the new point loads at each end of the new beam. I often use an insulation rod chucked into my cordless drill to drill down to locate where the center of the beam is being placed. From there, I can measure left and right to locate my point load locations.
When replacing a load-bearing wall with a beam, you are creating NEW load-bearing points for the structure. You need to ensure that the new beam support posts transfer the weight all the way to the foundation, which might require additional support post support in floors beneath the bearing posts.

Sometimes the beam support posts line up with a foundation wall or house beam below. In these situations, you need to install solid blocking between the floor above and the beam or foundation below. The solid blocking transfers the load from your new support post to the beam or foundation wall.
In the case of a post landing on a main house beam, you may still need to install a new support column and new concrete footing – these calculations are best done by a structural engineer.
This work should be done prior to the beam installation, especially if you’re pouring a new 3500 psi footing. In this case, you will need to allow your footing to cure at least 7 days before placing a load on it.
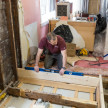
 Remove Existing Framing:
Once our shoring is in place, we cut and remove any studs under and joists where the new beam will be placed. Many times, I will cut the wall studs in half and bend/pull them out, or I may choose to cut the nails and take them out in one piece.
Sometimes we reuse existing framing, leaving it in place, as part of the beam support, so we take measures to ensure that the cuts are clean and precise.
Note: You should expect weight loading on the temporary studs will occur once you remove the bearing wall or beam.
Flush Beam
If installing a flush beam, you will need to cut the floor joists above to create a “beam pocket.” I use a laser and snap lines to ensure that I cut the pocket 3/8” larger than needed to avoid getting the beam stuck. Once the beam is in place, the joists are connected to the beam with joist hangers.
Pro Tip: After cutting the beam pocket, clean up stray nails to make room for the beam. We use end nippers or a multitool with a metal blade to cut the flooring nails flush.
Prepare the Beam:
Cut the new beam to the correct length and prepare any bracing or support posts. Have everything ready to go before needing it.
For steel beams, you may need to pack your beam with wood. It’s best to order the beam so the packing bolt holes fall in between your joist hangers. For more information on steel beams, watch our video on how to install a flush steel beam. [link below]

Install the Beam:
When building wood or LVL beams, we install one LVL piece at a time. If we’re installing a flush LVL beam, we direct nail through the first LVL piece directly into the floor joists. If you do this, ensure that the joists line up with the beam before nailing them off.
We then add and fasten the additional LVL pieces, fastening them all together once they are in place.
Lift the beam into place. This may require additional help, 2x cradle braces, or mechanical lifting equipment due to the beam’s weight.
Ensure the beam is level and fits snugly into the space. Adjust the beam as necessary. This may require slight jacking to level or shimming.
Note: Any opening wider than 48” will require [2] 2x trimmer support posts under the beam. (also called “Jack Studs”)
Depending on your specific situation (if the beam is large or the span is long), you may need to use something stronger like a 4×4, 4×6, or 6×6 PSL post, or a steel posts.
We cut out PSL or wood support posts 1/8” long and then gently drive them into place by tipping the bottom of the stud in place and then driving the top along the beam surface. It should not take a lot of force to drive them in place; if it does, remeasure and recut.
We use a sledgehammer them into place or jack the beam and lower it onto the posts, if the situation allows.
 Fastening the Beam:
We attach the LVL beam boards to each other using structural ply screws and follow the structural engineer or manufacturer fastening recommendations.
We also attach the beam to the existing framing using structural ply lags, structural screws, or appropriate fasteners. Depending on the situation, you may need to install metal connections or even weld a support to a steel post.
Ensure supports and connections are installed, secure and meet the engineer’s specifications.
 Joist Hangers:
Prior to installing the joist hangers, we use a hydraulic jack to raise any low joists to the bottom of the beam. #10 joist hanger nails are used to fasten 2×10 Simpson joist hangers to the beam. A Positive Placement pneumatic nailer makes this work easy and efficient. 2×10 joist hangers have diagonal holes for “double-shear nailing.” This locks the joist to the beam and prevents pull-out. Longer fasteners are required for double-shear nailing. We use either 16D framing nails, called “sinkers,” or Simpson SD Connector screws.
Note: Fill all the joist hanger fastener holes.
 Remove Temporary Supports:
Gradually remove the temporary supports, ensuring the beam and structure remain stable.
Finish the Installation:
Replace any drywall, plaster, or other finish materials that were removed.
For more information on installing a flush steel beam, you can refer to this: https://www.aconcordcarpenter.com/replacing-a-load-bearing-beam-with-a-flush-beam.html