Fireplace Mantle Makeover


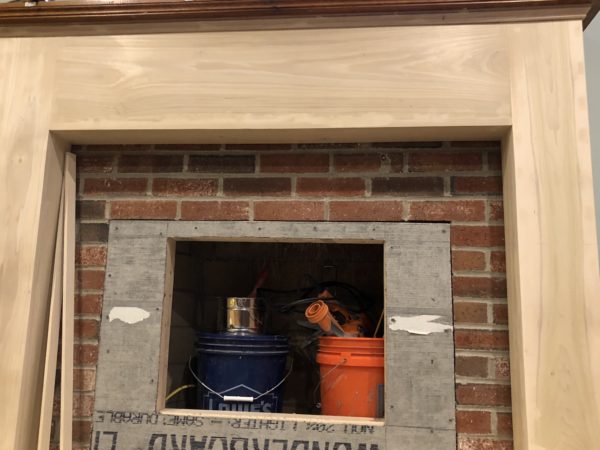
Step 4: Building the Columns
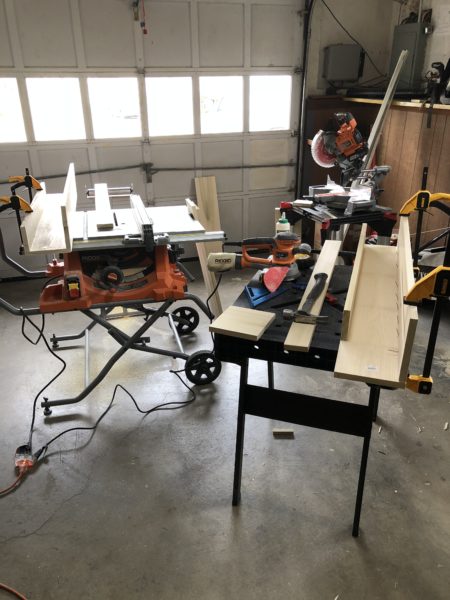
The columns were made from 1″ x 8″ poplar. Outside and front were full size and the inside return to the brick was cut at a smaller width. We glued, nailed and clamped the pieces together. Once the glue dried we filled the seams with wood putty and sanded them smooth.
In order to get our Poplar to secure to the brick we used a Ramset [concrete nailer] and fastened 2″x 4″ supports along the side of the fireplace (unfortunately we didn’t get any pictures of this). We secured the Poplar on the left side and right side of the 2″x4″ supports.
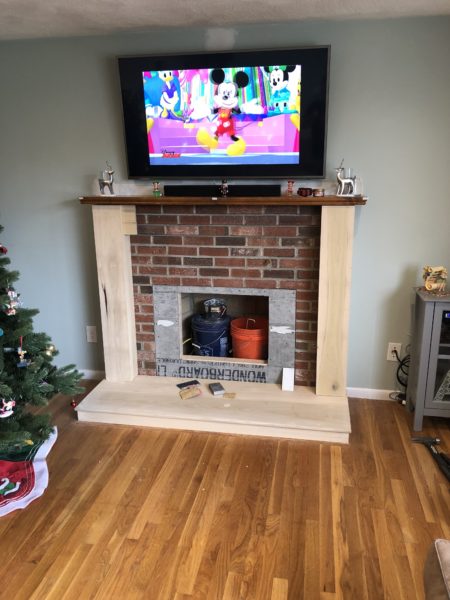
To secure the mid section of the mantle we installed support braces. These braces were set back the thickness of the front piece and cut to length. This piece was also secured to a 2″ x 4″ cross support which was fastened with the Ramset into the brick. All seams and nail holes were covered with wood putty and sanded smooth.
Step 5: Tiling
The section that needed to be tiled was approximately 8 square feet. The Client selected Carrera Marble subway tile.We used kraft builders paper to protect the hearth floor under our work surface.
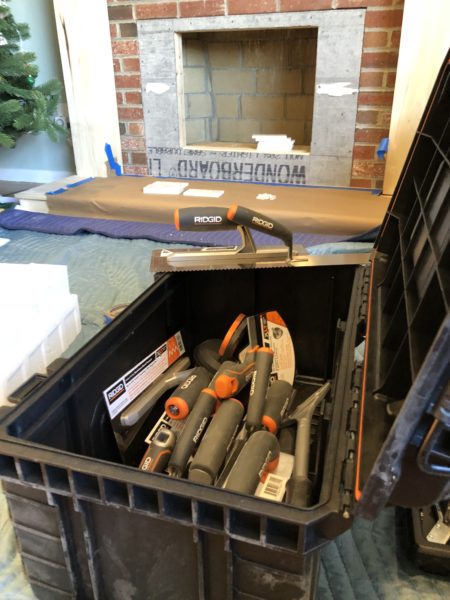
We tiled up the fireplace and placed a temporary shelf for the tile to sit on at the top of the framed out section using the new Ridgid Tool Tile Laying Tools. After the tile set we grouted with a sanded grout and left for a day before returning to finish the mantle trim.