Fixing Holes In Floor After Enlarging Door

How To Fix Holes In Bluestone Floor After Enlarging Door
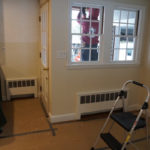
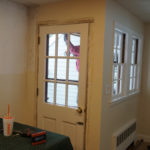
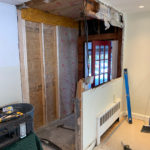
We were recently asked by a client to enlarge an existing door. The door was in a newly renovated, mudroom area and exited into a garage. The mudroom floor was 1” Bluestone that was wet-set [cemented] into place.
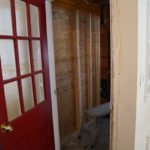
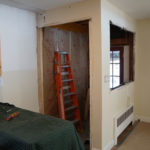
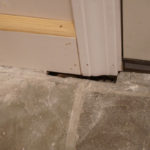
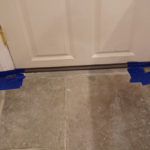
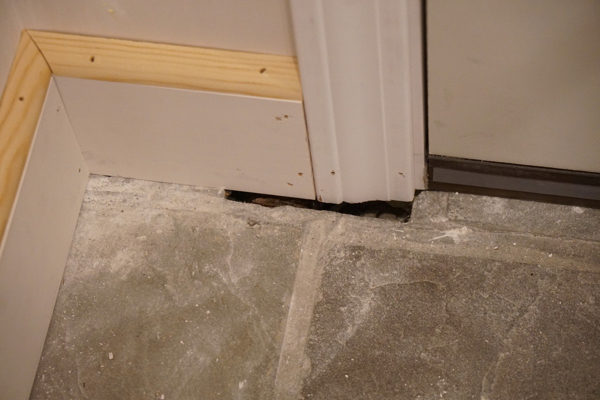
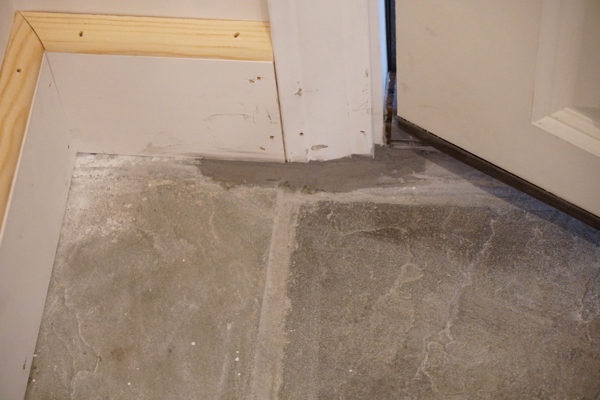
We advised the client that enlarging the door would leave scars, [2” deep holes] where the bluestone used to butt up against the old door jamb.
Door Jamb Left Floor Scars
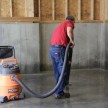
Because the scars were close to a wall we could not cut them out to patch them, and the best looking fix would be to replace the 1” Bluestone tiles. Additionally, because they were wet-set, we would need to chisel them out with hammer drills, in order to replace the bluestone. A messy and time consuming fix.
This extra cost was not anticipated by the client and they did not want to go through the extra work and expense. They asked me for alternatives?
An Alternative Solution
As a cost-effective repair that could be accomplished easily I suggested that we fill the voids with cement and then grout the top with colored grout to match the existing 50 year old grout. They like the idea, and the price so we got to work.
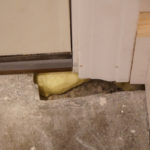
Filling A Hole In Floor – Hydraulic Cement
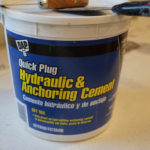
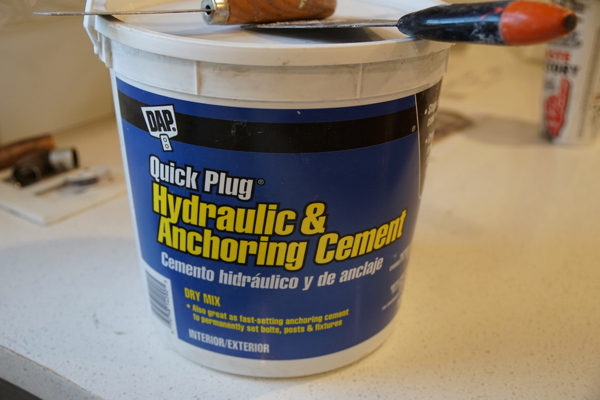
The holes left by removing the door jamb left a 2” deep void and cold air could be felt coming in. I chose to use hydraulic cement for the patch.
I chose Hydraulic Cement because it sets extremely fast [ 3 minutes] and hardens after it has been mixed with water. It also does not shrink. This would allow me to concrete patch and grout in one application.
The hydraulic cement 10lb pail cost approximately $15 and was easier to deal with than a 40lb mortar bag. Hydraulic cement is used widely in the construction industry sealing structures below grade and in situations where structures can be affected or submerged in water.
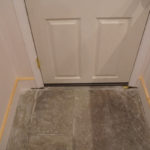
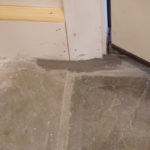
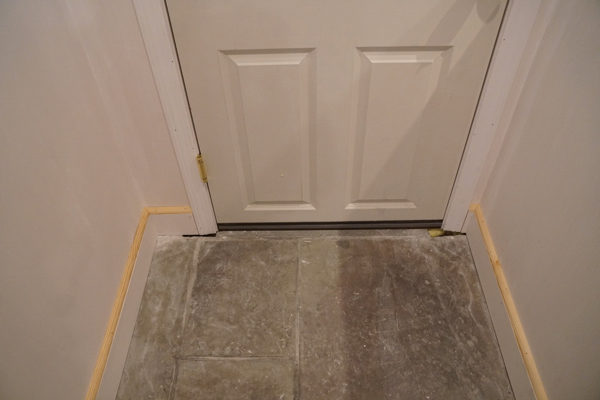
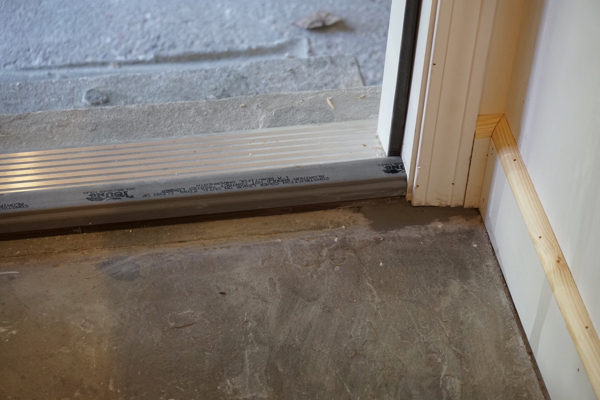
I purposely left the hydraulic cement down from the bluestone approximately 3/16 of an inch to leave room for the grout.
PRO Tip: Use blue tape to protect the blue stone from getting stained by the hydraulic cement.
How to Apply Hydraulic Cement
Hydraulic cement should be applied to surfaces that have been cleaned, free of oil, dirt, grease or any other contaminant that will affect the bonding with the permanent structure.
These are the steps for a successful application:
- Remove all loose particle from area.
- Undercut all areas on which the hydraulic cement will be applied to help anchor it.
- Follow mixing instruction on container
- Pre-wet area you are applying hydraulic cement to.
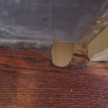
- Apply hydraulic cement and press firmly into place, maintaining the same amount of pressure until the cement begins to harden and the leak is stopped.

Applying Grout and Getting It To Match
The blue stone floor is approximately 50 years old. Matching grout color can be a challenge, but it’s not impossible. We used a grout wheel and chose the closet color to the old grout. We mixed the grout and laid it in place trying to match the existing gout patterns.
This entire repair took 1-hour to complete and worked like a dream!
Fixing Holes In Masonry Floor Video Tip
Other Uses for Hydraulic Cement
Other Uses for Hydraulic Cement: Using Hydraulic Cement To Fix a Basement Leak