Wood Floors and Electric Radiant Heat

Using Warmup Electric Radiant Heat Under Oak Floors
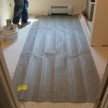
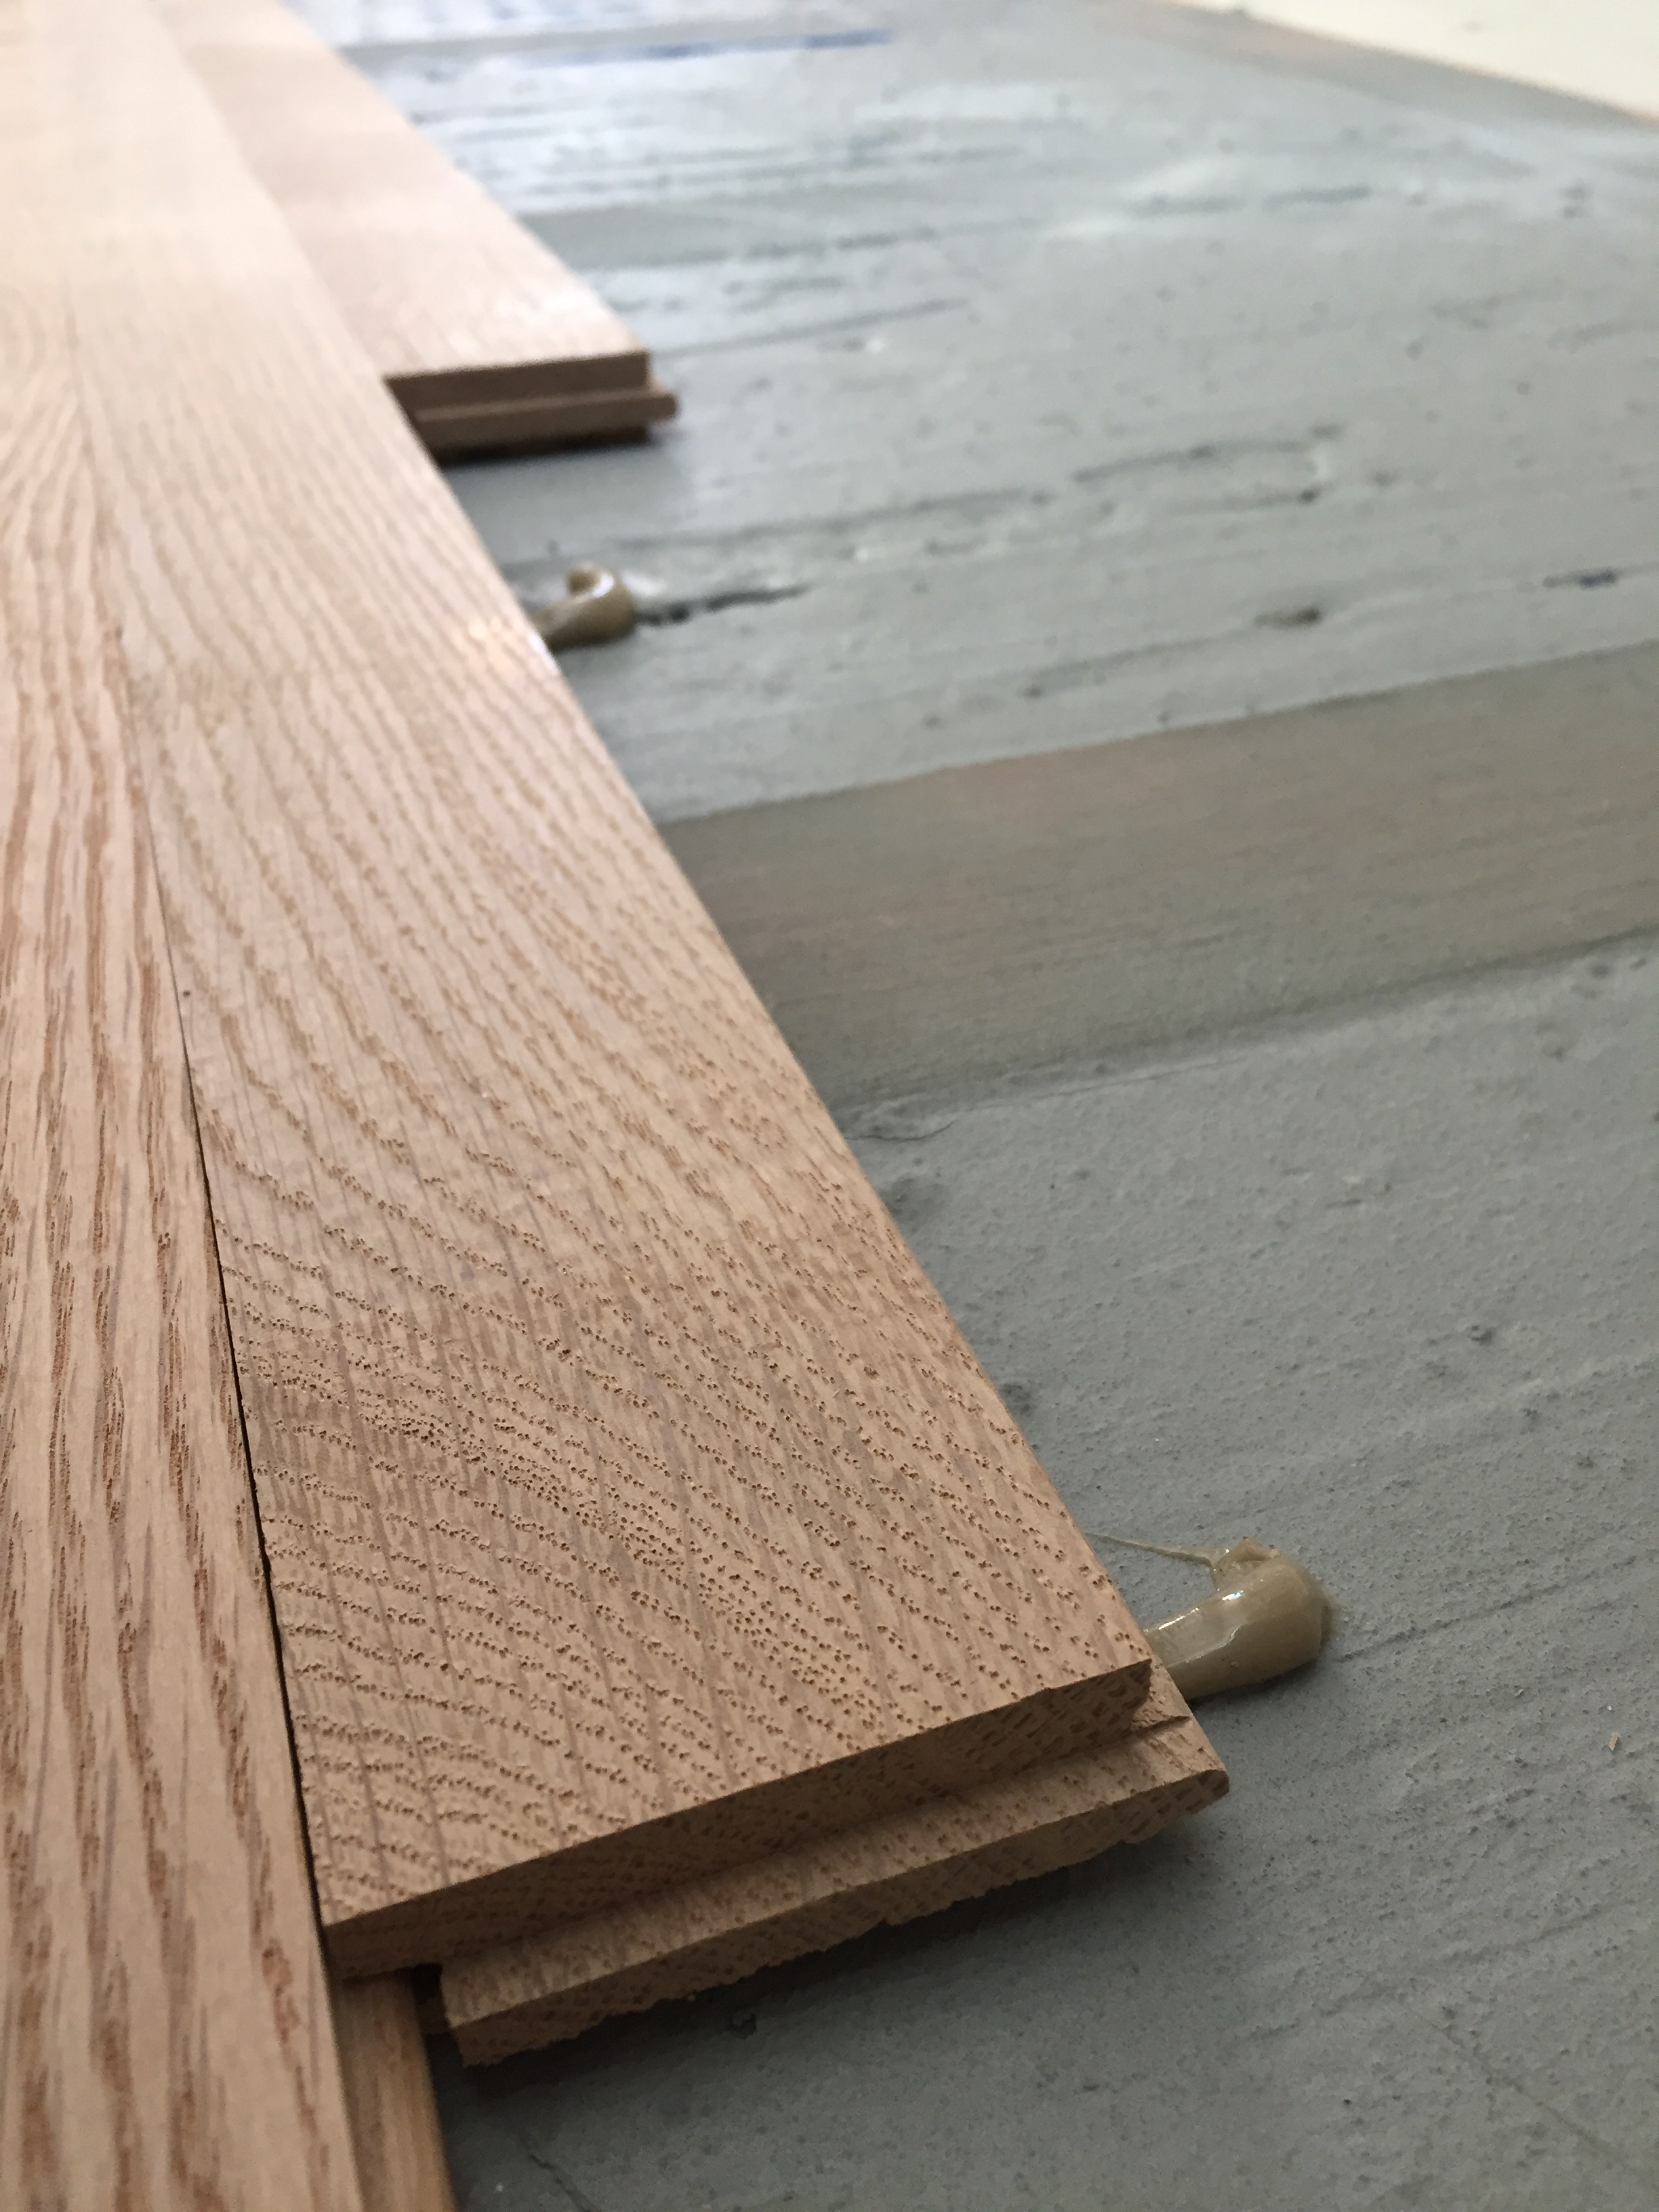
In our four-season porch, we decided to install ¾-inch oak hardwood flooring to match the rest of the house flooring, but we had some floor height issues to deal with first. The 4-season porch floor was 1-1/2 inches lower the finished hardwood floor height of the main house. We wanted the new wood floors and electric radiant heat system to be seamless, and the same height as the main house.
Matching Floor Heights
In order to get our new porch floor the same height as the existing house floor, we had to add plywood to the porch floor. We screwed down a layer of ½” CDX plywood to raise the floor and then installed ¼” plywood nailer strips (called “sleepers”) along the perimeter of the room and at 16-inch intervals to get to a total of ¾” height. The radiant heating cable measures 1/8” so we decided to use ¼-inch plywood ripped to 3” for the sleepers.
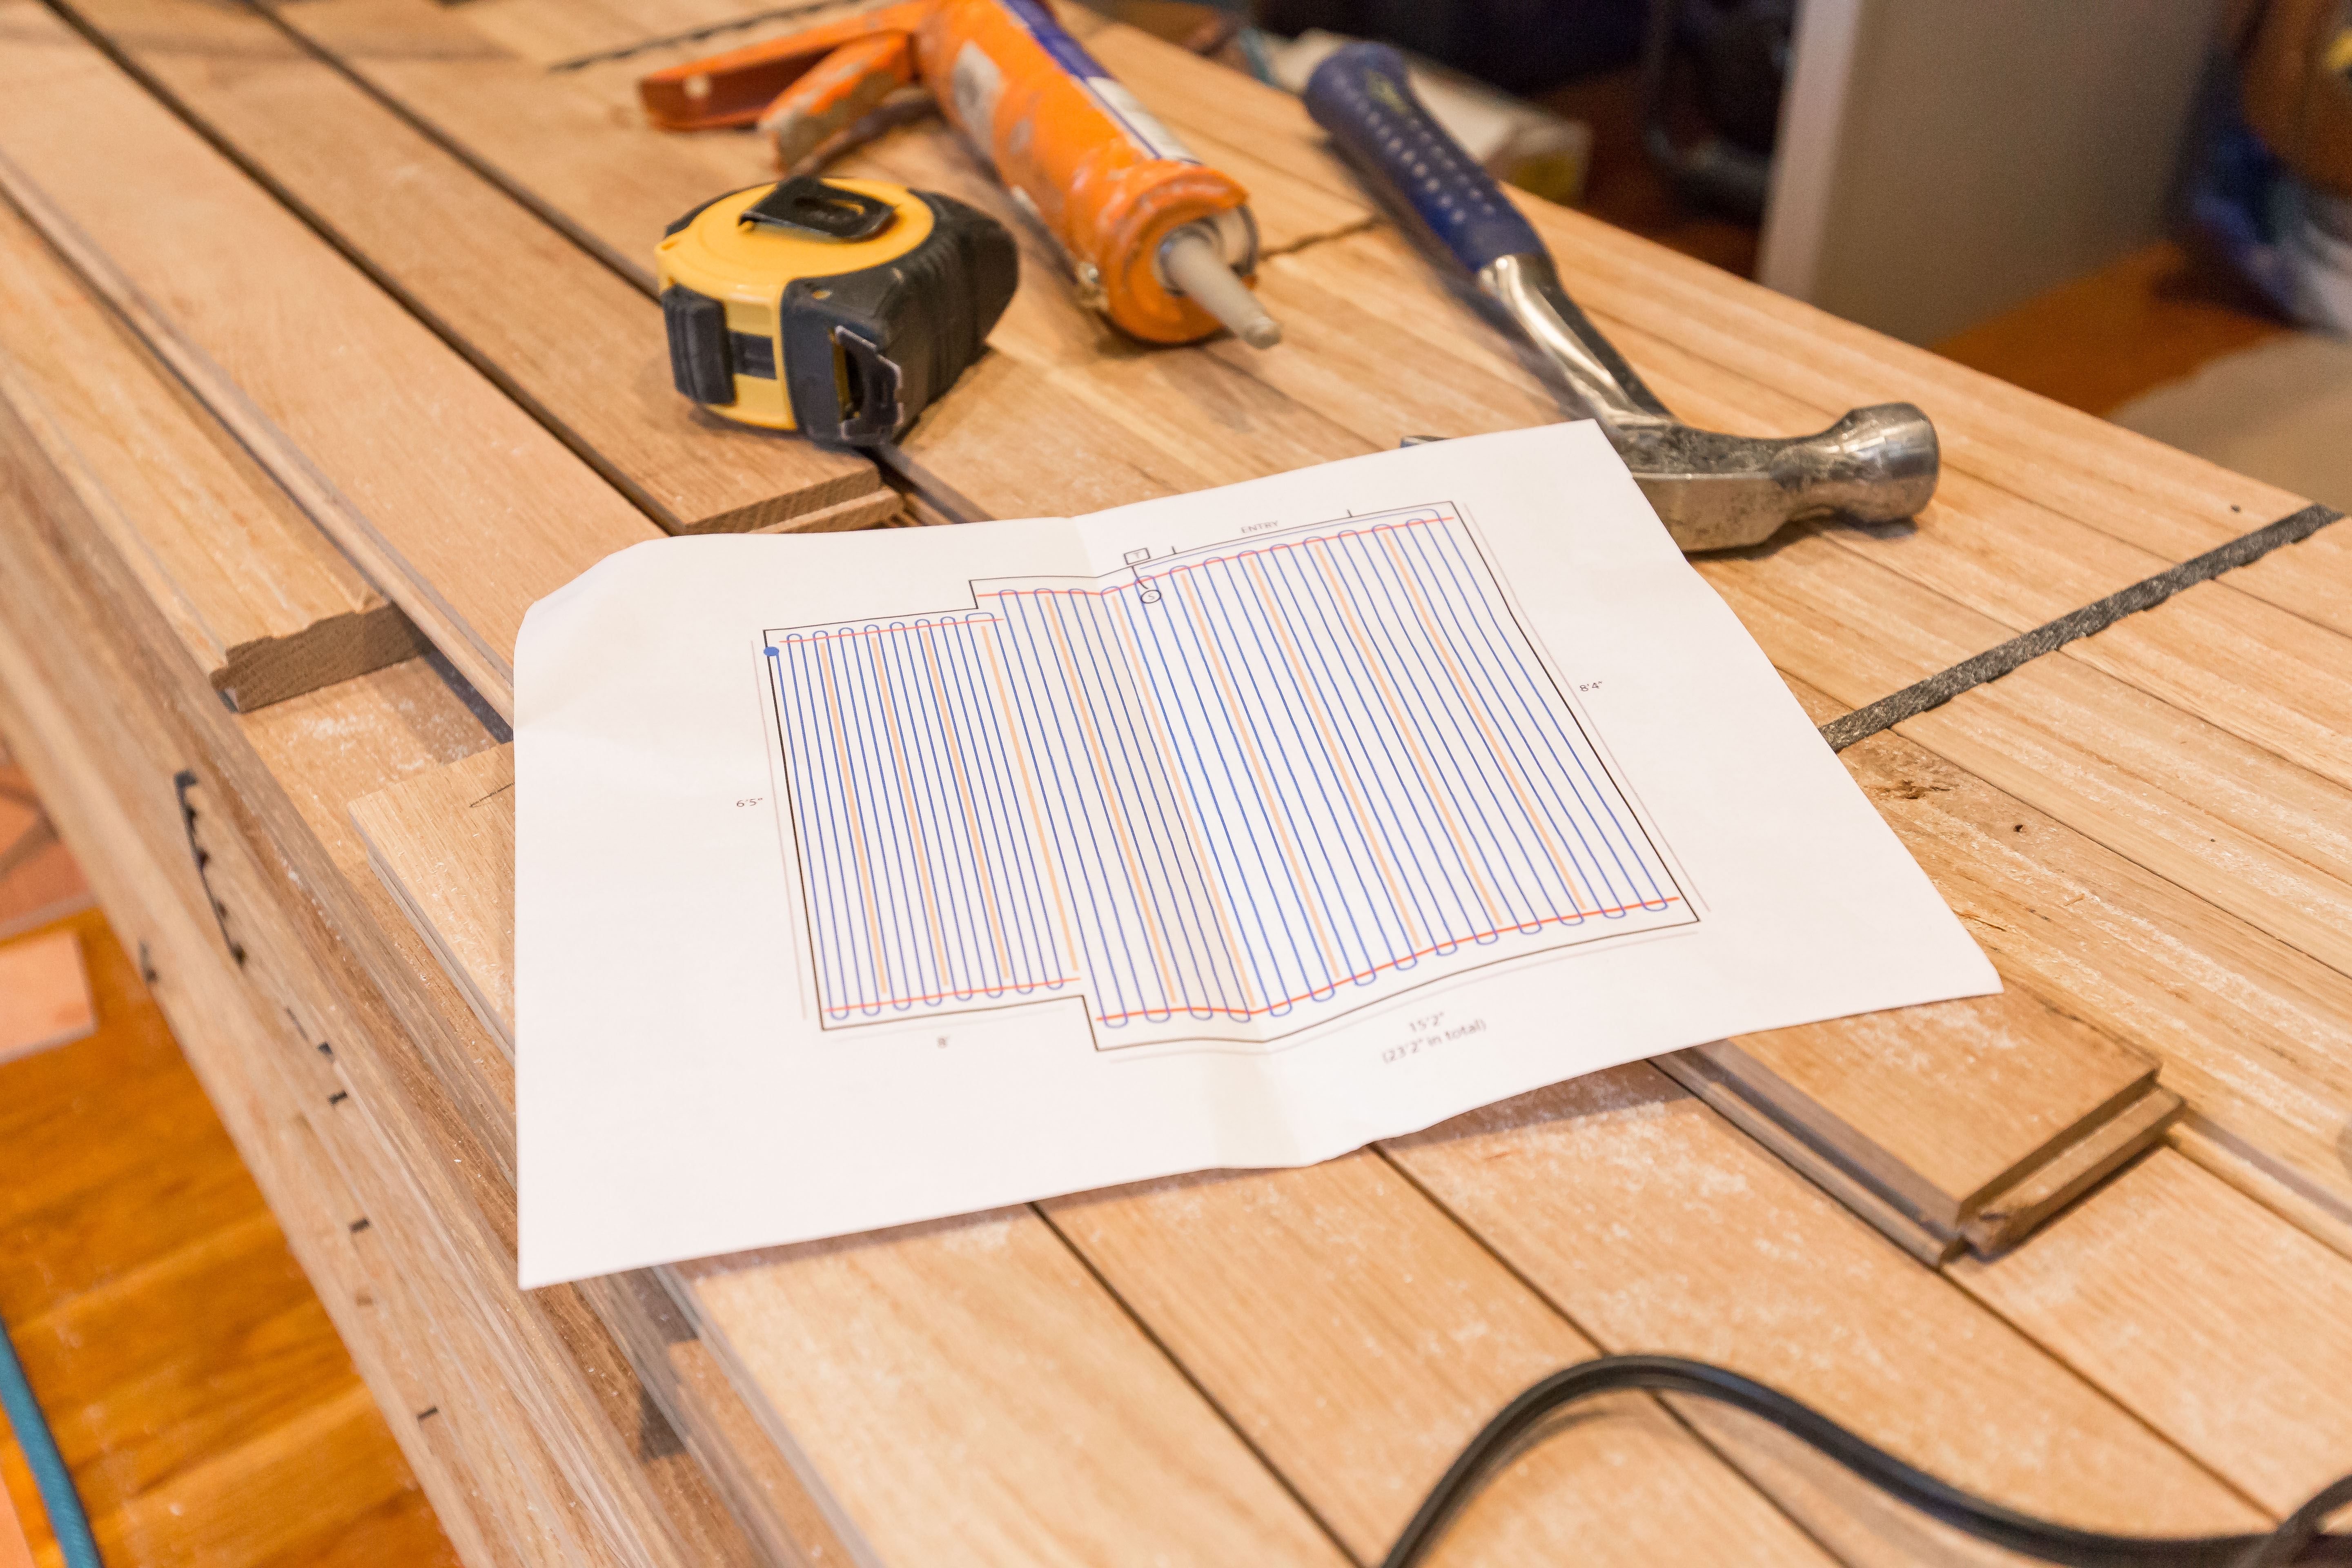
Sleeper strips create lanes into which the heating cable will be placed and should be installed perpendicular to the hardwood flooring to be fastened into the sleeper.
Using 3-inch wide sleepers allowed us to space out sleepers to the standard 16-inch on-center spacing. This spacing creates a 10-inch wide space to run three loops of radiant cable spaced three inches apart.
Best Practices: Installing the Warmup Radiant Heat Cables
Several manufacturers have tested their products specifically with Warmup products and certified their warranties on combined installations. This list includes Amorim, Wicanders, and Higuera Hardwoods, among others.
Wood Floors and Electric Radiant Heat Install Tips:
Use ¼” or 3/8” sleepers so that filling of the voids with leveler will give you an effective heat bank, yet only minimally raise floors.
Use the standard 10” spacing for our 3-inch wide sleeper runs we spaced three runs of cable (spaced at 2”, 5” and 8”) in each sleeper gap.
Note: Depending on your specific conditions, you may need to adjust sleeper spacing to accommodate the support of the wood floor.
For installations over concrete and/or requiring insulation, a variant of the sleeper method is to use 2×3’s or 2×4’s partly embedded in the slab pour. This allows for insulation to be included and more thermal mass to be poured between the sleepers.
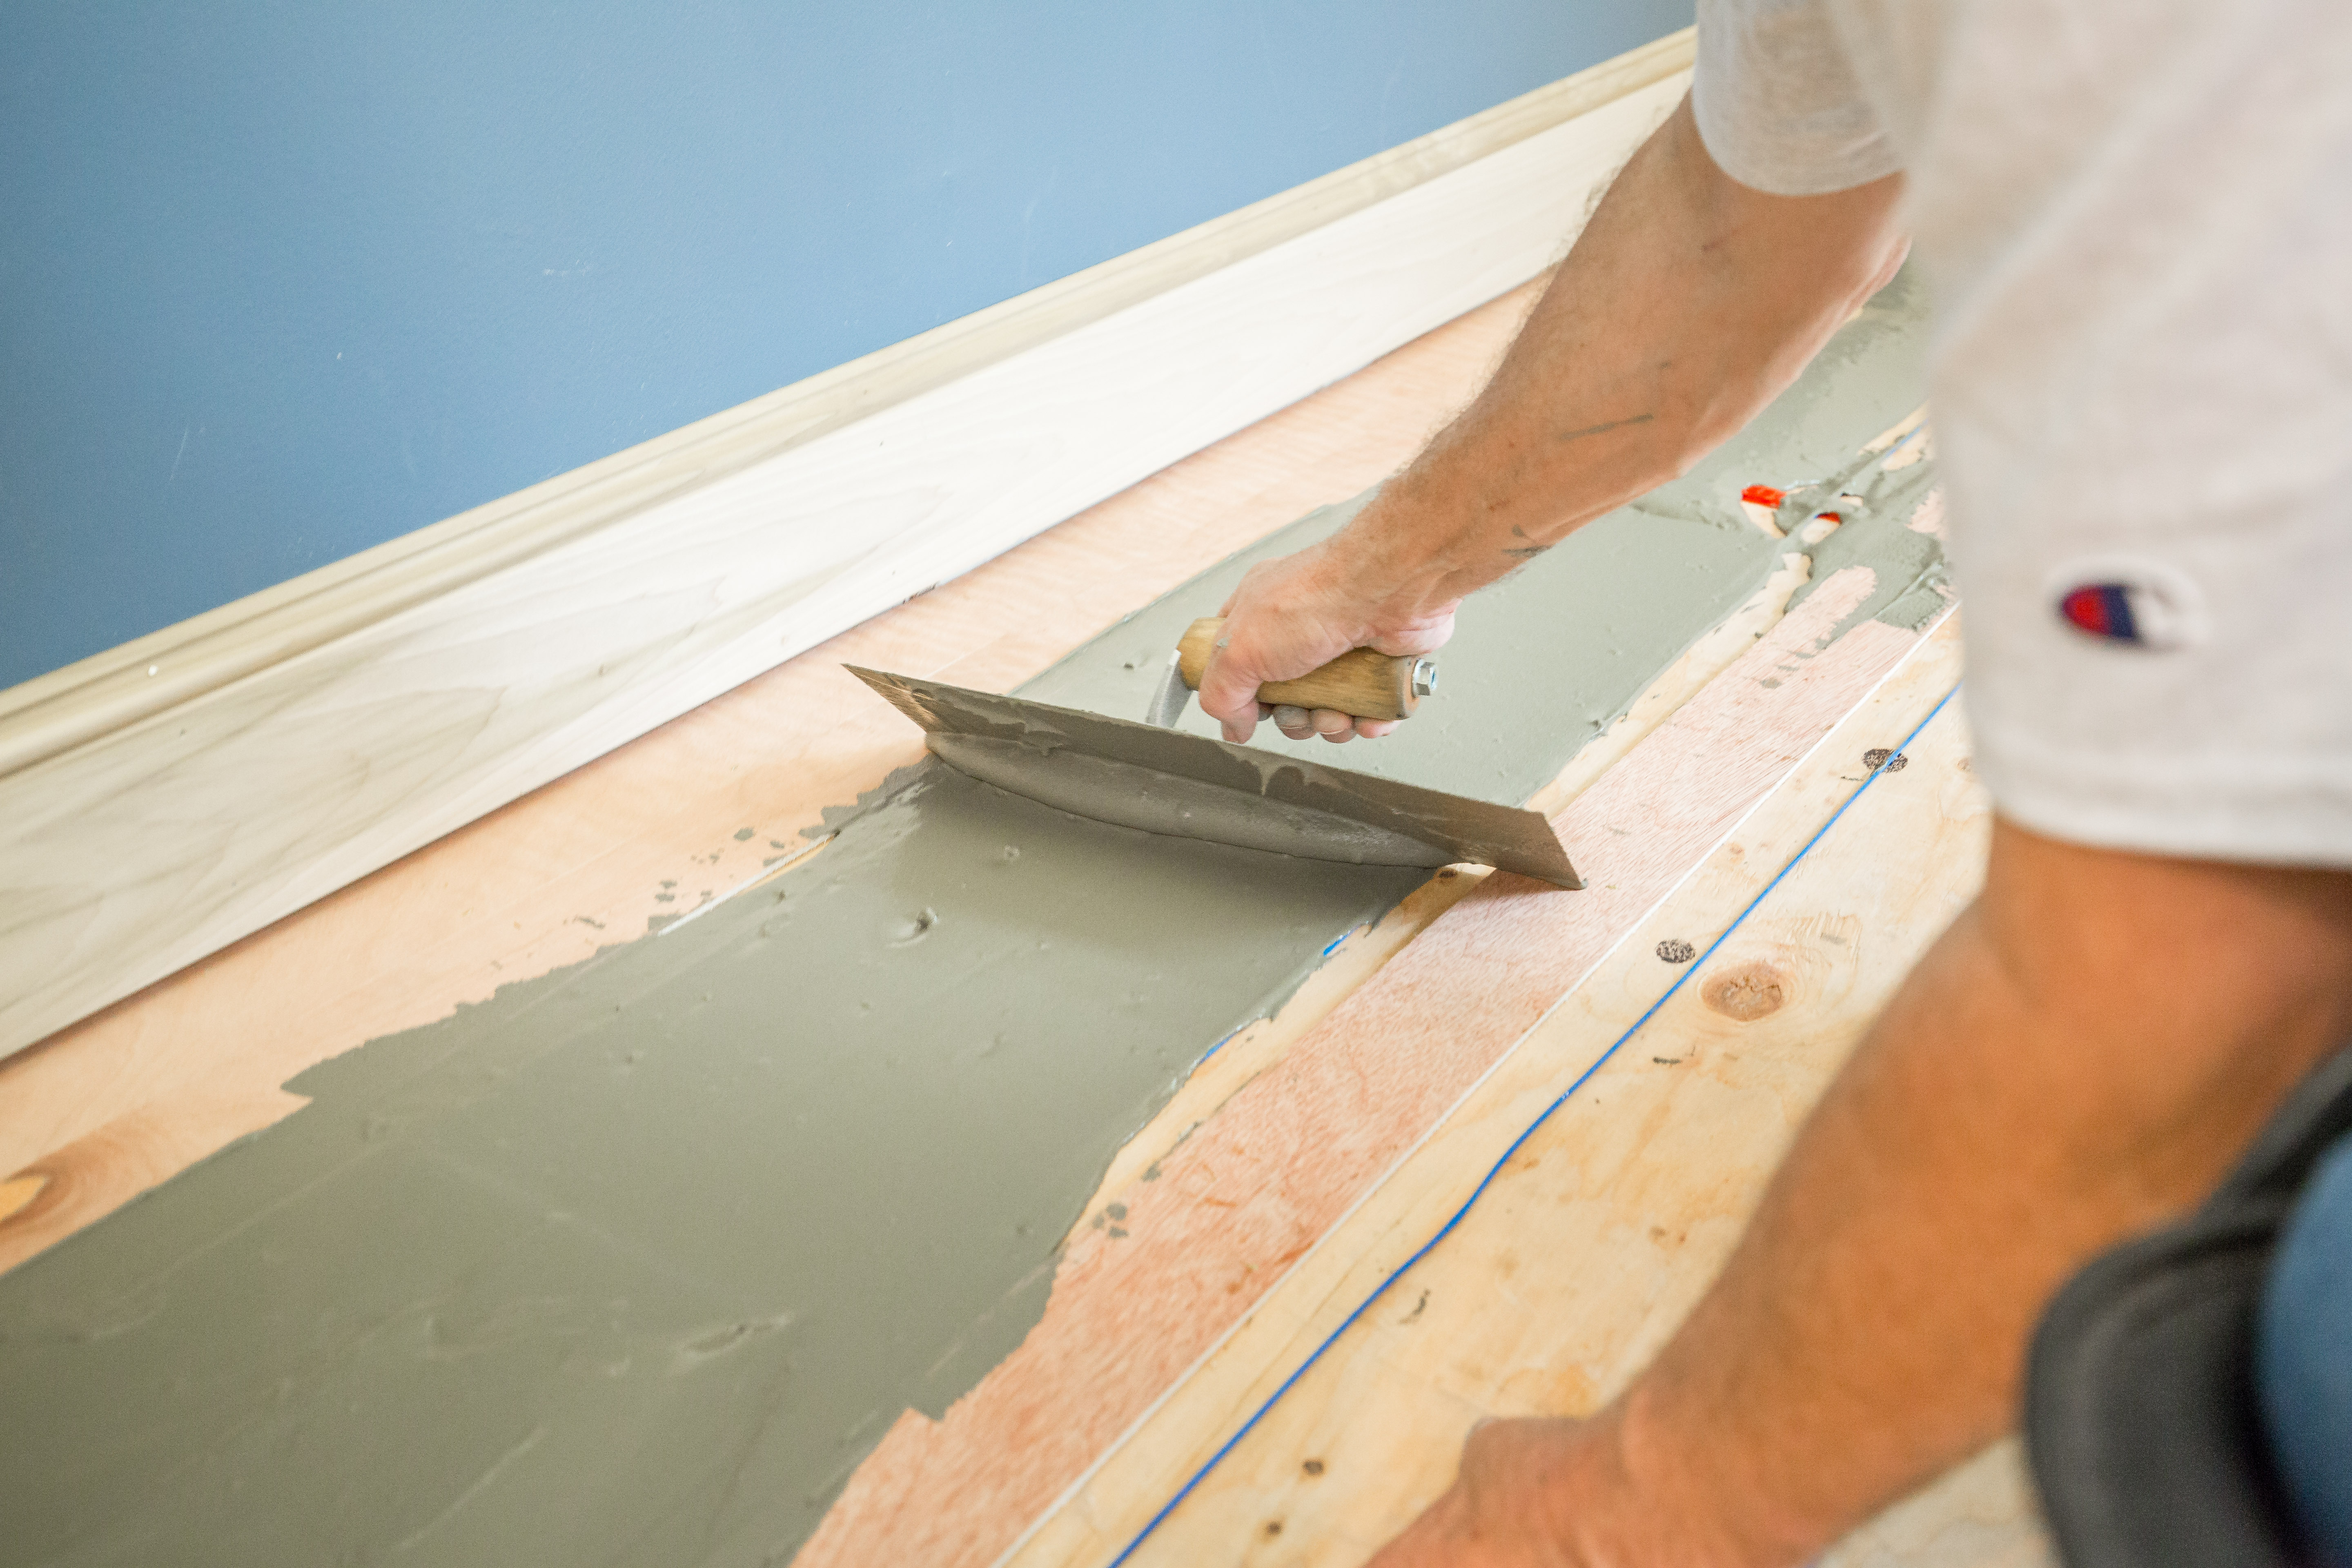
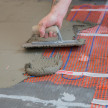
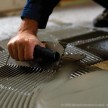
Encapsulating The Radiant Heat Wires
Once the Warmup electric heat cables are in, pour concrete between the sleepers. This in effect creates a thin radiant slab that encases the cables. In all cases, a layer of insulation is normally placed below the existing sub-floor to ensure that most of the heat is directed upward.
I used latex-modified thin-set [LMT], which is a blend of cement, very finely graded sand, and a water retention compound that allows the cement to properly hydrate. LMT is cheaper than a self-leveling pour, which is frankly not needed in this situation.
Make sure you mix the thin-set “soupier” than when making a tile setting mix. You want the thin-set to flow and level out easily. The goal is to completely encapsulate the Warmup electric heat cable wires. You Do Not want any air gaps between the thin-set or the flooring material, air gaps create a thermal gap and decrease the efficiency of the heating system.
Tip: Use a scrap piece of wood that spans at least two sleepers to level out [screed] the thin-set.
Benefits of using Latex-Modified Thin-set:
- Durable and resistant to cracking.
- Less expensive than self-leveling compound.
- Readily available.
- Priming the sub-floor is not needed.