Wood Floors and Electric Radiant Heat

Installing Warmup Loose Wire Heating System (NADWS) 10-Steps
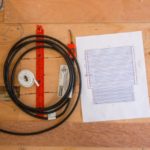
Step 1: Determine heated area
Measure the room that will be receiving radiant heat. Make a sketch or drawing to send to Warmup for a quote. Locate your thermostat location and note its location on your sketch (see Step 2).
Step 2: Locate Thermostat
Warmup electric radiant heat mat systems are designed to be used with a UL Certified programmable thermostat. Locate your thermostat approximately 5 feet off floor and always on an inside wall. Try to avoid placing it near heat sources, excessive sunlight from windows, or skylights.
The Warmup proprietary 3iE Energy-Monitoring and 4iE Smart WiFi Thermostats include the safety of upper-limit temperature monitoring. This means that when selecting “wood floors” in the programming, the heat settings will never rise past 82F and ensure smooth and gradual heating of the floors.
Step 3: Run a 20-amp, GFCI protected circuit
Run a dedicated 20-amp GFCI circuit to your thermostat location. Prior to closing up any walls, I install a wire pull string from the thermostat box, down the wall cavity, and through a notched section of the 2×4 wall shoe plate. After the wallboard is installed the string will be used to pull the cold lead and floor sensor wire up the wall to the thermostat location.
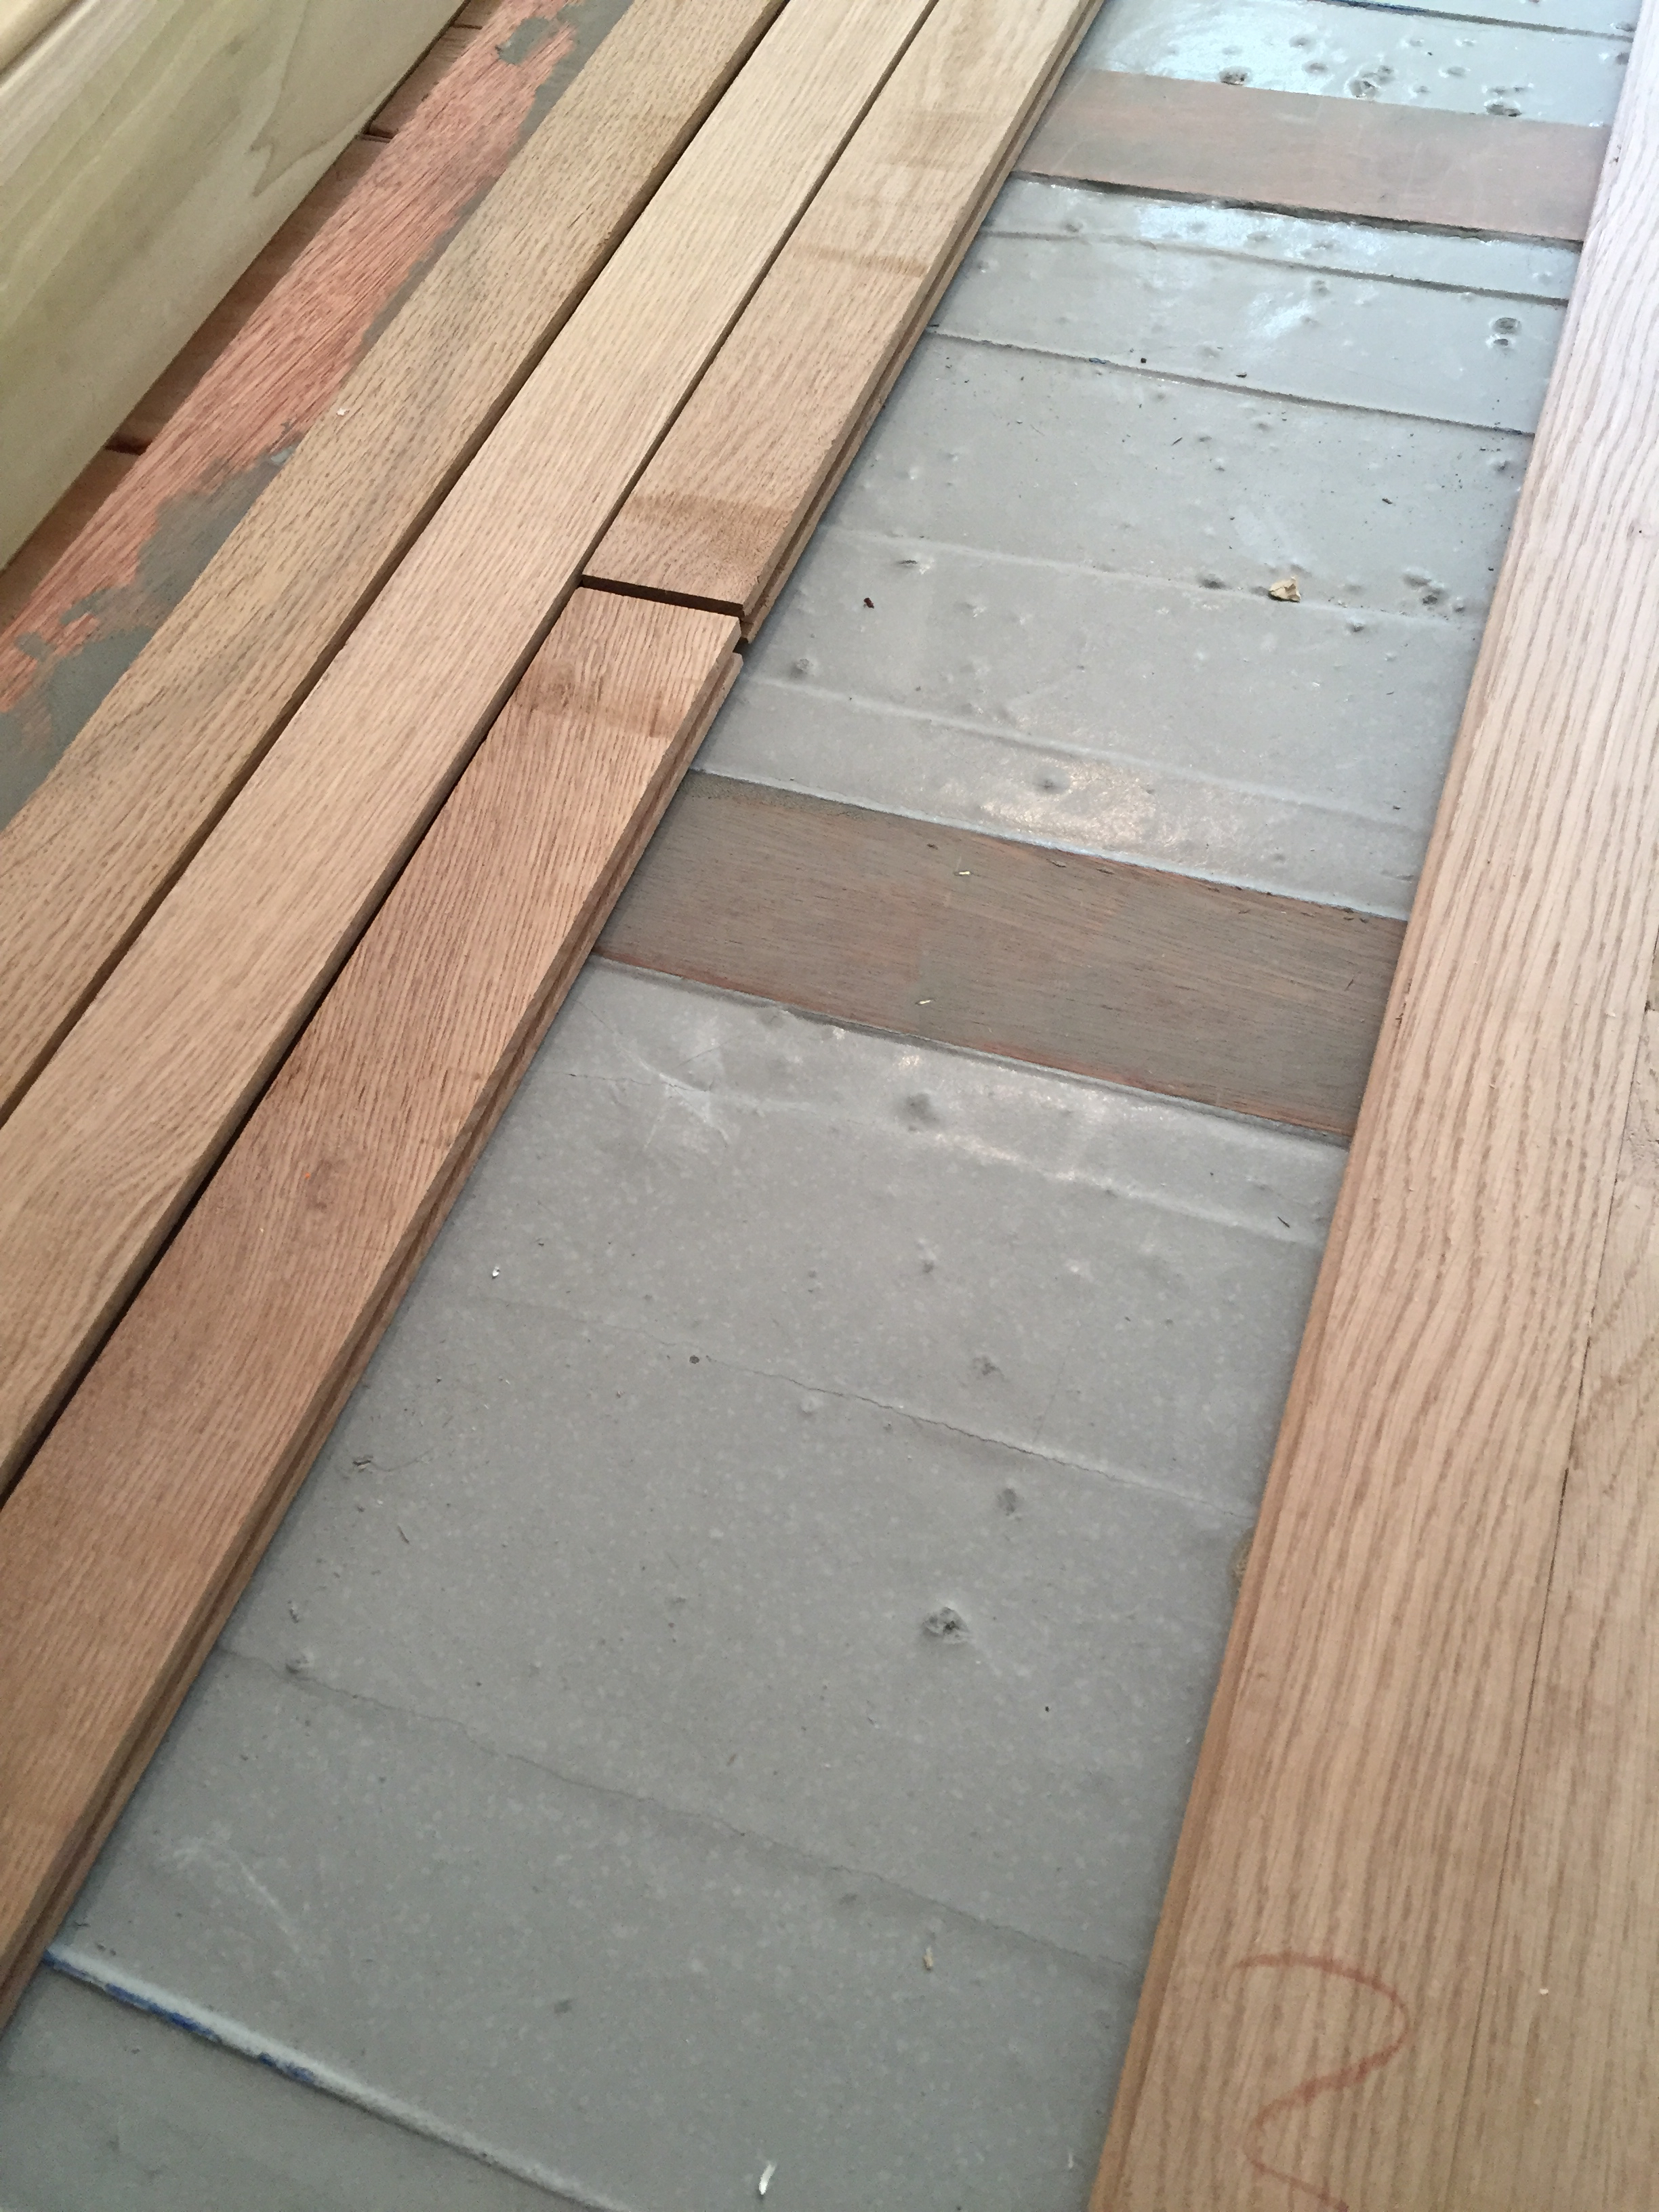
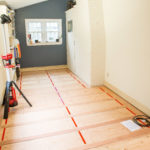
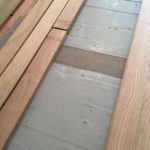
Step 4: Install wood sleepers
Using wood strips ¼” to ¾” thick and 2” wide, install strips at 12” to 16” intervals when using Warmup Loose Wire Heating System (NADWS). Leave a 2” gap at alternate ends of strips for heating wires to cross from one section to the next. [See diagram]
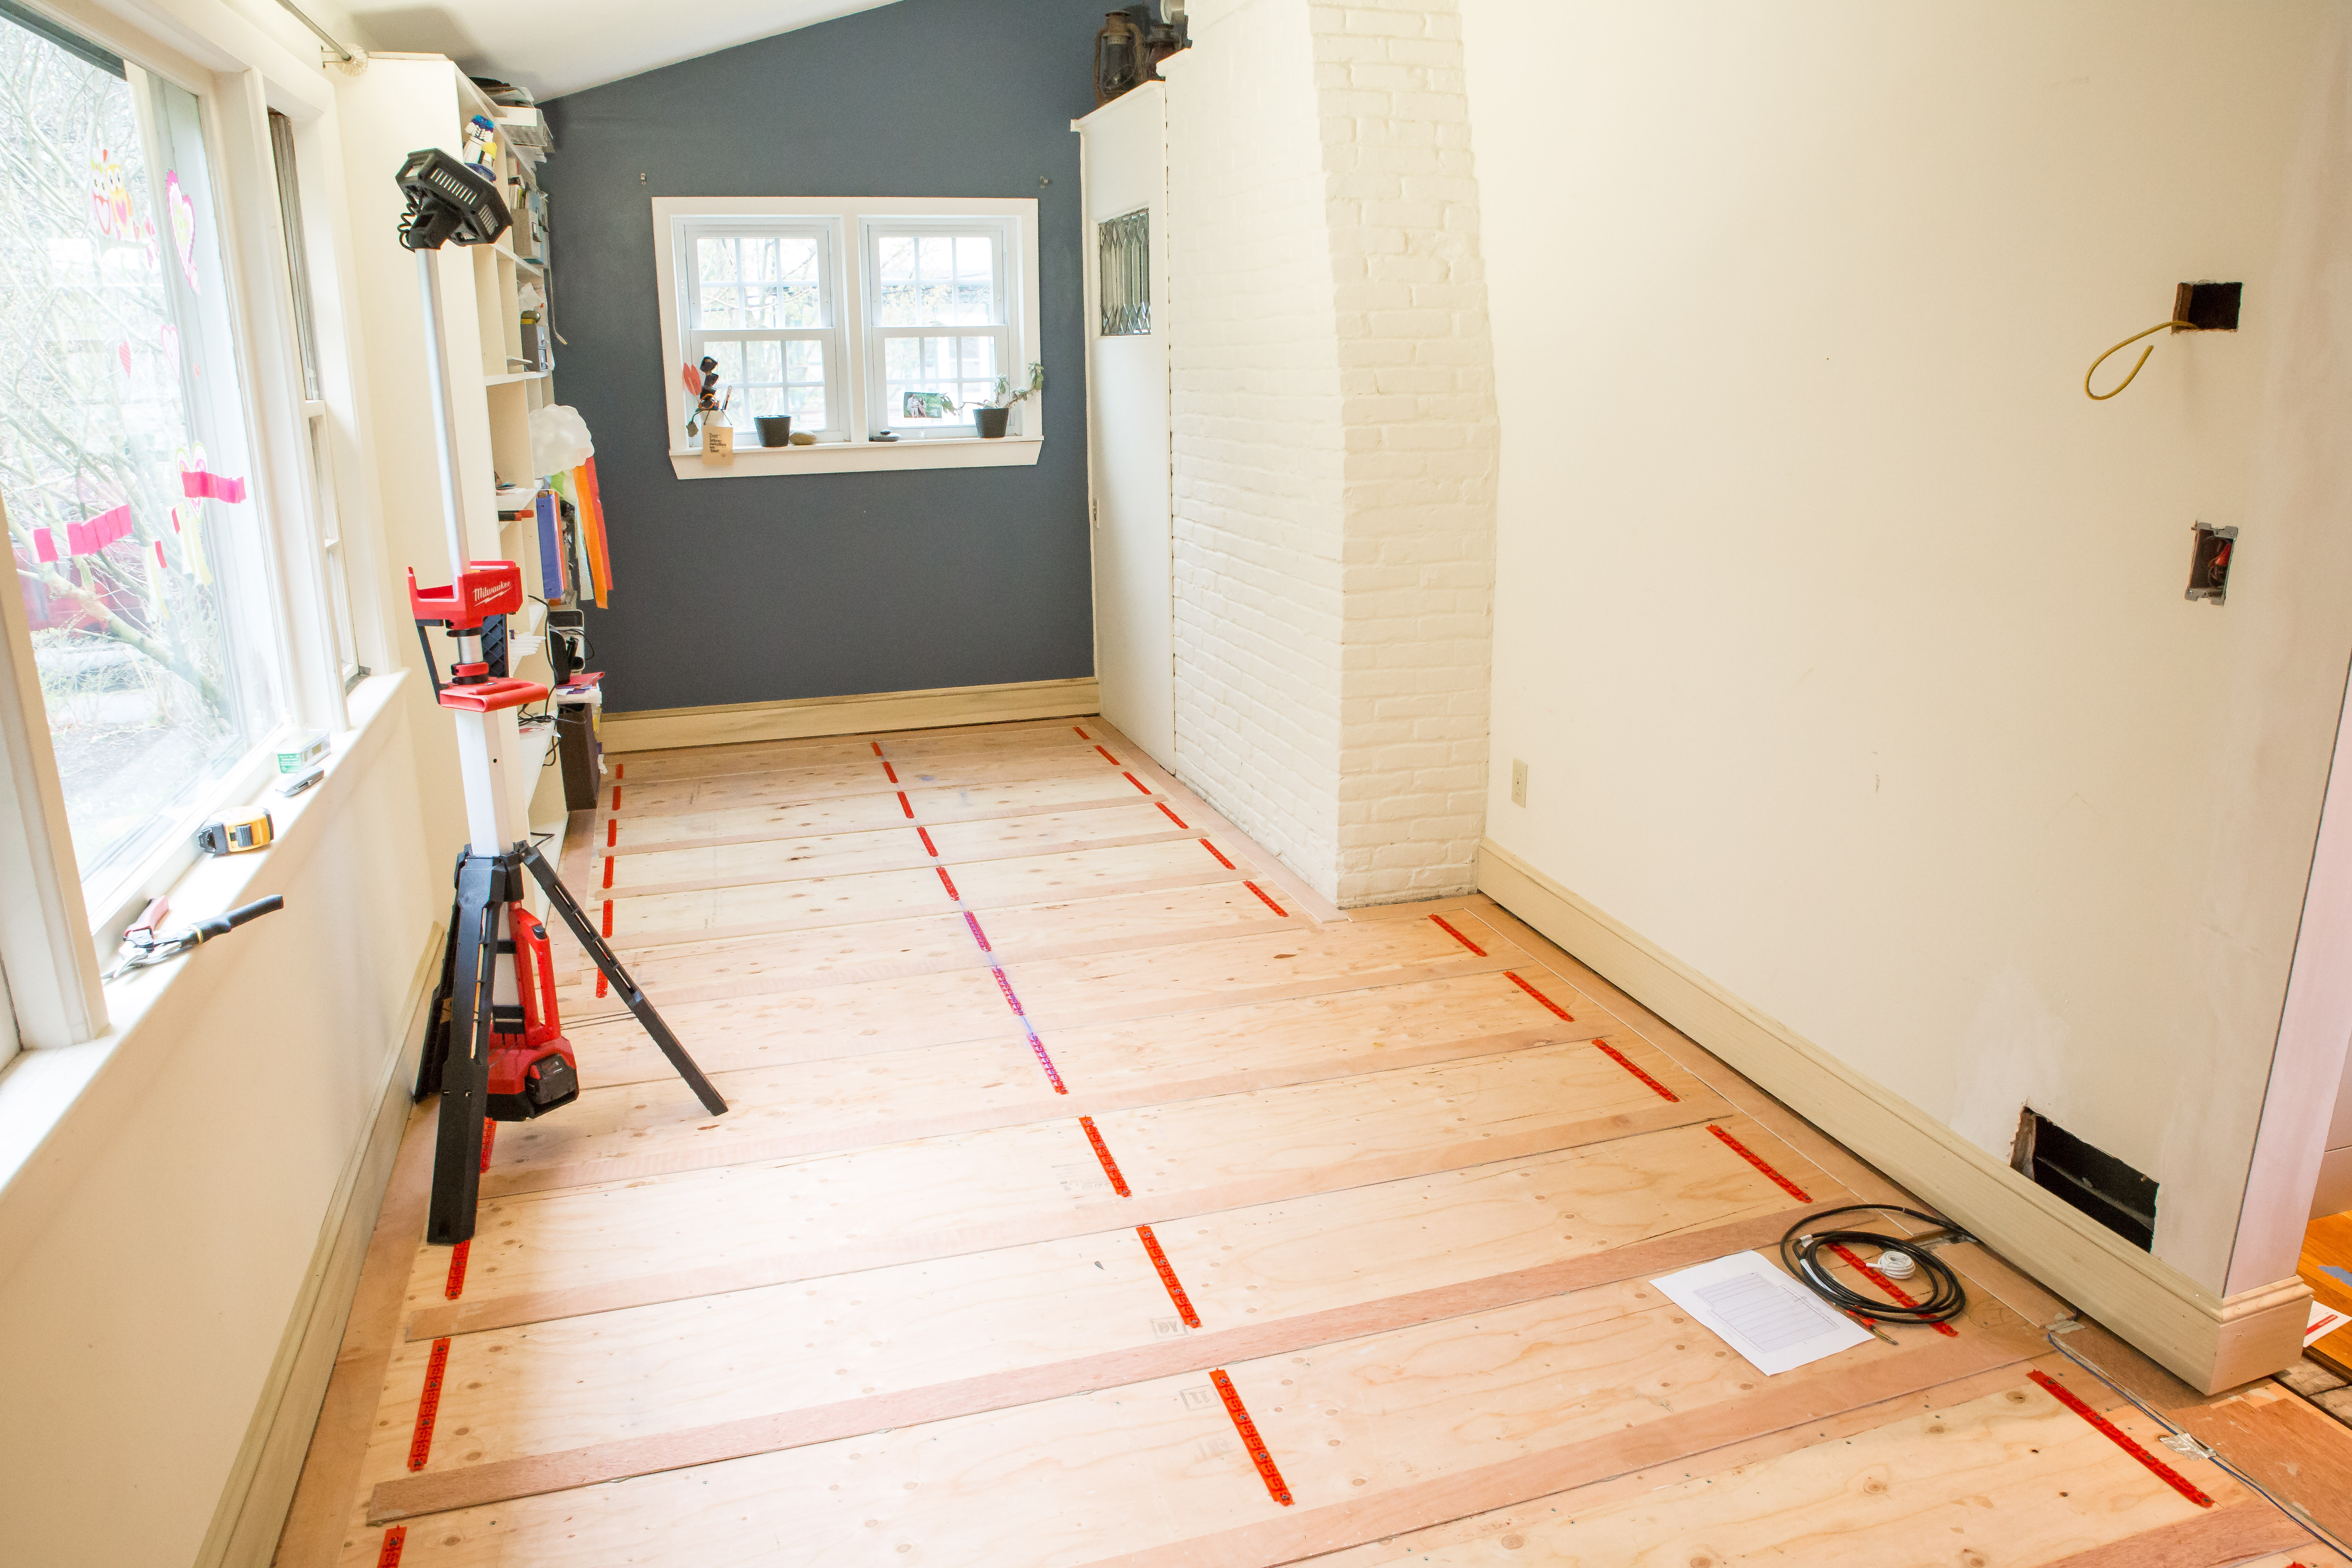
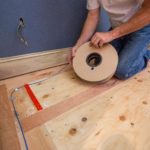
Step 5: Install fixing strips
Using hot glue, nails or screws, secure the strips to the floor with a minimum of 3” away from the walls and permanent fixtures.
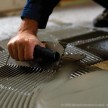
Step 6: Install heating system
Starting at the closest point on the floor to the thermostat, tape the joint to the subfloor. Lace the heating cable on the fixing strip and run it back and forth in parallel to the wood sleepers until all the sections are filled in.

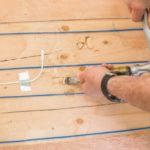
Step 7: Install temperature floor sensor probe
Place the probe wire containing the capped sensor evenly between two runs of heating cables at least 12” from the wall into the heated area. At no time should the probe wire cross the heating cable.
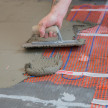
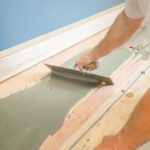
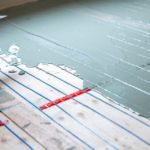
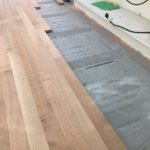
Step 8: Embed heating system using leveling compound
When the heating system is completely installed, apply a mixture of modified latex thinset compound over the entire heating system. Use a scrap board to spread and level the thinset to the top of the sleepers. Leveling compounds/thin-set/adhesive MUST contain latex compounds and capable of withstanding temperatures of up to 140°F (60°C) when used with underfloor electric heat systems.
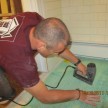
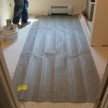
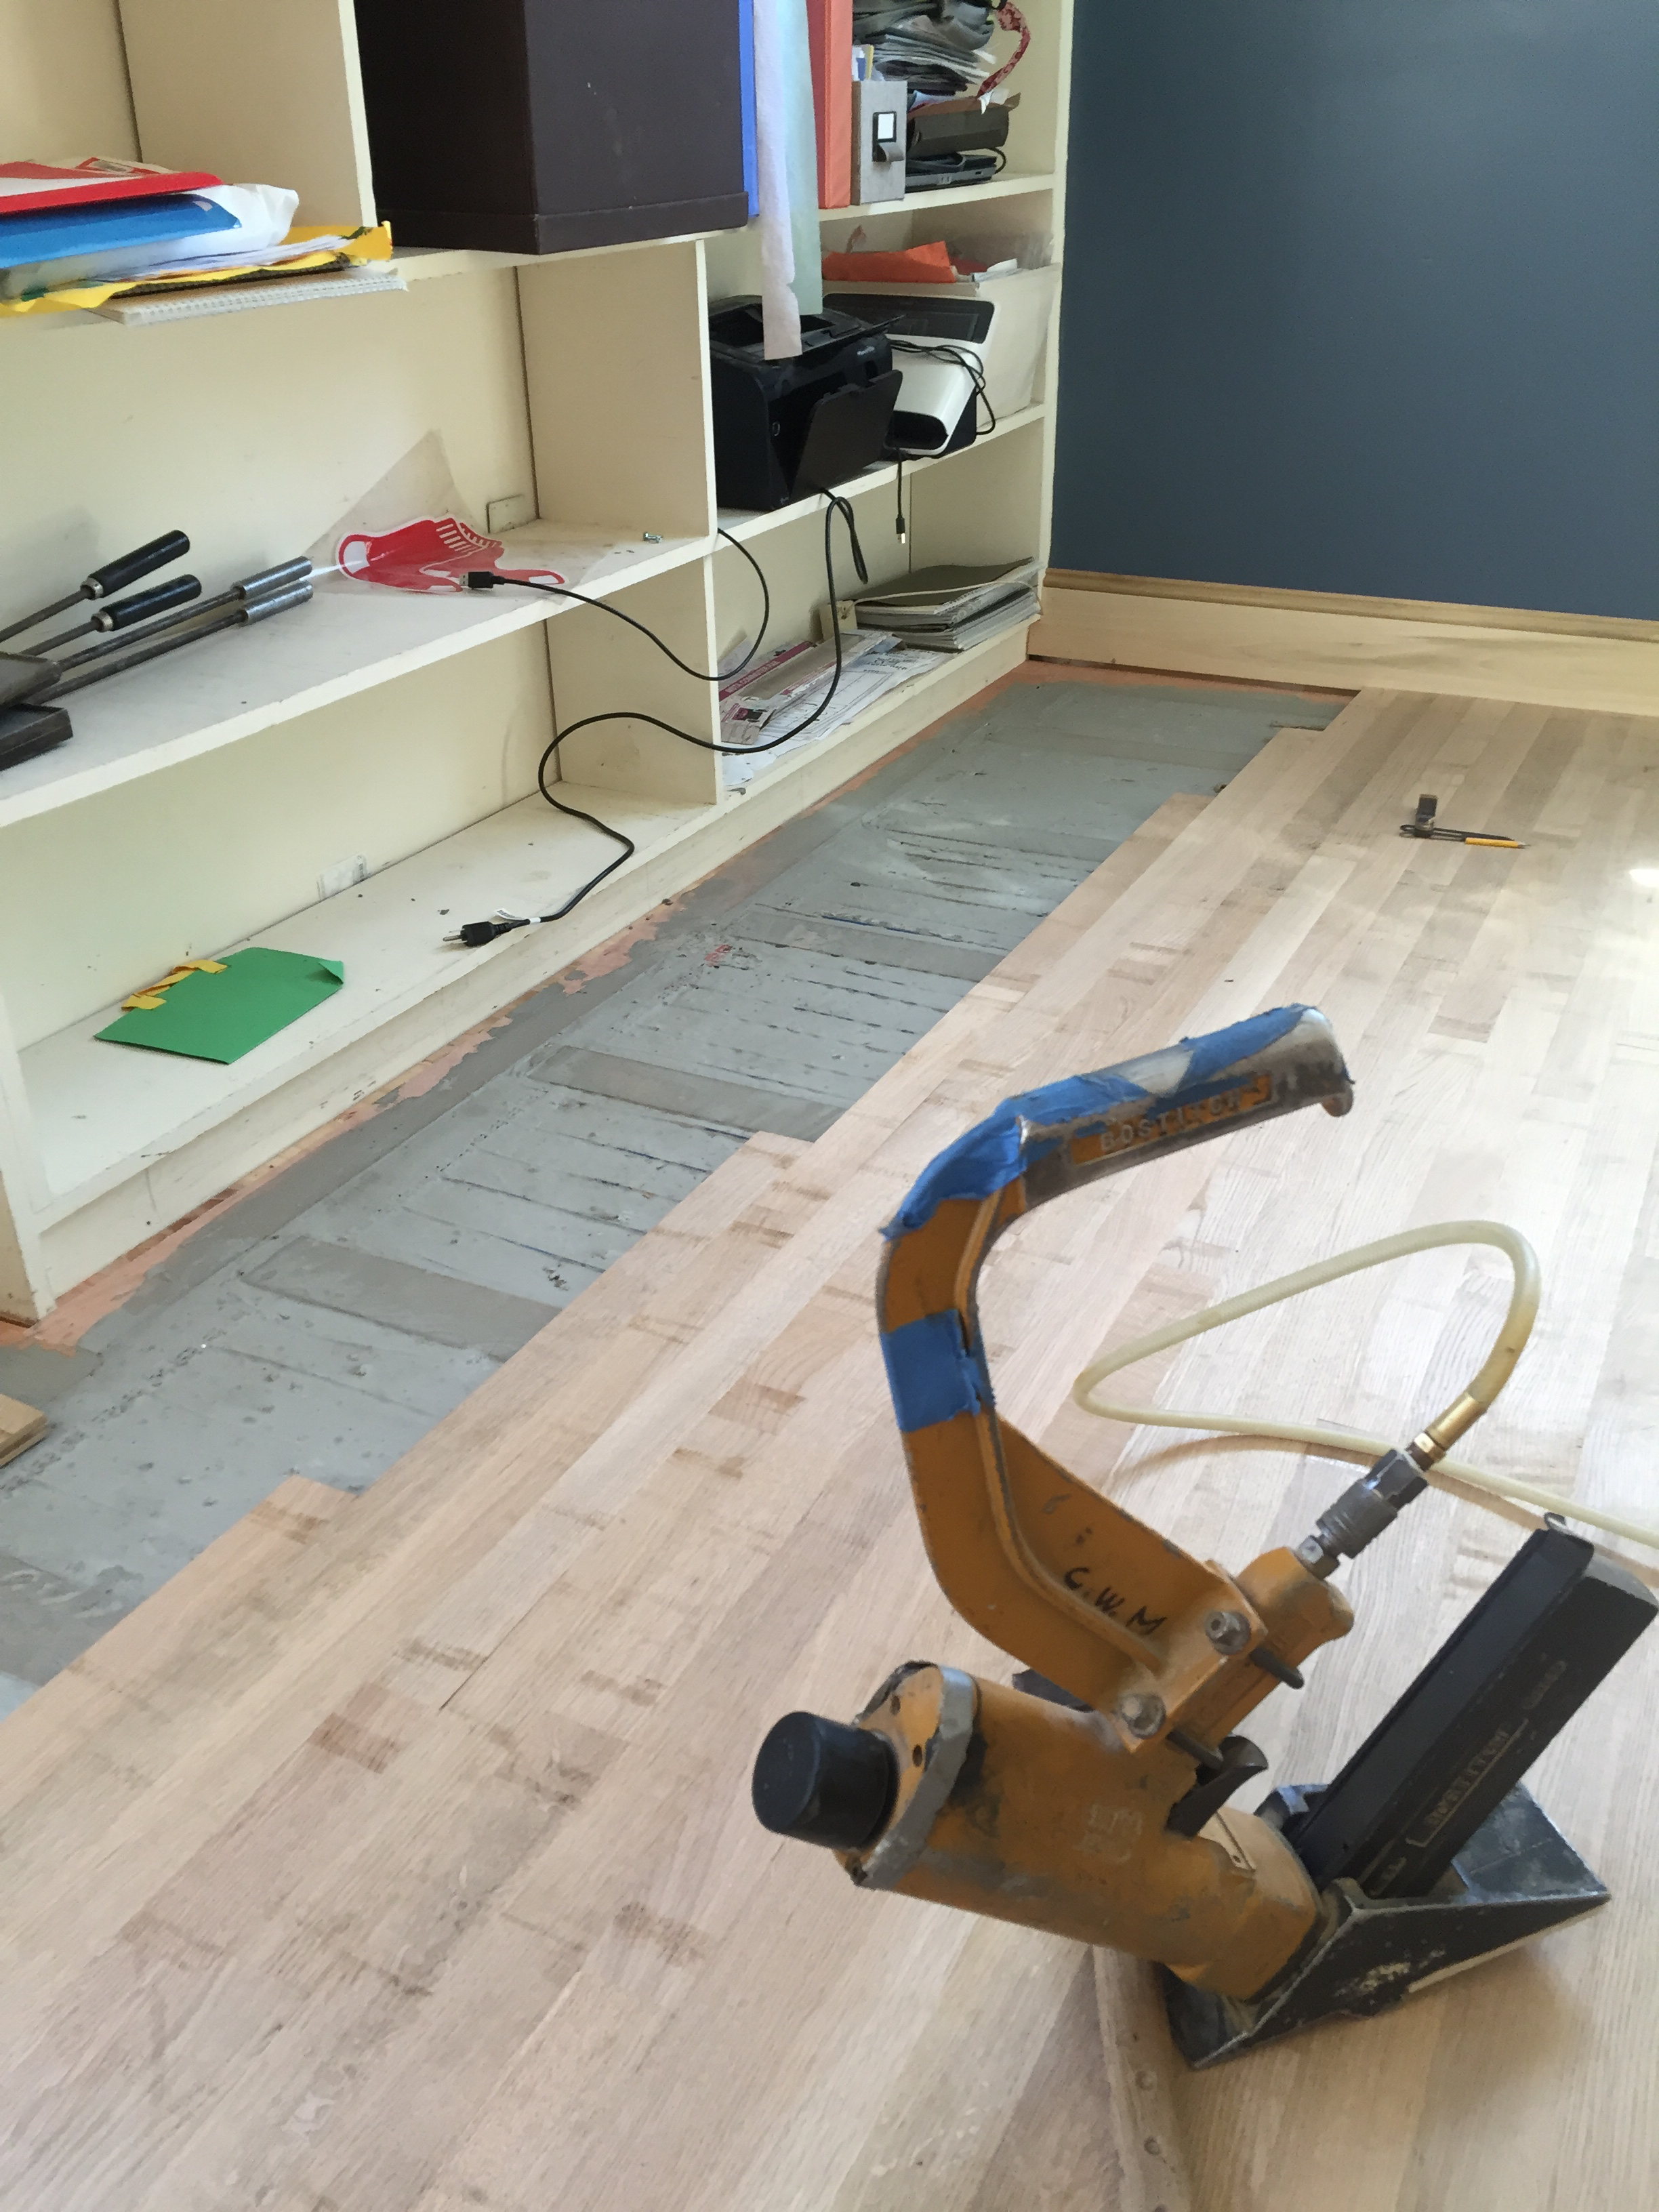
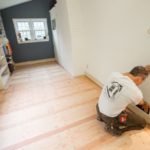
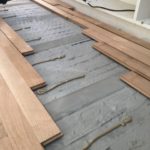
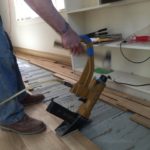
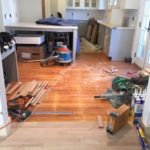
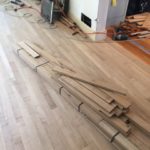
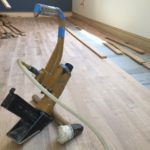
Step 9: Install hardwood flooring
When leveling compound has cured, install the hardwood flooring by attaching it to the wood sleepers only. Use caution not to damage wires with your fasteners.

Step 10: Program Thermostat
Program the thermostat to a maximum of 81°F (26.5°C) to avoid drying out the wood or causing warping. The thermostat must be regulated by a floor probe positioned between the heating cables. Note the Warmup 4iE Smart Wifi Thermostat does this automatically when selecting Wood Floors in the menu.
Installing Electric Radiant Heat Under Wood Floors
-
- Floor Heat plan
-
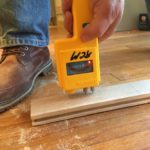
- Moisture Testing
-

- Matching Floor Heights
-

- 3iE Thermostat
-

- Attaching Sleeper Strips
-

- Sleepers
-
- Sleepers
-

- Red Wire Mount Strips
-

- Wire Mount Strips
-
- Wire Mount Strips
-
- T-stat location
-
- Heating Wire
-

- Heating Wire Install
-

- Heating Wire Install
-

- Heating Wire Install
-

- Heating Wire Install
-

- Heating Wire Install
-

- Heating Wire Install
-

- Wire Termination – recessed
-

- Sensor Location
-
- Recessing Sensor in Subfloor
-

- Sensor Recessed
-

- Wires finished
-
- Thinset Leveler
-
- Encapsulation of Wire
-
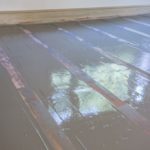
- Finished Leveler
-
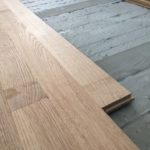
- Rift and Wuartered Oak install
-
- Oak install – Construction Adhesive
-
- Oak install – Sleeper
-

- Oak install – Sleeper
-

- Oak Install
-
- Rift and Quartered Oak
-
- Fastening on Sleepers
-

- Matching Floor Heights
-
- Matching Floor Heights
-
- rift and Quartered Oak
-
- Oak Install
-

- Rift and Quartered Oak Strip
-

- T-stat Location
-

- Finished Floor
-
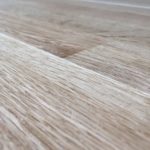
- rift and Quartered Oak
-

- Finished Old Meets New