When and How to Refinish a Mahogany Deck

How to Refinish a Mahogany Deck | 4 Steps
As a carpenter, I install my share of screen porches, decks, and stairs, and while the trend is leaning towards composite decking there are still a fair amount of folks who like Mahogany and Ipe decking. One of the most often asked questions I get on Mahogany decking is, “What sort of maintenance is required?” so let’s jump right into this question, which really translates to; When and how to refinish a mahogany deck.
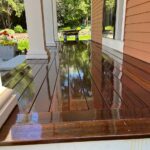
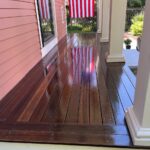
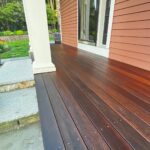
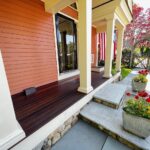
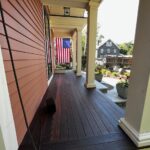
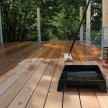
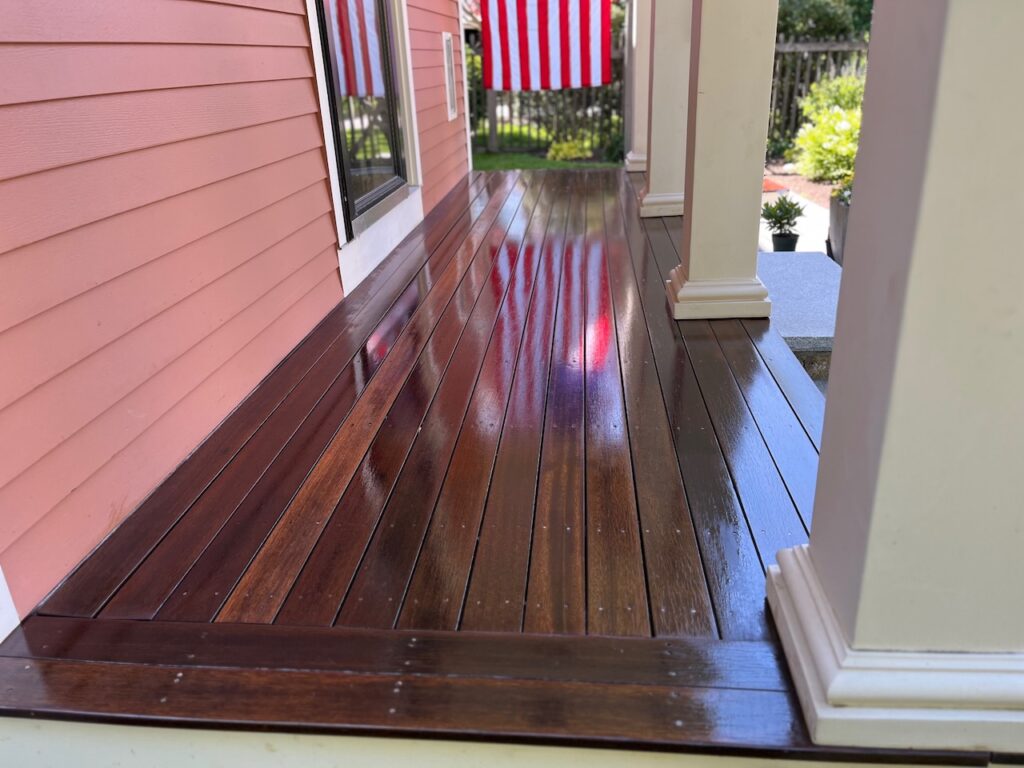
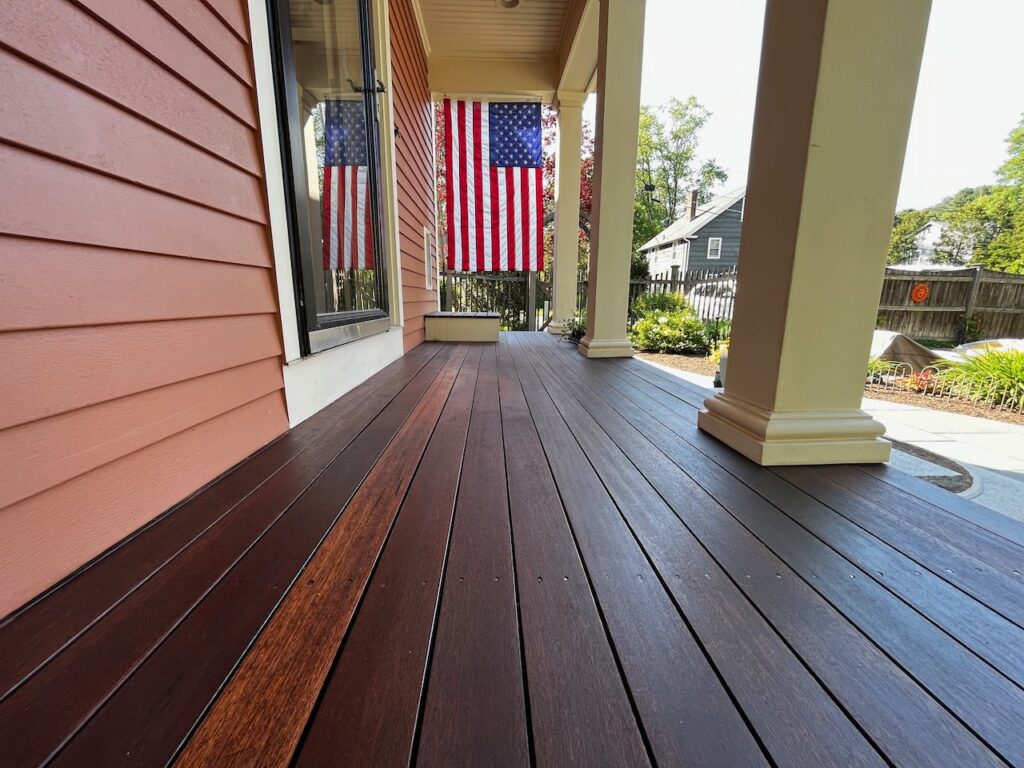
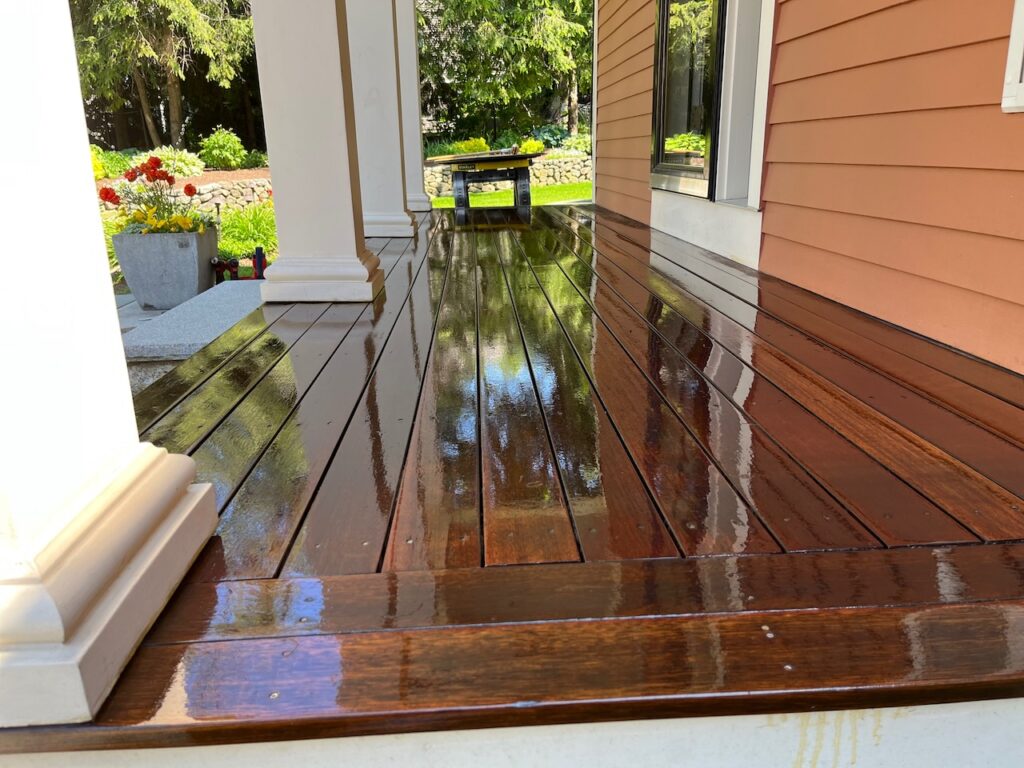
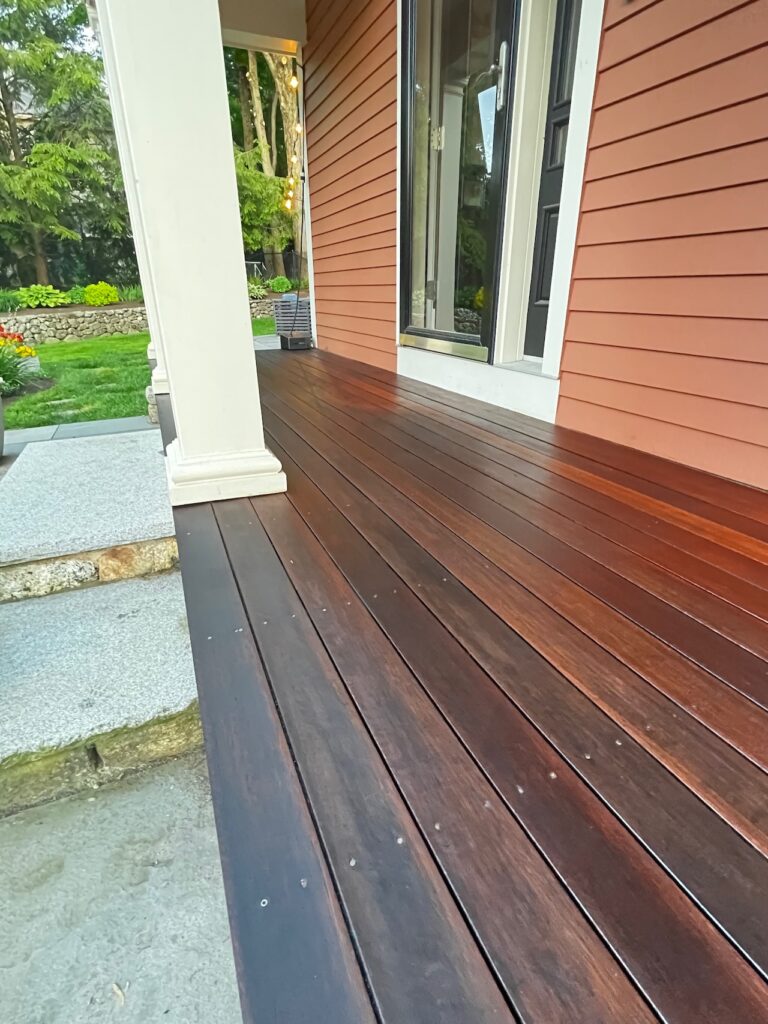
Note – the deck pictured in this article is 17 years old and has been oiled every 3 years.

On new Mahogany or IPE decking installations, I ALWAYS advise the client to use oil-based penetrating oil, and not a paint or pigmented stain. Horizontal surfaces do not do well with paint, will peel, chip, and require too much work to refinish.
When To Re-Oil A Mahogany Deck
A good rule of thumb with Mahogany and IPE decking is if the decking is uncovered and exposed to the weather, then apply an oil coat yearly. If the decking is under a covered porch, you can go 2 to 3 years. If the decking is inside a screen porch you are good for 5-7 years.
Steps Prior to Re-Oiling A Mahogany Deck
Step 1 | Clean the Surface
The first step is to prepare the surface. That means cleaning the Mahogany decking. There are dozens of deck-cleaning products on the market, but I stick to using TSP and bleach to clean and kill mildew. I use a 5-gallon bucket and mix 4 gallons of water, 1 gallon bleach (12.5%), and 1 cup TSP (Tri-Sodium Phosphate) for mahogany decking. Using a stiff bristle brush apply and scrub the cleaner onto the deck. Rinse thoroughly and allow to dry before applying a finish. If you don’t like using bleach – dish soap and water work well too.
Note: Sanding can sometimes take the place of washing.
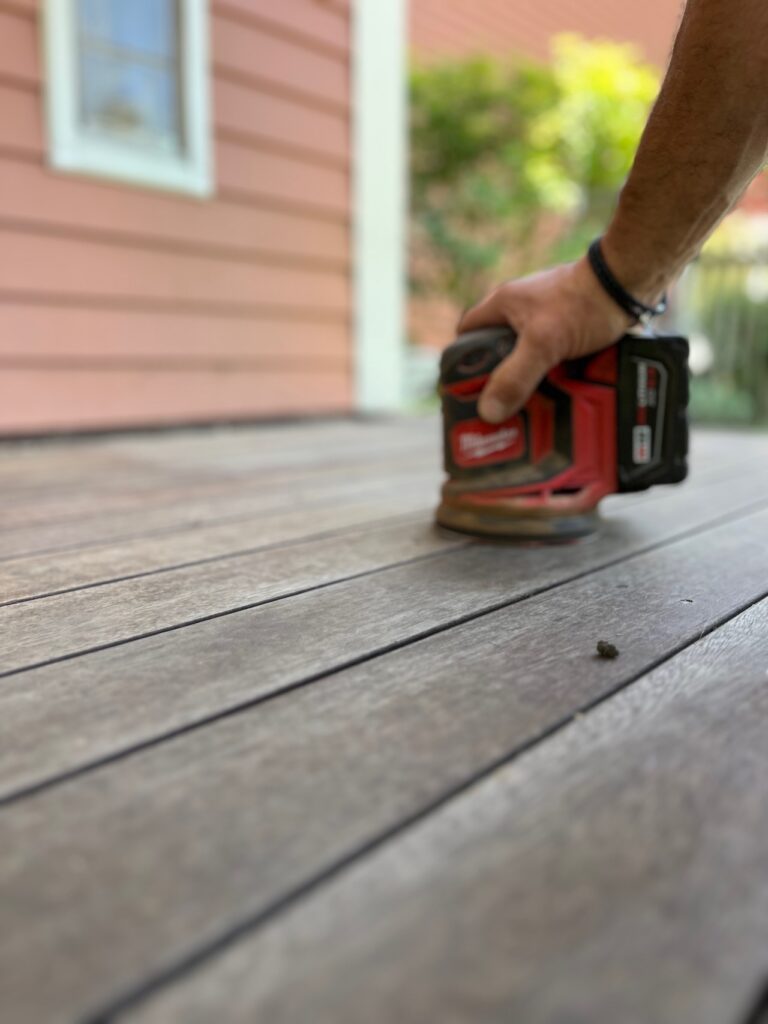
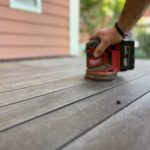
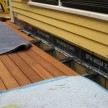
Step 2 | Sand the Mahogany Decking
After the mahogany on your deck has been thoroughly cleaned and is 100% dry, it’s time for a round of sanding. This step is important because it removes the old, worn layer of wood. It also removes splinters and etches the surface allowing the oil to penetrate. I use a random orbital sander with 80-grit paper.
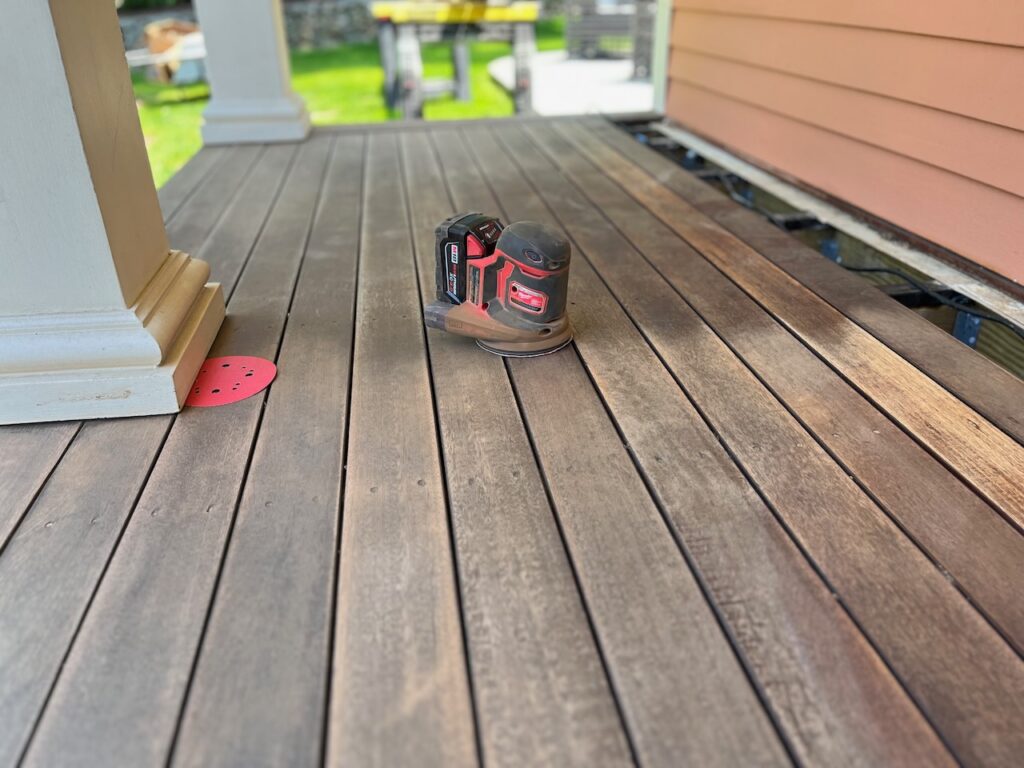
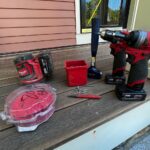
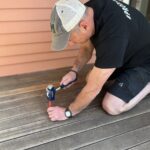
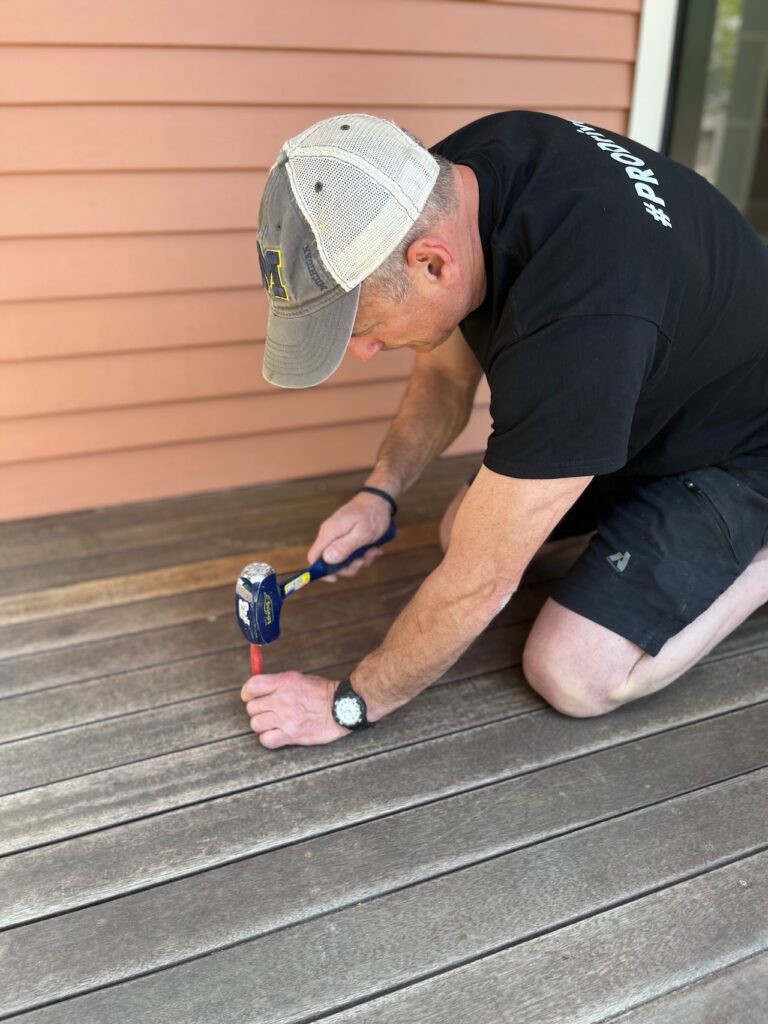
Setting Nails
Prior to sanding, I use a 3-pound hammer to set any proud nails, if applicable. I then lightly sand the decking ensuring I remove the top layer of old worn wood fibers. Once done I sweep and blow off the deck.
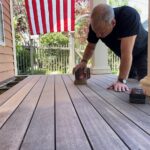
Repairing Loose | Damaged Boards
This is also the time to secure loose or replace damaged boards. Pre-drill and install stainless steel screws. If you have a hidden fastener system on your deck you can use a CAMO fastening tool to insert “toe-nailed” screws through the board edge. If you have a board that requires face securing to properly secure it, you either install the screw flush [visible] or countersink and plug it with Mahogany hardwood plugs.

Step 3 | Choosing Deck Oil for Your Mahogany Deck
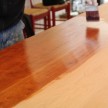
Selecting the right oil for your deck will keep it protected, help give or maintain color, and help keep your deck lasting as long as possible. I’ve always used Penofin oil-based oil for my decks and encourage my clients to reapply with the same product. I’ve had great, long-term success using it.
Step 4 | Apply Protective Oil to Your Decking
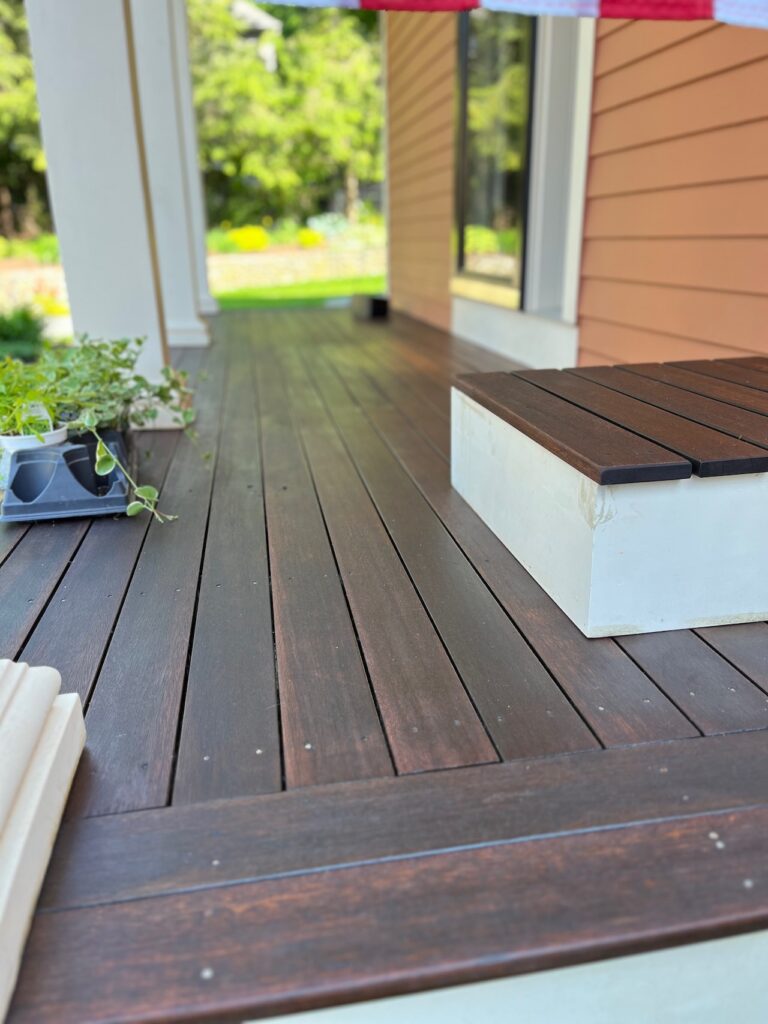
Applying protective oil-based oil to your decking will help it last longer. The oil penetrates the pores of the wood, while water-based penetrates slightly but mostly sits on top. Oiling your mahogany decking maximizes its lifespan by keeping or replenishing the lost natural oils of the timber, helping maintain its color.
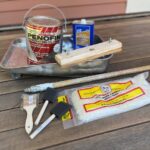
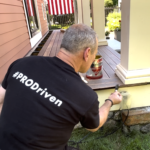
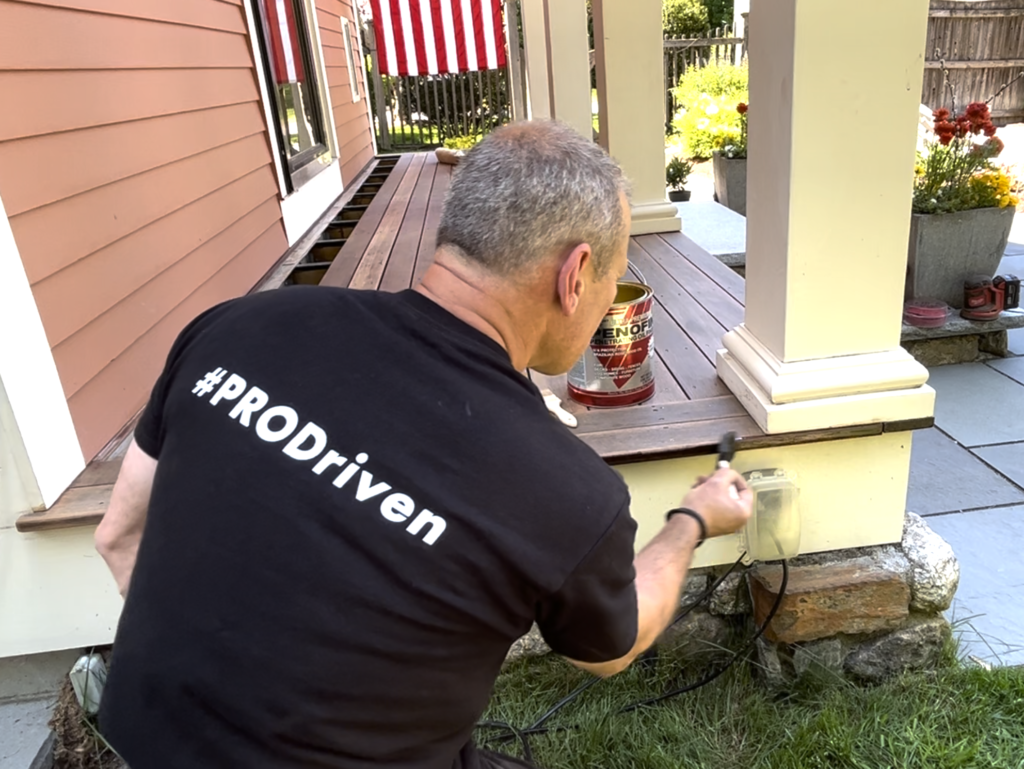
Cutting in and Applying Oil | Proper Tools
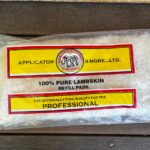
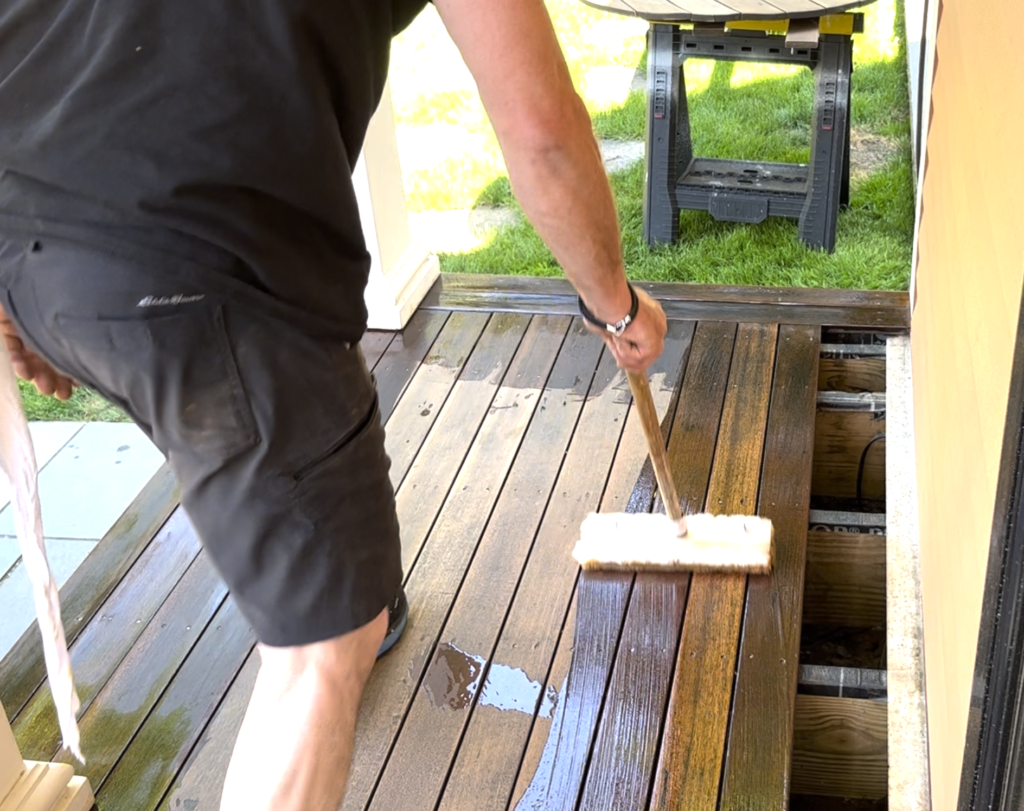
Following the manufactures instructions stir thoroughly and then apply the oil to the decking. I use a foam brush or “chip “brush to cut in the oil along the edges and around columns and posts. Once that is done, I apply the oil to the decking with a Lambswool applicator and extension pole. I start on the far end and work my way off the porch by applying the oil board by board, using continuous, even strokes.

BEFORE: Wiping off oil
AFTER: Wiping off Oil
Pro Tip: Wipe Clean After 30-minutes
With Penofin I allow the oil to sit on the decking for 30 minutes, then use a nap-free shop cloth and wipe the entire surface, removing excess product. This prevents the oil from staying tacky and is especially important if the deck has had prior coats or does not receive a lot of sunlight.
Pro Tip: Avoiding Lap Marks
To avoid lap marks [start and stop marks] I try to keep a wet edge and cover the entire length of 2 to 3 boards at a time. If I can’t do that, I use the reach of the extension pole and make long, continuous sweeps on the deck boards. I keep mineral spirits and a clean rag for any mistakes or spills.
 Clean Up
Once done you can use mineral spirits to clean your tools and brushes. If I’m applying oil to another deck soon, I wrap the lamb’s wool applicator in an air-sealed bag and store it in the freezer until needed. Make sure you store all oily rags in water in a metal bucket until properly disposed of.
Allow the surface to dry for 24 to 48 hours before walking on it.
I hope this answers the question of when and how to refinish a mahogany deck.