Wall Hung Custom Radiator Cover

Installing A Wall Hung Custom Radiator Cover
This hidden and out of the way stairwell provides a second way to access the rear of the house and bedrooms. The stairwell is in the house of one of clients who is also a follower of this blog.
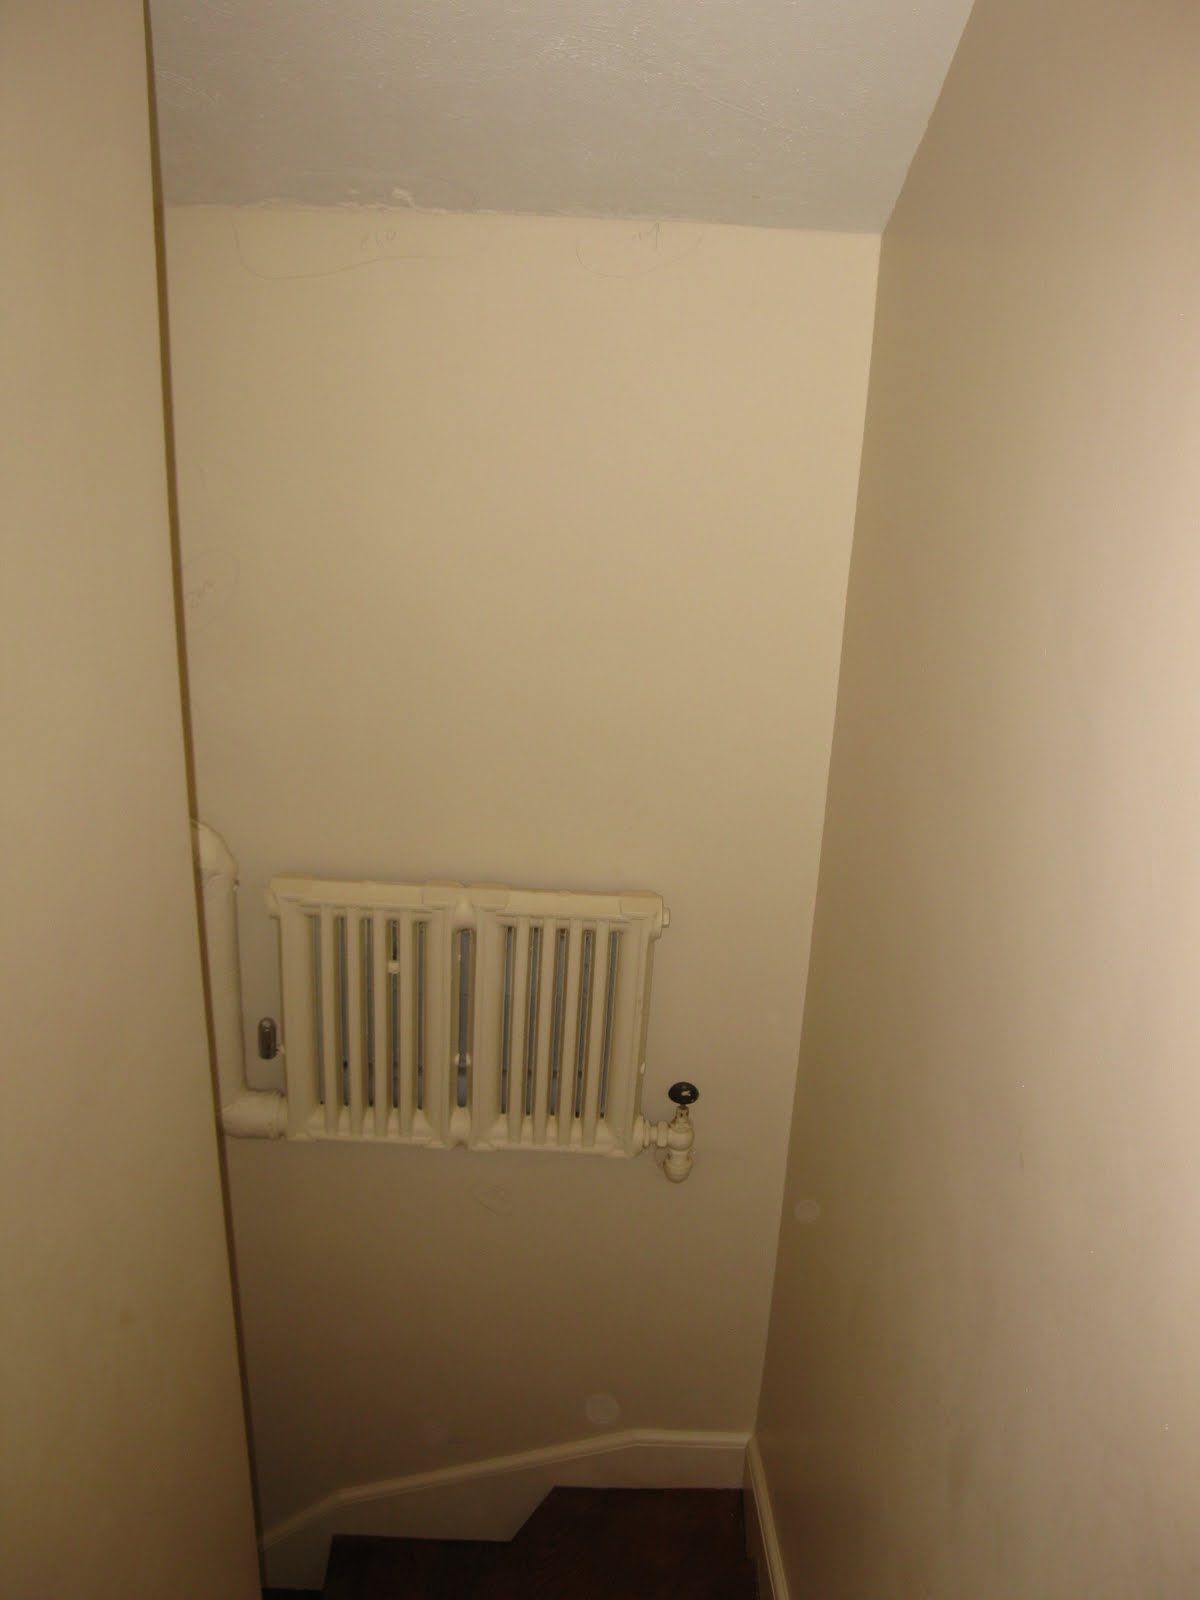
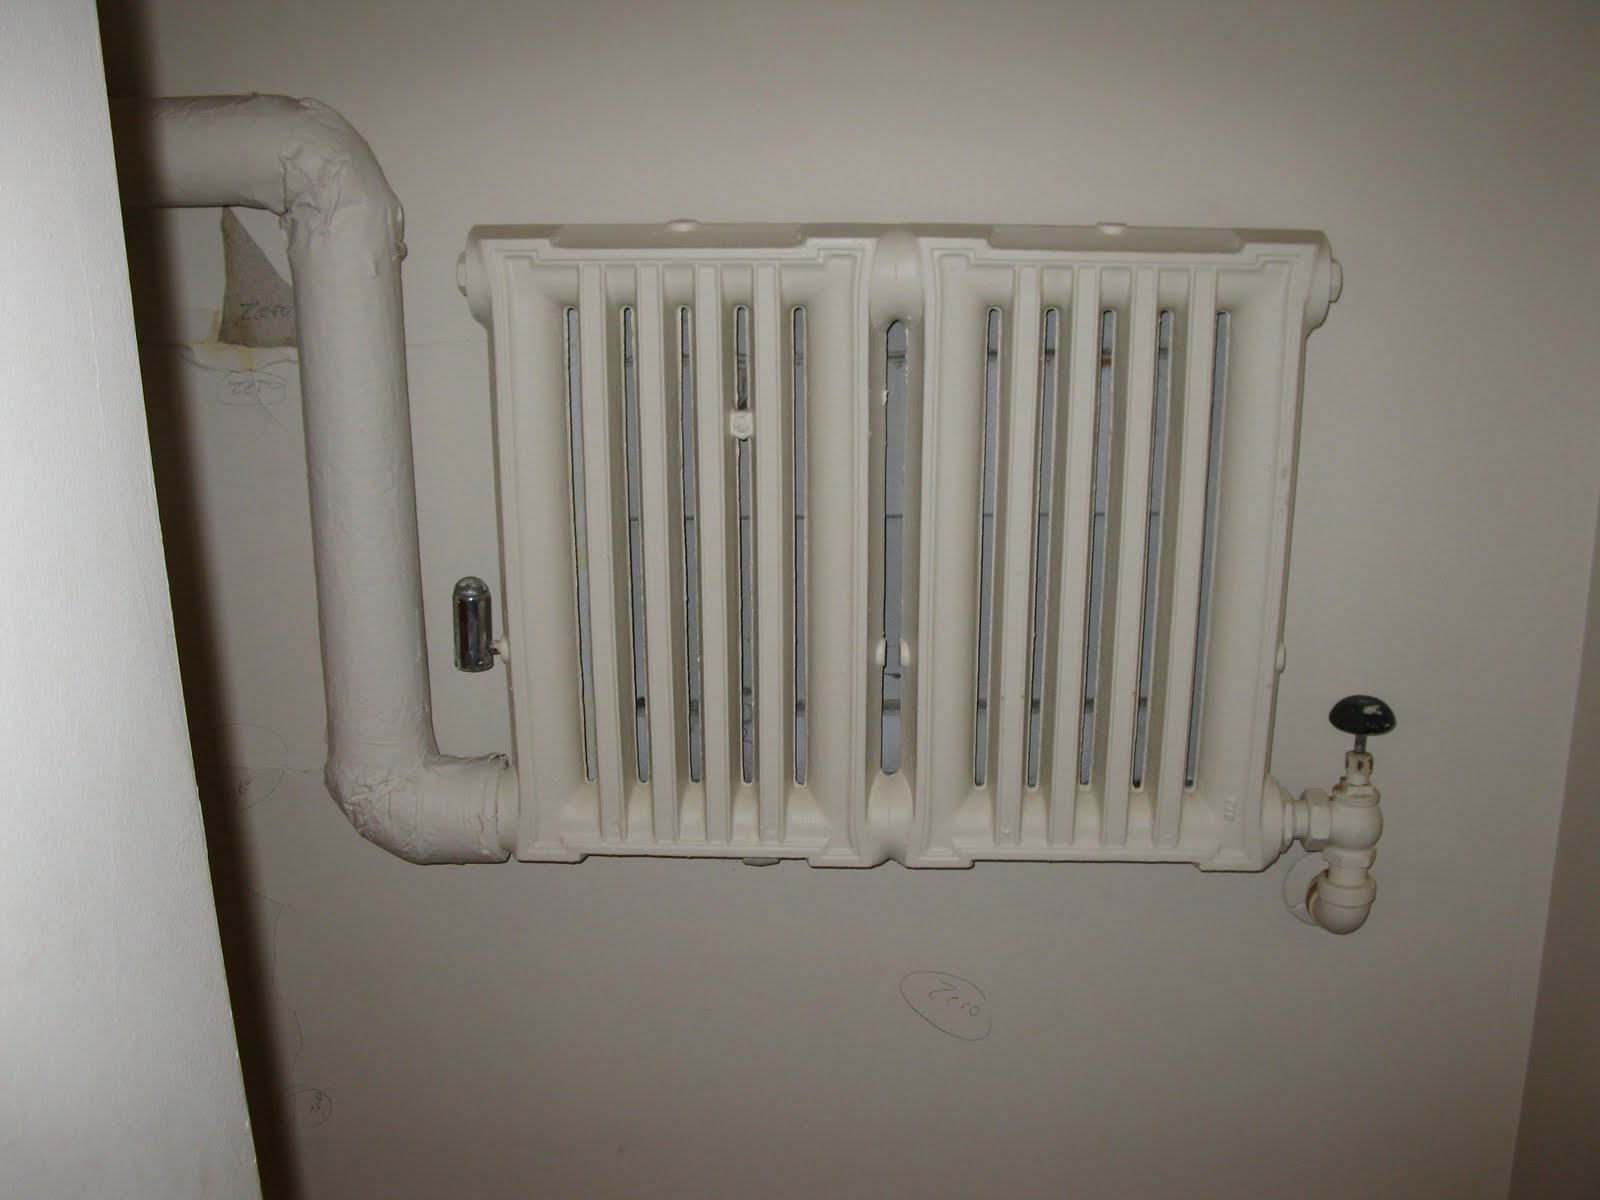
The homeowner wanted to cover the radiator. In previous posts I have detailed installing these covers but in this situation building a cover and slipping it over the existing radiator was not an option.
This unit hangs on the wall between another wall and the doorway. There was simply no way we could use a store bought or semi-custom cover in this application.
We decided to make a custom cover for this radiator to match the other covers in the house. Below Bill is fitting the slats into the frame in my shop. We used poplar to make this radiator cover.
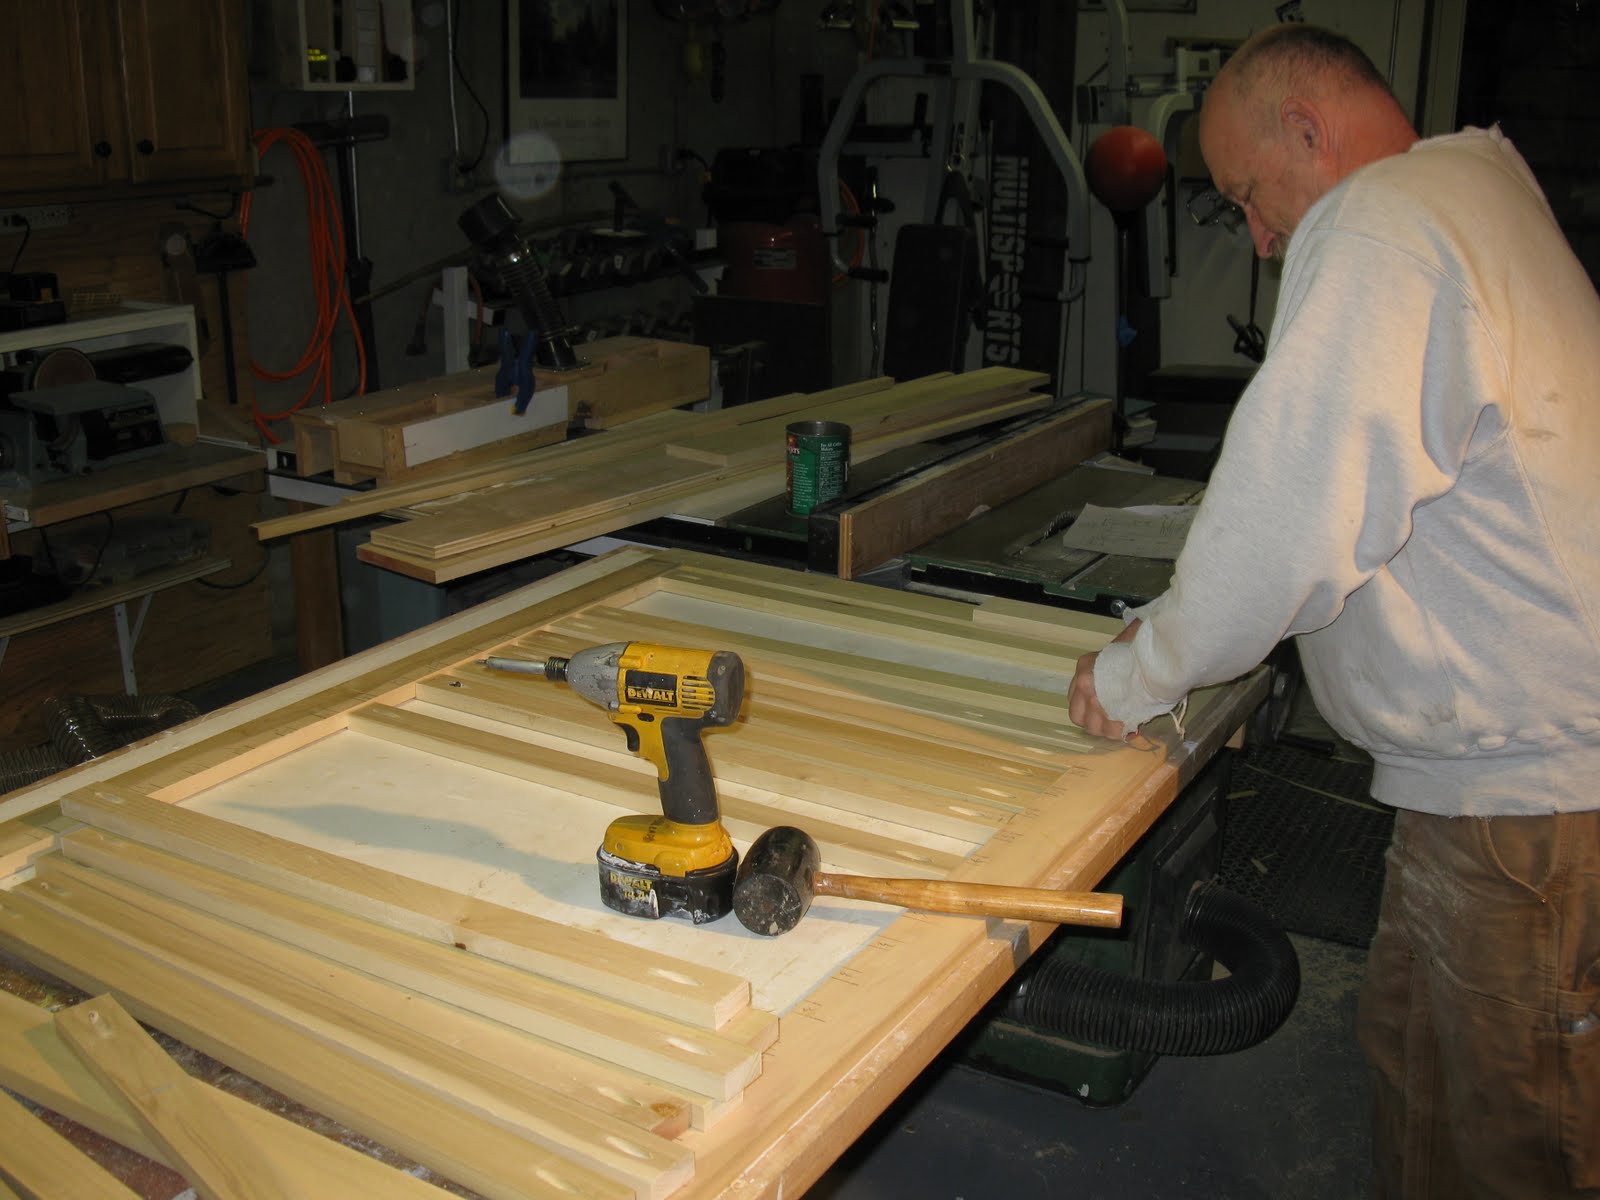
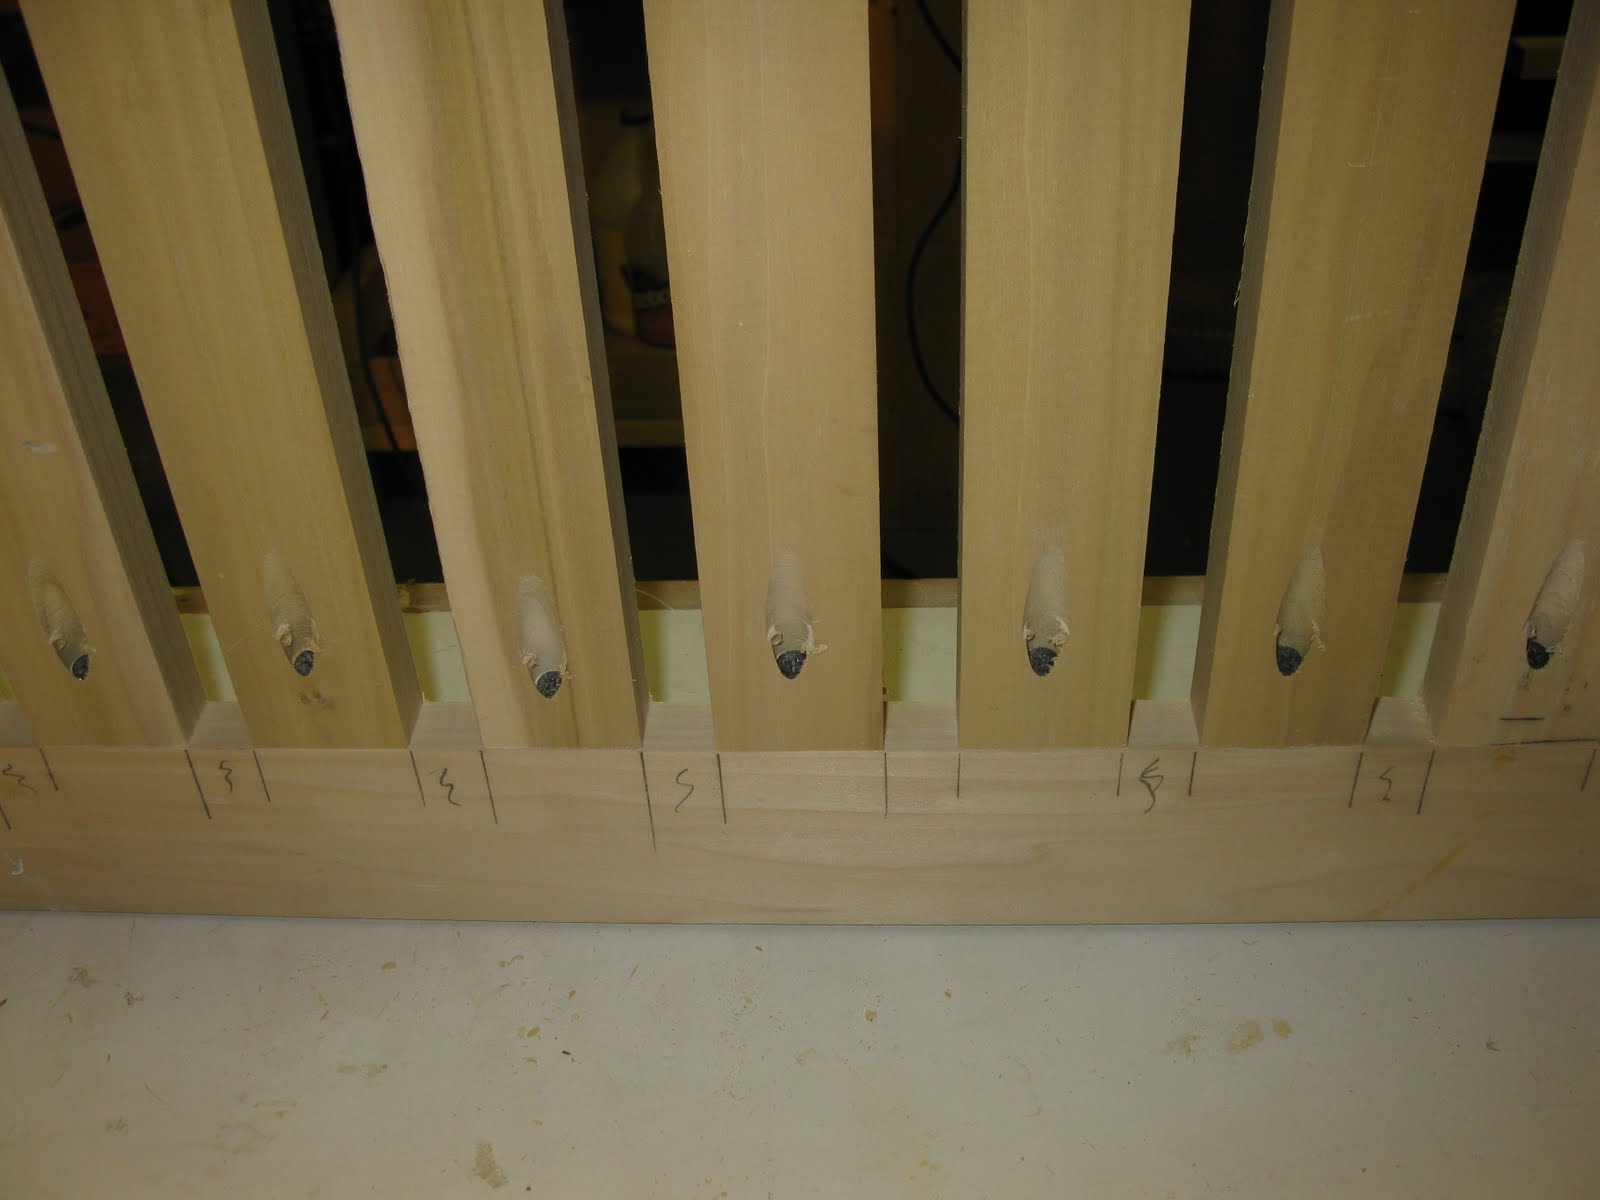
All the slats were the same size and they all needed to have pocket holes install in order to screw them to the face frame.
Multiple cutting, measuring and screwing operations are always best done with a jig. Making a jig is a necessary part of any woodworking shop. They are great for repetitive tasks in many wood working projects.
A jig can make complex projects easier to manage and faster. Setting up a jig once allows you to continually make accurate and speedy cuts or holes. It’s a huge time saver.
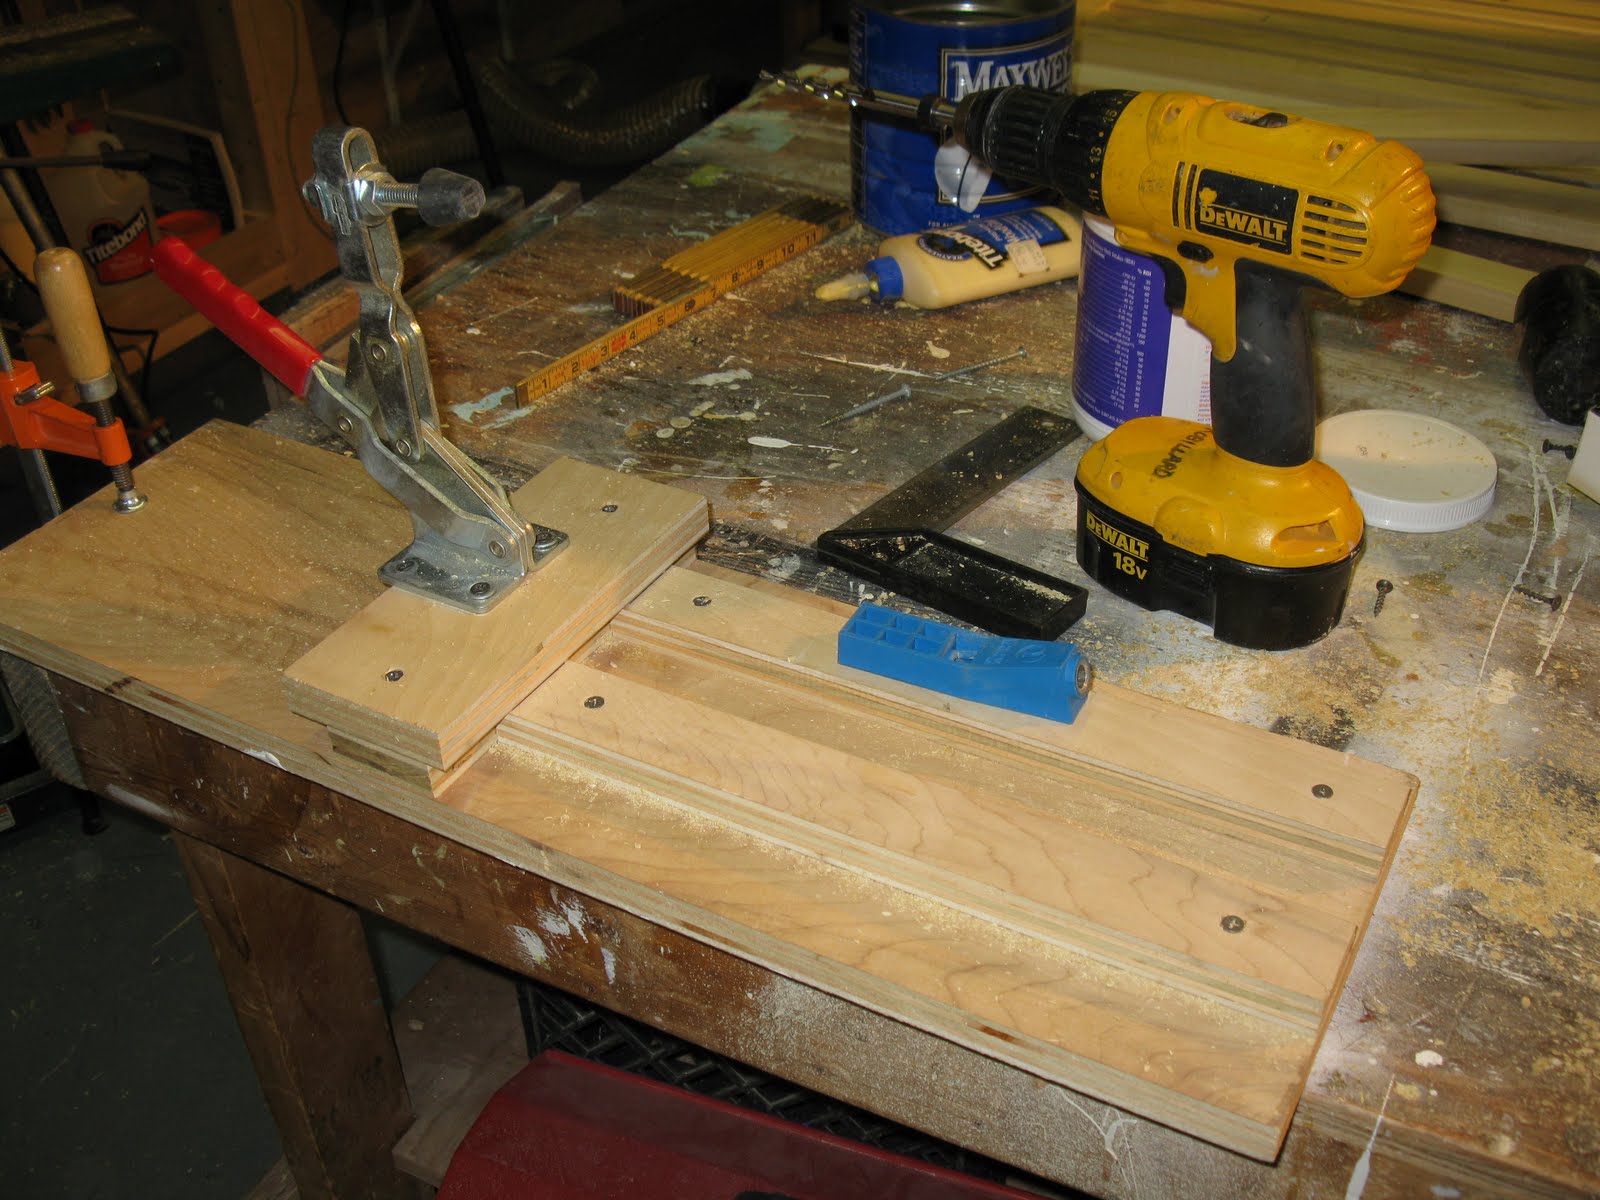
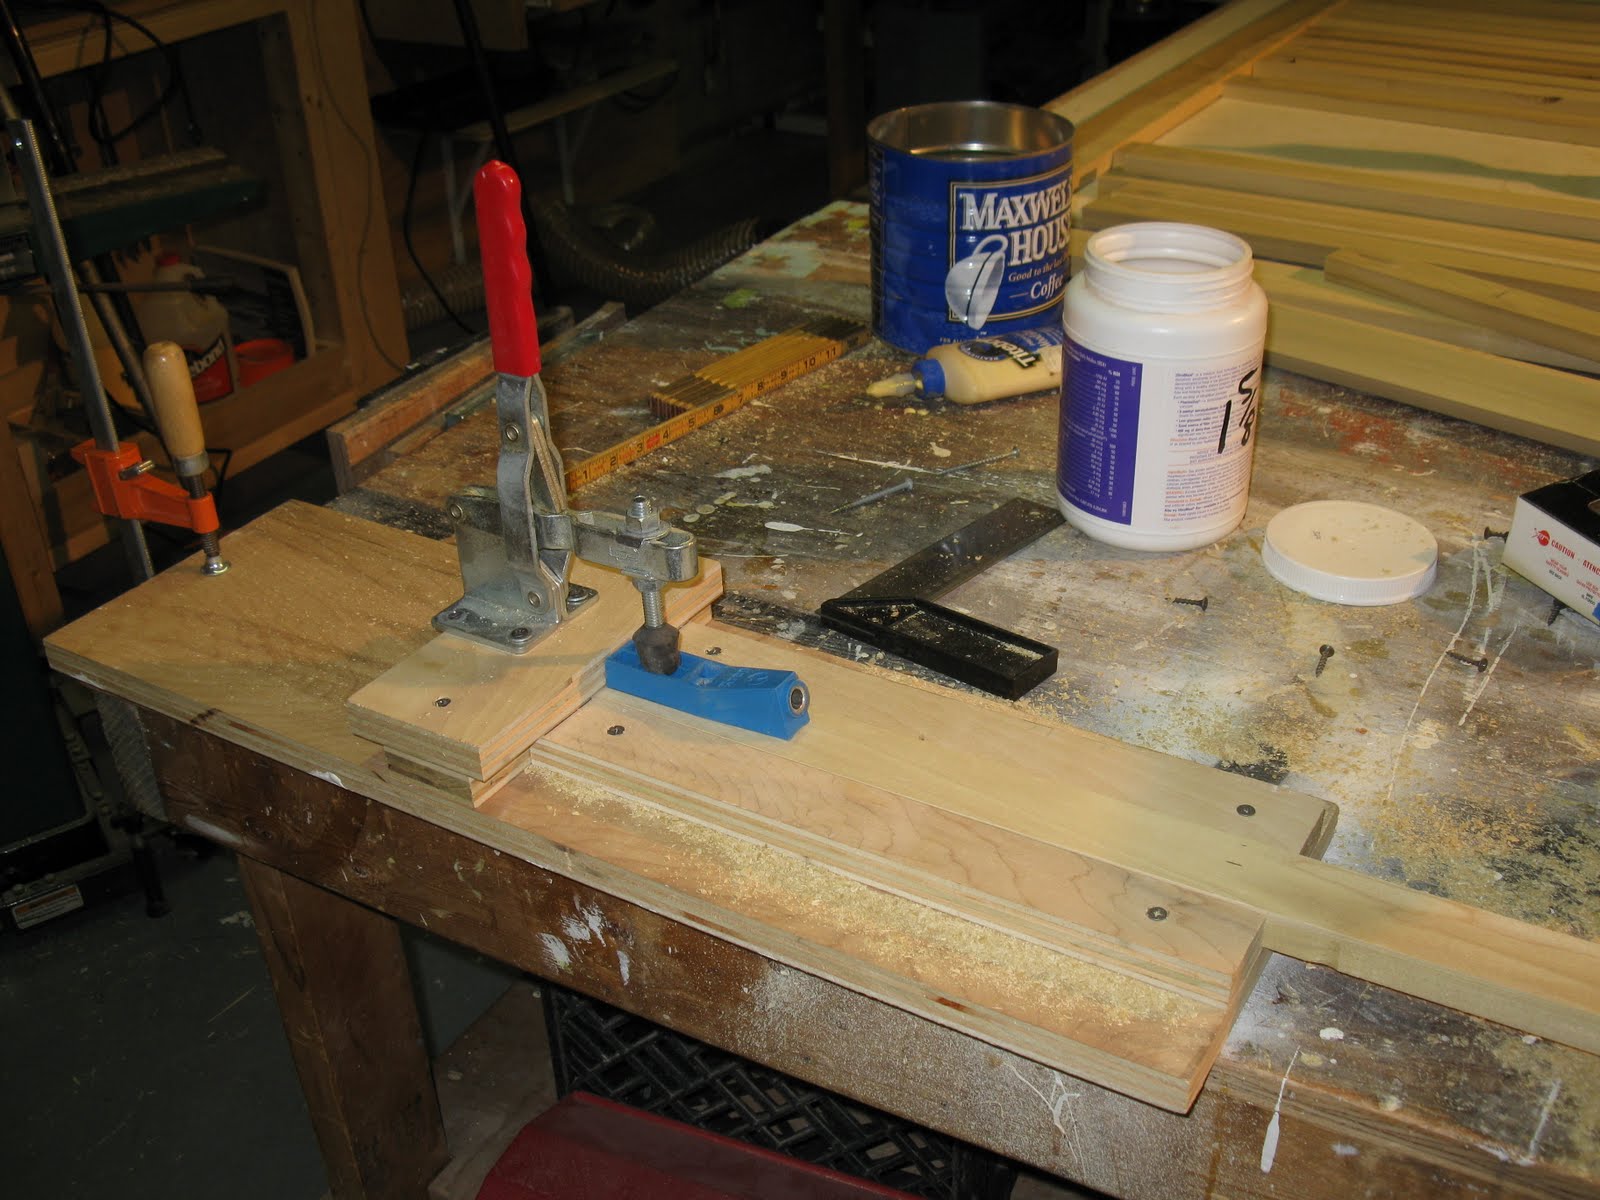
To make the pocket holes I made a quick jig out of scrap plywood to hold the slat in place. I installed a hold down clamp on this jig to hold my Kreg pocket hole jig.
This jig held the slat in the precise position to drill my pocket holes on each slat with out measuring, thus eliminating the measuring, marking and holding phase of the job.
The end result was a huge time saver and consistently more accurate holes.

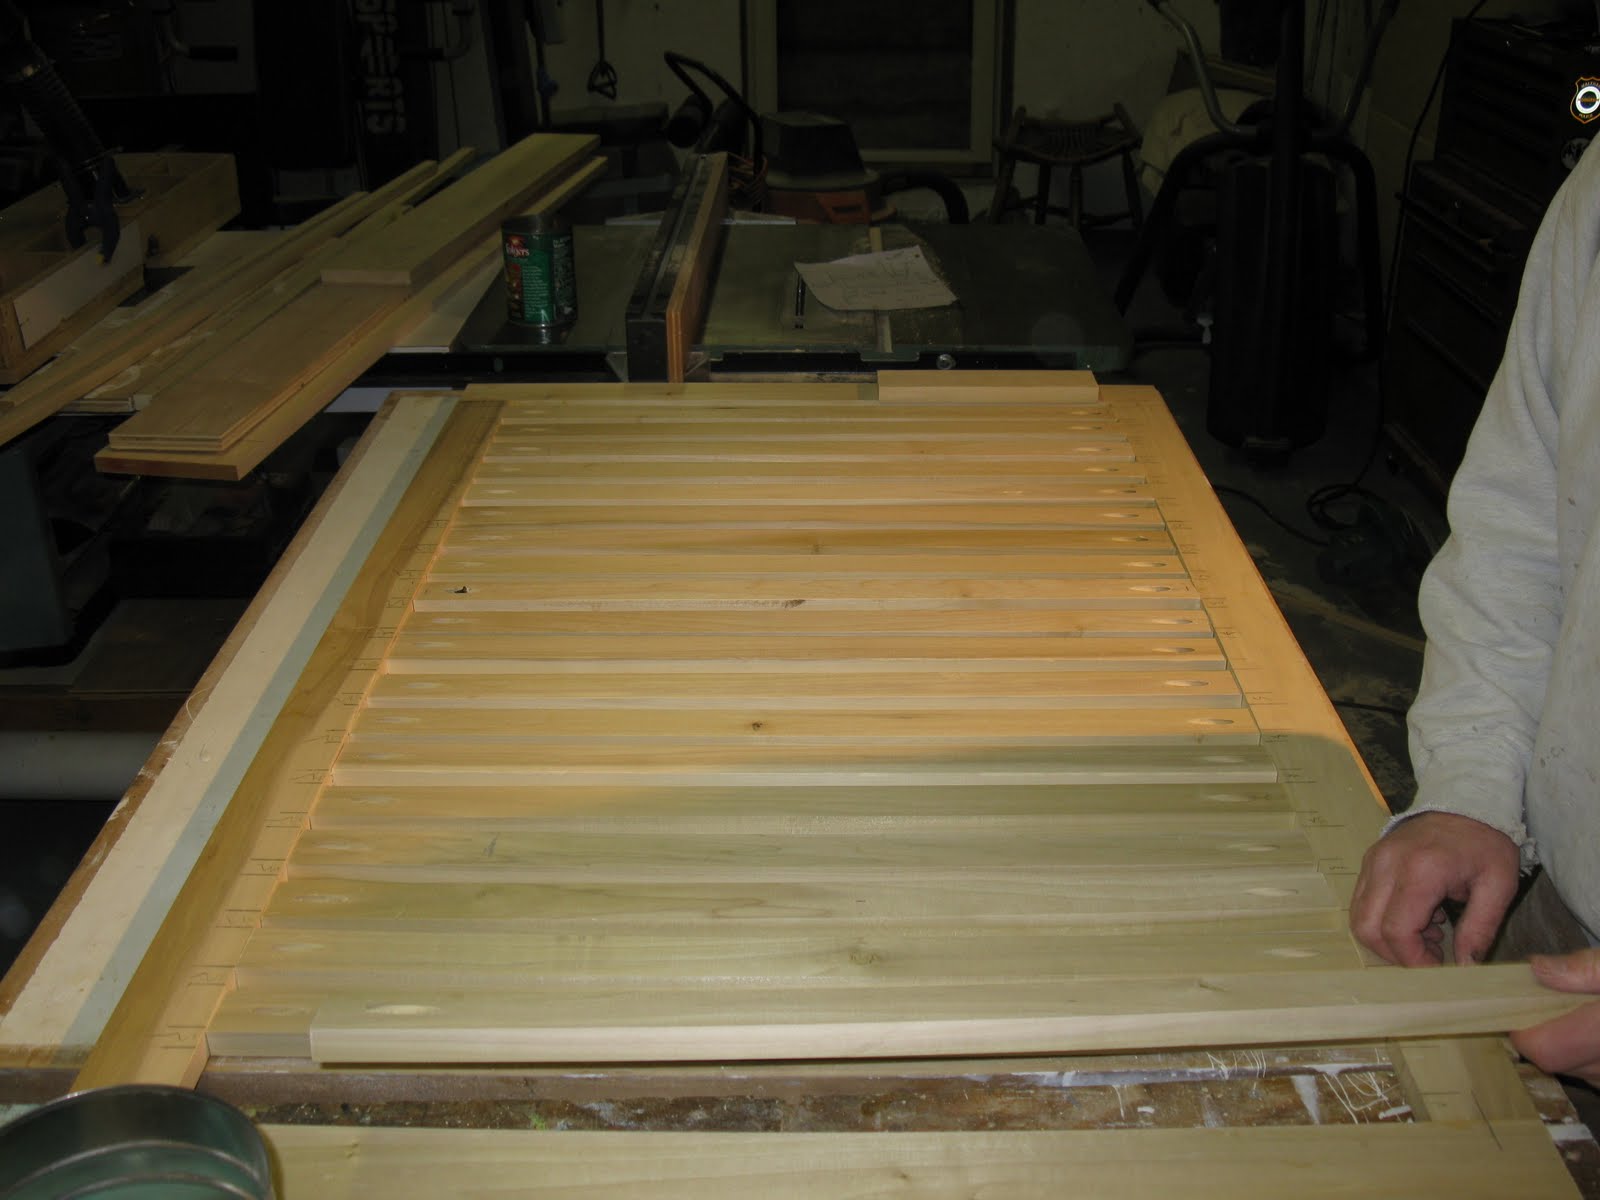
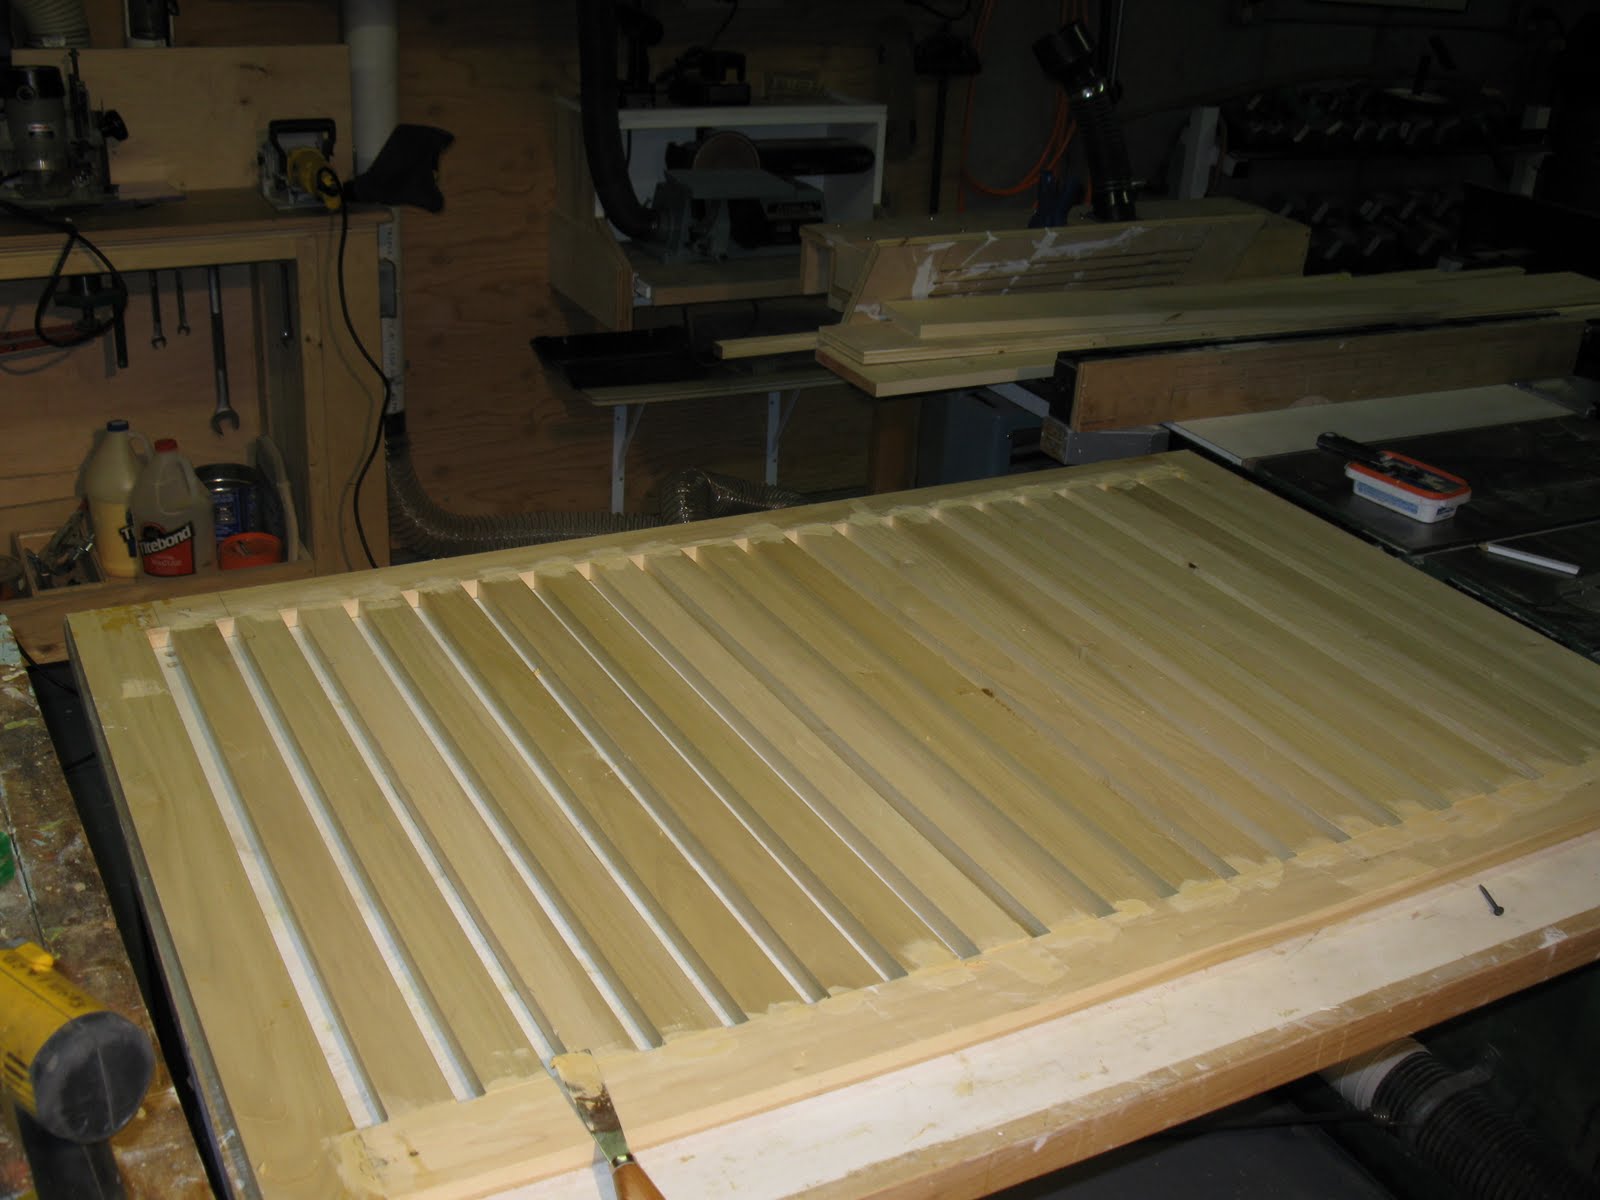
Below we are installing the slats and getting ready to screw them in place.
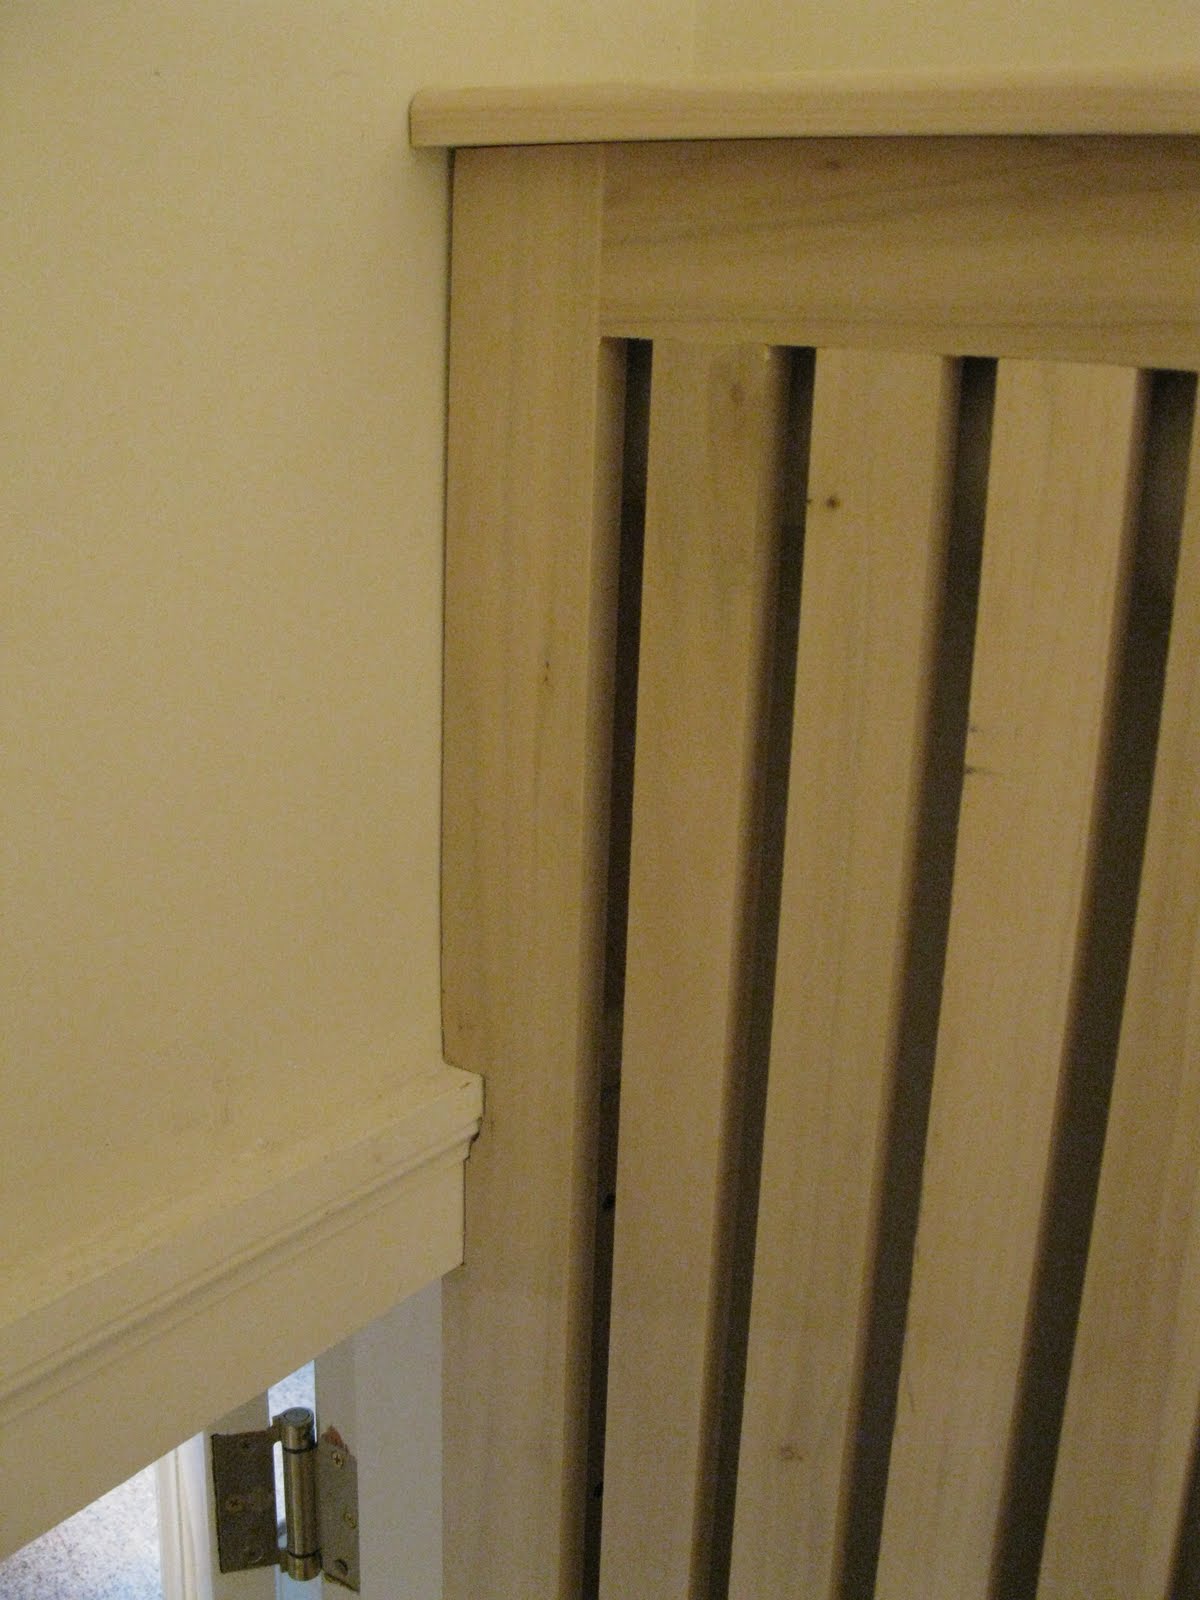
Close up of pocket holes in slats. This method allows us to hide the fasteners in the slats on the rear side of the panel. Slats are laid out with a 3/4″ spacing.
Slats installed and awaiting sanding.
Finished side boards were attached to all three walls for the front panel to attach to. Face screws were used so the panel could be removed to service the radiator or access the shut off.
On the far left you can see the door [door hinge] that enters into the kitchen.

The top of the radiator cover is held down with two screws. It has a 1/2 round finished edge.
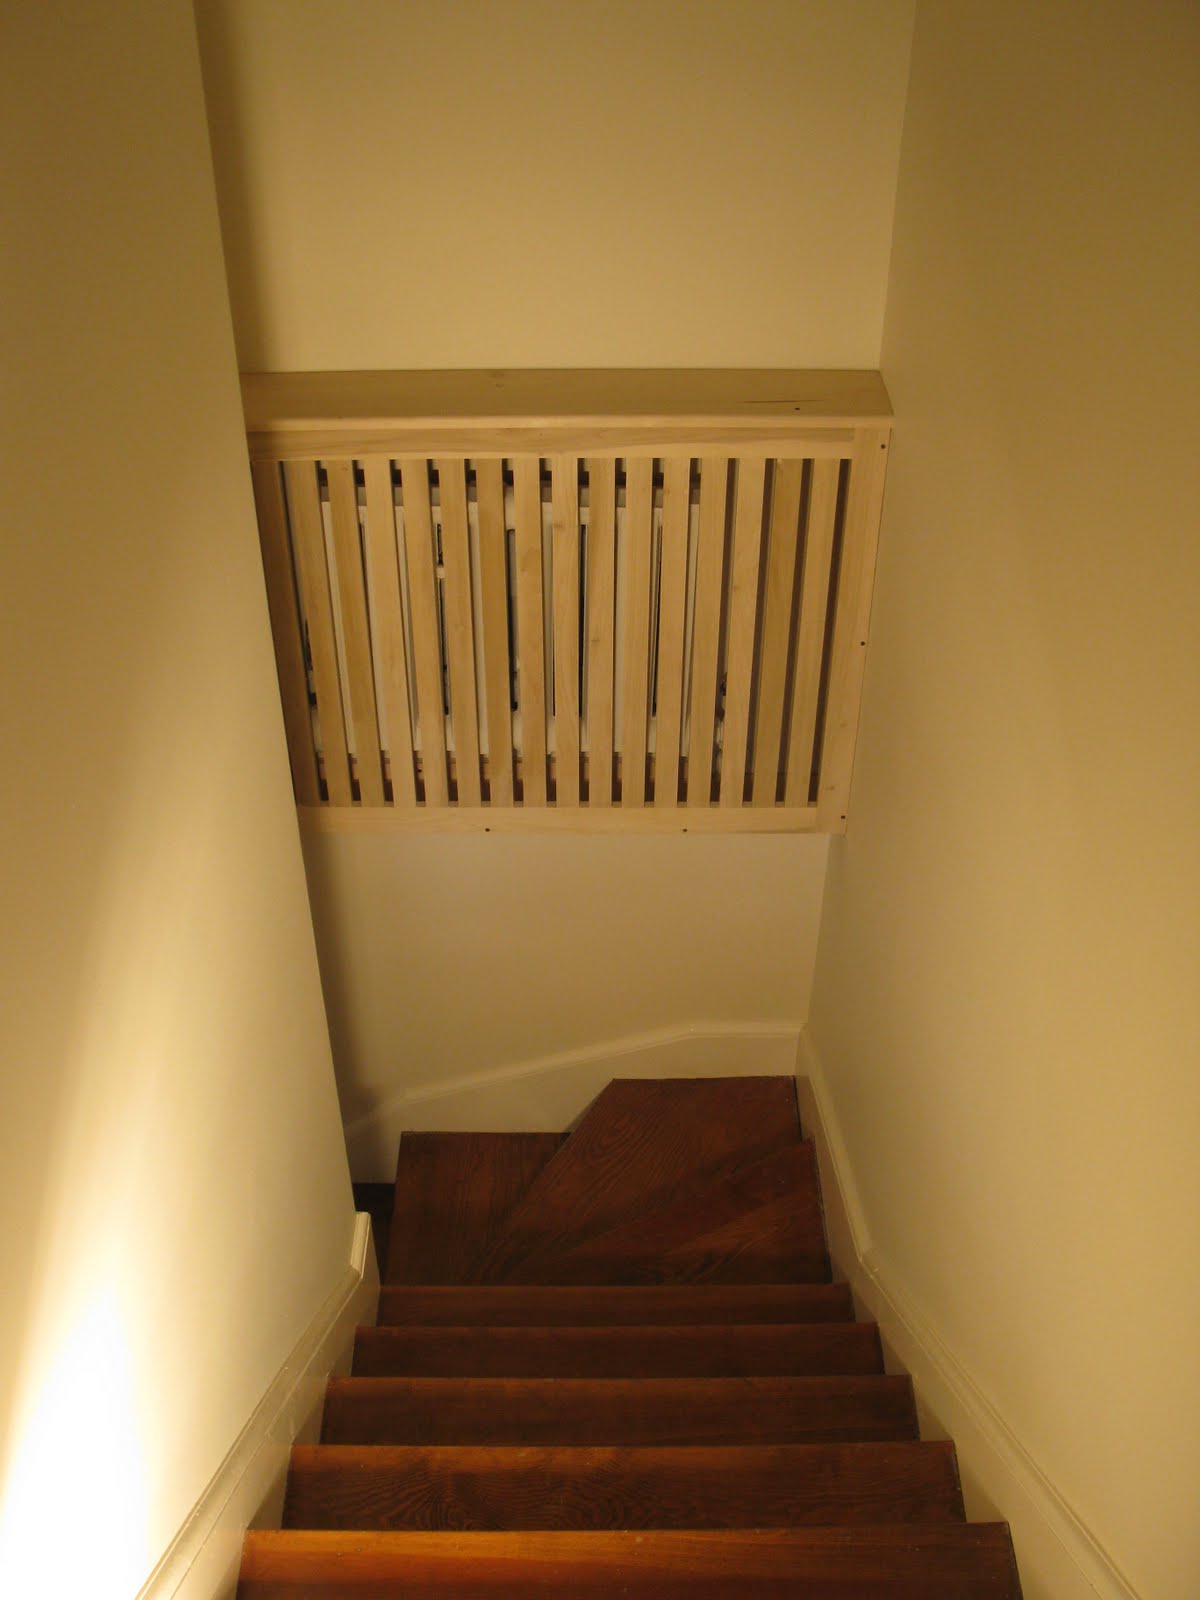
The panel was scribed to the kitchen door trim for a professional and custom look. The painter will caulk the seams and paint this the wall color for it to blend better.
See here for another example of radiator cover installed on the floor against a wall.