Making A Dog Gate With Recycled Materials

Making A Gate Using Recycled Materials
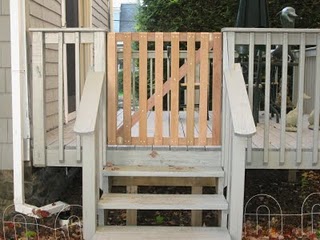
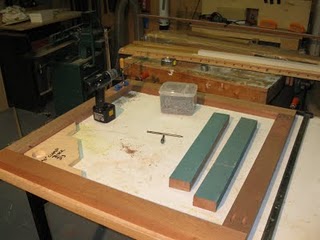
The dog gate at the top of this deck was a fun project and allowed me to utilize left over Cedar and Mahogany materials.
The gate frame was made out of stained green mahogany 2×4’s that were left over from a screen porch job. I used my jointer to take off the green stain and cut the 2×4 down to make up the framework of the gate.
A diagonal brace was added for stability and to help prevent the gate from sagging away from the hinges.
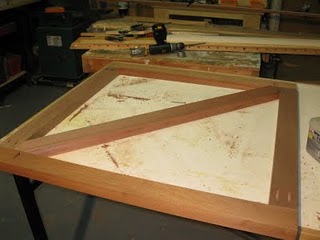
A simple 90 degree plywood jig I made up years ago helps keep the frame in place and square while I secure it together with pocket screws.

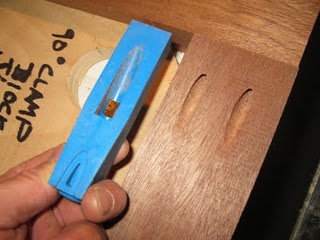
Below is a photo of the pocket hole jig I use to drill an angled hole to join the two pieces together.
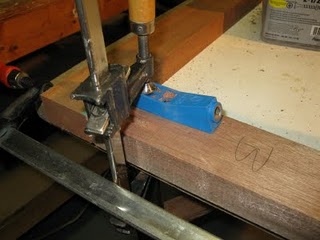
Clamps hold the frame together and the jig to the frame.

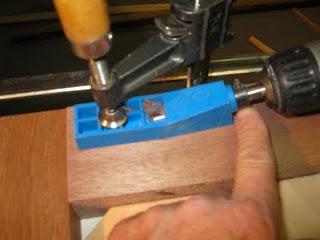
The pocket jig comes with a special tapered drill bit and stop. My finger is pointing to the stop. The stop can be set to different depths, provides consistency and prevents me from drilling to deep.
Below: a pair of pocket holes.

Below: The bottom of the pocket hole jig corresponds to the hole it leaves.
Screws secure the pieces together.

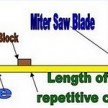
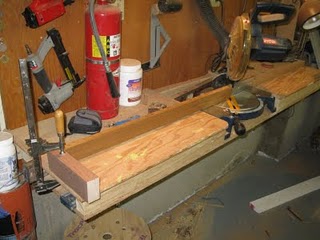
Below: A wood block is clamped to my cut off saw table as a “stop.” This allows me to make multiple, consistent cuts with out measuring or graduated error that the tape measure and pencil sometimes result in.
TIP: On repetitive cuts, measure once, set up a stop block, double check your measurement and then and cut away.
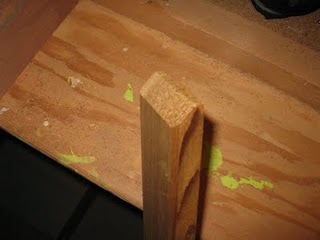
I used scrap cedar boards left over from different jobs for the gate slats. I cut them all to the same width and length and then softened the the edges with a 45 degree champher bit on the router table.

The tops of the gate slats were all cut back 45 degrees to shed water off the end grain of the slats.
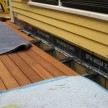
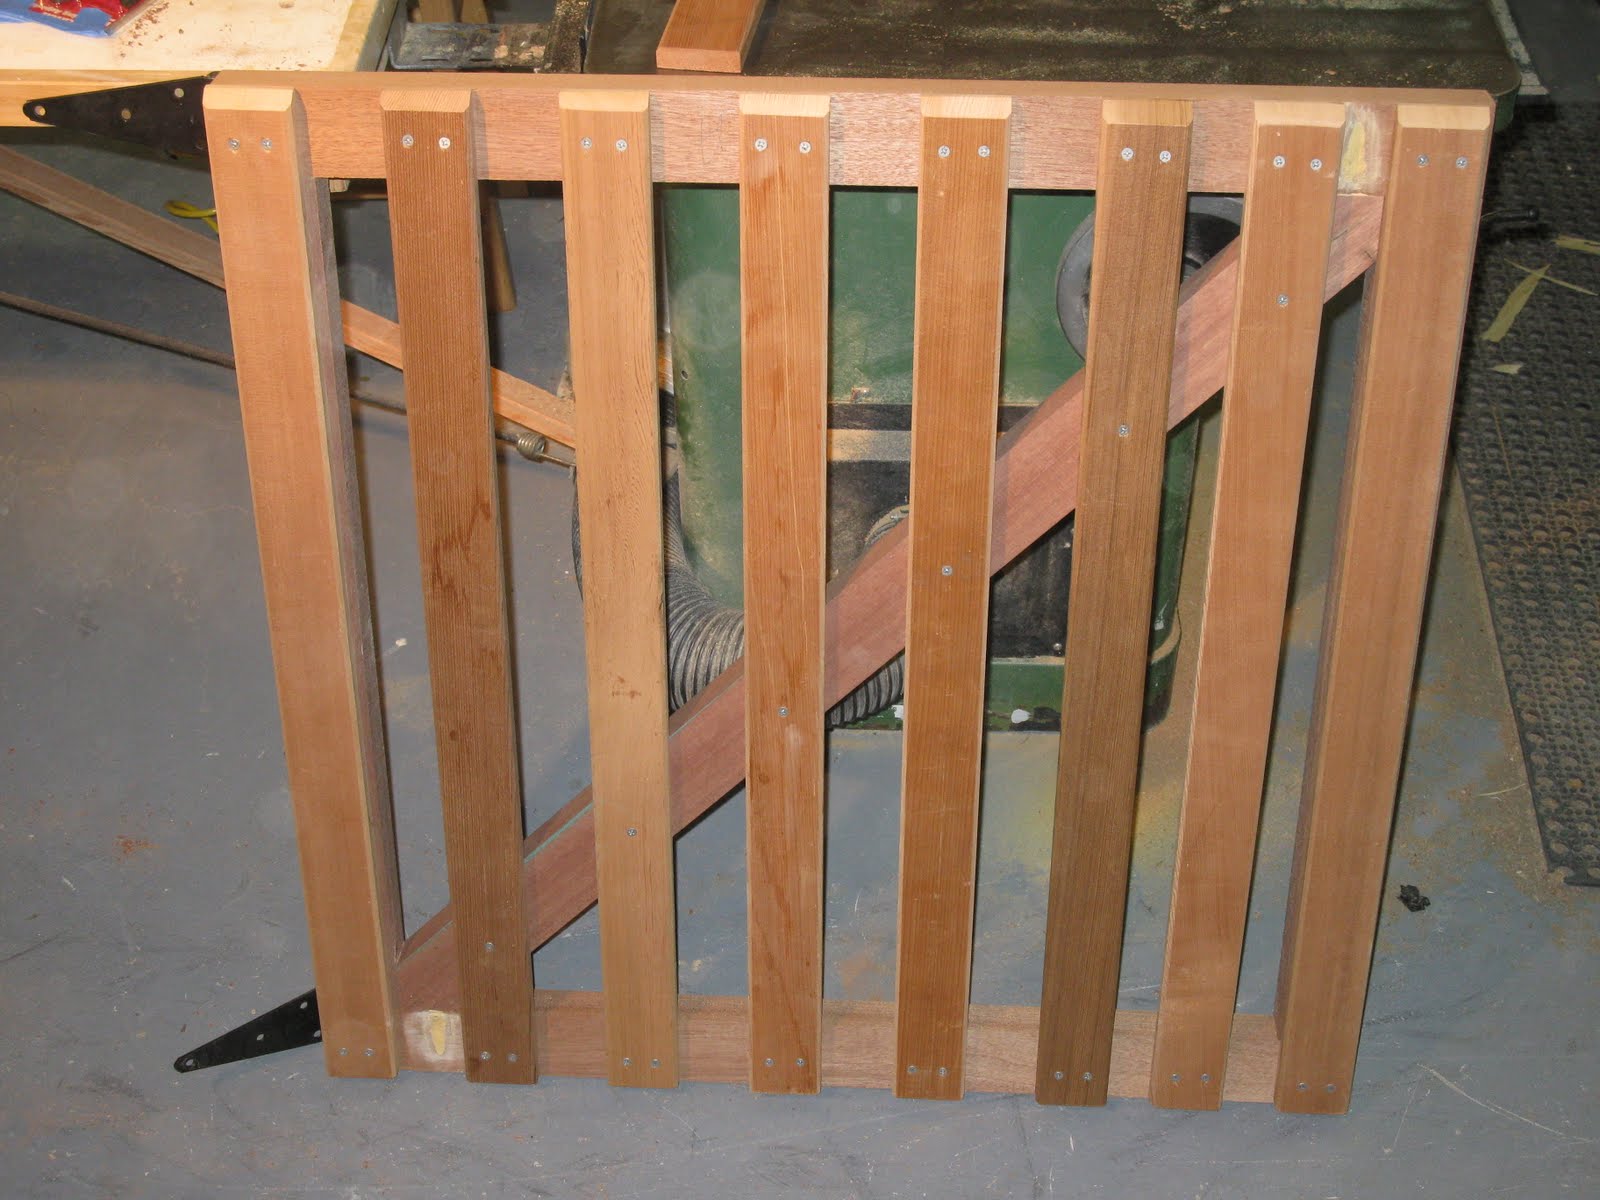
Slates installed on the mahogany frame.
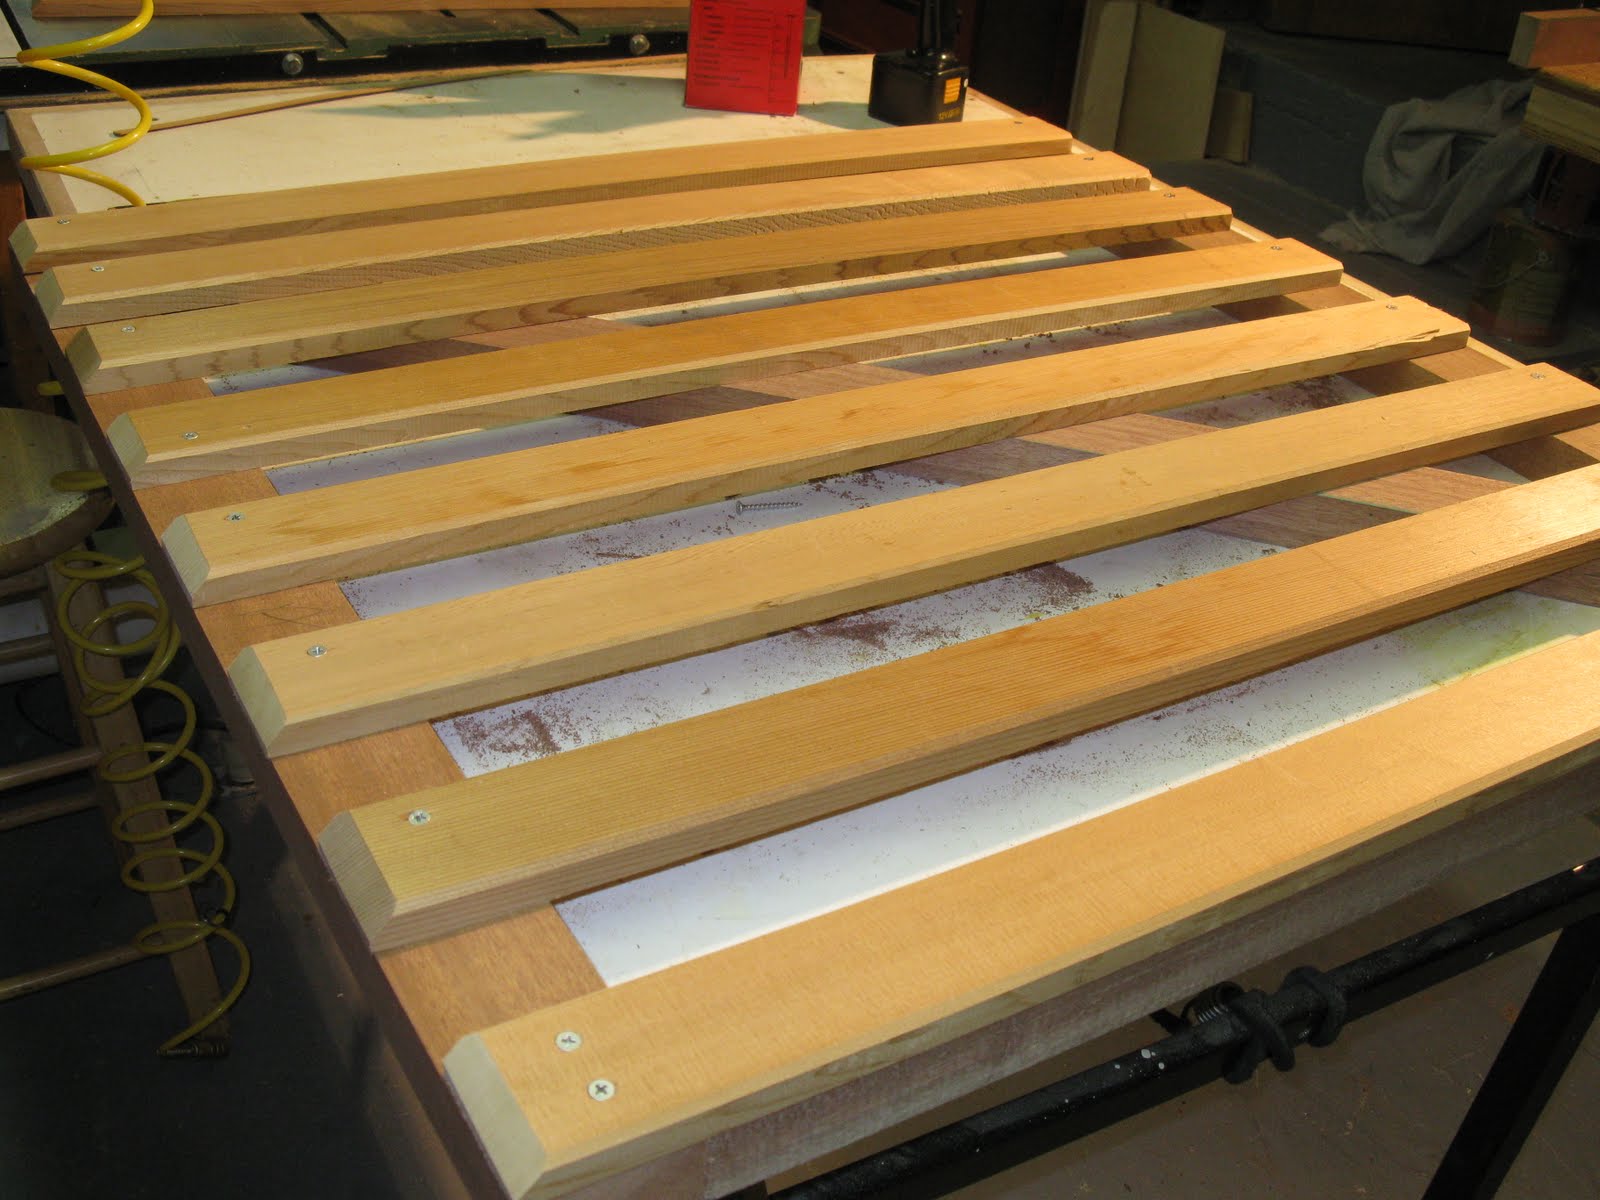
The slats were screwed to the square frame as well as the diagonal brace.
Gate hardware installed.
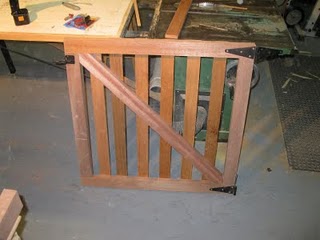
Rear side of gate.

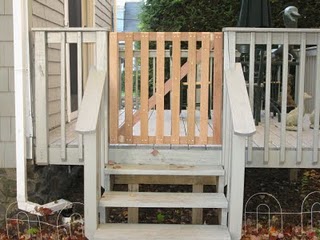
Dog gate installed.
~ concord carpenter
script type=”text/javascript” src=”http://track4.mybloglog.com/js/jsserv.php?mblID=2009070208451397″>
If you enjoyed this post, please consider commenting or subscribing to receive my future posts via email
carpentry