Shaker Profile Cabinet Doors
 Building Cabinet Doors
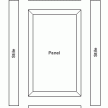
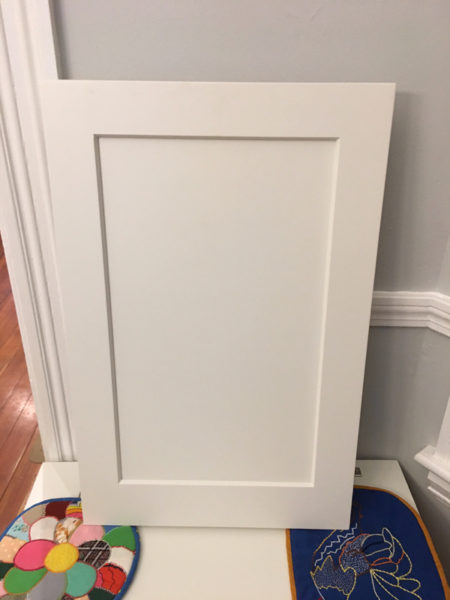
I recently was asked to make a built-in cabinet for a bathroom remodel. The bathroom vanity that the client purchased had Shaker style doors; which featured flat panels and beveled styles and rails
I was taught to use cope and stick joinery because it makes a good looking and sturdy frame for cabinet doors. In cope and stick construction all the members of the frame receive a milled profile on the edge to be jointed to the panel, and the horizontal members receive a cope cut across the end grain of the wood. In order to make the cope and stick joint you either need a special router bit or use a shaper table with a shaper cutter.
Sizing the Styles and Rails
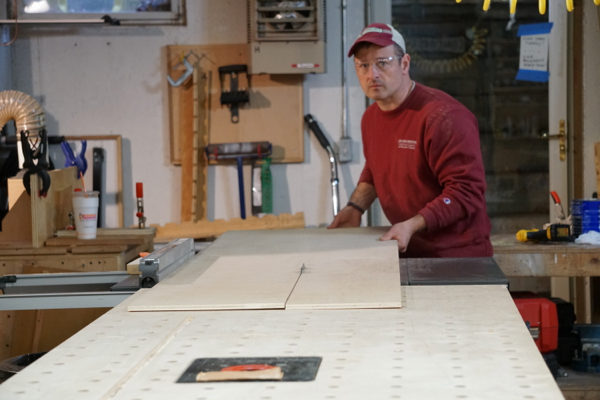
The styles are the longer vertical parts of the door frame and receive “sticking” [milled profile], and the rails are the horizontal parts that receive the coped profile. I used Poplar wood for my styles and rails on the cabinet doors. I ripped all the parts on a table saw to 2-3/4” and ensured that I have one or two extra in case of a miss-cut or tear out. Once all the parts were ripped to width, I cleaned up the edges on a jointer, before cutting them to length on a miter saw.
Tip: Lay out the rails by adding 1″ to the final inside width of the frame. That measurement will allow for a 1⁄2 ” stub tenon on both ends of each rail.
Miter Saw Tip
When cutting parts to the same length on the miter saw, its best to use a jig that allows you to measure once and make your cuts. Making multiple identical sized cuts, over and over again, is time consuming and can also lead to mistakes in measuring through graduated error. I use a stop block jig, either clamped to my miter saw fence or screwed to the miter table. When setting up this stop block, make sure you measure from the edge of the saw cut to your block.


