Reinforcing Floor Joists

Repairing a Bouncy Floor | Sistering Joists | Pro Tips
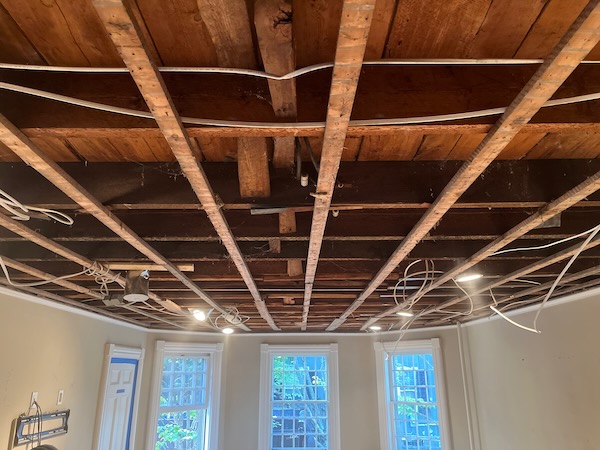
A client recently asked us if we could reduce the “bounce feeling” on their bedroom floor. Floor deflection is common in older homes because the floor joists used back then were smaller or spanned longer. This article will cover how to go about reinforcing floor joists.
Sistering | Doubling the Joists
Reinforcing floor joists is best done by doubling floor joists. Since we were removing the ceiling lath and plaster below this bedroom, I suggested adding full span 7-1/4” LVLs to the old joists. In the remodeling trades we call this “sistering the joists.”
Sistering joists can solve a lot of problems like sagging, uneven, or strengthening undersized floor joists. Sistering adds structural integrity to damaged joists and can also be used to level old floors.
2-Methods of Sistering
The building code is silent on sistering joists, this is because sistering is a reinforcement of an existing structure.
There are two methods of sistering.
- Full-Length Sistering
- Mending or Scabbing Sistering

Full-Length Sistered Joist
Full-length sistering is the strongest method and my preferred method when possible. This method extends the entire length of the joist and has full bearing support at each end. This method requires a minimum of 1-1/2” to 3 inches bearing at each end.
An alternative to running the joist to a bearing point is to install joist hangers from a wall or supported blocking.
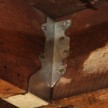
Mending Plate or Scabbing A Joist
In some remodeling situations, it is too difficult or impossible to get a sistered joist onto a bearing point. I find that in these situations using a mending plate or plywood scabs can help tremendously toward reinforcing floor joists.
. A mending plate is typically a 2x joist section fastened to the old section of the joist to strengthen it.
There are 2 rules of thumb when installing mending plates
Install the sistered mending joist ⅔ the length of the original joist, this can also be used to fix the joist sag.
Extend your repair 3 feet on either side of a damaged area. This method reinforces the damaged area, and the joist ends will be able to handle the additional weight of the sister.
The further away from the point of deflection, you can get the mending joist, the better. Again, it’s always best to run the sister joist over the entire span to a bearing point.
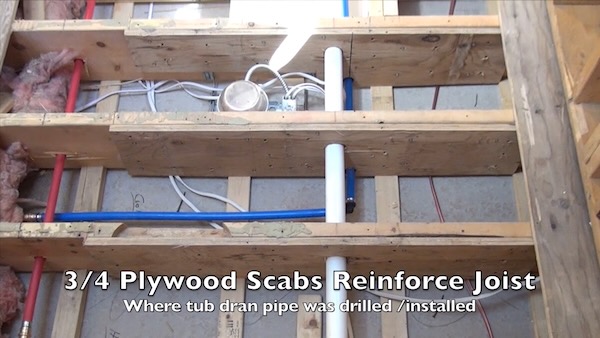
“Plywood scabbing” is also an effective technique that allows you to add strength to and fix minor problems that are affecting floor joists. I often use construction adhesive and 8D ring shank nails or structural screws to fasten 3/4-inch plywood as scabs to both sides. When scabbing I try to use the full 8-foot rip of plywood or the longest length that will fit.

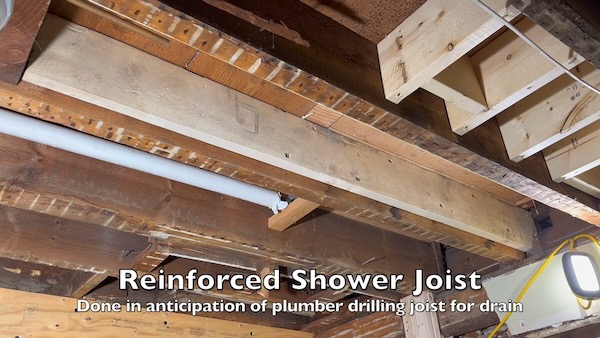
Pro Tip:
Plumbing holes and notches can compromise the strength of floor joists. Many times, in anticipation of the plumber’s arrival, I will apply scabs to floor joists where plumbing drains will be installed.
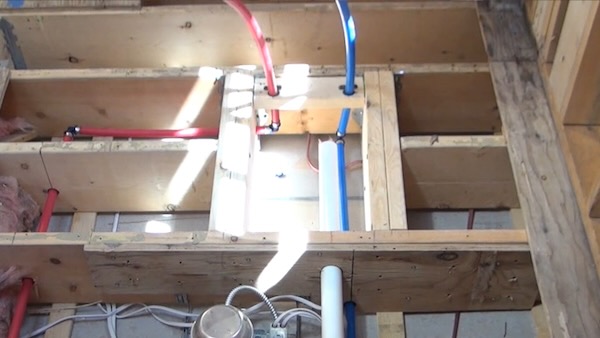
Heading-Off Floor Joists | The Plumber’s Box
Sometimes sistering the joists is not an option, due to existing plumbing, so we head off that joist or create a” plumbers box.”
The purpose of the joist headers is to transfer the floor load to the adjacent trimmer joists. The use of joist hangers strengthens and facilitates this repair.
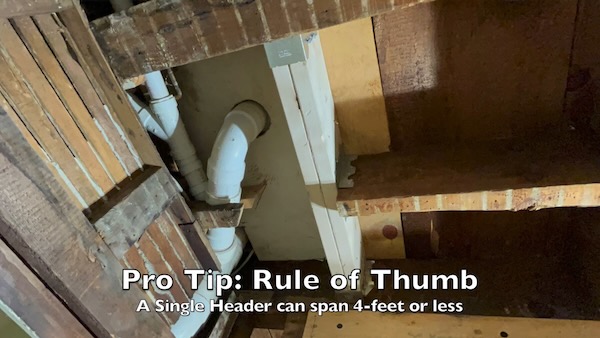
Pro Tip:
A single header connected to a cut joist and fastened to two uninterrupted joists will work for openings less than 4 feet. If the header spans more than 4 feet, both the header and the trimmer joists should be doubled. As a rule of thumb, I always install a double- header on all cut joists under 4-feet.
8 Steps on Sistering the Entire Floor
- Remove obstructions
- Measuring and cutting the new joist
- Install joist
- Jack joist
- Level vs flat
- Fastening
- Install blocking
- Strap ceiling

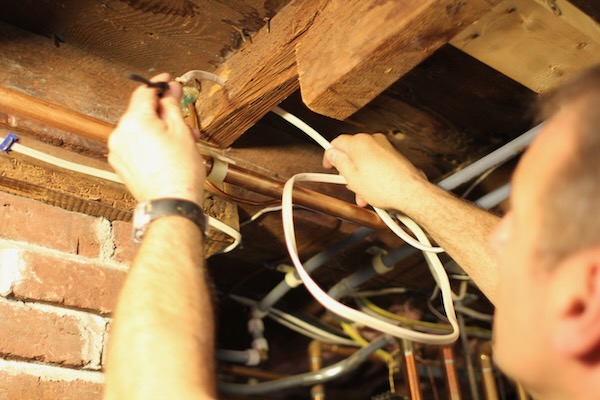
Remove Plumbing, Wiring, Cross-Bracing, and Other Obstructions
The first step is to remove any blocking, wiring, plumbing, or HVAC in your way.
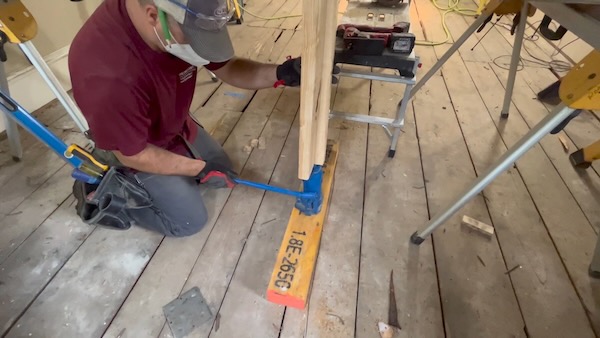
Measure and Cut the New Joist
If you are running the sistered joist the same length as the old joist, use that joist measurement. If you are sistering a partial joist, use the ⅔ rule if possible.
Pro Tip:
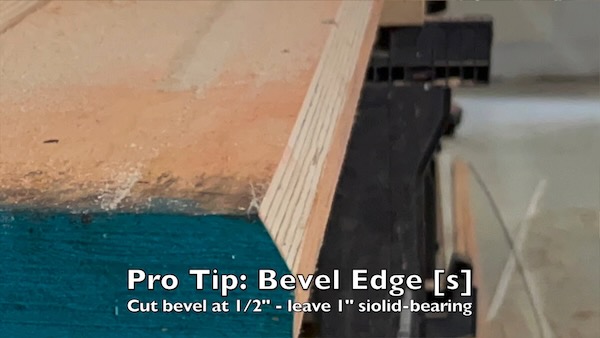
To ease fitting, we cut a 20-degree bevel of the top edge of the joist [1/2’ in and ½” down] this helps the joist slide past the subfloor and into place.
Ensure your new joist has at least 1-1/2” to 3’ of bearing.
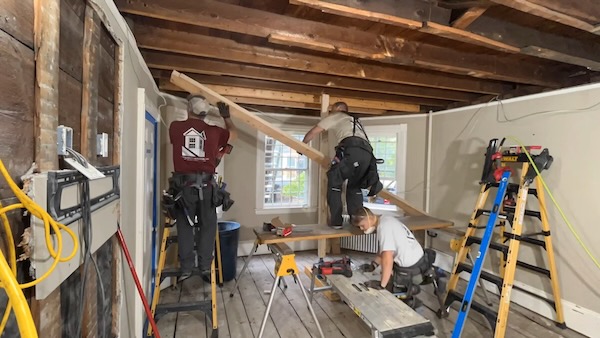
Install The Joist
Slide the new joist “crown up,” into the space and tilt it up. The goal is to ensure the sistered joist sits snugly against the old joist. If the old joist has sagged, you may have difficulty getting a full-sized sister joist to fit.
If you cannot fit the sistered joist against the old due to sagging, you can jack up the old joist to create room.
Pro Tip:
If installing a partial joist, you’ll also need to jack up the old joist to level and then sister the repair to that.
Jacking Up The Joist
I position a 6-ton hydraulic jack under the old joist and on top of a board spanning several floor joists. This support board helps spread the downward pressure weight of the jack to the floor below.
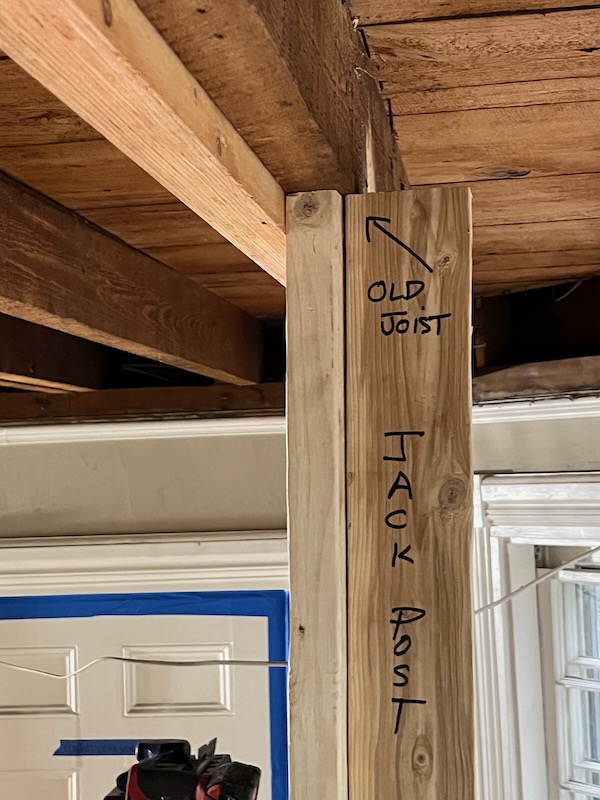
I fasten two 2×4’s together to make a simple jack post. I then slowly jack the sag out of the old joist in order to get the new joist against the old joist. Jacking too fast can cause wall cracks above and it’s always best to jack slowly and not too much.
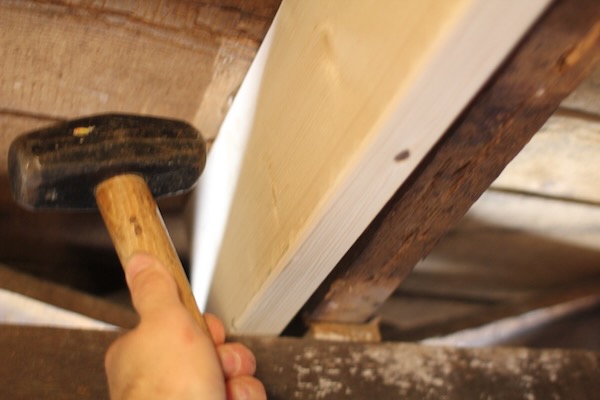
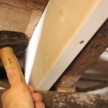
After lifting the cracked joist, I used a 3-pound hammer to move the new joist into position.
Pro Tip:
If the new joist is hitting a beam and the floor above, and jacking is not an option, an alternative approach is to cut 25-degree bevels [Only cut ½” x ½” off edges] on the two opposing edges that touch the beam and floorboard. This helps the joist turn, with less friction, into the proper resting position.
Making a Jacking Post
There are two types of jack posts either a doubled-up 2×4 or a T-shaped “strong-back post. Depending on the weight of your jacking, T-shaped posts are stronger because the 2×4 boards oppose each other and counteract any bending force created during jacking.
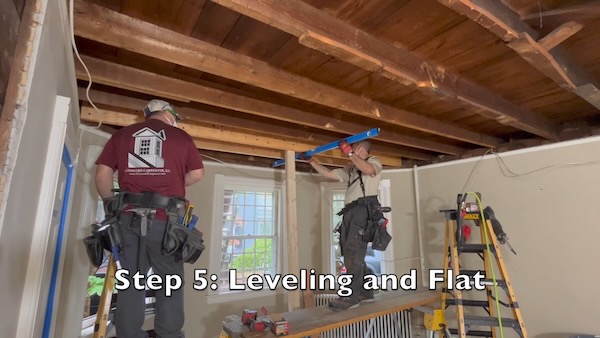
Level Vs Flat
Level is not always achieved but certainly desired. Flat is usually the consolation prize to level, in old houses. We used a combination of strings, levels, and a rotary laser to attempt to get the bottoms of our new joists level. We consider all of this information and raise or lower the jack post as needed. We also sometimes trim the joist bearing edge to assist in fitment.
Fastening The Sistered Joist
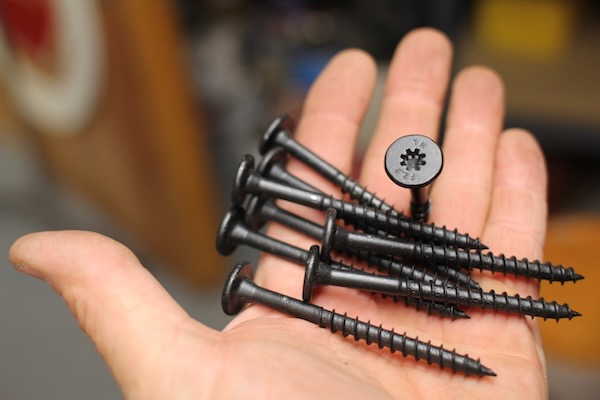
To attach the new joist to the older one, we installed a series of 3-inch Fasten Master Head-LOK structural lag screws in a “W” pattern. Once secured, we released the jack pressure and remove the jack.
Install Solid Blocking Between Joists
The last step is to install solid blocking perpendicular to the joists. Solid blocking helps to transfer weight to adjacent joists. We snap a midspan line, cut our blocks a hair stronger acts as stronger than the space, and tap them in with a hammer.
Install the blocking in a straight line [not alternating] for the strongest connection.
Pro Tip:
For joist spacing greater than 12” on the center you should install blocking every 6 to 8 feet. Use dry lumber and install your blocking tight. Loose blocks can sometimes end up causing squeaks.

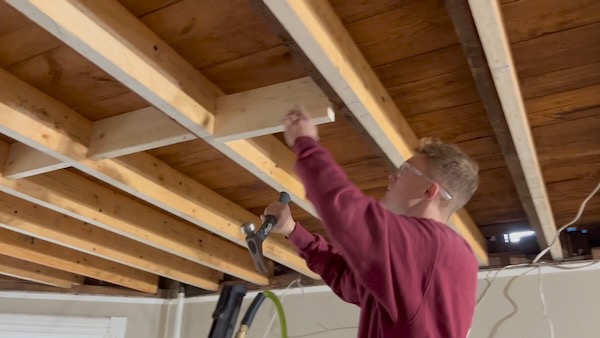
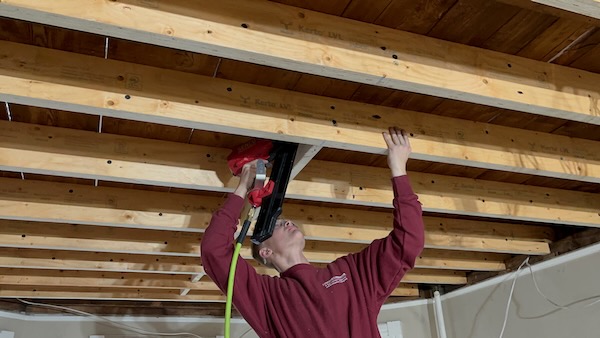
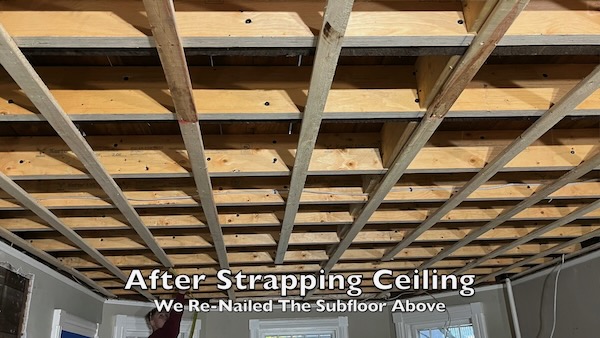
Install Strapping On Ceiling Joists
The last step is to install a 1×3 ceiling strapping 16” on-center to the ceiling joists. Strapping is fastened with two 8D ring-shank nails per joist. It seems that strapping is an N.E. kind of thing, but I like it for two reasons.
- Strapping can be easily shimmed to level out the ceiling
- Electrical wiring can easily be snaked in the ¾” space for future wiring running, like adding recessed lighting
Conclusion
Joist sistering is an effective way to approach reinforcing floor joists, repairing existing damaged, strengthening inadequate floor joists, or adding additional strength to a sagging floor.
If you’re concerned about the structural integrity of a sagging, cracked, or twisted joist in your house, and are not sure how to proceed, first call a structural engineer to inspect the floor. A Structural Engineer can provide guidance or a plan for reinforcement and strengthening measures.