Leviton Renu Collection Review
Leviton Renu Collection Is Full Of Color
Leviton’s new line of electrical switches, outlets and wall plates allows homeowners to change out colorful faces in a snap
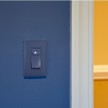
Leviton has introduced Leviton Renu, a new collection of electrical wiring devices, including switches, outlets, dimmers and wall plates, which feature easily changeable face-plates that are available in 20 popular colors.
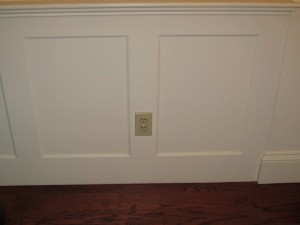
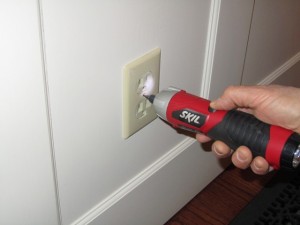
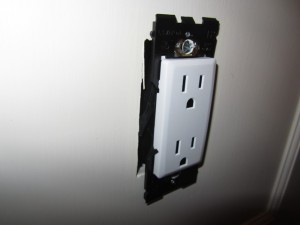
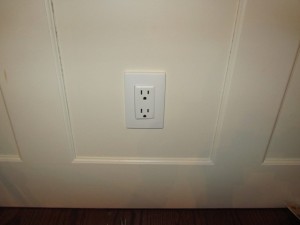
The still photos relate to changing out an existing beige outlet with a new Renu white colored outlet and face plate.
DIY Decorating with Leviton Renu Collection
A smart choice for the do-it-yourself decorator, Renu allows homeowners to match the electrical devices of a room to the wall color or the trim, contrast them, or find their own mix-and-match style with other colors in the room. The Renu line of devices coordinates with popular paint colors adding appeal to any décor.
The folks at Leviton send me some Leviton Renu outlet devices and wall plates to evaluate. The devices come in 15A or 20A outlets and are easily installed. They also have a tamper-resistant shutter to help protect children from inserting things into the slots protecting them from electrical hazards.
Unlike the Renu switches and dimmers, you do need to change out the outlet if you decide to change colors again. I swapped out my old beige outlet for a white Renu outlet. While white is not too exciting but Renu does have a real nice array of colors from bold to neutral.
The Leviton Renu electrical outlet is sleek, and the screw less wall-plates snapped directly and easily onto the outlet. Changing the faceplate is as eas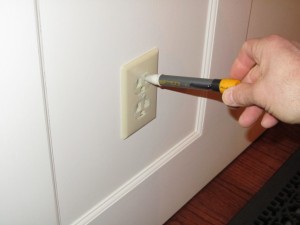 y as squeezing tabs and pushing down on hooks to remove the outlet face, and snapping on a new face.
The beauty of this design is a homeowner can change out the face plates again and again.
For more information or to purchase a Leviton Renu device, visit www.Leviton.com/
To purchase Leviton Renu online: Leviton-RKR20-DT-Tamper-Resistant-Receptacle
Steps For Changing Out An Outlet:
1. Shut Off Power
Shut off power to circuit you will be working on at the service panel. Do not assume that the markings on the service panel box are correct. Double-check by using a voltage tester.
Unscrew center screw of face plate with a flat-head screwdriver.
3. Double-Check that Power is Off
With faceplate off, insert voltage tester into receptacle box alongside the outlet. The black wires are the live wires. Test these wires.
4. Pull Out Outlet
Unscrew top and bottom screws from outlet, and gently pull out outlet by these top and bottom “ears.” Again, be careful not to touch any wire. Now that you can see the outlet in the light, check once more with the voltage tester to make sure that the black wires are not live.
5. Understand Wire Color Coding
Black wire = live wire. These are usually affixed to the outlet by means of gold or brass colored screws.
White wire = neutral wire. These are usually affixed to the outlet by means of silver colored screws.
Copper wire = ground wire. This is usually affixed to the outlet by means of a green screw.
6. Take Note of Wire Configuration
Make a note where each wire goes. You can use blue or masking tape to label the wires if needed.
7. Install Wires in New Outlet
Attach the wires to the outlet screws. Trim back the wire insulation so that only the bare minimum is showing to make contact with the sc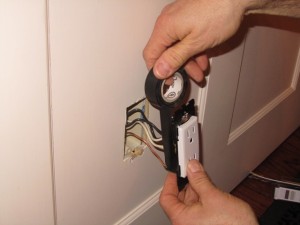 rew. Screw in as tightly as you can.
8. Re-Install New Outlet
Cover the outlet terminals with electrical tape. Tape up any frayed or nicked wires with electric tape. Gently fold back the wires into the box and push the outlet in and screw it in.
.


