How To Inspect A Fall Arrest Harness

How To Inspect A Fall Arrest Harness
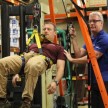
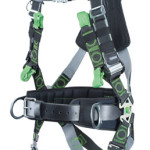
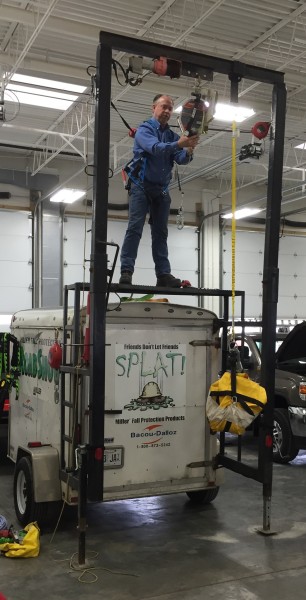 Early in the spring, our masonry construction company held its annual safety day. It’s a day where the whole company comes together to review safety protocols and procedures to ensure that everyone gets home safe at the end of every day. The foreman put on a number of breakout sessions during the day on proper set up of scaffold, rigging, safe cutting techniques, ladders, etc. but there were also a couple of full group sessions. One of the sessions was put on by Honeywell Safety Products, the manufacturer of Miller fall protection. The “Miller Road Show” put on a number of hard-hitting fall demonstrations that really got me thinking about inspecting the condition of my own safety gear. If you haven’t inspected your own fall arrest harness in awhile, you owe it to yourself and loved ones to give it a thorough look.
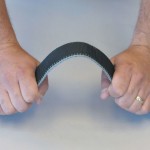
Inspect the webbing
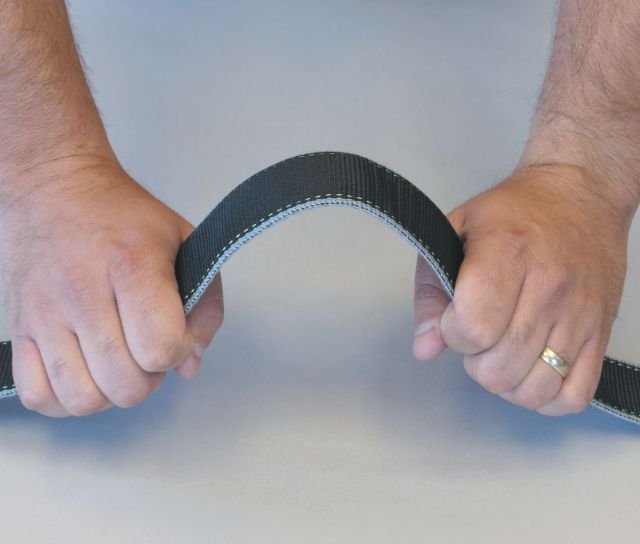
The meat and potatoes of a fall arrest harness is the webbing. The webbing is what goes around all your body parts and is sewn back on itself to secure all of the metal hardware. Over time the webbing can be broken down by UV light, abrasions, chemicals, cuts, pulled stitches, and burns. These things can all compromise the performance of the webbing and can lower its strength when/if you are ever in a fall situation. Miller recommends inspecting the webbing in 6 inch increments by bending it into an inverted U shape. This shows frays, cuts, and abraded fibers more easily.
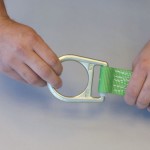
Inspect the D-ring and stitching
The D-ring and stitching is the main point of connection for most harness situations and the most important in fall arrest scenarios. All of your weight is arrested through this single point either through a lanyard or lifeline. It needs to withstand a lot of pressure. Look for discolorations, deformations, and sharp edges in the metal. The loop and stitching in the webbing at the d-ring should also be inspected for any abnormal wear or loose/pulled stitches. If this area fails in a fall situation, things will go from bad to much, much worse.
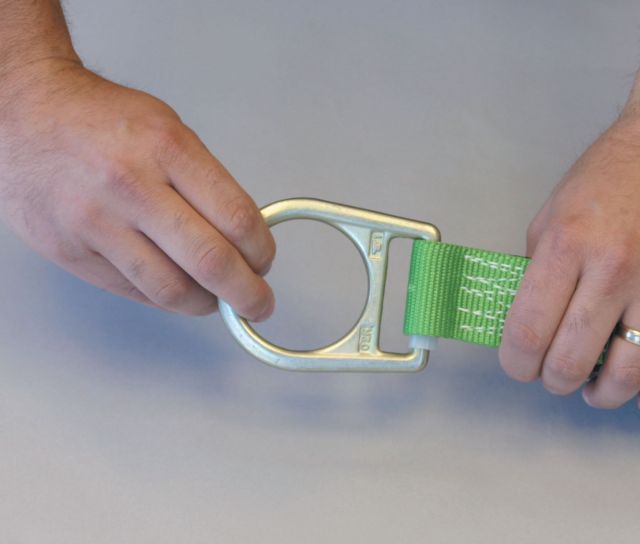
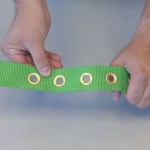
Inspect the buckles and grommets
Much like the D-ring look for discolorations, deformations, and sharp edges in metal buckles as well as the grommets. Look for grommets with frayed webbing around the edge or additional holes punched in the webbing. The webbing connected to the buckles should also be inspected for abnormal wear or loose/pulled stitches.
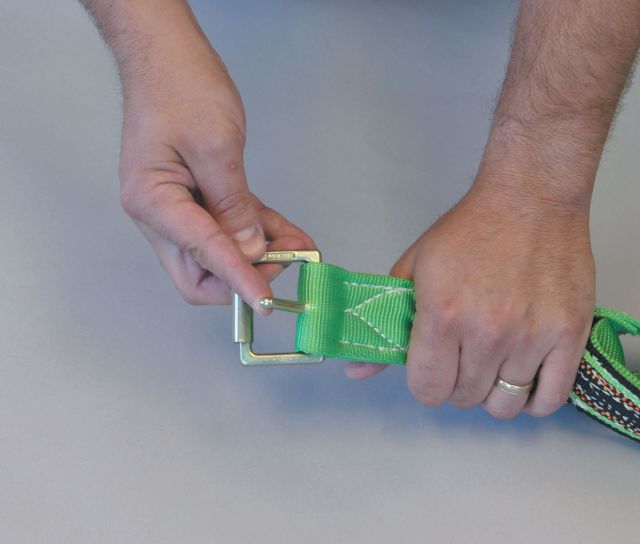
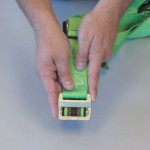
Inspect the quick connects
Look the buckle parts over for any signs of distortion or cracks. The release mechanism should operate smoothly and be free of dirt and debris so that it has positive engagement.
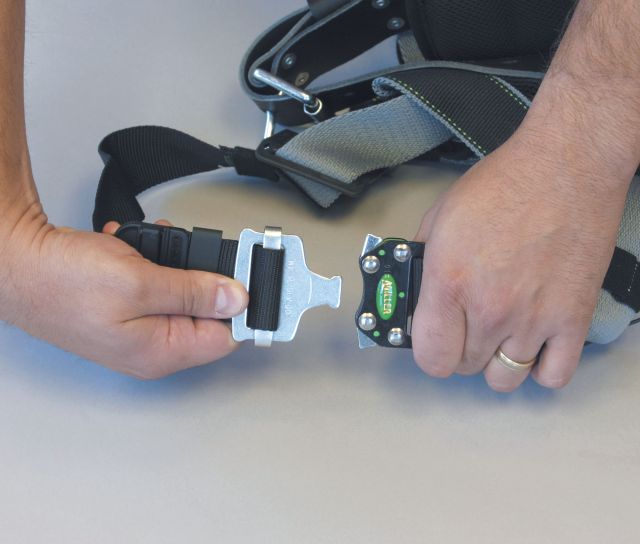
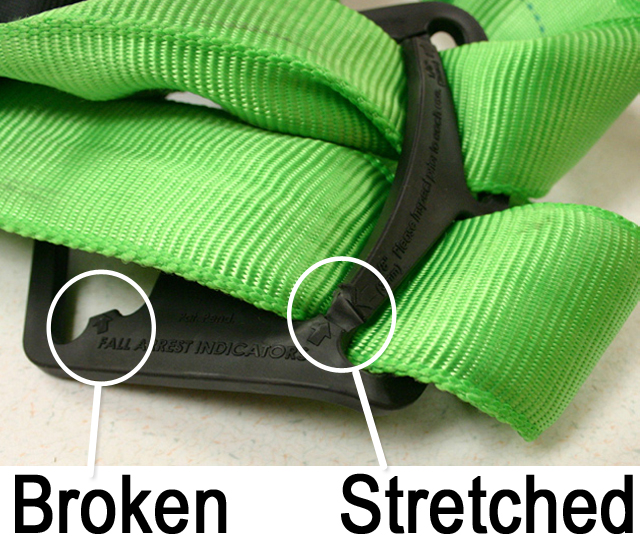
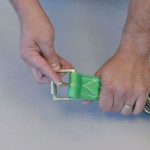
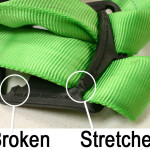
Inspect the fall arrest indicators
Lastly inspect the fall arrest indicators built into the harness. On the Miller there are 4 sets of arrows that should be touching. Stretching or breakage of the plastic is an indicator that the harness has been in a fall situation. Even if the rest of the harness is in great shape, remove it from service if the arrows don’t line up.
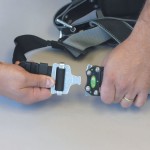
Checking the harness is only the beginning
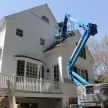
Checking over your fall arrest harness is only the beginning to preventing falls on the jobsite. You also have to check your lanyard or retractable for wear or fall indicators. The last piece of the puzzle is to make sure you’re tied off to a 5000 lb roof davit or other approved point. Even if you’re just hooking up to the tie-off loop on the aerial lift, it is a good idea to check the condition of the welds from time to time.
-
- Red flag shows that this retractable has been in a fall situation