Custom Wood Screen and Storm Door

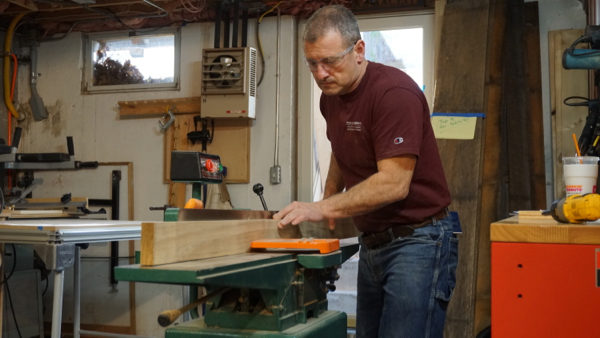
Squaring stock – jointer
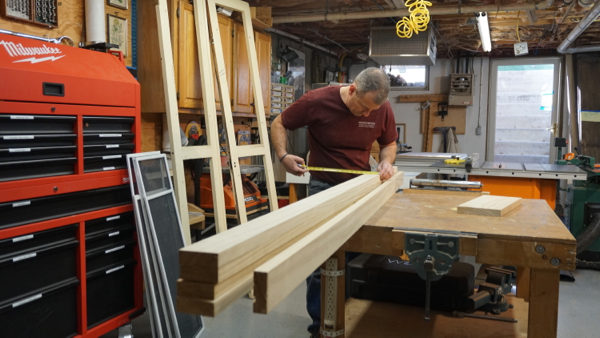
Sizing the Boards
The existing doors measured 1-1/8” thick. In order to make new doors that matched this thickness, we needed to purchase 6/4 Sapele boards, which measure 1-1/4″ thick. To get the exact same 1-1/8″ thickness, we then milled these boards down in our thickness planer.
A thickness planer makes your boards uniform in thickness, with two parallel faces and will ensure that our door boards will line up flat, with equal thickness from end-to-end. Having stock that is
exactly the same thickness will avoid having one board un-evenly mating to the other, which looks terrible
Tempered glass panel
Sourcing the Screens and Storm Panels
Storm and screen panels can be purchased cheaply enough that it’s not worth your time to make them yourself. Plan to pay about $45 for the screen panel. The storm panel costs more, because building codes require that it be made from tempered or safety glass.
Once our doors are built we will rout a “rabbit,” to accept a flush mounted screen/storm panel. We used custom-built screens and dead light panels with aluminum frames purchased from a company called Harvey Industries. These panels will insert into a routed rabbit and fit flush to the doors’ faces
The screens are available with fiberglass insect window screen, aluminum insect screen, solar insect screen, and 20×30 mesh no-see-um window screen for protection from tiny insects, as well as pet-resistant screen material.
The Aluminum frame size options include 5/16″, 3/8″ or 7/16″ thick by 3/4″ wide. Frame color choices are white, bronze, silver, tan and champagne. A variety of attachment hardware is available to meet most applications.
We prefer using the 7/16″ X 1″ HD window screen and a storm panel frame made of heavy .025 mill thick, roll-formed aluminum. It is cambered (slightly bowed) to retain screen tension when installed.
To secure the frames in the door rabbit we use turn clips or Marvin Window turn buttons and stainless steel screws for attachment.
Custom Door Materials Needed
- 5 – 8-foot 6/4 x 5” Sapele boards
- 1 – 6-foot 6/5 x 8” Sapele boards
- 4 screen and storm panels
- 8-12 stainless steel clips
- Festool Dominos
- Waterproof glue
Tools Needed
- Table saw
- Thickness planer
- Miter saw
- Festool Domino Cutter
- Router and rabbit bit
- Corner chisel
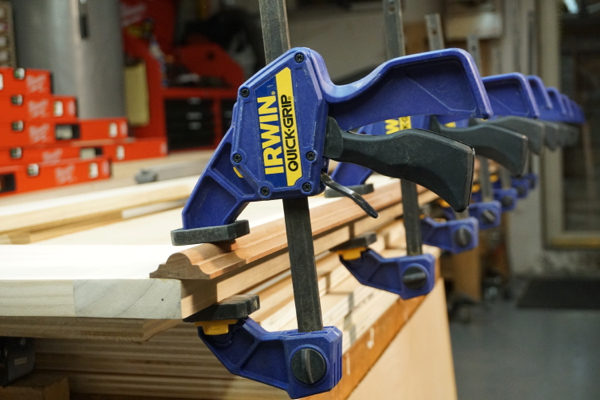
- 4-ft.pipe clamps
- Waterproof glue
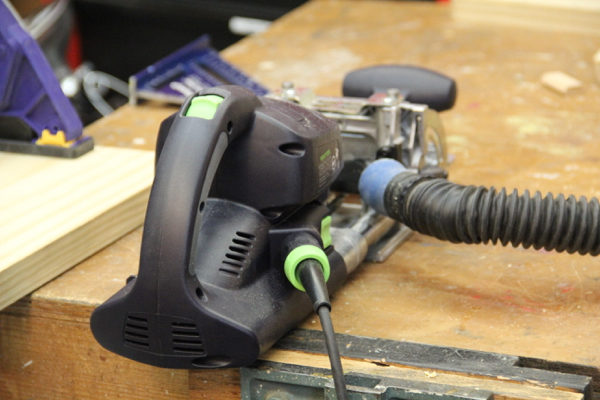
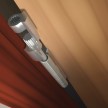
Festool Domino Cutter – “Floating Tenons”
Joining the Style and Rail
The vertical members of the frame are called stiles while the horizontal members are known as rails. This is a common method of constructing doors and we used Festool Dominos to make these connections.
I’ve written bout the Festool Domino DF-500 Plus in a previous articles, but on this project we needed larger tenons.
Festool Dominos- floating tenons
Using the Festool 574447 XL DF 700 Domino Joiner Set
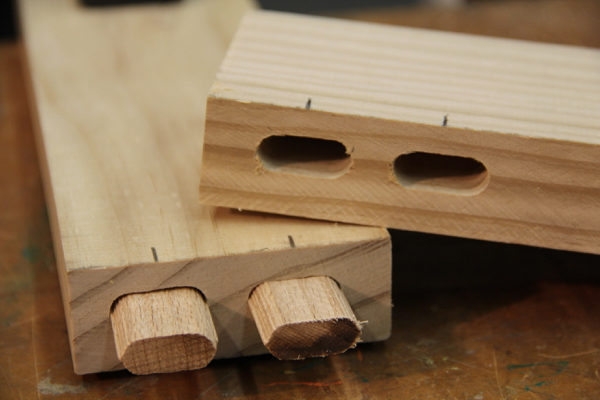
For the door joinery, I used the Festool Domino XL DF 700. The Domino XL offers an innovative solution to larger scale joinery like this door. The Domino performance is unmatched with its utility work ethic and precision performance. The Festool Domino XL cuts an oval mortise, allowing a solid hardwood tenon to be installed for joining parts together. Similar to a biscuit joiner, the Domino installs a floating tenon joint.
 The end result is a solid and durable joint, fabricated in a fraction of the time it takes with traditional methods or stationary equipment. The Festool Domino Joiner is simple to use, as well as fast and accurate. It allows you to install an expanded range of thicker, longer tenons for wood slabs, doors and gates, or furniture.
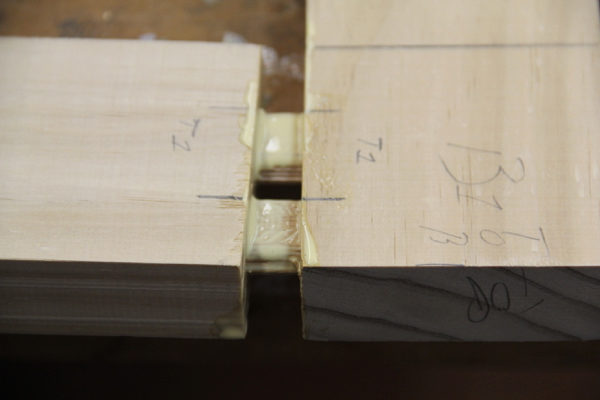
The Domino XL lets you bring the tool to the work, greatly reducing setup time while simply and effectively producing full-sized mortise and tenon joints. It works similar to a biscuit joiner, but better. I simply lined up the two parts designated to receive a tenon, made two corresponding, matching pencil marks, and cut the Domino holes.
You can purchase a Domino XL here: Festool-574447-700-Domino-Joiner
Astragal door stop
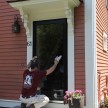
Adding an Astragal Door Stop
Most French doors have a vertical strip, called an astragal, that attaches to the leading edge of the active door. This molding is on the exterior and attaches to one of the doors and overlaps the other, covering the vertical seam. Often times the non-astragal door will have threshold and/or top slide bolts to lock and secure it in place. Locking these slide bolts allow you to go in and out of the other door while the other stays in place.
I was able to source a Mahogany Astragal from a local mill shop and glued it to the leading edge of my working door. Although French doors typically open inwards, requiring the astragal to be installed on the outer edge of the inactive door, on this particular project the French doors opened out onto a patio. We thus installed the astragal onto the active door.
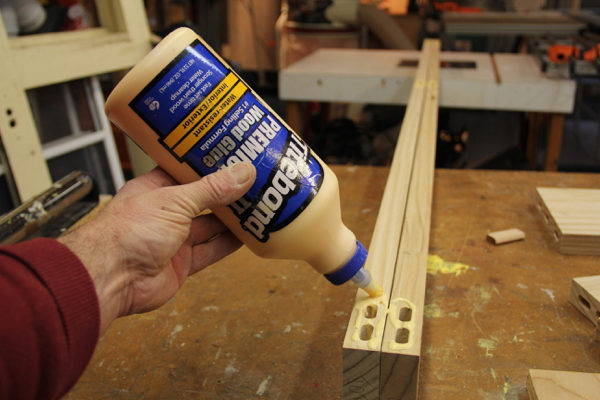
Exterior glu