
Aero RapidStop Bleed Control Kit

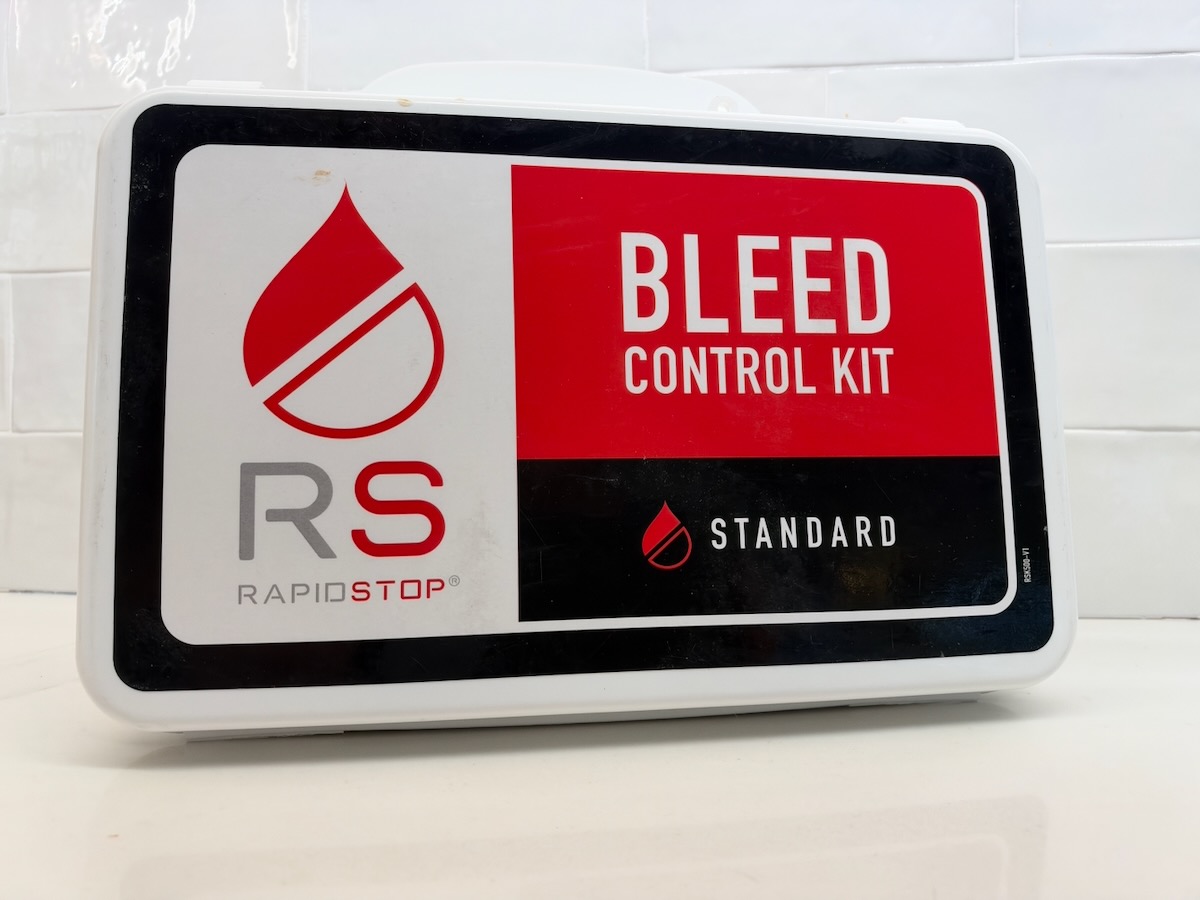 Aero RapidStop Bleed Control Kit
Serious bleeding can occur on construction sites, in workshops, and around power tools and equipment. Having emergency medical supplies available is an important part of jobsite safety.
The Aero RapidStop Bleed Control Kit contains supplies intended for managing severe bleeding and other traumatic injuries until emergency medical personnel arrive. The kit is stored in a plastic gasket case designed to help protect the contents from weather and damage.
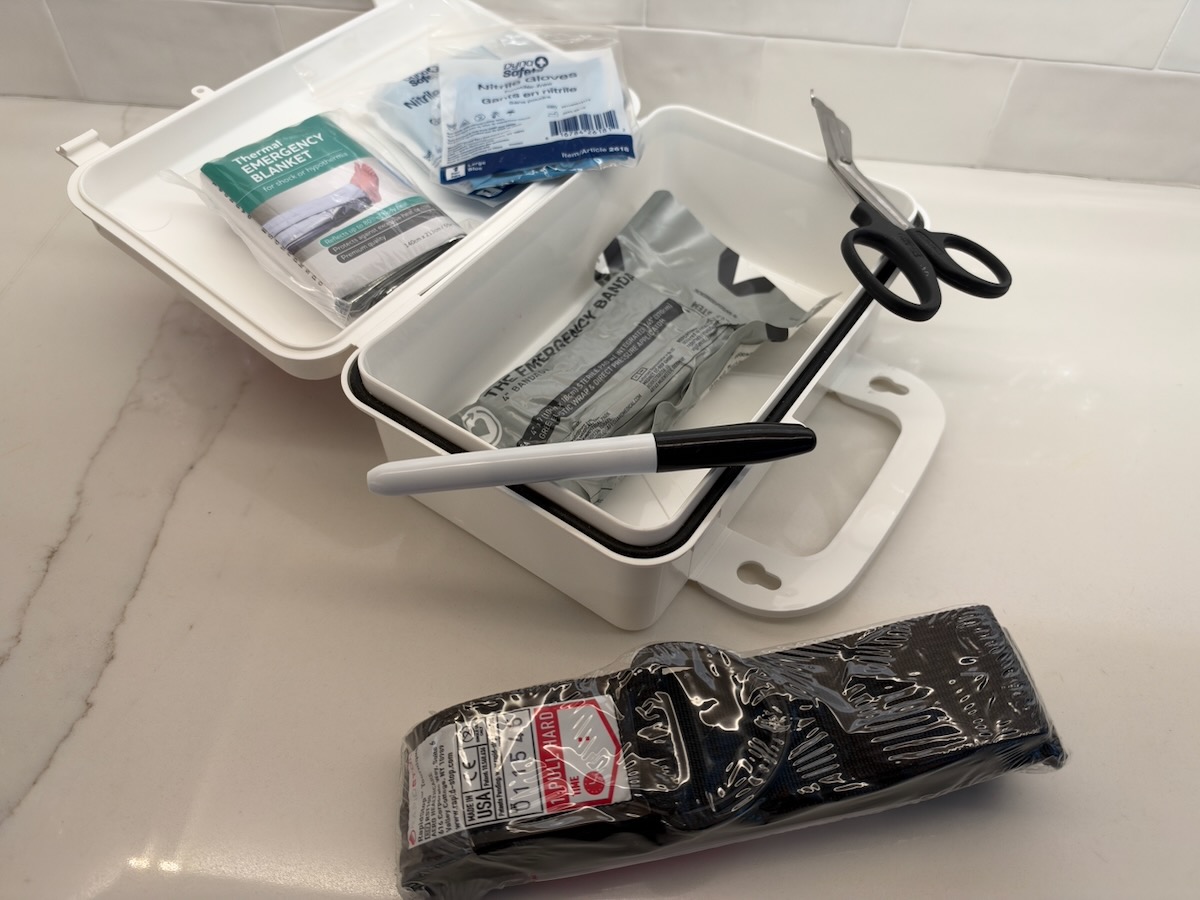
What’s Included in the RapidStop Kit
The kit contains the following items:
- RapidStop Tourniquet Responder
- Large nitrile gloves
- Thermal blanket
- Vented chest seal dressing
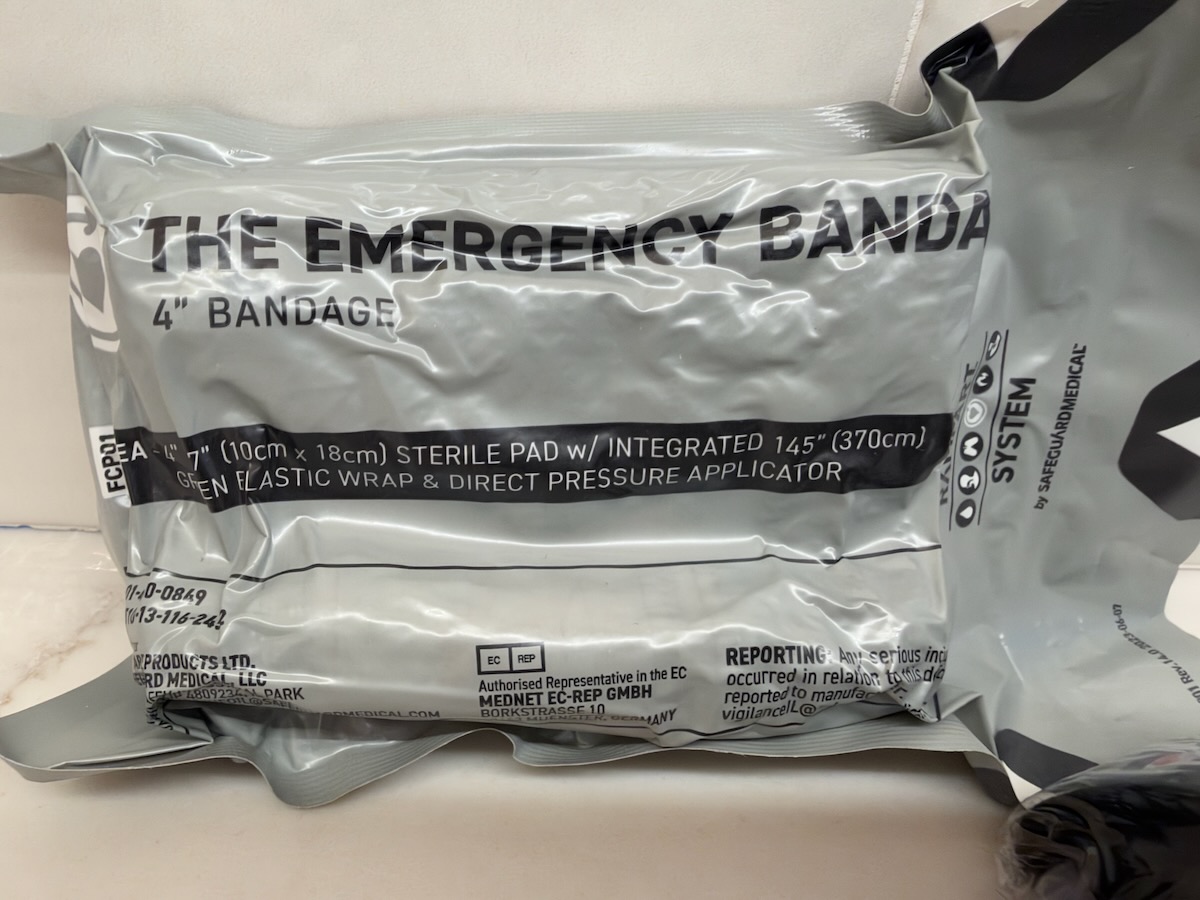
- 4-inch hemorrhage control bandage
- Emergency trauma shears
- Permanent marker
- Plastic gasket case
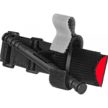
- RapidStop Tourniquet
Purchase Kit Here | ACME Tools
The Rapid stop Bleed Control Kit sells for approximately $62.00 at ACME Tools here:. Rapid Stop Bleed Control Kit
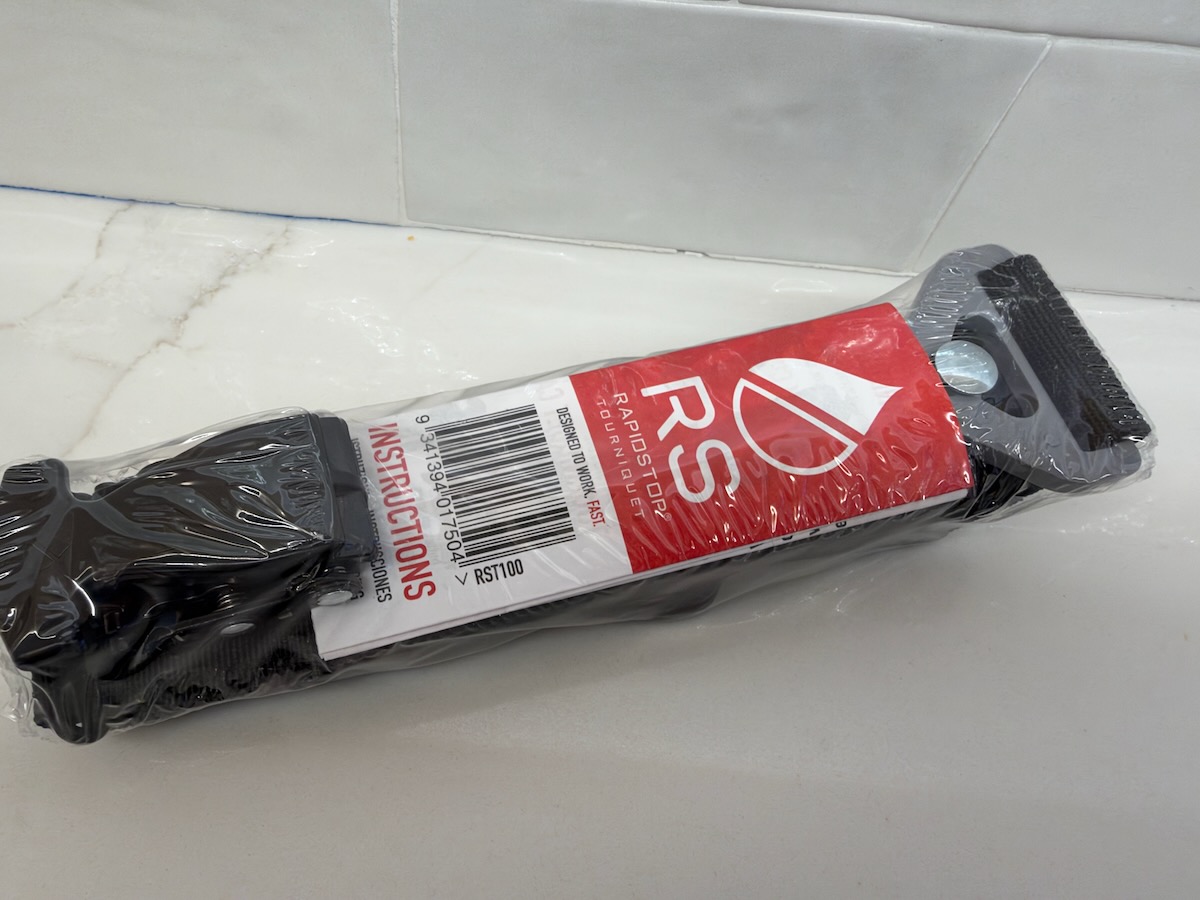
RapidStop Tourniquet
If you or someone on your crew cuts themselves bad, real bad, you have only 3-4 minutes [less with children] to stop the blood loss. Keeping a tourniquet on the job site may save someones life.
A catastrophic bleed in an adult could easily cause a 40% loss of their blood volume, if this happens, your body will go into shock, which is a failure of your circulatory system. Pretty much equates to a BAD DAY – and will result in death if untreated.
The RapidStop Tourniquet is designed to control severe bleeding from an arm or leg. The manufacturer lists single-handed application as one of its features.
A tourniquet must be applied correctly to be effective. Anyone responsible for workplace emergency equipment should receive appropriate bleeding-control training and become familiar with the manufacturer’s instructions before an emergency occurs.
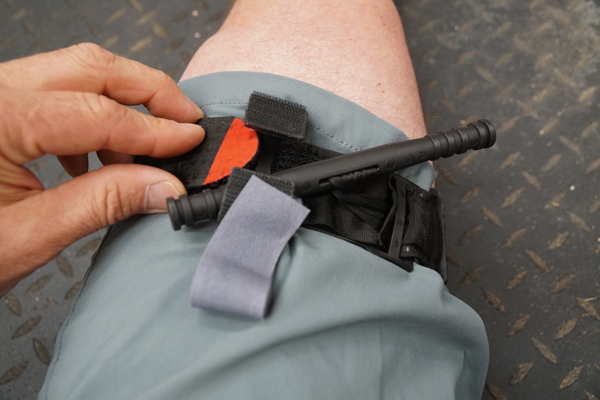
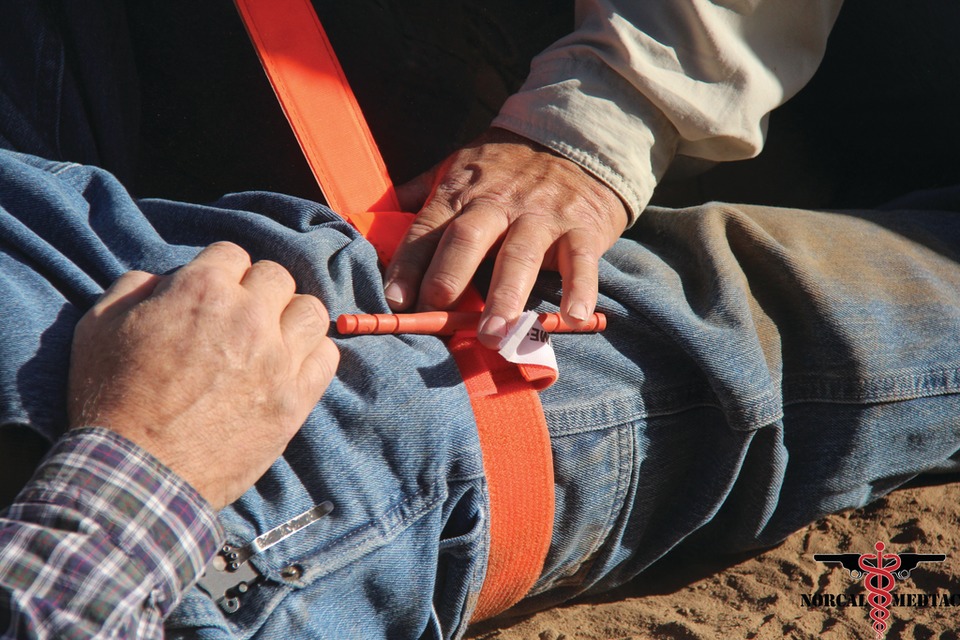
Steps for Applying A Tourniquet
- Applying a Tourniquet One-handed
- Insert the tourniquet “loop” over the injured limb.
- Position the tourniquet 2-3” above the bleeding site directly to the skin.*
- Pull band tightly as tight as you can.
- Fasten the Velcro back on itself all the way around the band, but not over the rod clips.
- Band should be tight enough that tips of three (3) fingers cannot be slid between the band and the limb.
- Twist the rod until bleeding has stopped.
- Secure the rod inside the tourniquet. Clip to lock it in place
- Route the band between the clips and over the rod.
- Secure rod and band with TIME strap.
- Check for bleeding. If bleeding is not controlled, consider additional tightening or applying a second tourniquet side-by-side to the first.
- Record time of application.
- If you cant be sure where the bleeding is coming from based on the situation, the tourniquet can be effectively applied over clothing as high on the arm or leg as possible.
- The tourniquet can not be applied over solid objects within the clothing. [phones, wallets, tools, etc]
- Once on – leave it on.
Additional Trauma Supplies
The kit includes
- 4-inch hemorrhage control bandage for wound care
- 1 vented chest seal dressing intended for certain penetrating chest injuries.
- 2 Nitrile gloves .
- Trauma shears can be used to cut clothing to expose an injury,
- A thermal blanket to help reduce heat loss.
- A permanent marker can be used to record the time a tourniquet was applied.
Case and Storage
The kit comes in a plastic gasket sealed case designed to help protect the contents from environmental exposure. For jobsite use, we recommend storing it in a location that is easy to identify and access.
Check the kit periodically for damaged packaging, missing supplies, and expired items where applicable. Replace anything that has been used or is no longer suitable for use.
Jobsite Use
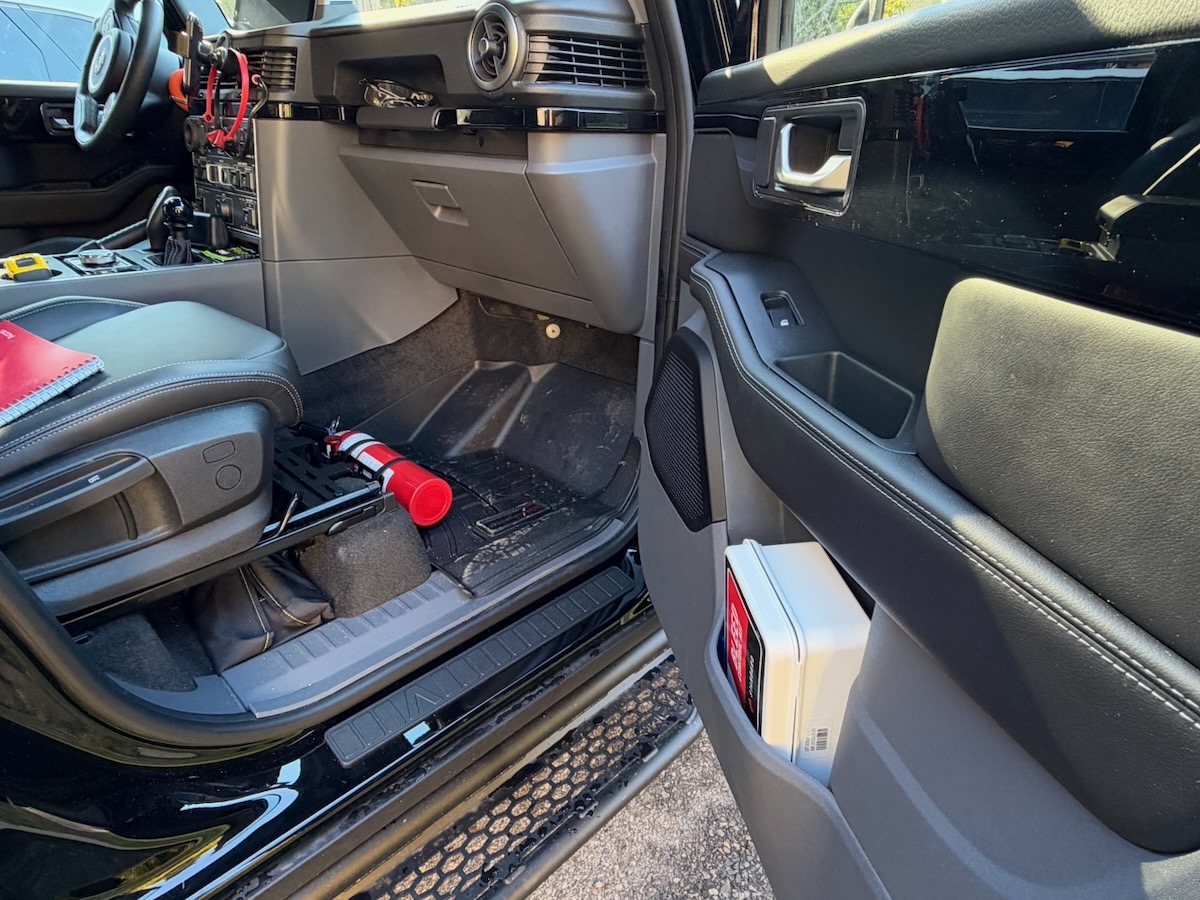
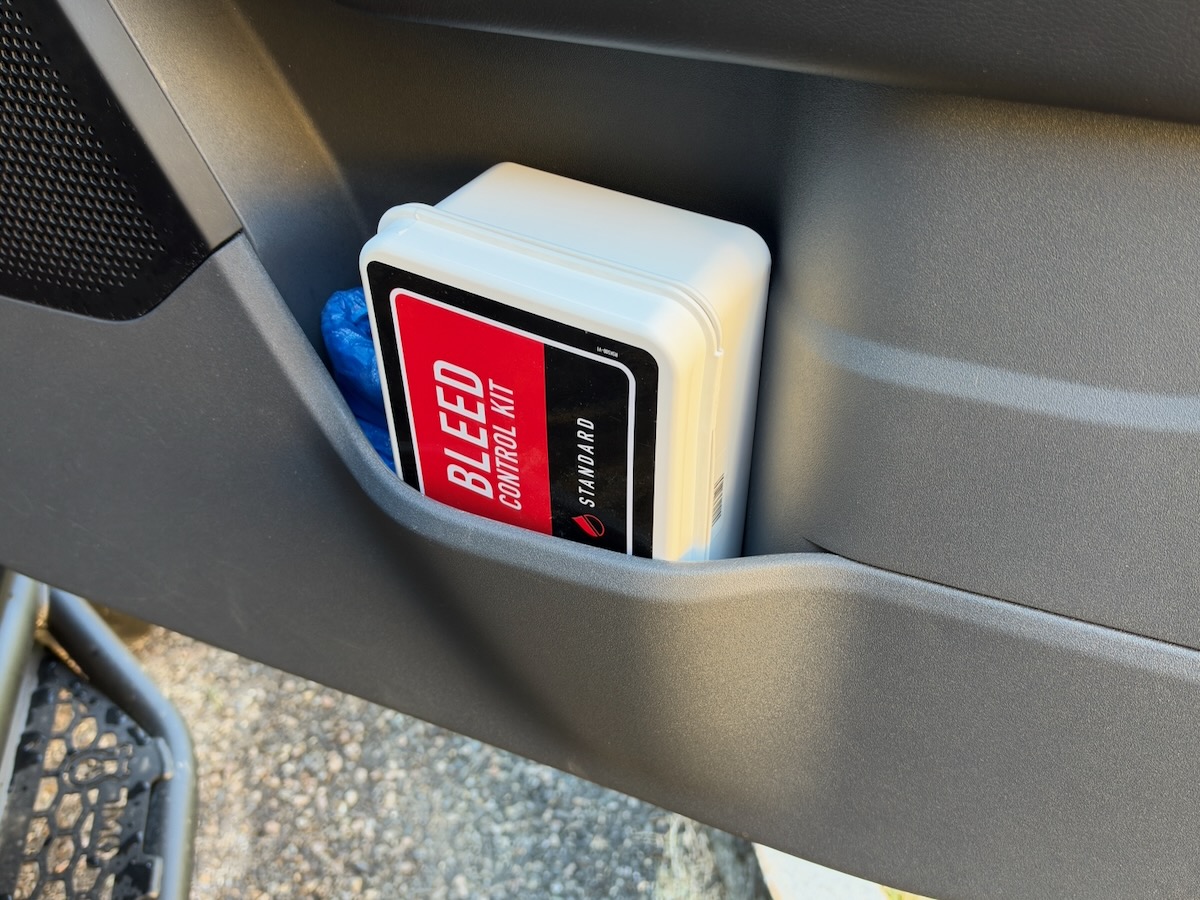
A bleed control kit may be appropriate for construction sites, workshops, service vehicles, and other workplaces where traumatic injuries are possible. I ended up padding additional items to this kit and placed it inside my work truck.
The kit should be part of a broader emergency plan that includes calling 911, assigning responsibility for emergency response, and providing appropriate first-aid and bleeding-control training.