How to Make Plinth Blocks

 Determining Bevels
To determine this bevel I marked up a scrap block measuring in 1-inch and then marking the ¾ thick edge. I then used a bevel to connect the lines and measured that angle. This angle was transferred to my table saw where I cut the bevel first on the test piece and then on the plinth block, once I was satisfied I had the bevel angle correct.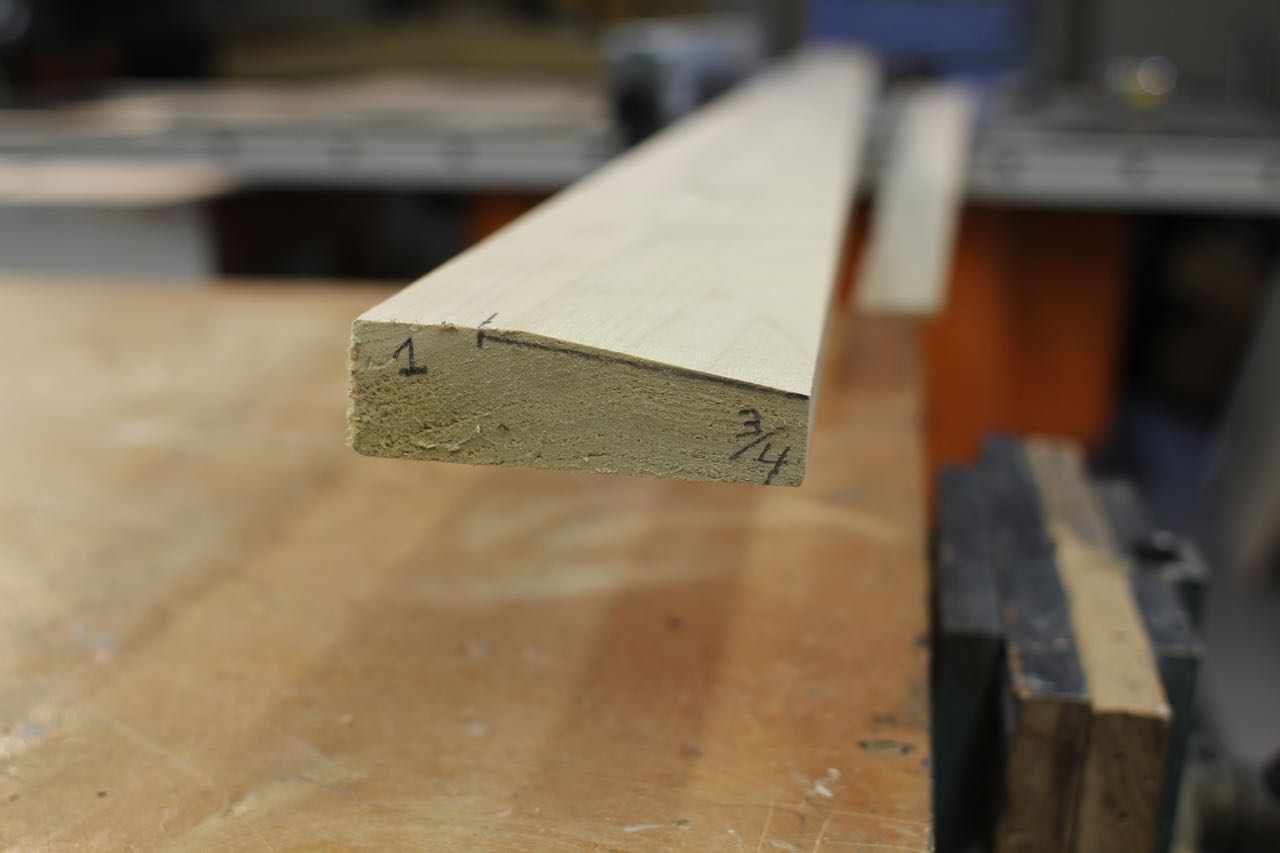
Making Plinth Blocks – Steps:
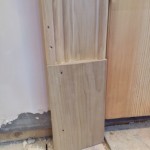
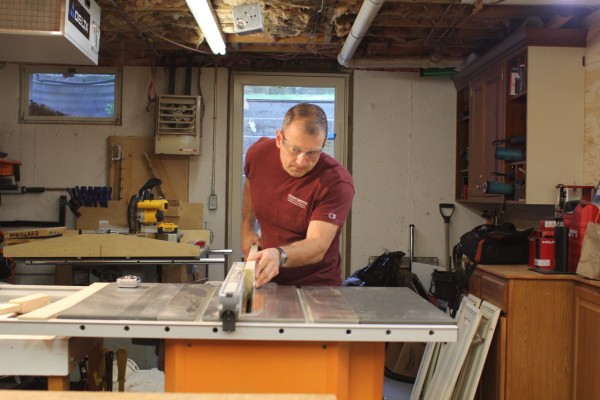
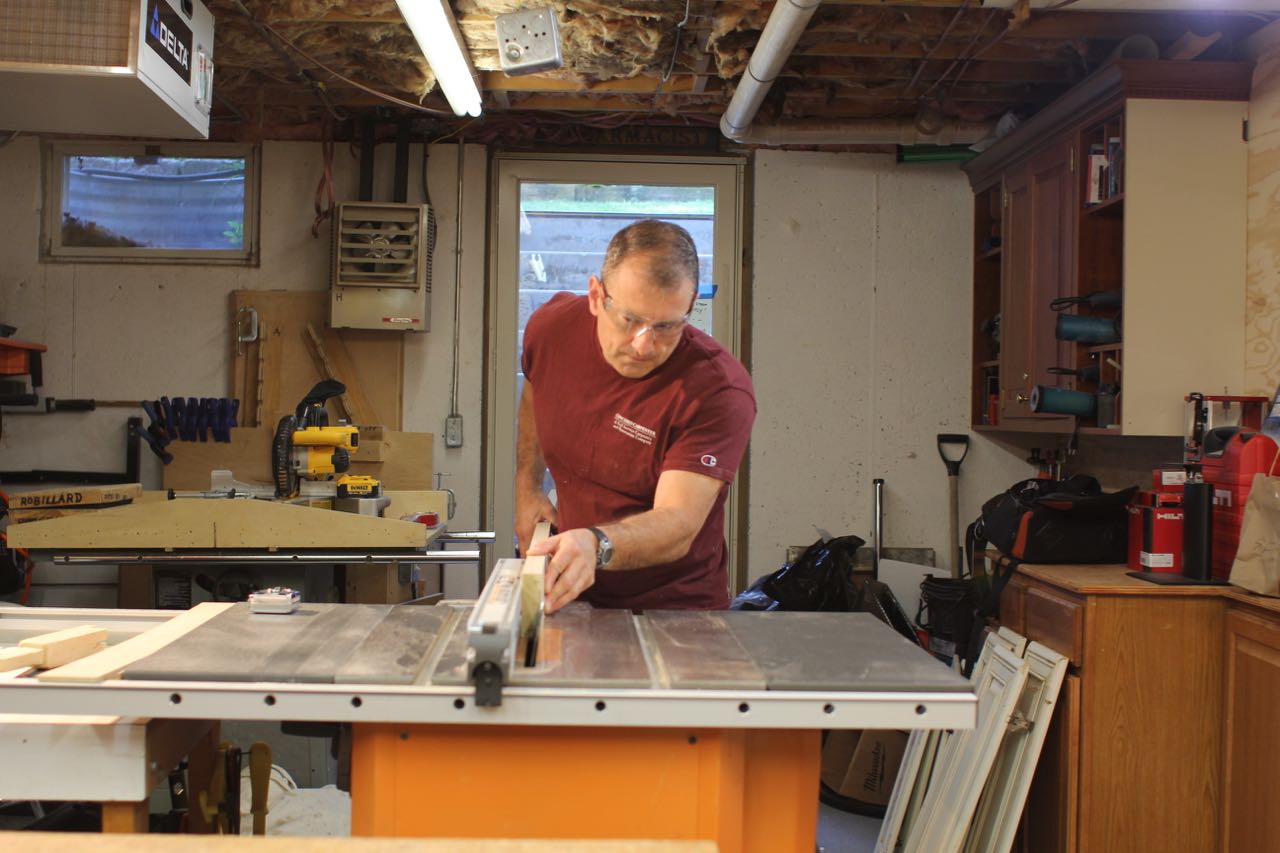
- Rip Stock: The first step is to rip your board the width of the plinth block. When ripping leave enough so you can plane and sand the edges to clean up the cut and remove the saw marks.
- Cut bevels: determine your bevel by mimicking an existing plinth block or making a test piece. Then cut bevels on the table saw.
- Cut to length: Cut your plinth block stock to the height you want.
- Add 45 degree bevels to edges: If applicable you may want to ease the edges of your plinth blocks. This can be done with a hand plane, table saw or a router bit. Not all designs have this look .
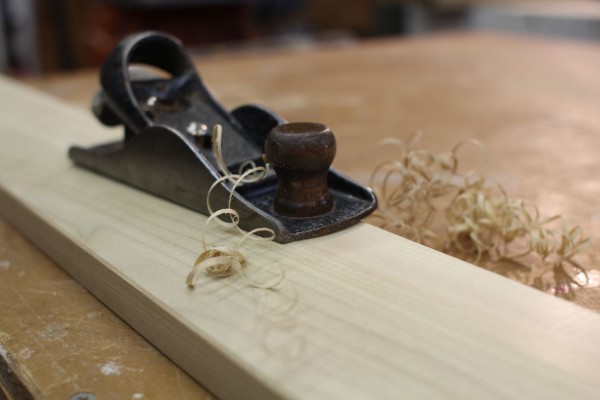
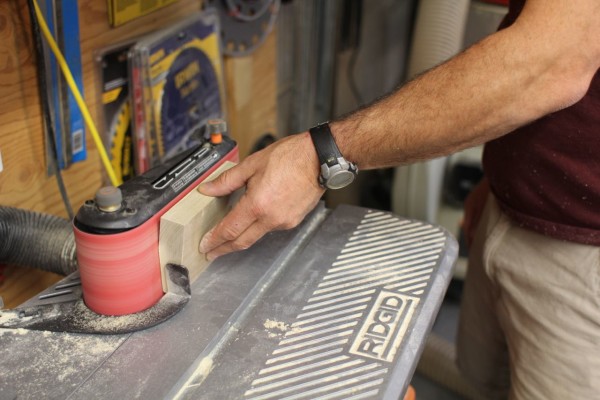
- Clean edges: Use a block plane to remove saw marks and sand end smoothly
- Sand: sand end grain smooth, break all edges slightly to accept paint better.

 Installing Plinth Blocks

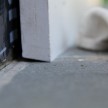
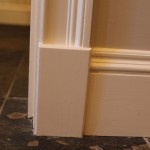
Cutting In Plinth Blocks to Existing Trim The easiest way to install plinth blocks is when there is no existing door or baseboard trim in place. If there is you need to measure you plinth block location and use a multi-tool to cut back the trim in order to insert your plinth. It should fit tight underneath the cut-off molding, and tight against the side of the cut-off baseboard 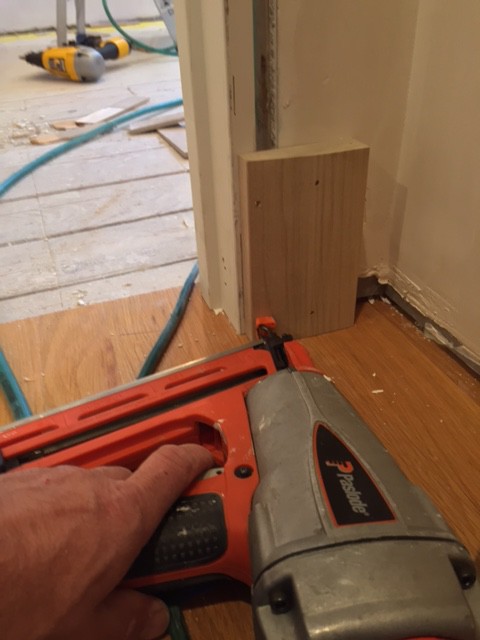 For new trim installations:
- Measure and mark your reveals on your door jamb. I use a small combination square to make two small pencil marks, one at the top edge and one on the lower edge. Place the plinth block at the base of the doorjamb, 1/8-inch from the edge of the doorjamb. The 1/8-inch setback is to provide a reveal, lip or edge between the plinth block and the side of the jamb.
- If your jamb is plumb, then your plinth will be too.
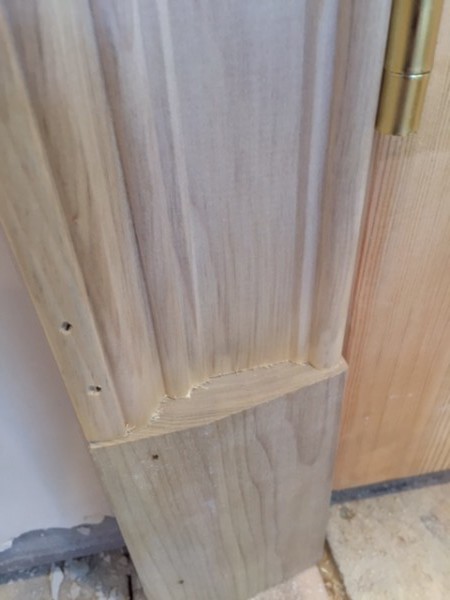
- Fit the plinth block on the doorjamb.
- If hand nailing, drill four holes through the plinth block with a 3/32-inch drill bit using a drill/driver. Drill two holes, one high and one low, into the door jamb side. One the other side drill your low hole so you can hit the bottom 2×4 plate, if applicable. On the upper hole, if no wall stud or nailer is present, drill at an inward angle toward the door jamb. The angle helps lock in the plinth.
- If using a pneumatic nailer simple install in same locations. Install nails slightly recessed for wood filling.
- The presence of framing will dictate your fastening pattern. When possible, install fasteners into wall studs and use care placing fasteners on plinth bevel lines or other aesthetic details. Try to nail 3/4 to 1-inch diagonally from the bottom corners, and diagonally down from the profiled edge of the plinth block.

-
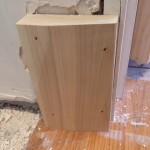
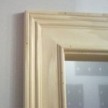
- Non-Tapered Plinth
-
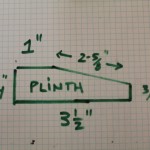
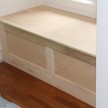
- Tapered Plinth
-
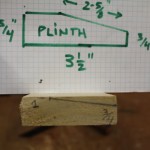
- Transfer to wood
-

- Pre-cutting
-

- Capture bevel
-

- Transfer bevel to saw 10-degrees
-

- Preparing to rip
-
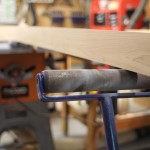
- Roller – helping hand
-
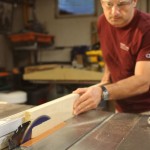
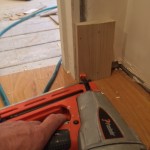
- Ripping length of board
-

- Ready forlength cuts
-

- Champhering edge
-
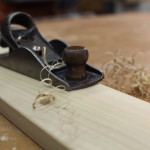
- Block plane
-
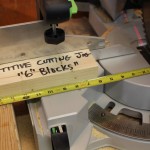
- Repetitive cut jig – 6″ pliinths
-
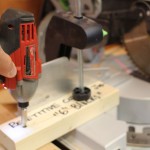
- Secutring jig
-
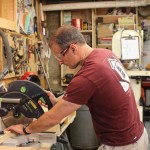
- Cutting 16 Plinths
-
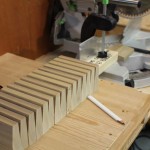
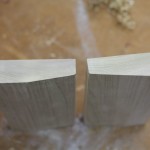
- Ready for sanding
-
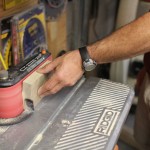
- Sand a 6 sides
-
- Ready to install