Rough Sawn Wood Patio Cooler

Cut the side material
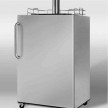
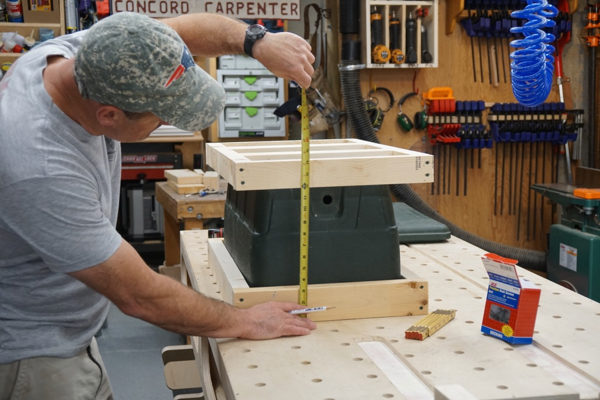
With the cooler upside down on my work bench and my bottom frame on top of the cooler I then measured the height of the wood sides.
Important Note: Deduct the thickness of the wood you are using from this side material measurement. This is important because you will later be covering the upper frame with this wood. If you don’t, your lid will not align and close correctly. I neglected to do this and had to add rough sawn spaces to the lower frame stretchers to make up for this error.
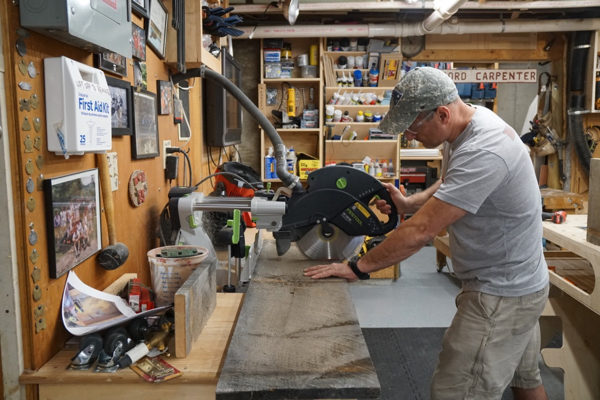
I ripped the rough sawn down to 6” wide boards and then added a bevel to the cut ends for decorative reasons. To add the bevel you can use a bock plane and do it manually or set up a router and a bevel bit.
Note: throughout this project I tried to hide or eliminate cut edges when I could. Areas that could not be avoided ended up being on the top lid and I’ll describe how I dealt with that later in the article.
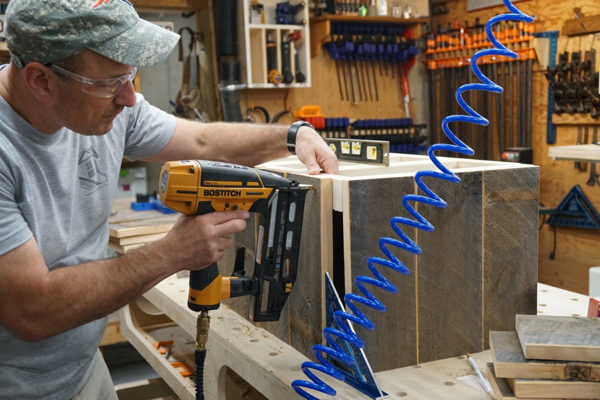
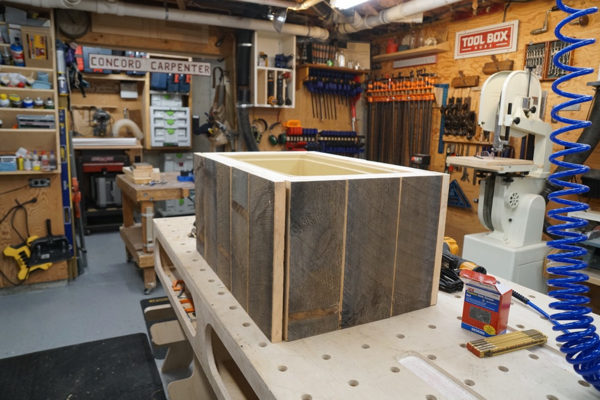
Attach the Side boards
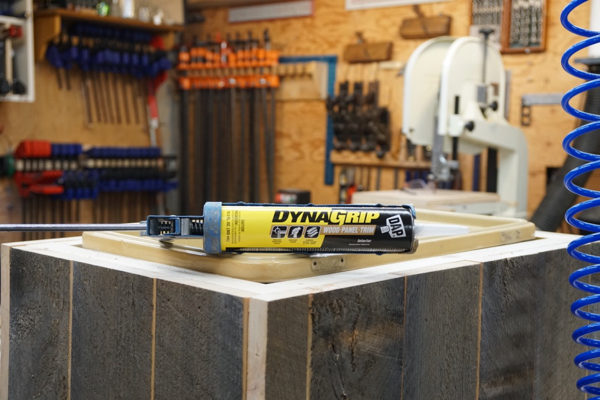
I attached the 6” side boards to the upper and lower frames using DAP DynaGrip Wood-Panel-Trim adhesive and 2” galvanized finish nails. I used a pneumatic nailer.
Note: The DAP DynaGrip Wood-Panel-Trim can be used for bonding all trim materials including wood, foam and PVC. It is a latex formula that wipes off and washes off your hands later fairly easy. The new DynaGrip adhesives were designed to deliver high-strength bonds in hours, not days, and to provide exceptional performance even in the most extreme weather conditions.
 When installing the boards I spaced them evenly on the front face and left any filler gaps at the corners. Depending on how large or small the end corner gaps were I filled them with scrap boards or left them. This area is getting covered by the legs in the next step and will be hidden.
Note: the bottom is left open to drain and allow air to dry the back sides of the frame and side panels.