Miter Saw Upgrade

Tips To Upgrade And Tune Your Miter Saw
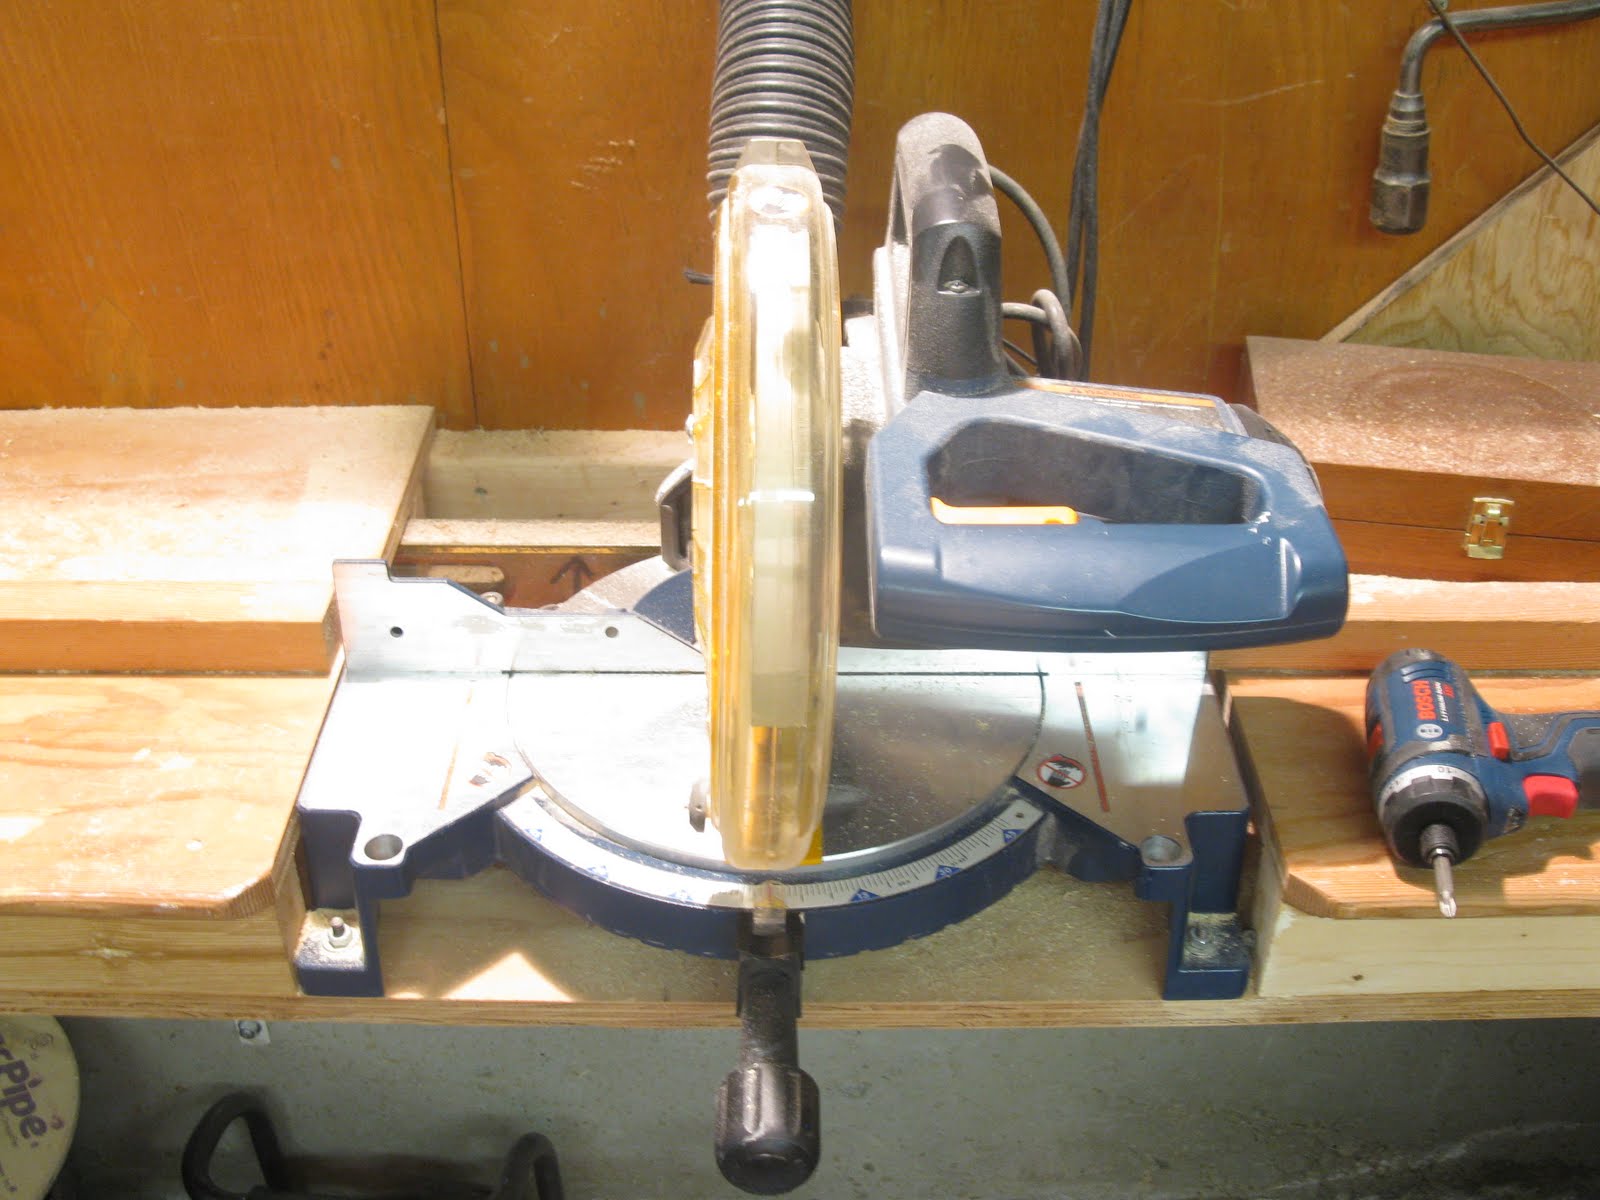
A miter saw that is adjusted and set up properly will give incredibly accurate cuts. Adding a zero clearance plate and tuning up your saw is an easy miter saw upgrade.
Here’s a few tips:
Align the Fence:
Adjust the saw fence so that is is square with the blade. Every tool manual shows how to make these adjustments. Do this by sight down the straight-edge and look for any gaps between the straight-edge and the fence. Adjust the fence as necessary to remove any such gaps. Most fences have bolts that allow adjustment.
Align the Blade for Square:
Now that the fence and blade are both parallel to each other, check that the blade is perpendicular to the table.
Adjust the saw’s pivot angle to the 0-degree stop. Then, using a Layout Square or small framing square standing on edge, check to see that the blade is at 90-degrees (square) to the table. If it is out of alignment, adjust the 0-degree stop on the saw until the blade is square. The users manual has instructions specific for your saw.
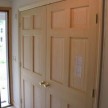
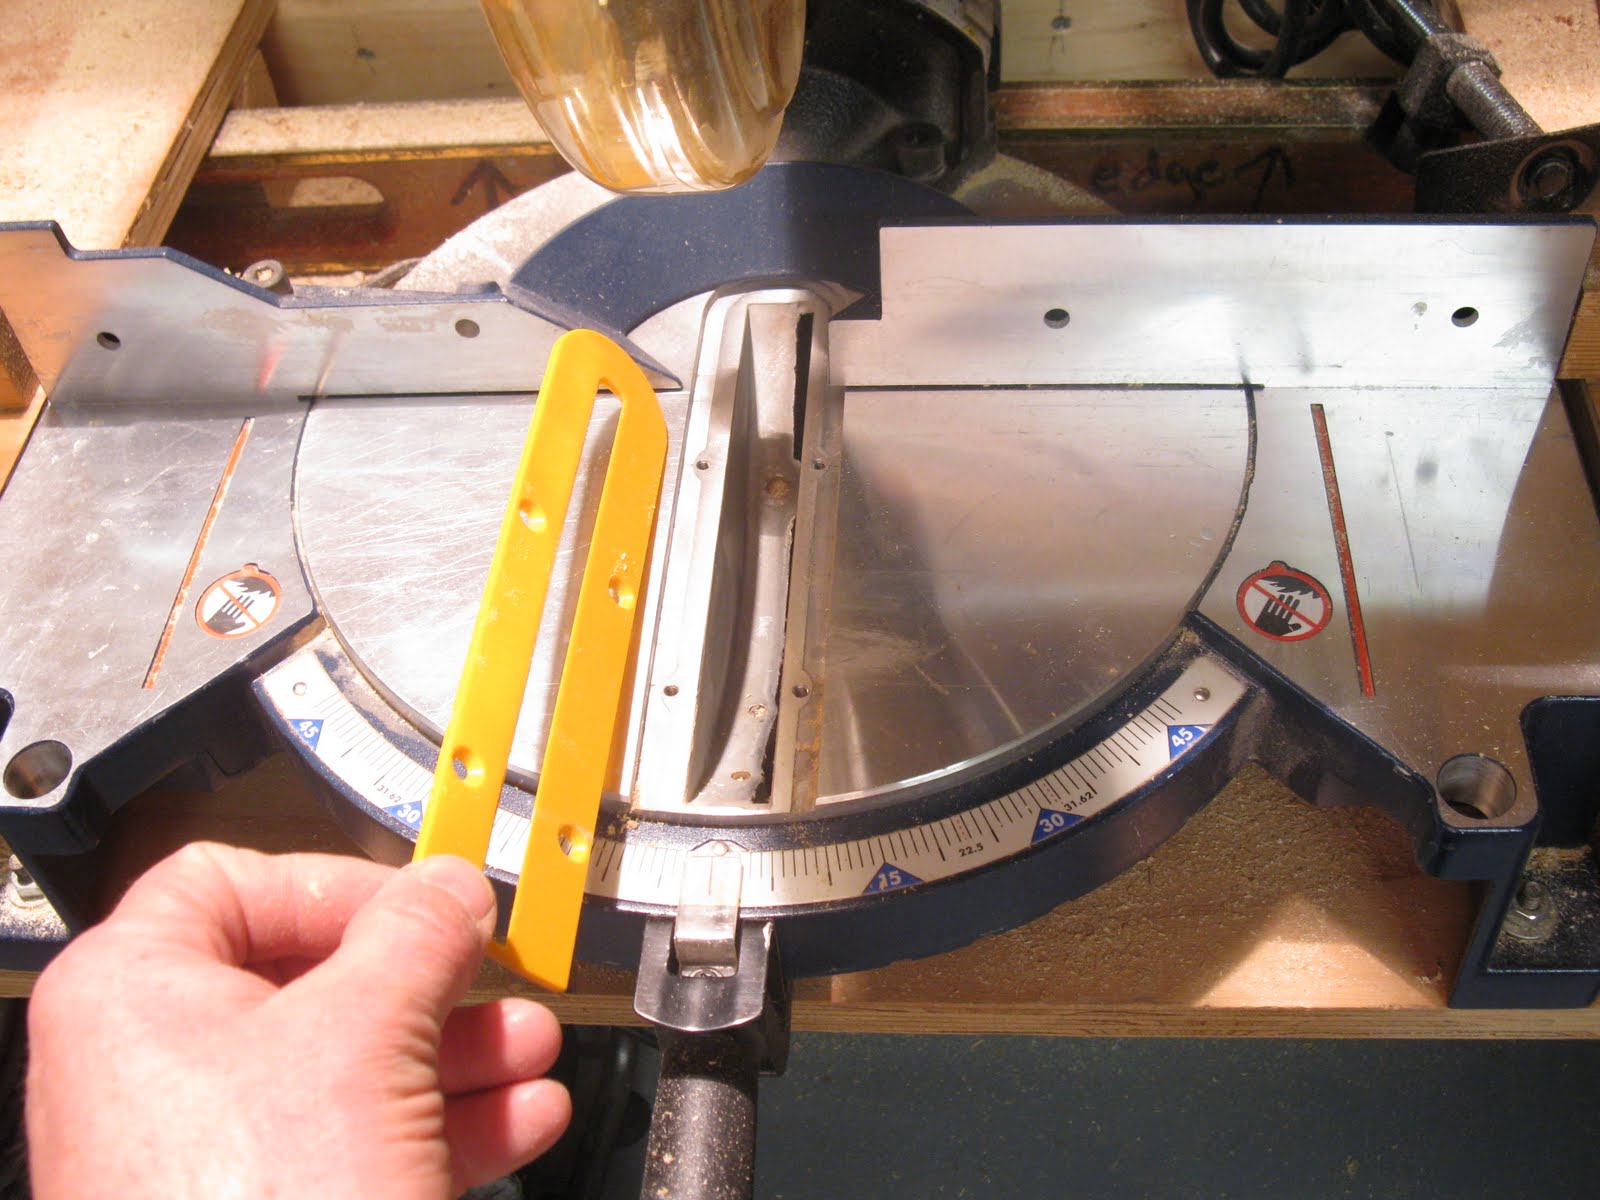
Check the Throat Plate:
With the blade square to the table, lower the blade completely. Stand a straight-edge or a square on edge, perpendicular to the miter slot, and push it across the throat plate. The plate should be at or just below the level of the table. If the plate protrudes above the table level, it may impede your ability to push stock through the blade. If there are adjustment screws on the plate, adjust the height accordingly. Also, check for excessive sawdust or pitch on the lip on the table that holds the plate in place.
Photo: throat plate

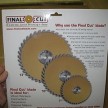
Miter Saw Upgrades:
1. Upgrade your saw blade to a 60 or 100 tooth carbide blade. A good quality, multiple tooth blade is probably the best single upgrade to your miter saw.
2. Make a zero clearance plate.
3. Add dust collection.
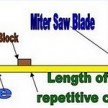
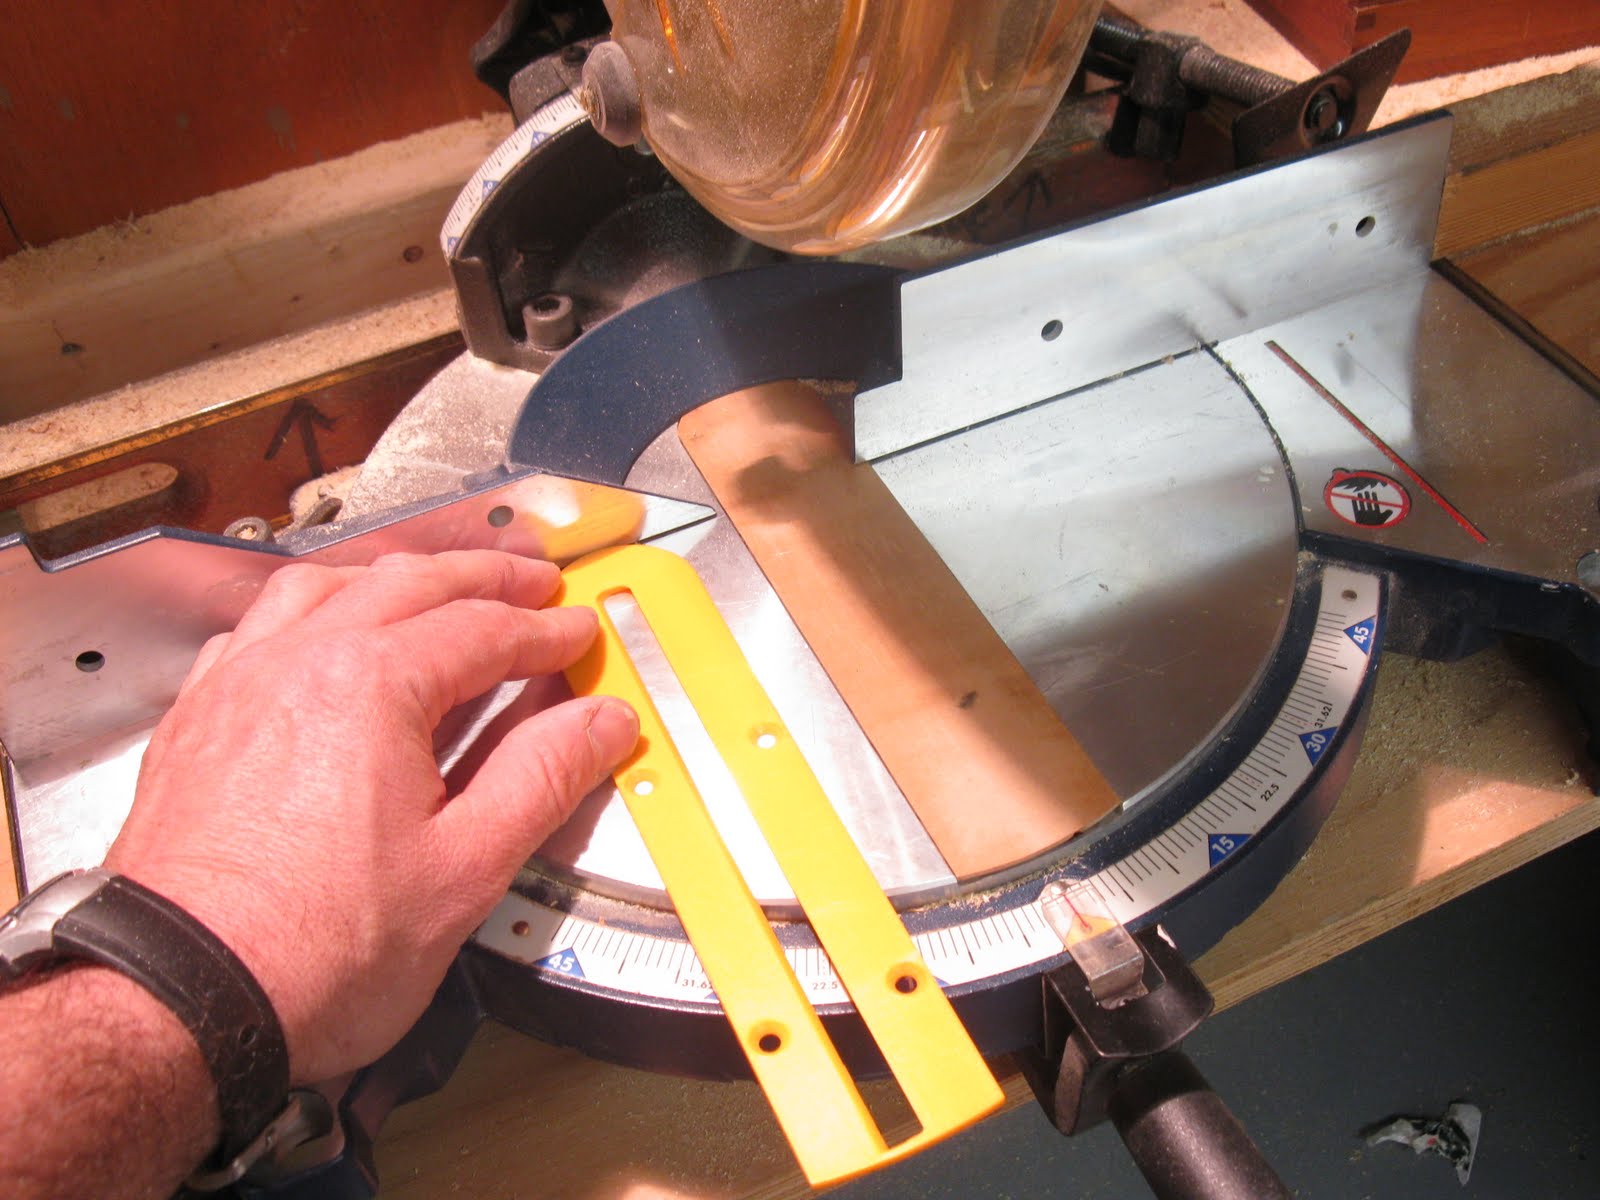
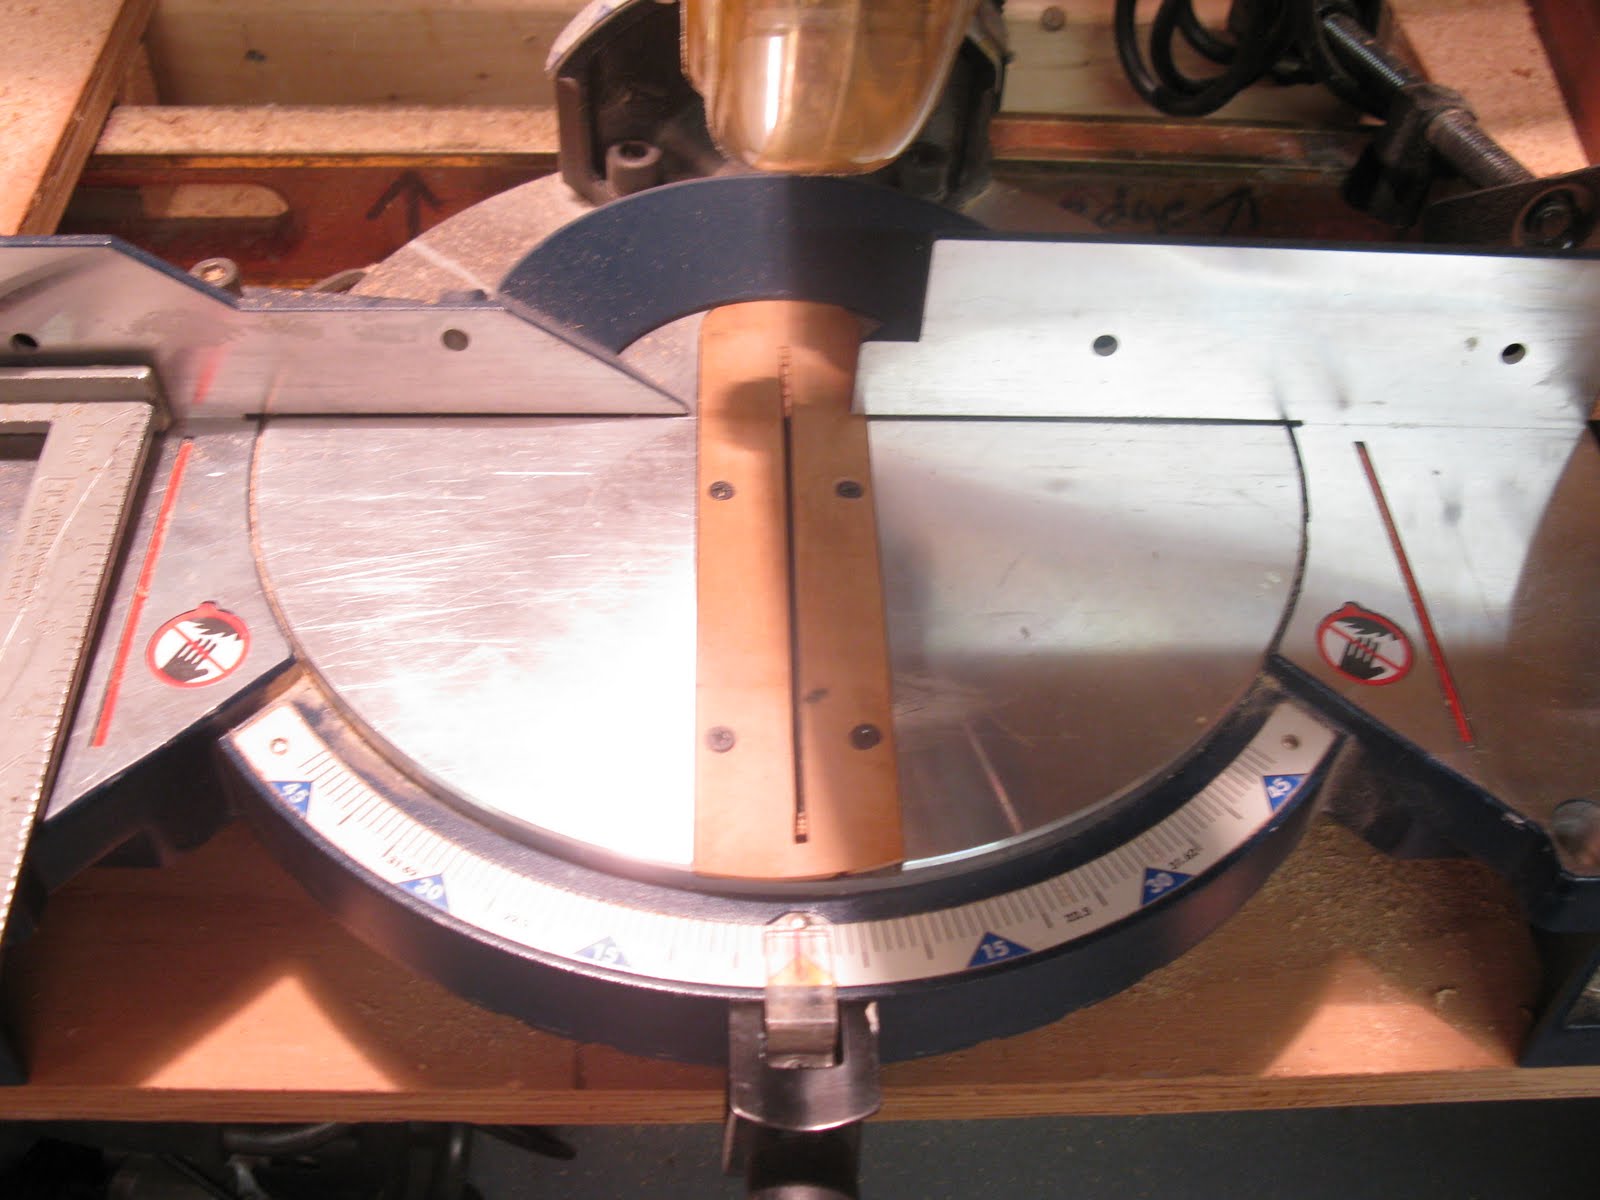
Making A Zero Clearance Plate:
Zero clearance plates allow for finer, better and safer cuts on the miter saw.
With a zero clearance insert the throat plate is cut to the exact width of the saw blade’s kerf, thereby preventing thin slices of wood from jamming in between the blade and the throat plate during a cut, and reducing the amount of tear-out that can happen with a standard insert.
The theory behind using a zero clearance insert is to bring the distance between the blade and the nearest supporting surface down to nothing, and as a result, every zero clearance insert is good for one, and only one, bevel angle setting. Having a 90 and 45 degree insert on hand is a good start, and more can be added as needed.
I used 1/2″ MDO to make my plate. I cut it on the band saw and fine tuned it on my belt sanding machine.
Once I got the fit I needed I counter sunk holes for the srcews install them cut the plate.
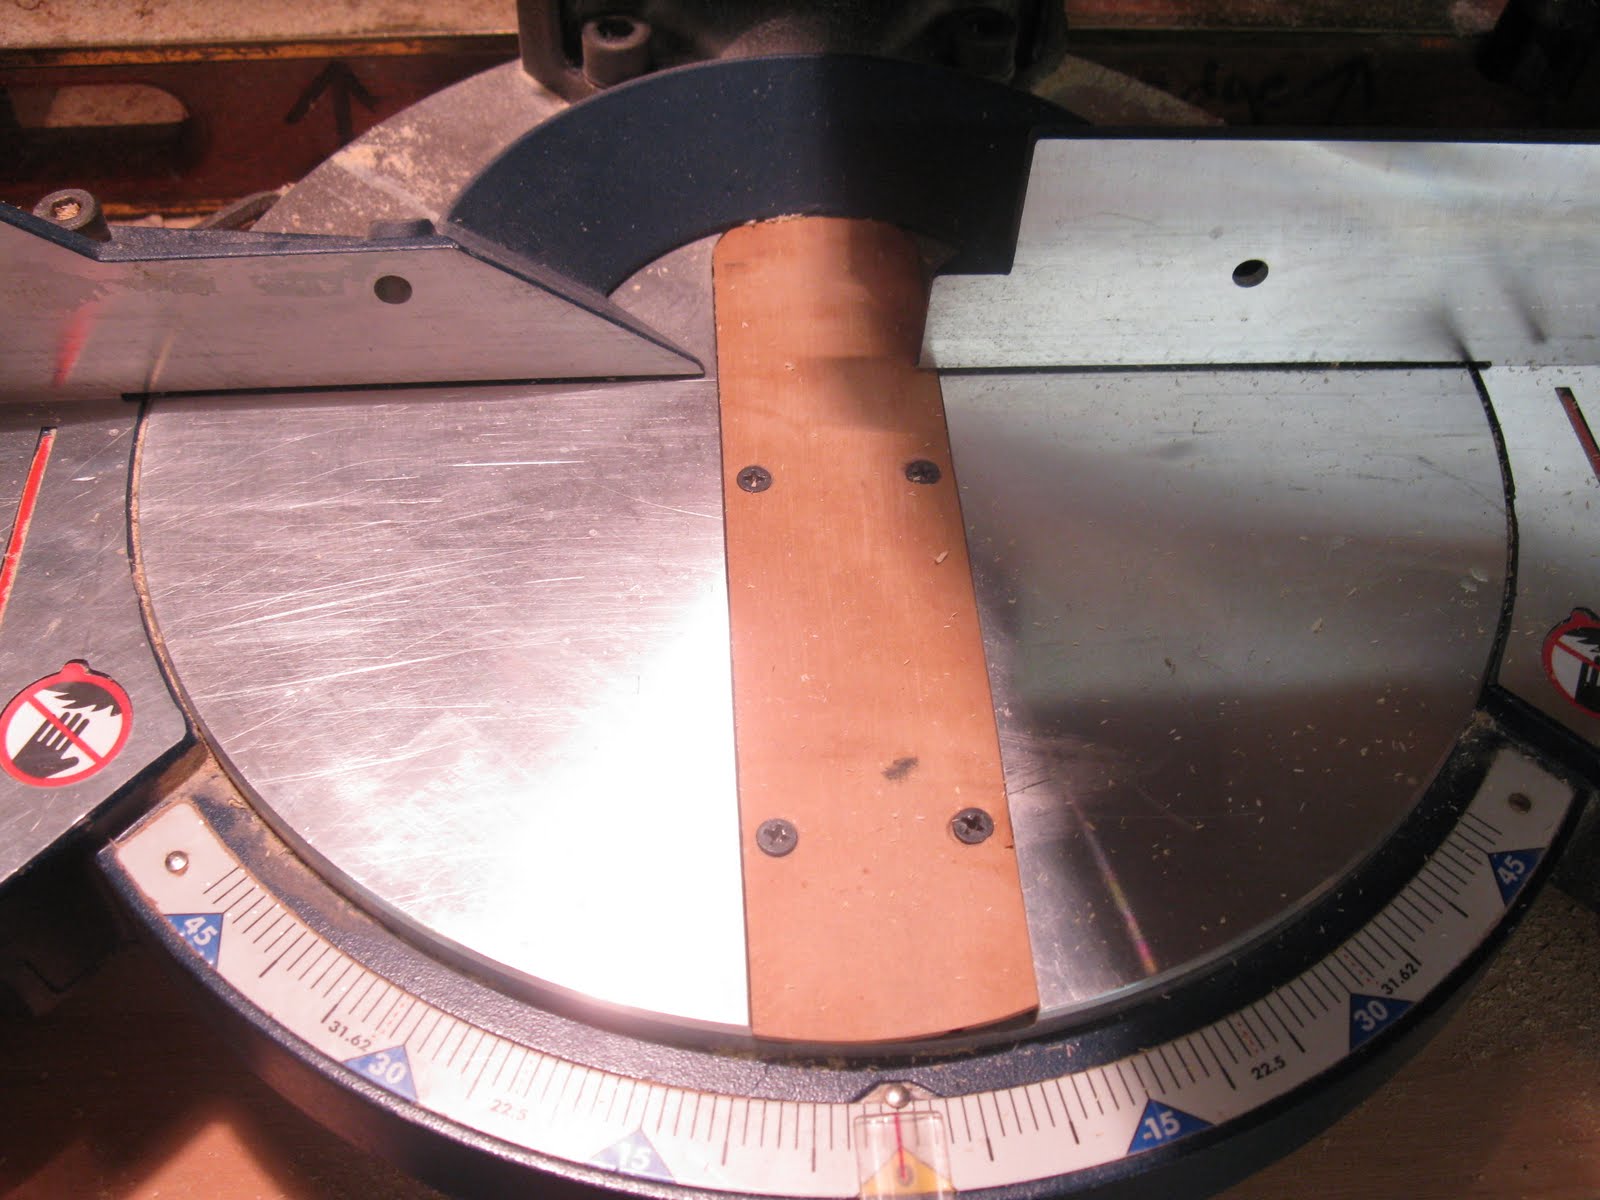
This zero clearance plate is set up for a 90 degree bevel setting.

If you enjoyed this post, please consider commenting or subscribing to receive my future posts via email