Miter Saw Stop Blocks

How To Make and Use A Miter Saw Stop Block
For many years when I needed to make repetitive cuts on my miter saw, I’d use a stop block. A stop block allows you to make accurate, receptive cuts without having to deal with graduated errors that result from using your tape measure and pencil.
A stop block for my workshop miter saw meant that I’d either clamp a scrap of wood to the miter saw fence or screw a block of wood down to my plywood miter saw table. I’ve used this stop block for so long I just didn’t realize how archaic it was.
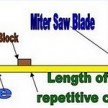
Repetitive Cuts Made Easy
Setting up a block is simple. Determine how long you need your workpieces to be, secure your stop block in place.
Now you can just line up the board against the stop block and start cutting. All your pieces will be the same length. It’s a simple system that adds precision and functionality to your miter saw.
 T-Track Stop Block
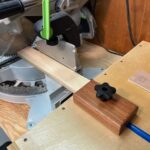
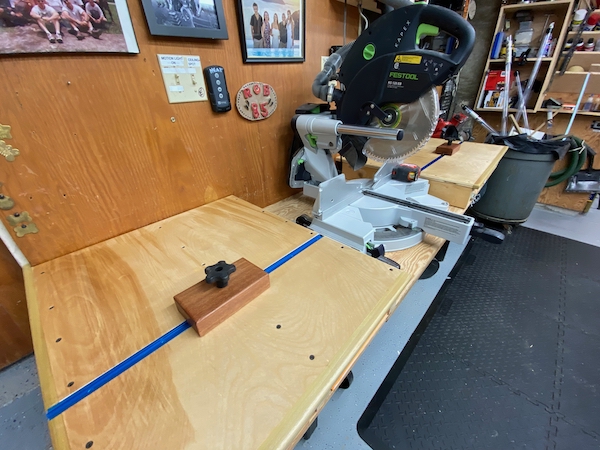
There are many systems and approaches available to purchase or to make your own, stop block. For my miter saw, I used a recessed Rockler t-track and a shop-made stop block.
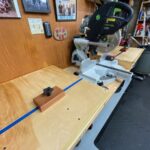
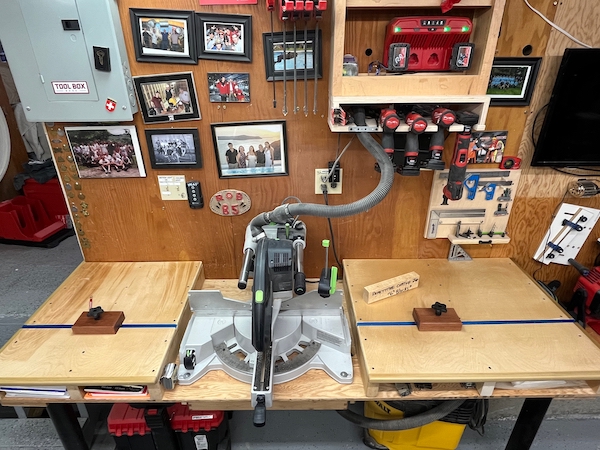
The t-track is recessed into the plywood top on either side of the saw by cutting a channel with a plunge router or dado stack at the table saw. It’s way faster than using a router. When doing this I also replaced my tabletop with new plywood.
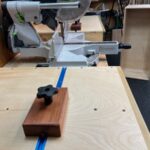
For placement of the T-Track, I chose to place the track in the middle section of my miter saw table. This system allows me to easily set up one or two stop blocks on either side of the miter saw.

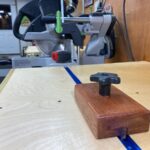
Making the Stop Block
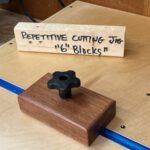
I had some leftover 1×4 and 2×4 mahogany, so I decided to make two 6-inch stop blocks out of the 2×4, and I used the 1×4 to make thin runners.
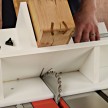
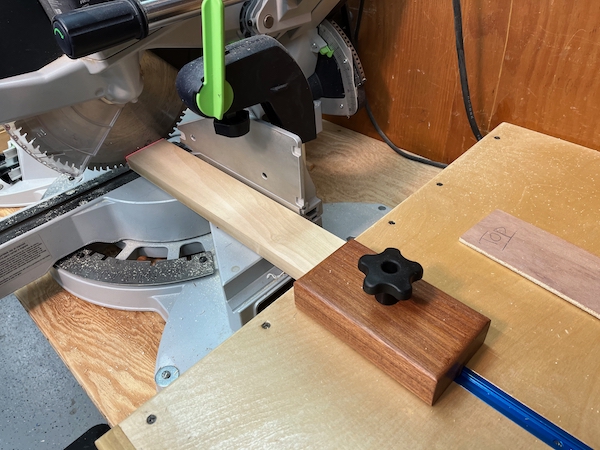
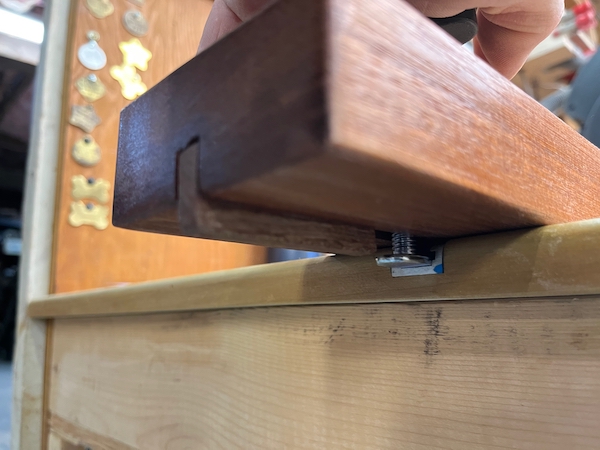
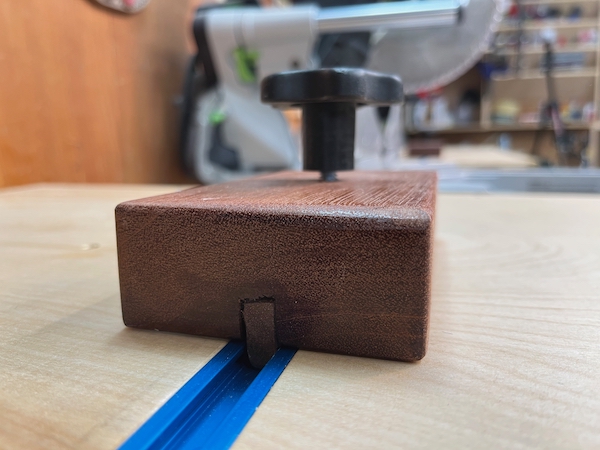
The stop block has a centered t-bolt and two runners that index into the t-track. The t-bolt locks the block to the track, and the runners keep the block in line to the track.
For the runners, I cut a dado in the bottom of the 2×4 to accept two thin mahogany strips, on each side of the t-bolt. The runners were sized to index into the t-track and the stop block dado. I used quick-setting epoxy to glue the runners in place.
In the center of the block, I drilled a hole for a 2-1/2” t-bolt. The runners keep the block parallel with the track, so it doesn’t twist when you tighten the t-bolt.
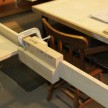
For cuts closer to the saws blade, but out of reach of the t-track I can clamp a block of wood to the miter saw fence, but I prefer to use a longer stop block that cantilevers off the track and onto the miter saw table. This block is much longer than my mahogany blocks and is secured with two t-bolts.
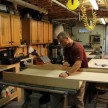
Using the Stop Block
The new setup is faster than my old method and just plain sexier. There’s no argument that using a stop block will boost your productivity in the workshop. Once set up all you must do is make your repetitive cuts.
Conclusion
Using a stop block will bring speed, precision, and productivity to your projects. You don’t have to make a stop block out of wood, Rockler has inline stops that are designed to work with the t-track system and work well too.