Installing Snow Melting Mats
Warmup Snow Melting Mats Review
Winter in New England brings snow, ice and a sled load of safety issues to your driveway and walkways. With Snow Melting Mats, old man winter is an issue of the past. Snow melting mats can be placed under asphalt, concrete and pavers.
Installing Warmup Snow Melting Mats
We use Warmup Snow Melting Mats, they come in 2’ and 3’ widths and multiple sized lengths to assist you with your design. In this review I’ll talk about how we installed Warmup snow melting mats under a paver walkway and now the clients are enjoying their “friend outside”.
Snow Melting Mat & Walkway Design
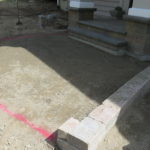
The job was a new landscape construction project, after a large remodeling and addition. Once the front entrance was completed we moved onto the design of the walkway. From the front steps the design called for a medium size landing, three steps because of the grade, and built-in walkway lights.
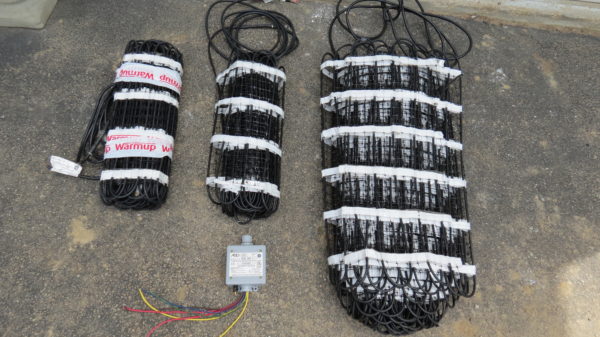
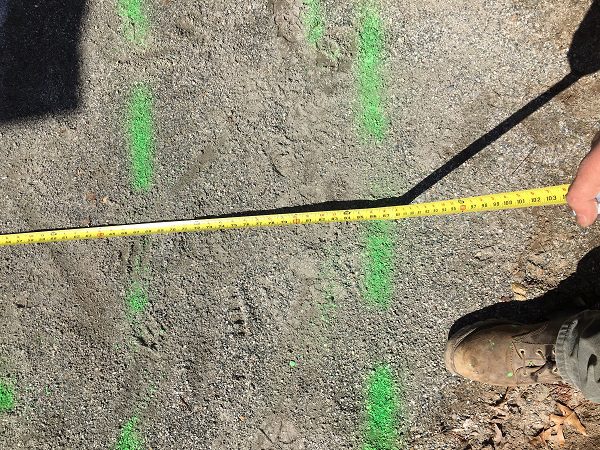
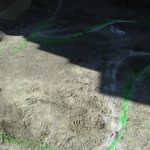
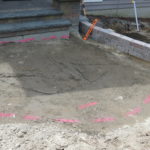
Then it was time to play in the dirt! We marked off the design with marking paint and after a few tweaks with adding and erasing the paint lines, we had a final design. Once the visual was laid out on the ground we took pictures, wrote up the dimensions, and emailed everything over to Warmup.com. They handled the design of the mats, customizing what lengths and sizes would work best and which controller we should use. One week later we received two boxes on the clients’ door step.
Installation with Warmup Snow Melt Mats
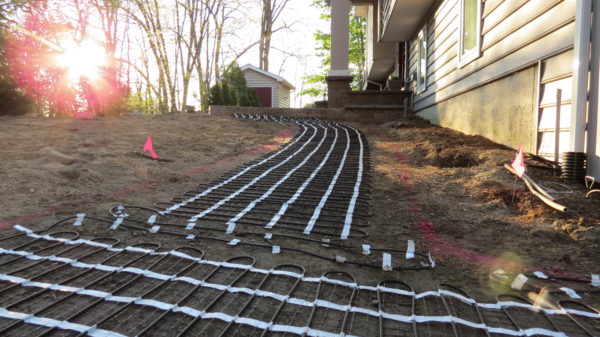
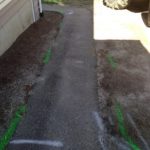
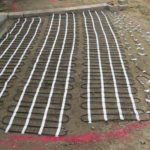
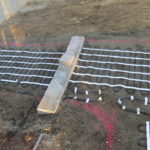
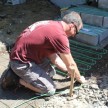
Installation was fast, easy and enjoyable. My landscaper started off by grading the whole yard. Then he installed a 12” thick layer of processed gravel that was compacted with a plate compactor. The electrician tested the resistance of the mats before installation to compare to the reading on the cable’s label provided by Warmup. The numbers matched up and the cables were rolled out.
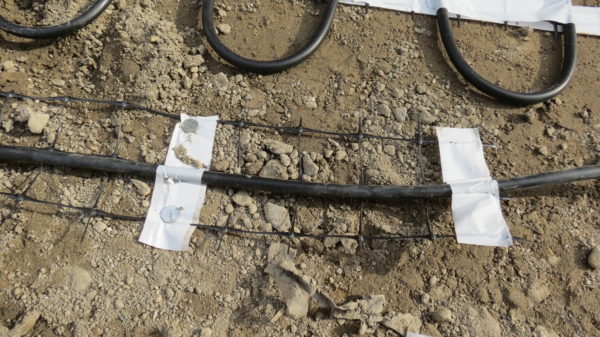
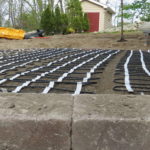
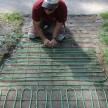
We started on the landing at the base of the front entrance. It’s a rectangle design with a rounded front edge. The measurements are 11’ wide and 7.5’ off of the entrance stairs. The cables are 3/8” round in diameter and are held together by 3” sections of Warmup tape. When we had a curve or came to the edge, we were able to easily slice away the tape. Then we could roll out the cables in the opposite direction always keeping in mind to never cut, shorten, or alter the actual snow melting cable. The bends in the cables should not be any tighter than 1.5” and the cables need to be spaced 3” apart from one another.
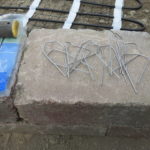
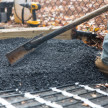
When we secured the cables to the compacted gravel bed, it was recommended to use landscape staples. However, they did not work and they just bent when we banged them in. I had a 50lb box of 3” electro galvanized roofing nails available so we gave that a try. It worked great. We tacked the cable strips down through the tape, never through the cables, and it was just enough to hold them down until the sand was poured on top of the mats encapsulating them under the pavers. We covered them in 2” of mason sand and the pavers are 2.75” thick. Warmup recommends covering the mats with 2” of sand for paver application and for the pavers to be maximum thickness of 4”.
Warming up the Steps
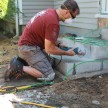
When it came time to warm the steps we used a concrete saw to cut channels into the blocks under the coping so that the heat cables could run through the stone without being compressed. Then we adhered the coping to each step using a Unilock stone adhesive. This provided direct contact from the snow melting cable to the coping step.
Powering up the Snow Melt Mats
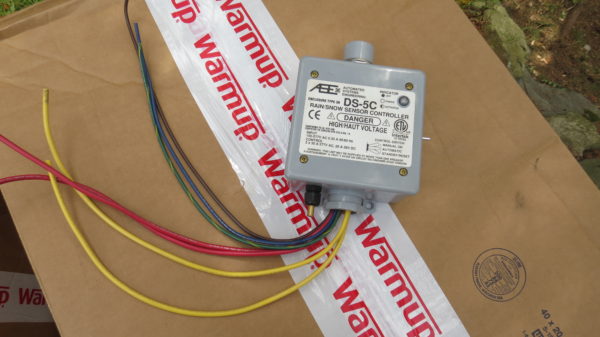
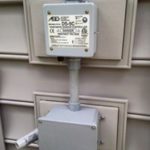
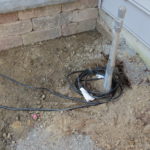
The electrician used two round underground pull boxes for all of the connections. A round pull box is made with a high-density polyethylene material designed for outdoor electrical connections. The landing was designed with one 30sqft and one 40sqft mat. The walkway was designed with a 3’ x 40’ snow melt mat. To connect the two, we have the snow melting mats’ lead cables running to the underground pull boxes. From there, a wire runs through PVC conduit to the DS-5C controller.
As for inside, the service panel was recently upgraded to a 200 amp service. This gave us enough room for the 40 amp and 20 amp circuit breakers to be installed to supply power to the walkway. The electrician snaked lines from the service panel to the DS-5C controller and completed all of the connections in one large junction box mounted just below the controller.
The controller box has a round sensor on the top and has a toggle switch that can be left in either automatic or on/off. Automatic mode has the ability to turn the snow melting mats on when it starts to snow and then turns them off when snow is no longer sensed.
Morning After with Warmup Snow Melting Mats
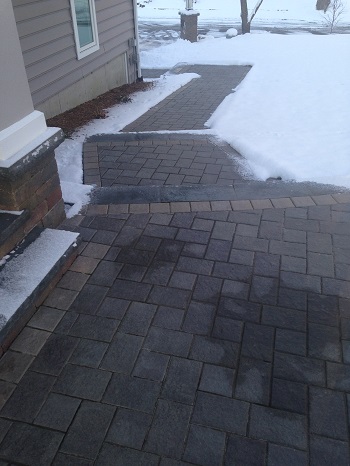
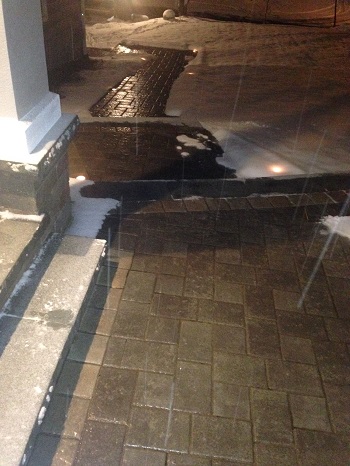
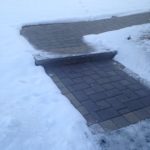
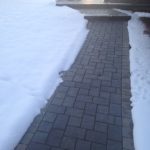
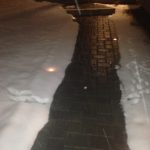
The walkway held up maintenance free after a few small snow storms with little accumulations. But the real test came the morning after the blizzard of February 2017. A true New England winter blew down a foot of snow with even larger snow drifts. It was a winter wonderland everywhere except where the Warmup Snow Melting Mats were. The walkway and landing were free and clear of any danger from accumulations of snow and ice.
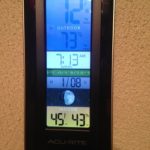
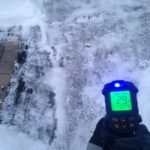
The outdoor temperature that day was 20 degrees Fahrenheit with an even colder wind chill. The temperature of the walkway was 46-51 degrees Fahrenheit using an infrared thermometer. The reading was taken after the walkway was warmed and had dried of any moisture. To give you a comparison, the snow shoveled non-heated driveway was only 29 degrees Fahrenheit using the same thermometer.
Warmup Snow Melting Mats Specification
- Operating Voltage: 120V, 208V & 240V
- Output Rating: + 50 W/sq ft
- Mat Width: 2’ or 3’ wide
- Lengths: Range: 3’ (91.4cm) up to 60’ (1820.8cm)
- Construction: Energy efficient twin-conductor heating cable of ¼” (6mm)
- Cold tail length: 16.4’ (610cm)
- Element Sizes: 6 to 120 sq ft
- Casing: Zero Halogen Polyolefin
- Wire Insulation: Fluoropolymer
- Bending Radius Minimum: 1-1/2”
- Max Temperature: 464°F / 240°C
- Min Installation Temp: 14°F / -10°C
- Warranty 10-Year
Warmup Snow Melting Mats Technical Data
- Applications: Suitable Coverings Pavers and related masonry
- Asphalt (direct contact or indirect contact)
- Concrete (not lightweight)
- Suitable Base: Crushed gravel base
- Sand bed
- Insulation sheets: Min. Coverage 2” Max. Coverage 4”
Warm Benefits and Pricing
For this application, the Warmup snow melting mats and the DS-5C controller cost the client roughly $2,477.00 without tax. The homeowners have not noticed any changes in their monthly electrical bill. However, they use the mats in the on/off mode only.
In my opinion peace of mind with this product is priceless. With just a flick of a switch you are taking any potential winter hazard out of the equation. Just one bad fall could equal weeks or months out of work with possible surgery. Why take the chance? A heated walkway is money well spent.
Warmup provides a 10 year warranty on their product.
Maintenance and Tech Support
When installed according to the installation manual and proper testing has been performed throughout; the system, there is no maintenance required for the duration of its warranted life. The WSMM cable is warranted for 10 years against manufacturer defects and is protected by Warmup’s Safety Net Guarantee. See www.warmup.com for full warranty details.
Warmup offers technical assistance by telephone 24/7 and 365 days out the year for trade professional contractors, homeowners, and retailers. There are also online tutorials available.
Tel: 1.888.927.6333
E-mail: ussales@warmup.com or use the online contact form.
Warmup Snow Melting Mats Final Thoughts
Warmup Snow Melting Mats were easy to install and require no maintenance for 10 years. They have the ability to automatically turn on and off, resulting in no shoveling and decreasing the chance of slips and falls. After those benefits, what else do you need in a product?
This system works perfect and I still cannot get over how it actually dries the walkway after all the snow, ice and moisture is melted away. I couldn’t find any negatives about this product; unless you don’t like being envied by all of your neighbors.
Now that the walkway is heated, what’s next? You can use Warmup products for driveways, wrapping around pipes, or under roofing and interior floors. This article was about the outdoor snow melting mats, but be sure to check out their full line of products to assist you in warming up your entire home.


